
VLC Merge Videos Not Working – How to Fix It

VLC might just be the most popular media player in the world. Downloaded over 3.5 billion times since its initial launch over 20 years ago, it enjoys a massive user base and an excellent reputation.
However, despite its astonishing popularity and impeccable reputation, even VLC encounters issues. Among the most commonly reported problems are those regarding merging files.
There could be many reasons for VLC merge videos not working, from outdated codecs and software to file corruption. Whatever the case, you could try several solutions to fix the problem.
How to Merge VLC Videos Correctly
Before exploring the solutions to your VLC videos not merging, check if you use the feature correctly. If you use the latest VLC version and your video files aren’t corrupted, the entire process is relatively straightforward:
Step 1: Launch VLC and click Media > Open multiple files.
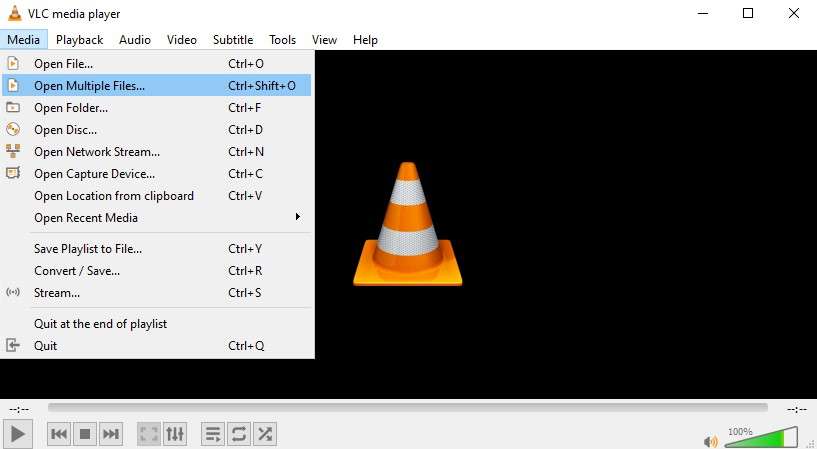
Step 2: In the Open Media dialog box, click Add and import all the files you want to merge.
Step 3: Select Convert under Play.

Step 4: Click Start in the new dialog box.
Give VLC a moment to merge the videos, then open the new file to play them. If the files haven’t been corrupted beforehand, the video should have no problems opening and playing.
Fixes You Can Try if Your VLC Merge Videos Feature Isn’t Working
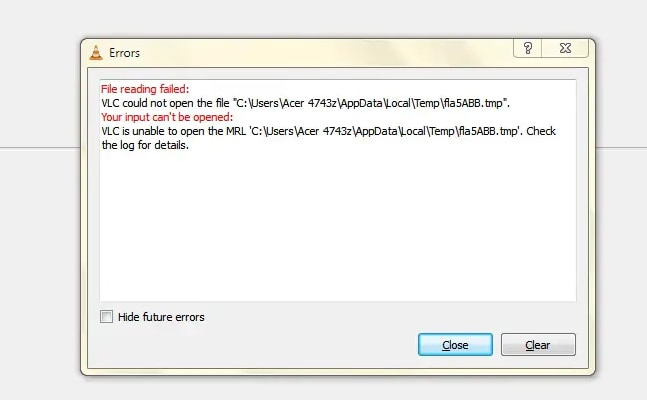
When trying to merge videos in VLC, you may encounter two common problems. You might receive errors when opening the files you want to join, or the new merged video won’t work.
One of the following solutions should help you eliminate these problems.
Fix 1: Update VLC Codecs
Codecs are programs that compress and decompress your files and enable your media players to read them correctly. If your VLC codecs are outdated, they could start causing issues and affecting your media player’s performance.
Fortunately, updating your VLC codecs takes just a couple of minutes:
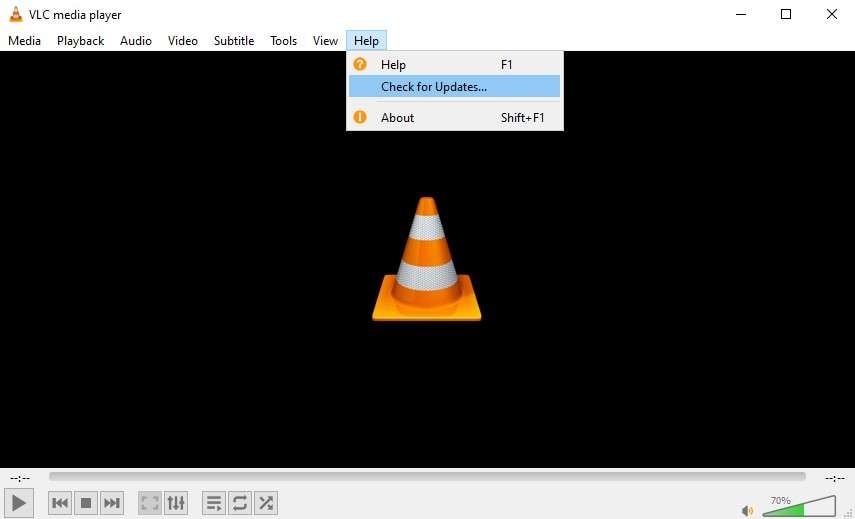
Step 1: Launch VLC and click Help > Check for updates.
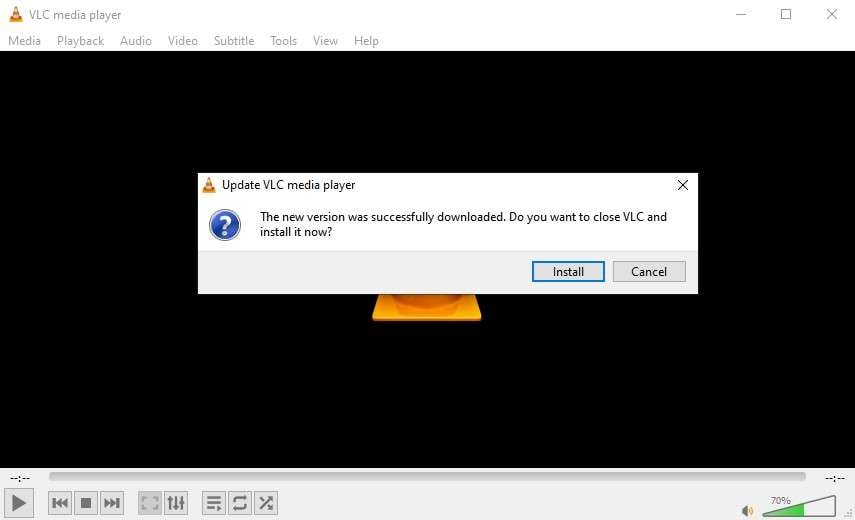
Step 2: Click Yes in the dialog box.
Step 3: Select Install.
Step 4: Open the TEMP file folder and start the installation.
When the process is complete, you’ll have updated VLC codecs and should be able to merge videos without further issues.
Fix 2: Update Your VLC
VLC codecs might not be the only outdated element. You might need to update the VLC media player to eliminate the issues of your videos not merging. The good news is that the steps for codec and VLC media player updates are the same.
Therefore, after downloading the updated files, take the following steps:
Step 1: Type %TEMP% in the search bar.
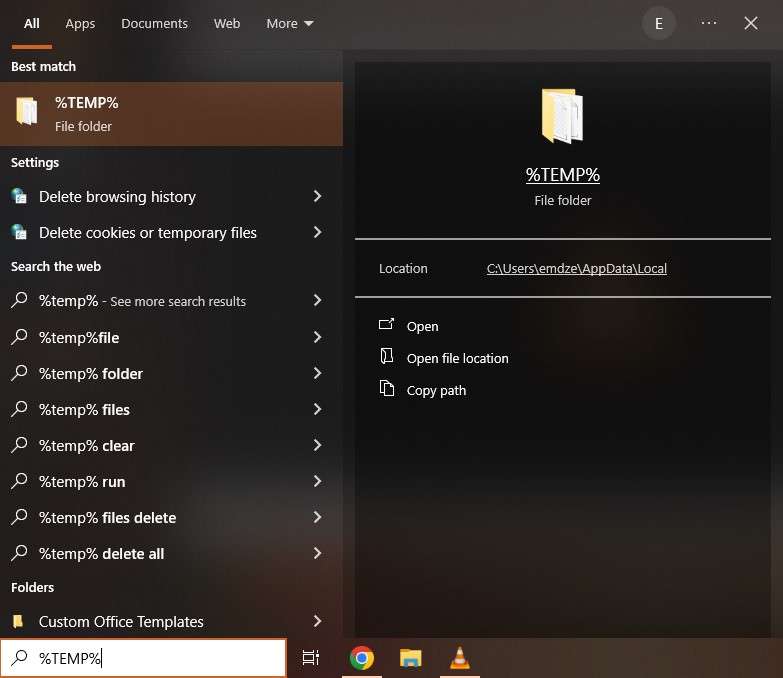
Step 2: Scroll down and double-click the VLC setup.
Step 3: Click Yes > Next > Next > Next > Finish.
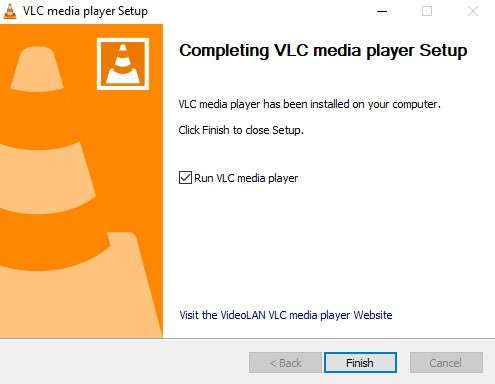
When the process is complete, try merging your video files again. You should be able to do it without obstacles.
Fix 3: Update Your OS
If you’re still struggling with merging videos in VLC, you might have underlying issues with your operating system. Therefore, updating your OS should do the trick.
To update your Windows OS, take the following steps:
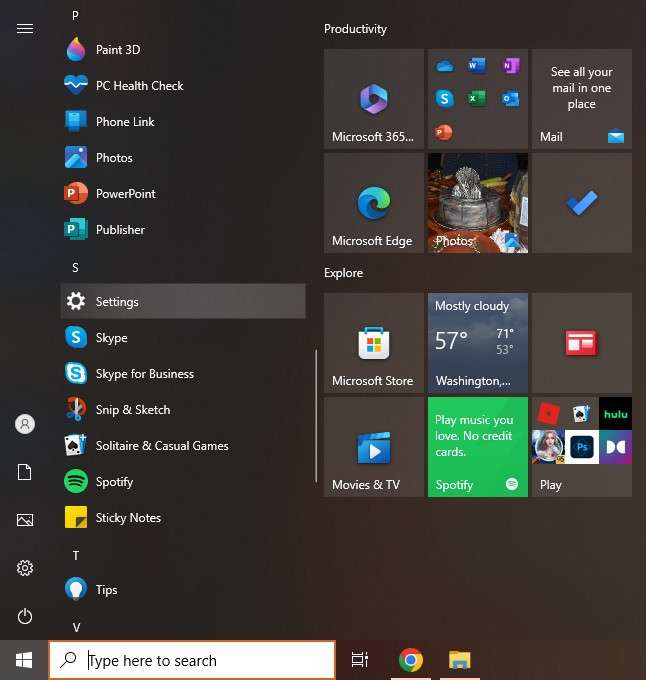
Step 1: Go to Start > Settings.
Step 2: Scroll down to Update & Security.
Step 3: Select Check for updates.
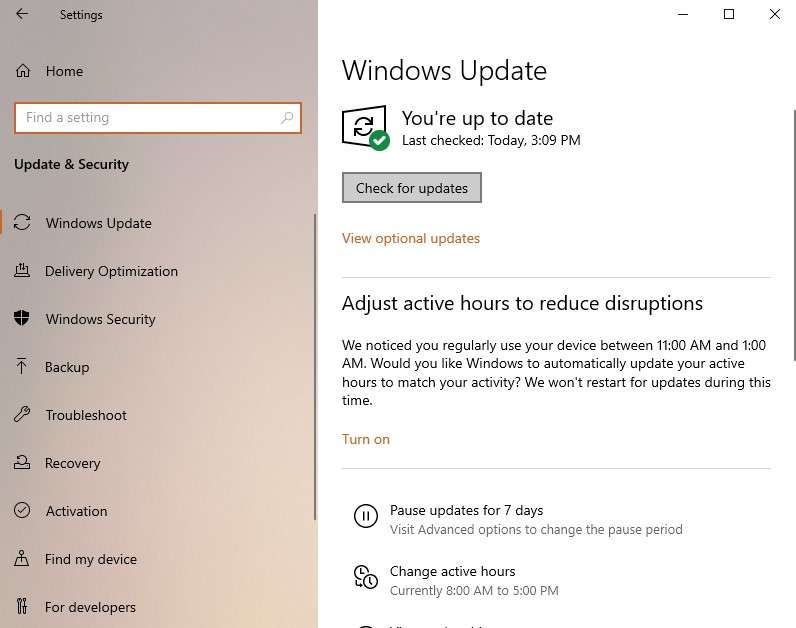
If any updates are available, install them and restart your device. Try merging your videos in VLC to see whether this method has solved your problems.
Fix 4: Fix Corrupted Videos Using Wondershare Repairit
Of course, your programs or software may not be at fault. If you’ve followed all the steps above and nothing seems to have helped, you might be dealing with corrupted video files.
You’ll need reliable tools like Wondershare Repairit to fix your files and ensure you can merge them. Wondershare Repairit is a professional data repair solution that works with almost all video file formats and has over 95% success rates.
To use it, simply download it to your PC and follow these steps:
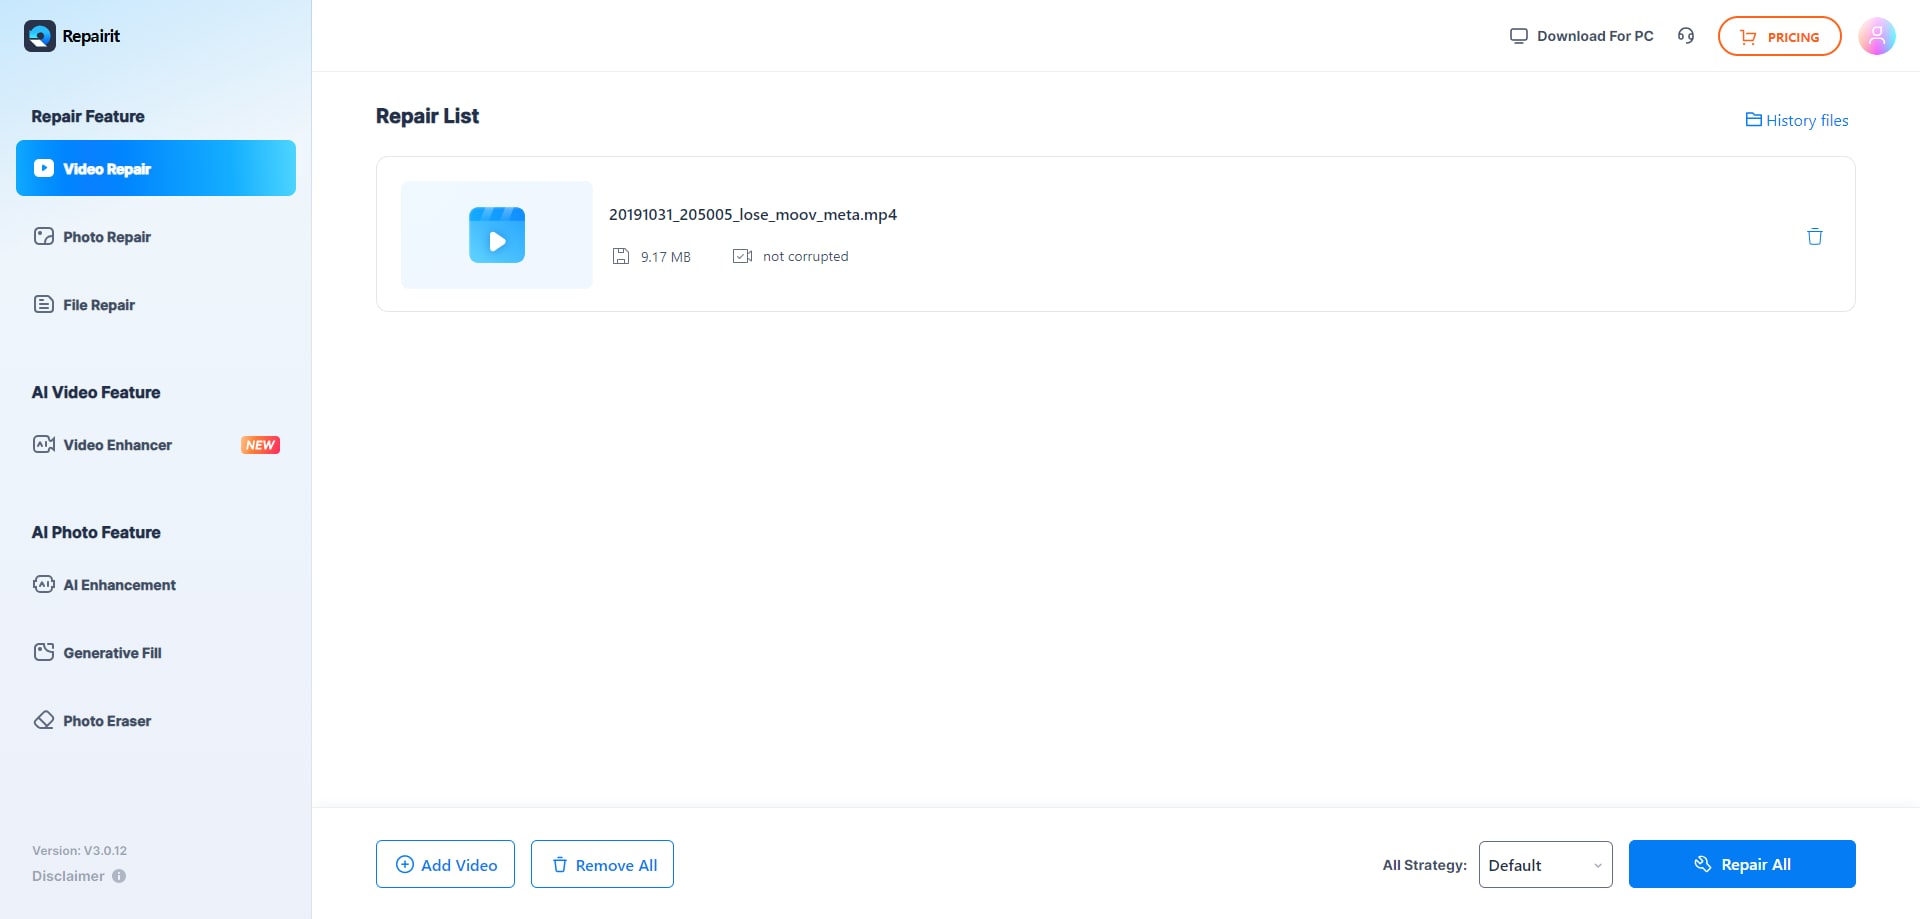
Step 1: Launch Wondershare Repairit and click Add to import your corrupted video files.

Step 2: Go over the file information and click Repair.
Step 3: Once the process is complete, click OK.

Step 4: Preview the files and click Save.
Once the software repairs the files, try merging them in VLC again. If it still doesn’t work, you might want to try Wondershare Repairit’s Advanced Repair. Provide a sample video besides your corrupted videos, and the tool will use the information to create a professional-looking, high-quality video.
This video will provide a step-by-step guide on how to fix corrupted videos.
How to Ensure Your VLC Merged Videos Work in the Future

Random glitches, bugs, and other issues can affect the performance of VLC or any other media player. However, you can take several steps to minimize your chances of encountering the problem of VLC merge videos not working.
Option 1: Keep all apps and software updated.
While software updates can be annoying, they’re critical. They ensure you can access all the latest features and protect your device. They typically contain essential bug fixes and security patches to keep things running smoothly.
Option 2: Install an anti-malware program.
Malware infestation is the number one cause of corrupted files. Malicious software can destroy your images, videos, documents, and other files. It could also put your online privacy and security at risk. Therefore, ensure that every device you have has a reliable anti-malware program.
Option 3: Keep backups of your files.
Backing up your files can help ensure you always have a functional copy of any video (or other file type) you may need. You’ll always have a backup, even if a copy gets corrupted or damaged.
It’s in your best interest to back up your videos to the cloud, as they’ll always be easily accessible, and you won’t have to worry about losing the files if something happens to your device.
Option 4: Be careful with data transfers.
Your files are most vulnerable during data transfers. Even a tiny interruption could corrupt them when downloading or transferring them from one device to another.
So, always be careful with data transfers, ensuring you don’t turn off your device or interrupt downloads. Always carefully eject storage devices before disconnecting them. Moreover, keep your device fully charged during data transfers since your files could get corrupted if your device runs out of battery.
Bonus Tip: How to Fix Corrupted Videos Online
If your corrupted files prevent VLC from successfully merging videos, you could try solving this problem with online video repair.
Downloaded software will be more powerful and offer a more comprehensive list of features. However, Wondershare Repairit also has an online video repair tool you could use for files that don’t have the best quality.
The online tool is straightforward and can repair your files in several steps:
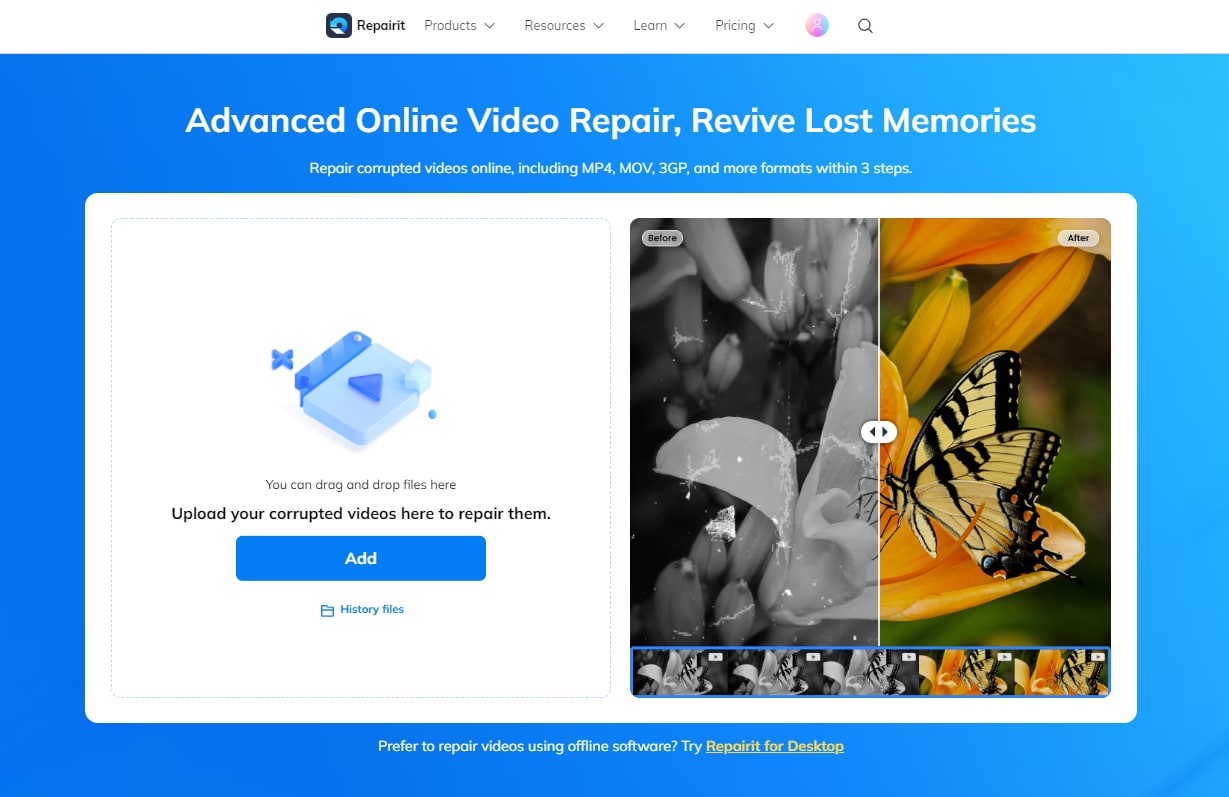
Step 1: Visit Wondershare Repairit Online Video Repair.
Step 2: Upload your corrupted videos by clicking Add > Open.
Step 3: The tool will automatically fix your videos. Preview your files and click Save.
Wondershare Repairit’s online video repair supports most video file types, meaning you can fix all your files with the utmost ease.
Conclusion
As a general rule of thumb, merging videos in VLC is a simple process, but it can glitch for various reasons. Fortunately, whether outdated systems and software, corrupted files, or anything in between are causing the issue, you can usually solve it without much fuss.
Try the solutions above and start merging videos like a pro.