

For most professional image editors, resizing an image can be an easy process, especially if it is to make it smaller. Since the quality of the image will not reduce as a result of the compression. However, upscaling images can be a challenging task, considering achieving it without compromising the image quality can be more difficult to do.
Thankfully, modern image editing tools have come a long way with easy-to-upscale image features with simple clicks, such as upscale image Adobe. However, not many users know how to use Image Upscaler Adobe to enhance their image quality. Therefore, we have compiled a step-by-step guide to use Adobe to increase the quality of the image effortlessly. In the article, we have also included a free online tool that can also upscale images using AI-based tools.
Fix File Conversion Encoding on Microsoft Word Now
 Security Verified. Over 7,302,189 people have downloaded it.
In this article
What Does Image Upscale Mean?
Image Upscale is the process of enlarging an image without losing overall quality. This helps to render the image acceptable in larger size formats that have higher pixel density. For years, TV, movies, and static images have been upscaled to fit on HDTVs and screens. As technology evolved and image resolutions and screen sizes got higher, software developed to become smarter, and many image enhancers now use AI technology.
Here are some usual ways in which image upscales are performed:
- Nearest-neighbor interpolation is one of the simplest techniques. Each pixel in the output is replaced with the nearest pixel. Upscaling involves using several pixels of the same color, which helps to keep crisp features and color but may introduce a choppy look.
- Bilinear interpolation is the interpolation of pixel color values to create a continuous transition into output, even if the original image contains discrete transitions. It is useful for continuous-tone photos but lowers contrast.
- Edge-directed interpolation method is specifically designed to retain edges in images, whereas other algorithms introduce ' staircase-effect' artifacts.
Why is Image Upscaling Important?
Image upscaling is an important process that improves the resolution and clarity of digital photos. It entails enhancing the size and detail of an image, making it sharper and clearer while retaining its visual integrity. This approach is required for a variety of purposes, including printing high-resolution pictures and optimizing graphics for huge displays.
Here are some of the reasons why image upscaling is important:
- Improved Visual Quality: Upscaling boosts image resolution, making it clearer and sharper. It is important to maintain high visual quality in professional photography, graphic design, and print media.
- Enhanced Presentation: Image Upscaling highlights finer details that may be lost in lower-resolution images by increasing the number of pixels. This is especially significant in applications where details and accuracy are required.
- Preservation of Historical Images: Upscaling images can bring life to older or low-quality pictures by increasing their resolution, making them fit for modern applications while maintaining historical value.
- Optimized for Various Platforms: As displays and printers get larger, images must be upscaled to fit without sacrificing quality. Upscaling guarantees that graphics appear sharp and colorful, whether exhibited on huge monitors or printed in enormous formats.
- Professionalism and Branding: High-quality photos are critical in marketing, branding, and digital media for making a lasting impression. Upscaling helps to address these needs by delivering high-resolution pictures that attract and engage people.
How to Upscale an Image And Use Image Enhancers With Adobe?
Adobe provides many useful tools that can help improve the quality of the image with a user-friendly interface. Among the abundance of editing tools, it can get confusing to work on your images and upscale them to the required quality. Although it is extremely easy to use image upscaler Adobe to improve photo quality with simple clicks, it can get confusing sometimes. However, you can achieve this in a couple of ways.
Here are methods to use to upscale image Adobe both in Photoshop Lightroom and Creative Cloud Pro:
Improve Image Quality with Photoshop Lightroom
The Super Resolution tool in Photoshop Lightroom provides a cutting-edge solution for accurate resolution upscaling. It uses advanced machine learning techniques to increase image resolution up to four times while keeping fine details and reducing artifacts.
Follow the below steps to upscale images using Photoshop Lightroom:
Step 1: Launch the Photoshop Lightroom on your device and add the image you want to upscale in the “Loupe” view.
Step 2: Next, click on the “Photo” and select “Enhance” from the menu bar. Alternately, right-click on the photo and select the “Enhance” option.

Step 3: On the “Enhance” pop-up window, select the “Super Resolution” option.

Step 4: Click and hold to preview the image before enhancement. Alternatively, click and drag across the preview to see sections of the upscaled version.
Step 5: Click “Enhance” to convert your image into an improved DNG format.
Enhance Picture Quality With Adobe Creative Cloud Pro
You can also upscale image Adobe in the Creative Cloud Pro instantly online. It offers many features and editing options, including upscaling images to enhance the resolution. You can easily open the tools online from any platform and upscale your images instantly.
Follow the below steps to upscale image Adobe using Creative Cloud Pro:
Step 1: Open the Adobe Creative Cloud Pro on your web browser and upload the image you want to upscale.
Step 2: Select the uploaded “Image” and click on the “Image Size” option.
Step 3: Next, on the Image Size pop-up window, click on the “chain icon” button next to the “Width and Height” section. Ensure that the ratio of the image stays the same.

Step 4: Enter new values of the “Width and Height” for the image under the “Dimensions” section.
Step 5: Enable the “Resample” checkbox option and choose a new interpolation method from the drop-down list.

Step 6: If the selected image contains layers with styles applied, select "Scale Styles" next to the gear tab to scale the effects.
Step 7: Click “Ok” and your enlarged image will be upscaled to a set resolution.
Bonus Tip – Use the Easiest Tool Repairit for Image Upscaling
If you want to effortlessly upscale your images on any platform using AI-powered tools, you should consider using Repairit AI Photo Enhancer. It is a simple and effective app that is known as one of the best free solutions for AI-powered image enhancement. The cutting-edge tool uses powerful AI technology to not only increase image size but also improve overall quality. Repairit allows you to swiftly convert low-quality photos into clear, high-quality images suitable for many applications.
Some key features of the Repairit AI Photo Enhancer to improve image quality:
- AI-powered upscaling algorithms that enhance up to four times the original resolution.
- It can automatically reduce noise reduction and sharpen the image.
- You can batch processing of multiple images.
- The platform offers a user-friendly interface.
- It supports many photo file formats, including JPG, PNG, and TIFF.
Here are the following steps to image upscaling using the Repairit Ai Photo Enhancer program:
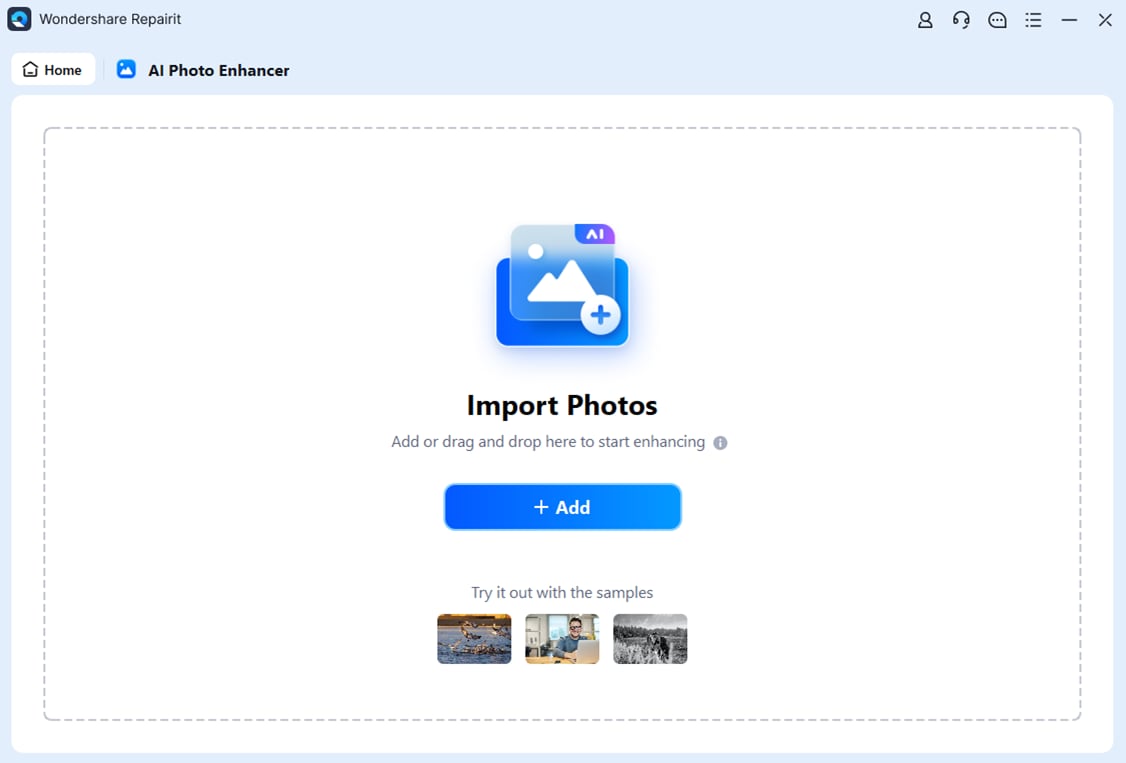
Step 1: Launch the app on your system and select the “More Types Repair” option on the left sidebar. Click on the “AI Photo Enhancer” option under the “AI Enhancer” section on the main screen. Click on the “Add” to add the image you want to upscale.
Step 2: Once the photo is loaded to the app, under the “AI Model” section, select your preferences. Next, select your preferred upscaling percentage, such as the “200%” option from the choices under the “Output Resolution” section, and click on the “Start Enhancing” button to begin the process.

Step 3: After the upscaling process is over, you can preview the upscaled result and click on the “Save All” button to choose the location and save it on your device.

Fix File Conversion Encoding on Microsoft Word Now
Security Verified. Over 7,302,189 people have downloaded it.
How to Pick the Right AI Upscaler
Selecting the right AI Image Upscaler can be a little frustrating, especially since there are many options available. It is important to understand your needs and choose the correct application that can easily help you enhance your images.
Here are some basic features to look for in AI Image Upscaler:
- Requirements: Even before selecting the right AI Image Upscaler, you should evaluate and identify your requirements for image upscaling. These could be for personal use, such as editing photos, or for professional use, such as optimizing product images for an online store.
- Features: Take a detailed look at the features of each tool. A good AI image upscale should do more than increase image resolution. The main features to check for include noise reduction, color correction, JPEG artifact removal, and support for various exporting formats.
- Quality and Accuracy: The primary goal of an AI image upscale is to enhance image quality. Scaling means an enlargement without losing the image details of the original picture. Before selecting a tool, carefully inspect the output samples and read evaluations about its accuracy.
- User Interface and Accessibility: You should consider an AI image upscale with an easy-to-use interface. Also, high-quality output should not come with a difficult-to-use interface. You should also check to see if they provide dedicated software for computers, mobile apps, or browser-based services.
- Price: Finally, and most importantly, determine the price range. While free tools can be appealing, they may lack advanced features. Consider your budget and determine whether paying for an AI image upscale online service corresponds with your quality requirements.
Conclusion
Adobe offers many image editing tools to enhance the overall quality and visual appeal of the photo, including upscale image Adobe. You can choose between Adobe Photoshop Lightroom or Adobe Creative Cloud Pro to enhance your image quality by upscaling, depending on your needs. However, both Adobe tools can be cumbersome to novice users and pricey. Therefore, you can choose Repairit - AI Photo Enhancer as an alternative for Adobe, as a free, reliable, and quick image upscale.
FAQ
-
1. How do I enhance an image in Adobe?
You can enhance your image in Adobe using different tools available in the Photoshop Lightroom app or Creative Cloud Pro platform. These tools include Super Resolution, Photo Enhancer, Image Sharpener, and more. -
2. How do I upscale an image without losing quality?
You can upscale your image without affecting its original quality using the right image upscale tool. For comprehensive and professional image editing tools, you can consider using Adobe Photoshop Lightroom on your desktop. Or, you can use Repairit - AI Photo Enhancer to upscale your image for free in simple steps. -
3. How do I maximize image quality?
To maximize your image quality, you can either use professional desktop image editing tools such as Photoshop Lightroom. If you want to instantly improve the image quality, then you can use an AI-powered image enhancer, such as Repairit, to instantly maximize image quality in a single click.
