

Many people take photos only to realize later that they are blurry. This can be annoying, mainly when the image captures an important moment or valuable information. Plus, you want to fix this fuzzy image because retaking the shot is not an option. That's why many wonder how to unblur a picture on iPhone without complex editing skills.
Fortunately, several simple ways exist to enhance image sharpness and recover lost details. Some options involve quick adjustments, while others use advanced enhancement techniques. Thus, this article explores the top 5 ways to improve photo clarity effectively. Plus, these methods can help restore image quality without professional software.
In this article
Part 1. Why Are My Pictures Blurry on iPhone?
| Reasons | Description |
|---|---|
| Dusty Camera Lens | A dirty optic affects the camera’s ability to capture sharp images. Along with that, some dirt or moisture on the lens can create a fuzzy effect, which reduces clarity. |
| Inaccurate Focus | The autofocus may not always lock onto the subject correctly, which leads to a blur result. Your camera’s focus is affected when the subject moves or lighting changes. |
| Shakiness of Camera | Unsteady hands cause movement while capturing a photo and lead to blurriness. Thus, holding the device with both hands or using a tripod is suggested to minimize unwanted motion. |
| Inappropriate Camera Settings | Default settings may not always be ideal for capturing clear images. Therefore, you should experiment with different settings to improve photo quality based on the environment. |
| Slow Shutter Speed | This captures movement over time and makes images look blurry. Moreover, fast-moving subjects appear stretched due to extended exposure. |
Part 2. How to Unblur a Picture on iPhone | 5 Best Solutions
Solution 1. Repairit Online - AI Photo Enhancer
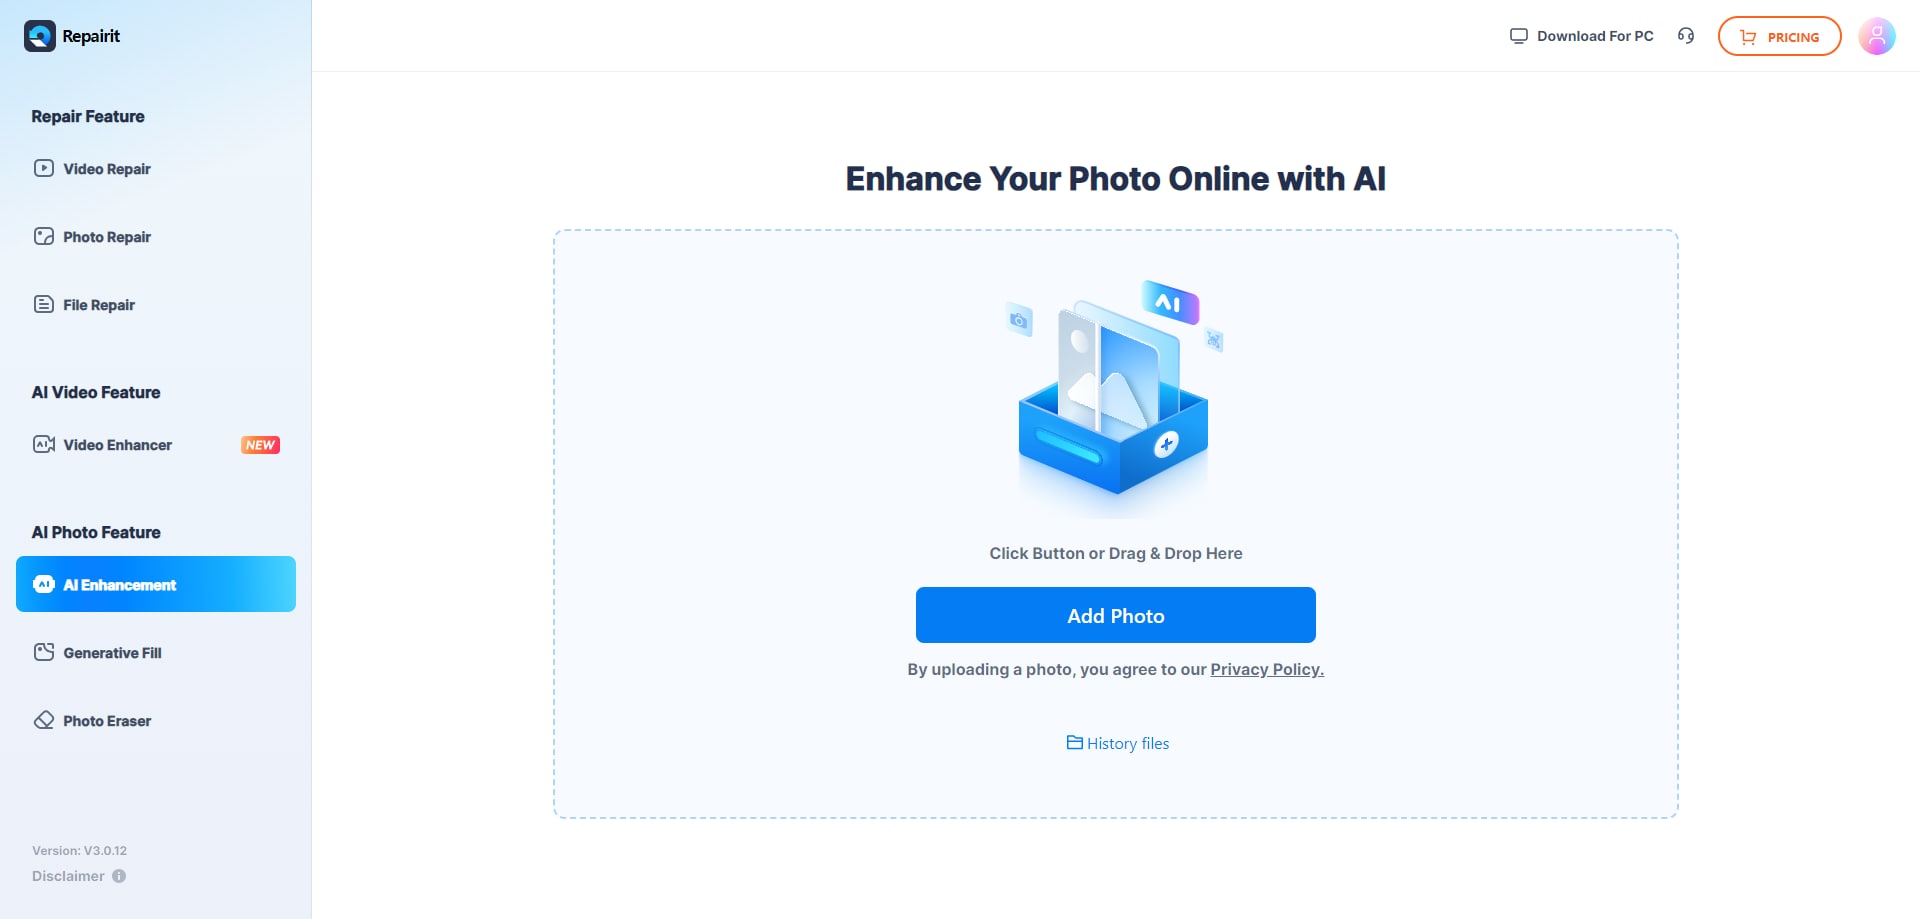
Among the available options, Repairit Online stands out as the best tool to enhance your blurry photos. Its AI-powered technology enhances images effortlessly by correcting blur caused by motion, static interference, or lens issues. Furthermore, this tool sharpens blurry edges and even reveals hidden details of your blurred photo. The process is quick and ensures quality images without requiring advanced editing skills.
In simple words, Repairit AI Image Sharpener is an expert in fixing different types of blurs. It removes motion blur from moving subjects, corrects lens distortions, and enhances static images. Additionally, users can use this tool to optimize photos for e-commerce and marketing to ensure visually appealing results. Thus, this process makes it a top choice for those wondering how to unblur an image on an iPhone with minimal effort.
Key Features

Wondershare Repairit - AI Photo Enhancer
1,010,994 people have downloaded it.
-
AI Face Focus: It enhances focus on facial features while keeping the background natural and balanced.
-
Batch Processing: This feature saves time by processing several photos with AI-powered sharpening and corrections.
-
Online Accessibility: Users can operate this tool entirely online, which eliminates the need for software downloads.
Comprehensive Step-by-Step Guide to Unblur Photos Using Repairit Online
Step 1. Access the online tool on your device
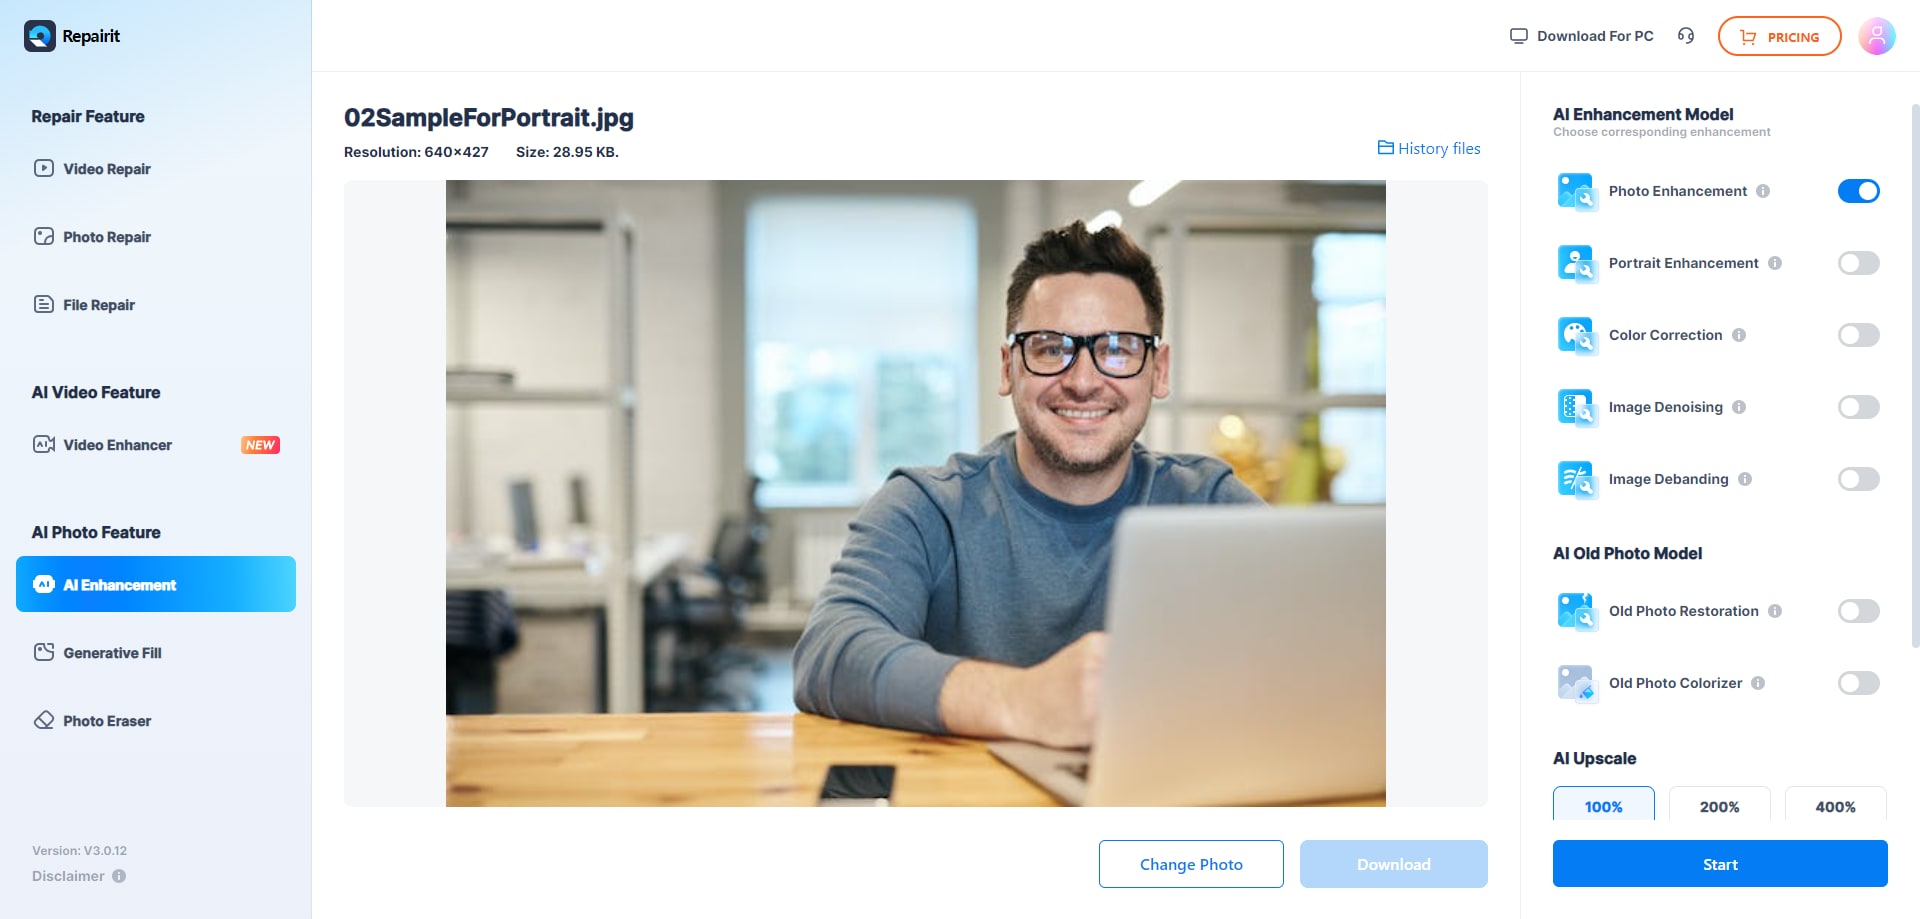
Step 2. Enhance your blur photo in seconds
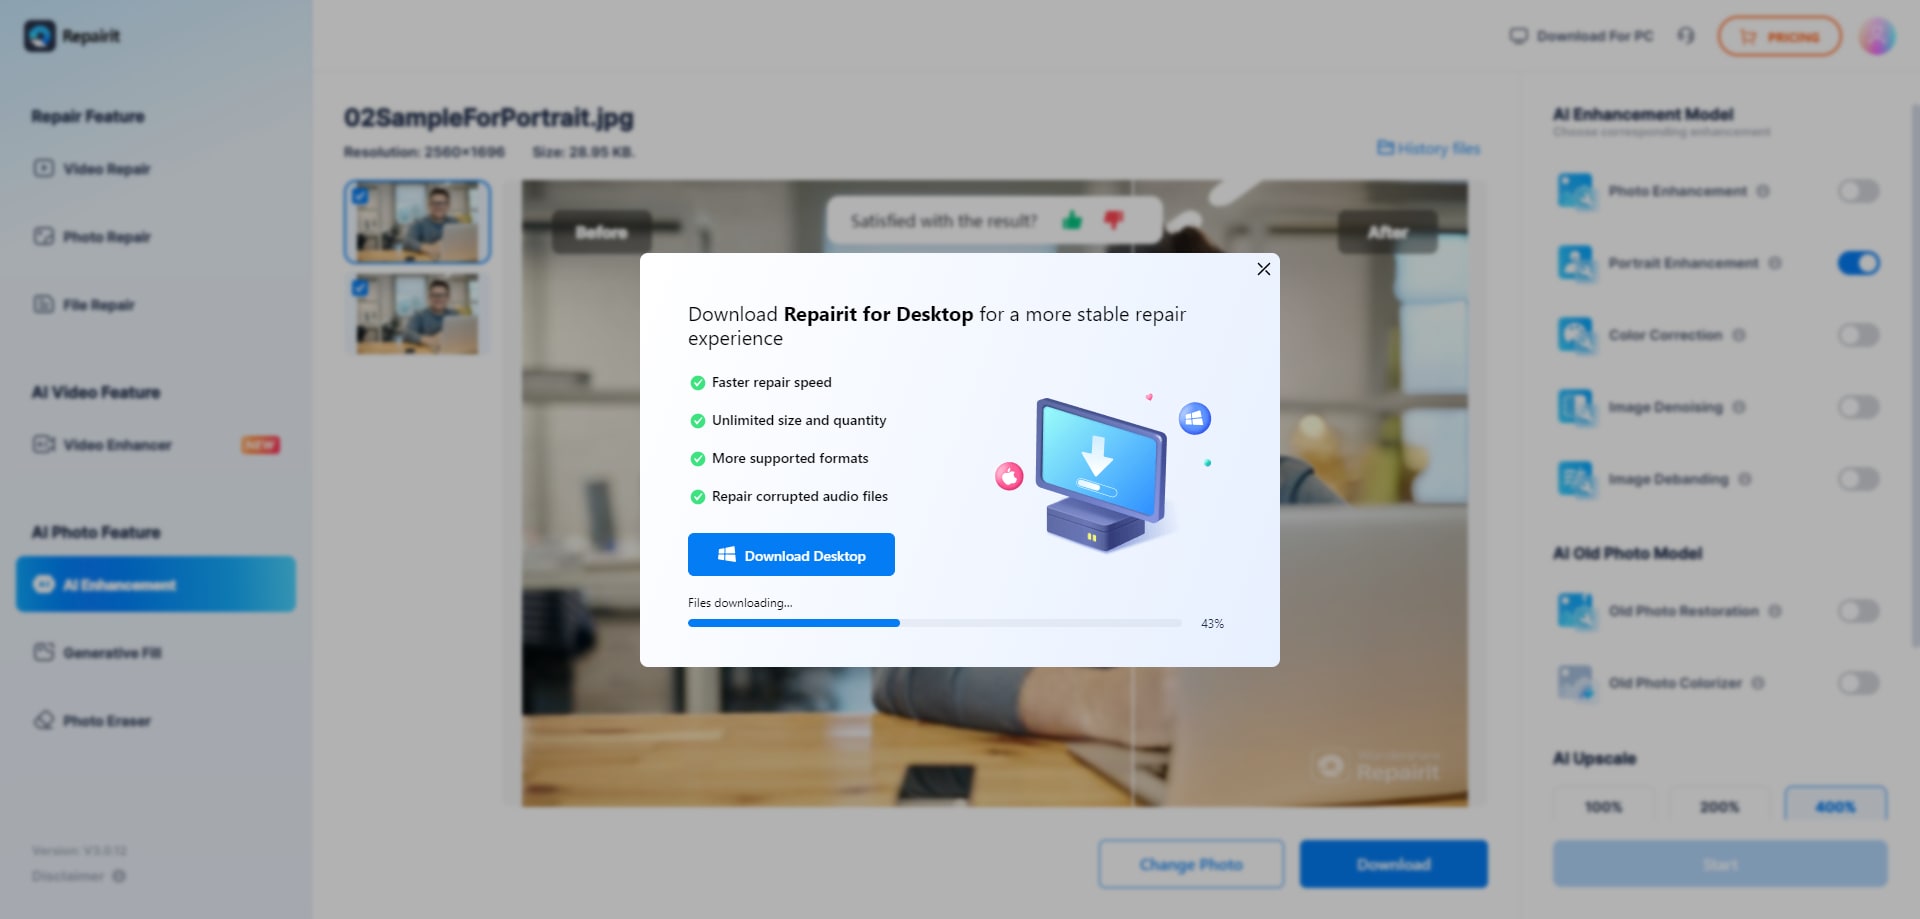
Step 3. Download your AI-enhanced photo
Solution 2. Unblur - AI Photo Enhancer App
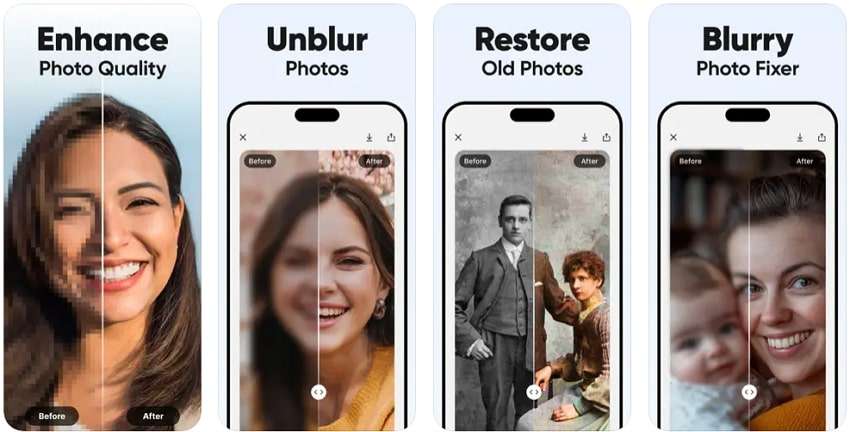
Another effective way to fix blurry photos is to use the Unblur photo enhancer app on your iOS smartphone. This app uses AI to transform old or distorted images into HD visuals. Plus, you can use this app to upscale image resolution, which makes it ideal for learning how to unblur a picture on an iPhone. It even sharpens portraits and enhances facial details to make every photo look professionally edited.
Key Features
- Users can enhance images with a single tap, which eliminates the need for manual adjustments.
- Apart from enhancing photos, you can even generate creative images from simple text descriptions.
- It effectively reduces noise in images to ensure a clearer photo without unwanted grainy textures.
Solution 3. YouCam Enhance - Photo Enhancer
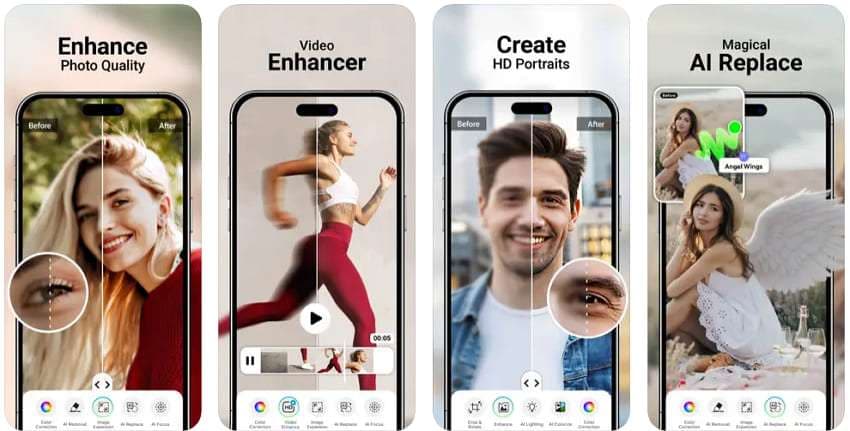
The YouCam Enhance app can improve image quality by unblurring and upscaling photos in just one tap. It provides advanced photo restoration to ensure even the oldest and most faded images regain clarity and detail. Plus, the app’s AI photo unblur feature is perfect for fixing fuzzy shots, making it ideal for how to unblur an image on an iPhone.
Key Features
- It offers AI denoising to eliminate grainy textures and AI upscaling to enlarge images without quality loss.
- The AI avatar function also adds a creative touch to transform images into unique artistic versions.
- With its intuitive one-tap process, this app is an efficient solution for all photo enhancement needs.
Solution 4. PhotoDirector - AI Photo Editor
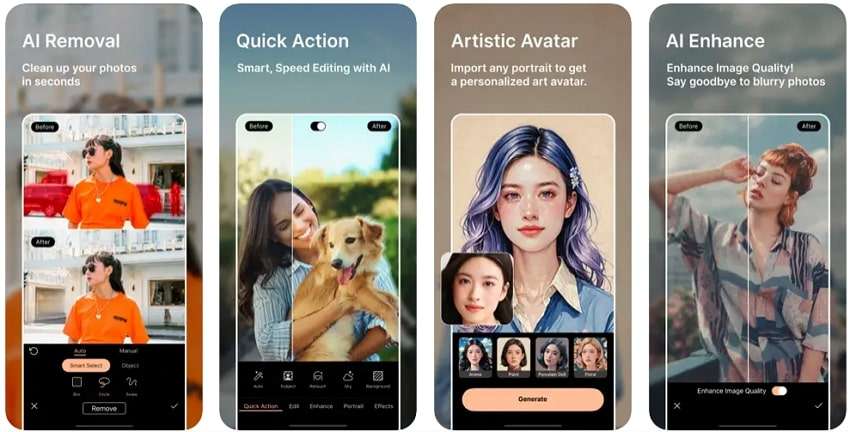
PhotoDirector is an advanced photo editing app that allows retouching to improve image quality. It lets users transform fuzzy photos into sharp and HD images with just a few taps. The app’s AI Removal feature erases unwanted objects to ensure distraction-free pictures. Users exploring how to clear blurry photos on iPhone will find its enhancement capabilities incredibly useful.
Key Features
- It enhances photos by adjusting brightness and sharpness, and images look more refined.
- You can increase your image resolution without pixelation and enlarge photos while maintaining detail.
- This image enhancer automatically corrects and enhances colors to make photos more vivid.
Solution 5. Fotor AI Photo Editor
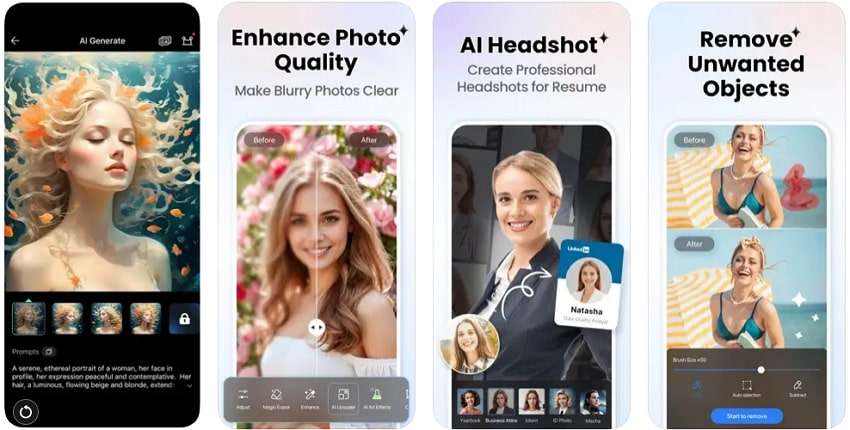
While exploring a solution to enhance your unclear photos, Fotor AI Photo Editor offers an intuitive and feature-rich solution. Users can instantly fix blurry or grainy images for a sharper appearance. Plus, its Magic Eraser seamlessly removes distractions like watermarks or buildings while preserving the background. Thus, when you are wondering how to unblur an image on iPhone, this app provides an easy solution.
Key Features
- The app even lets you restore and transform black-and-white images by adding realistic colors.
- You can enhance image sharpness by refining edges, defining textures, and improving clarity.
- It also automatically adjusts lighting and colors to create balanced images with vibrant tones.
Unblur Your Images on iPhone Now
 Security Verified. Over 7,302,189 people have downloaded it.
Conclusion
To sum up, restoring the quality of blurry images is easier with the right tools and techniques. As we explored, various factors can affect photo sharpness, such as focus issues or lens problems. Alongside that, many apps or tools offer quick fixes to refine images and make them look more professional. However, many users still want the perfect tool that enhances photos without requiring any installation.
Hence, those wondering how to unblur pictures on iPhone can explore Repairit Online to achieve the best results. Its advanced sharpening technology ensures quality enhancement with minimal effort. So, you should try Repairit Online to recover details and improve image clarity effectively.
FAQ
-
Q1. Does the Apple Photos app have an unblur feature?
It provides basic editing tools but lacks an automatic unblur function. Users can slightly improve sharpness using the "Sharpen" and "Definition" sliders in the editing menu. While helpful for minor enhancements, it does not provide advanced restoration. -
Q2. Which tool works best for enhancing blurry photos?
Several applications specialize in fixing fuzzy images by applying AI-based sharpening techniques. Among the available options, the Repairit AI Photo Enhancer tool stands out as the reliable choice. It lets you enhance your photos seamlessly without compromising their original quality. -
Q3. How do I prevent blurry photos in the future?
You have to ensure clean camera lenses and proper focus settings to capture sharp images. Plus, users can also use tripods to prevent motion blur while adjusting the shutter speed minimizes distortion. If blurriness occurs, advanced photo enhancers like Repairit can quickly restore sharpness.
