

If you're new to iPhone or just started using Live Photos, you've probably wondered: "Does Live Photo reduce image quality or make my photos look blurrier?" You're definitely not alone. Live Photos are fun and great for capturing little moments with motion, but many users notice their Live Photos sometimes turn out soft or not as clear as regular shots.
The good news? It's usually easy to fix. Today, we'll discuss some of the best tips and tricks you can try to make your live photos clearer. All these solutions are simple, so you can implement them without issues if you're a new iPhone user.
Make Your Live Photos Clearer Now
 Security Verified. Over 7,302,189 people have downloaded it.
In this article

Part 1: How to make live photos clearer on iPhone
We've tested and reviewed different methods you can try to make iPhone live photos clearer. Below are some of the best solutions so far.
1. Clean Your Camera
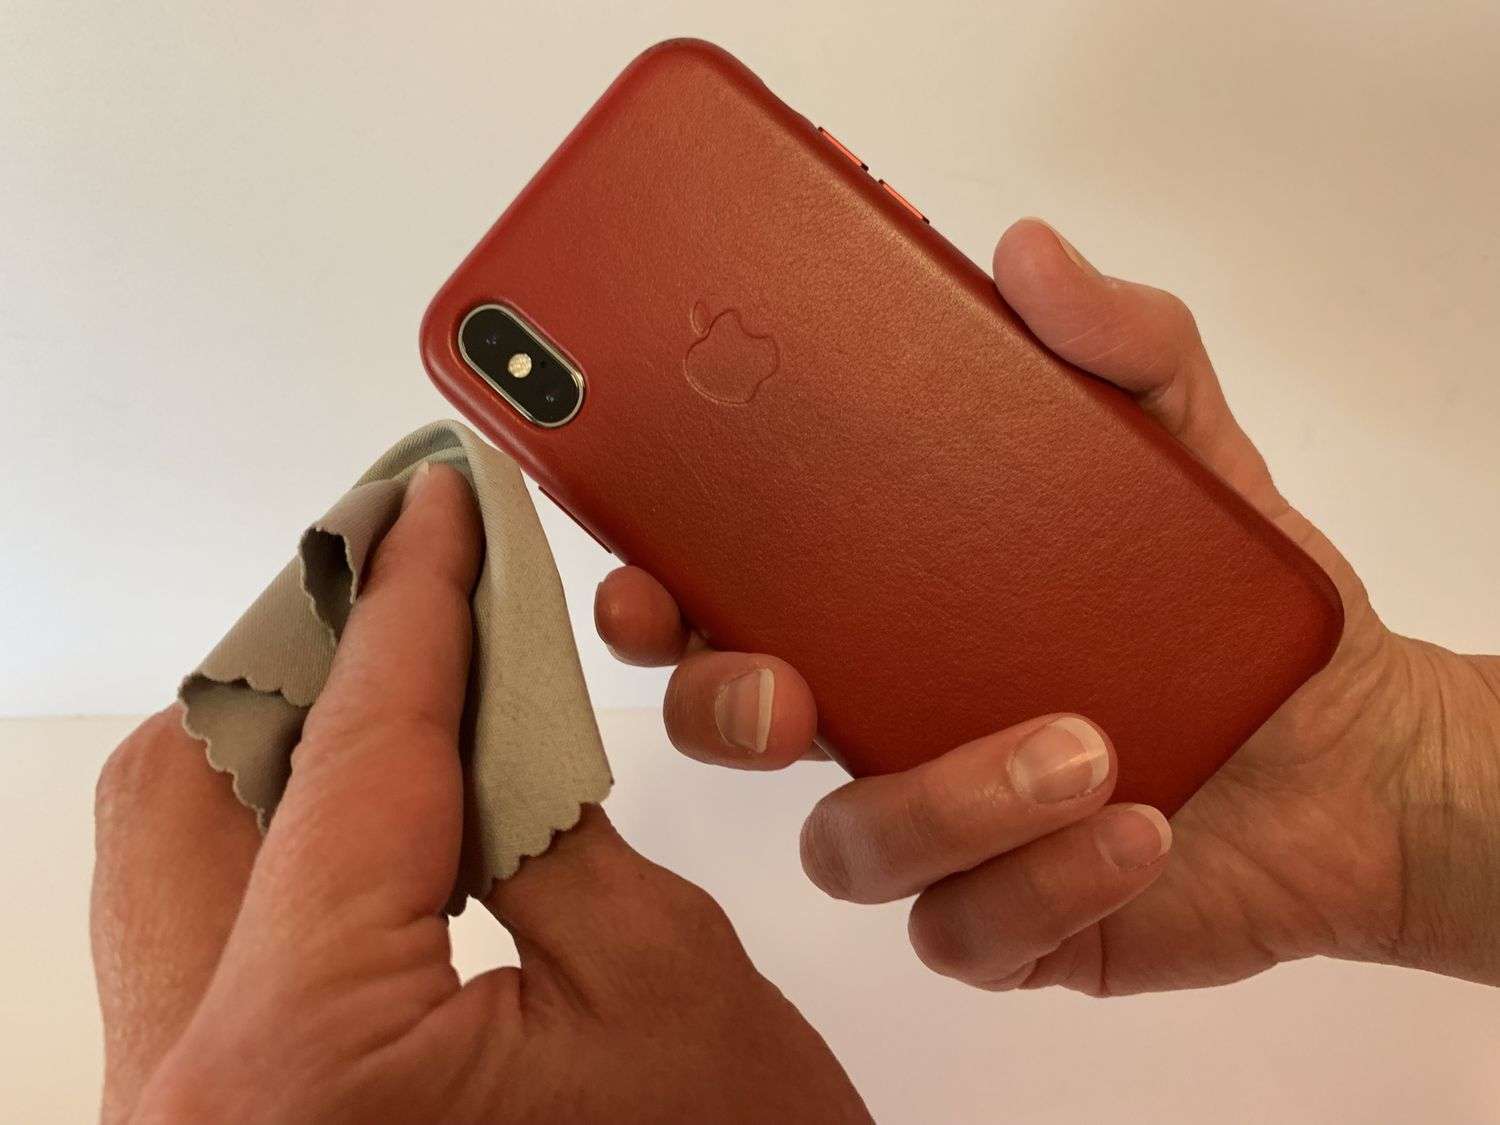
All smartphone cameras will get dirty over time. Dust and other particles may stick to your lenses, causing your images to become blurry. That will lead to unwanted live photo effects, so always clean your camera before starting the live photoshoot.
It would be best to avoid harmful chemicals – they may cause more harm than good. Instead, opt for a microfiber cloth, wipe the lenses, and watch the quality of your images transform.
You can also purchase special sprays designed to clean and protect your iPhone cameras.
2. Adjust Lighting
Lighting can either make or break your pictures. No matter how beautiful the scene is, the correct lighting can make it ten times better. The next time you plan to take a live photo on your iPhone, you should have enough natural light to make the image more beautiful.
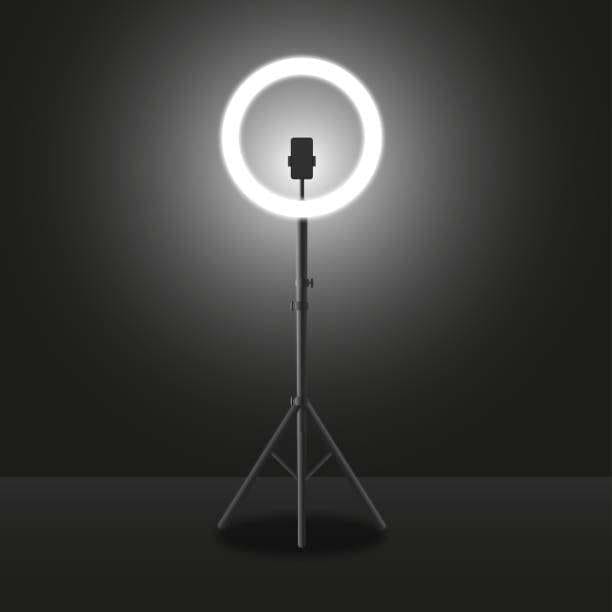
You can always opt for artificial sources, such as ring lights if you lack sufficient natural lighting. You can also manipulate these lights to create the perfect scene and start your picture-perfect journey.
3. Stabilize Your Phone
Stabilization issues are among the most common reasons your live photos turn out blurry. Even though most iPhones have optical image stabilization, it doesn't mean that your live photos won't turn out blurry and shaky.
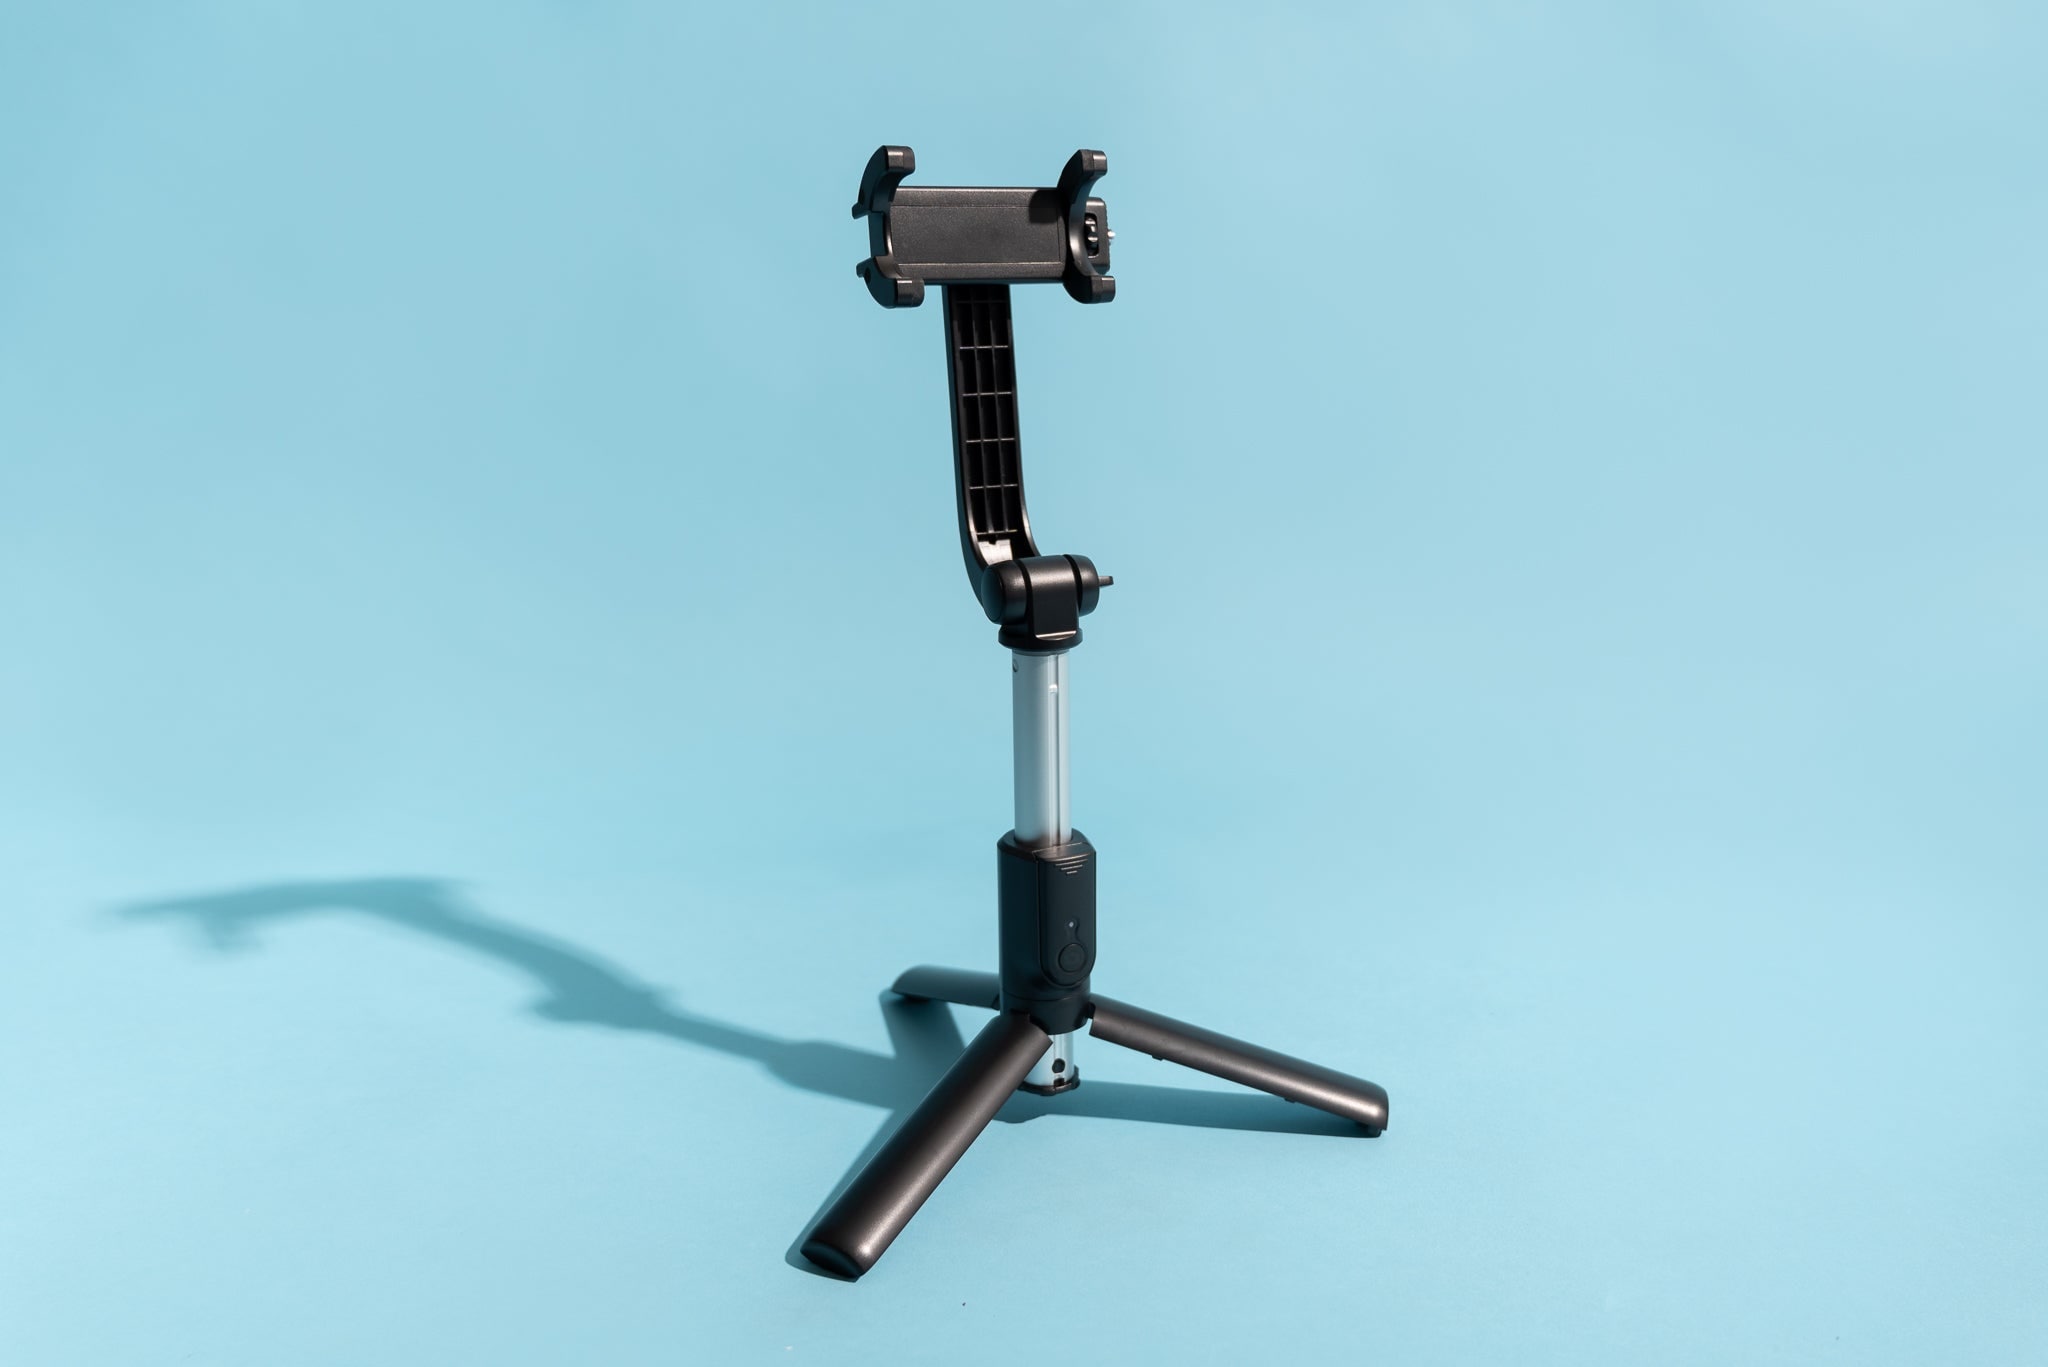
We advise you to find a steady platform where you can leave your phone while you take the live image. It can be a prop of some sort, such as a full bottle of water, or you can invest in tripods if you plan to continue a professional photography journey.
If, on the other hand, you have the abovementioned ring light, there's a high chance that the prop has built-in stabilizers. You'll get a 2-in-1 tool that will heighten your live photo experience.
4. Focus Correctly
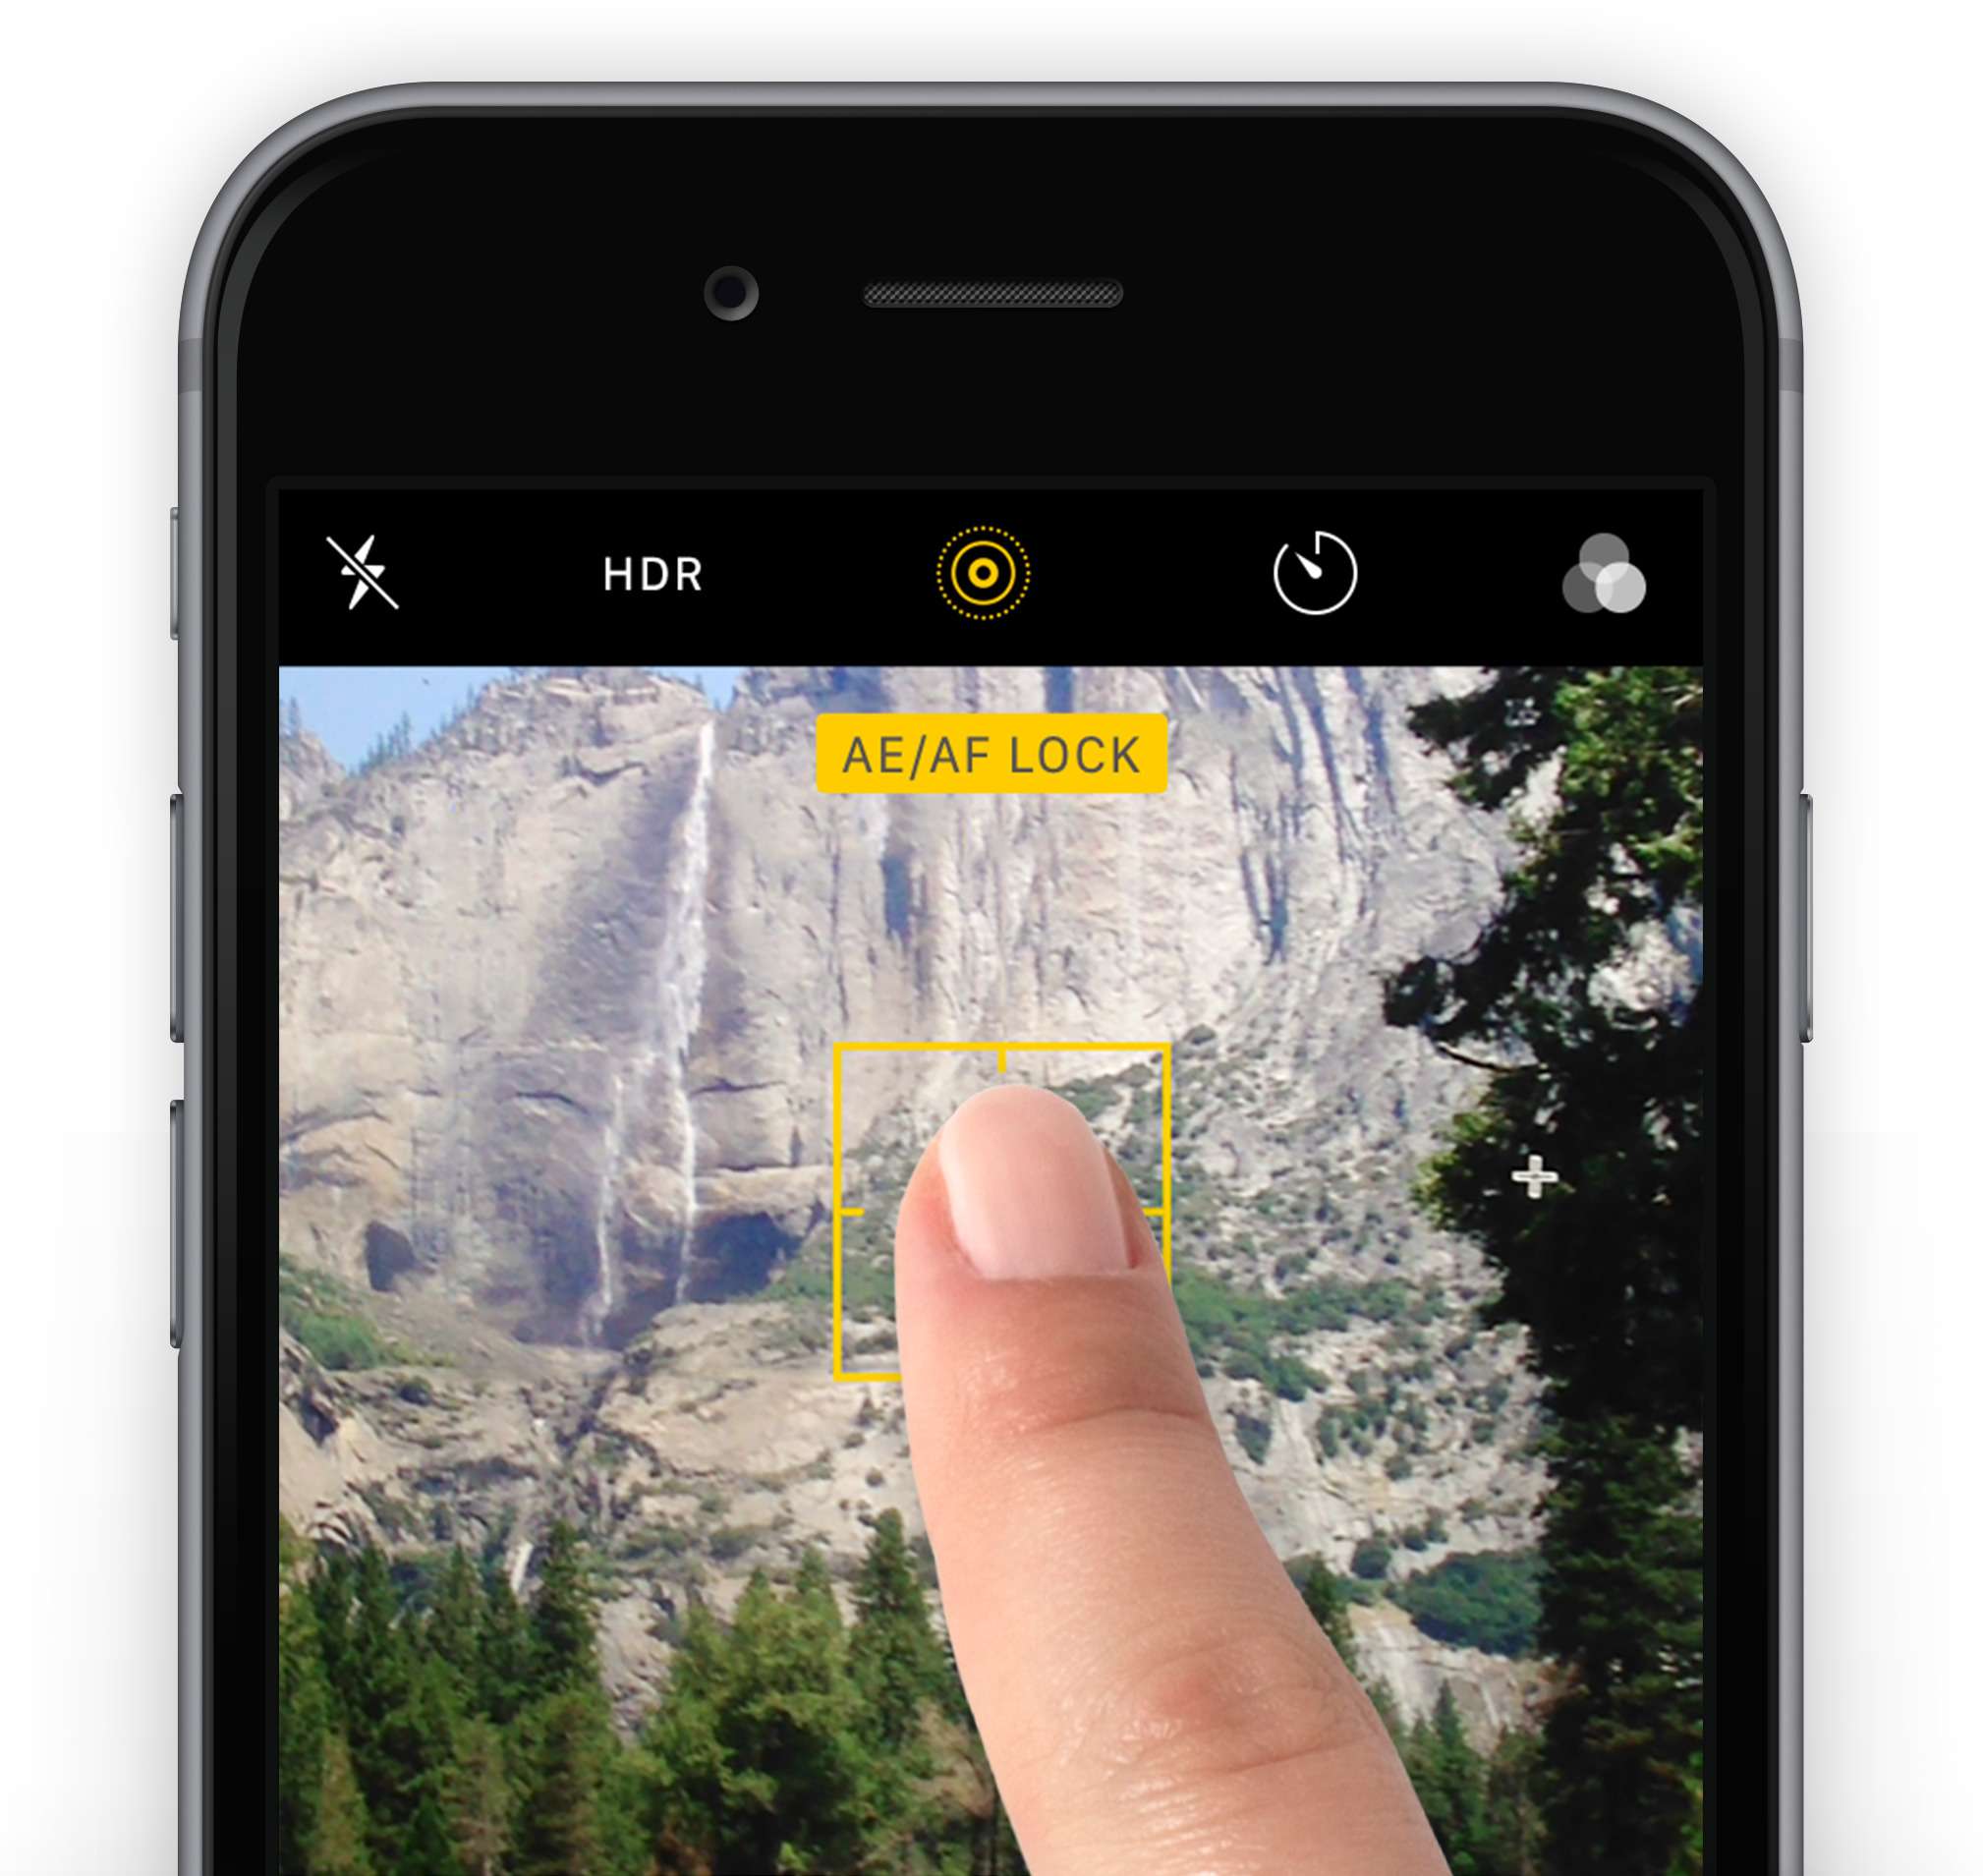
Before pressing the capture button and recording your live photos, ensure the primary subject/object is in focus. It will prevent blurry and incomprehensive images.
To do so, click on the screen where you want the focus to be. Once it clears up and you get the desired results, you can hit the capture button and watch the magic happen before your eyes.
You can also lock the focus, preventing your phone from finding another focus point and running the image.
5. Don't Use Zoom
Although iPhone devices have some of the most amazing zoom properties on the market, they aren't the best for live photos. Zooming in while taking a live photo may significantly lower the quality of the result, leading to blurry images.
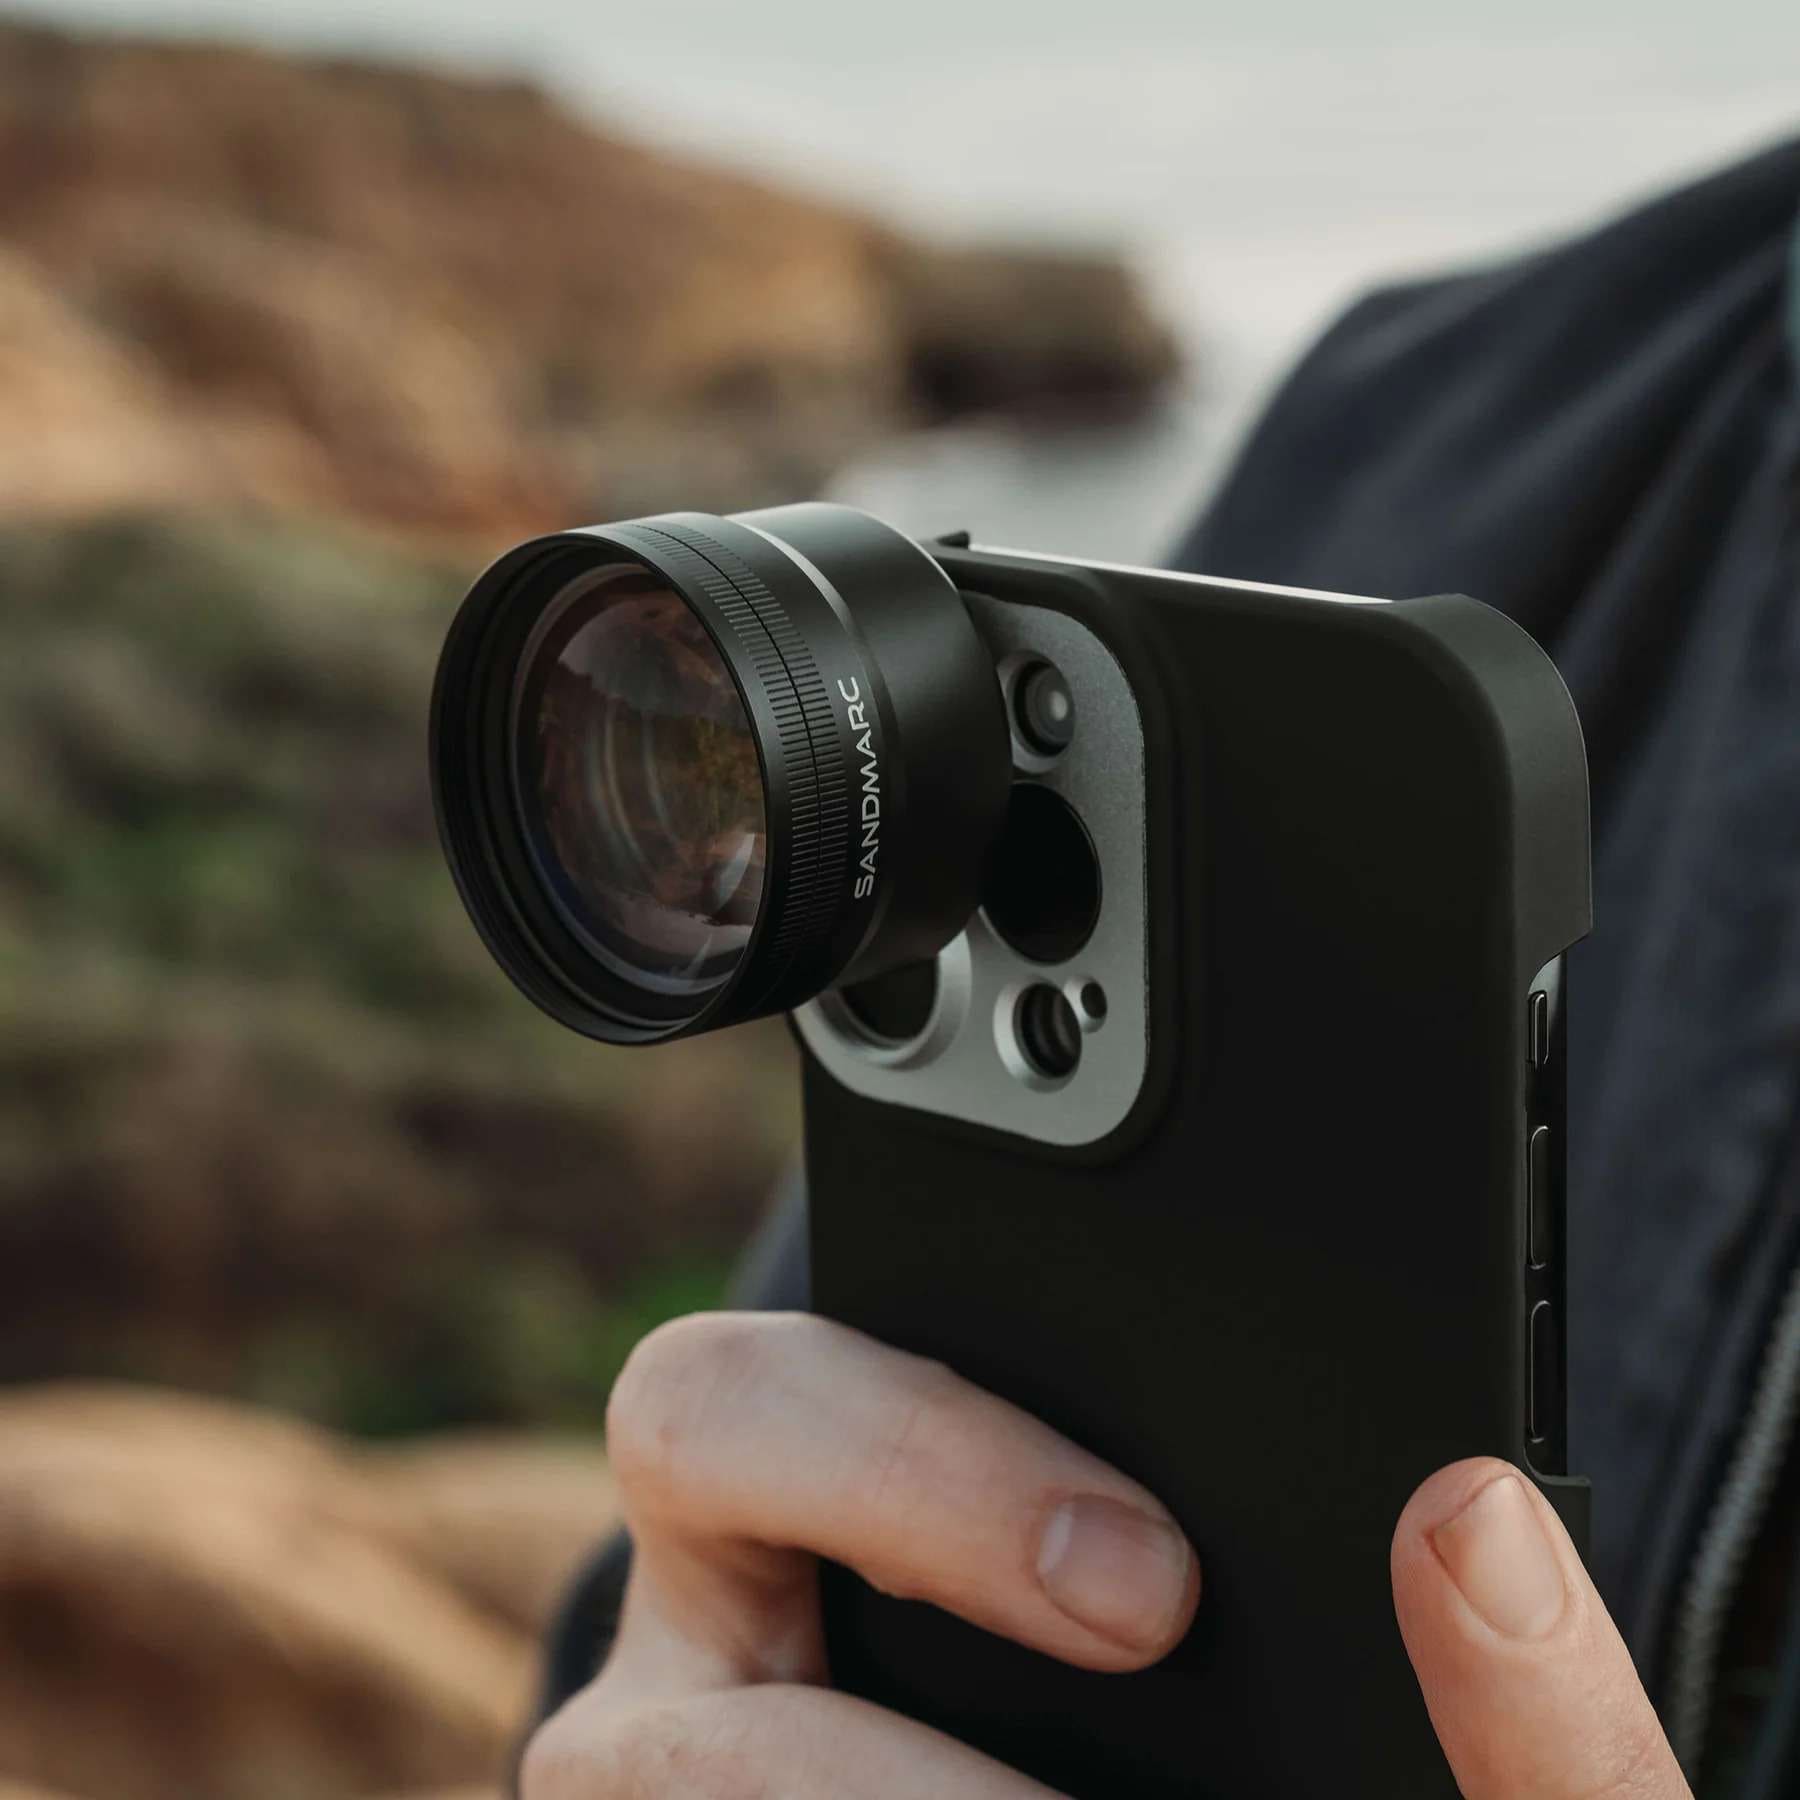
If you want to capture something far away, it's better to crop an image afterward than to use the built-in zoom system. You can also purchase specialized lenses you can put on top of your cameras for a zoomed-in effect.
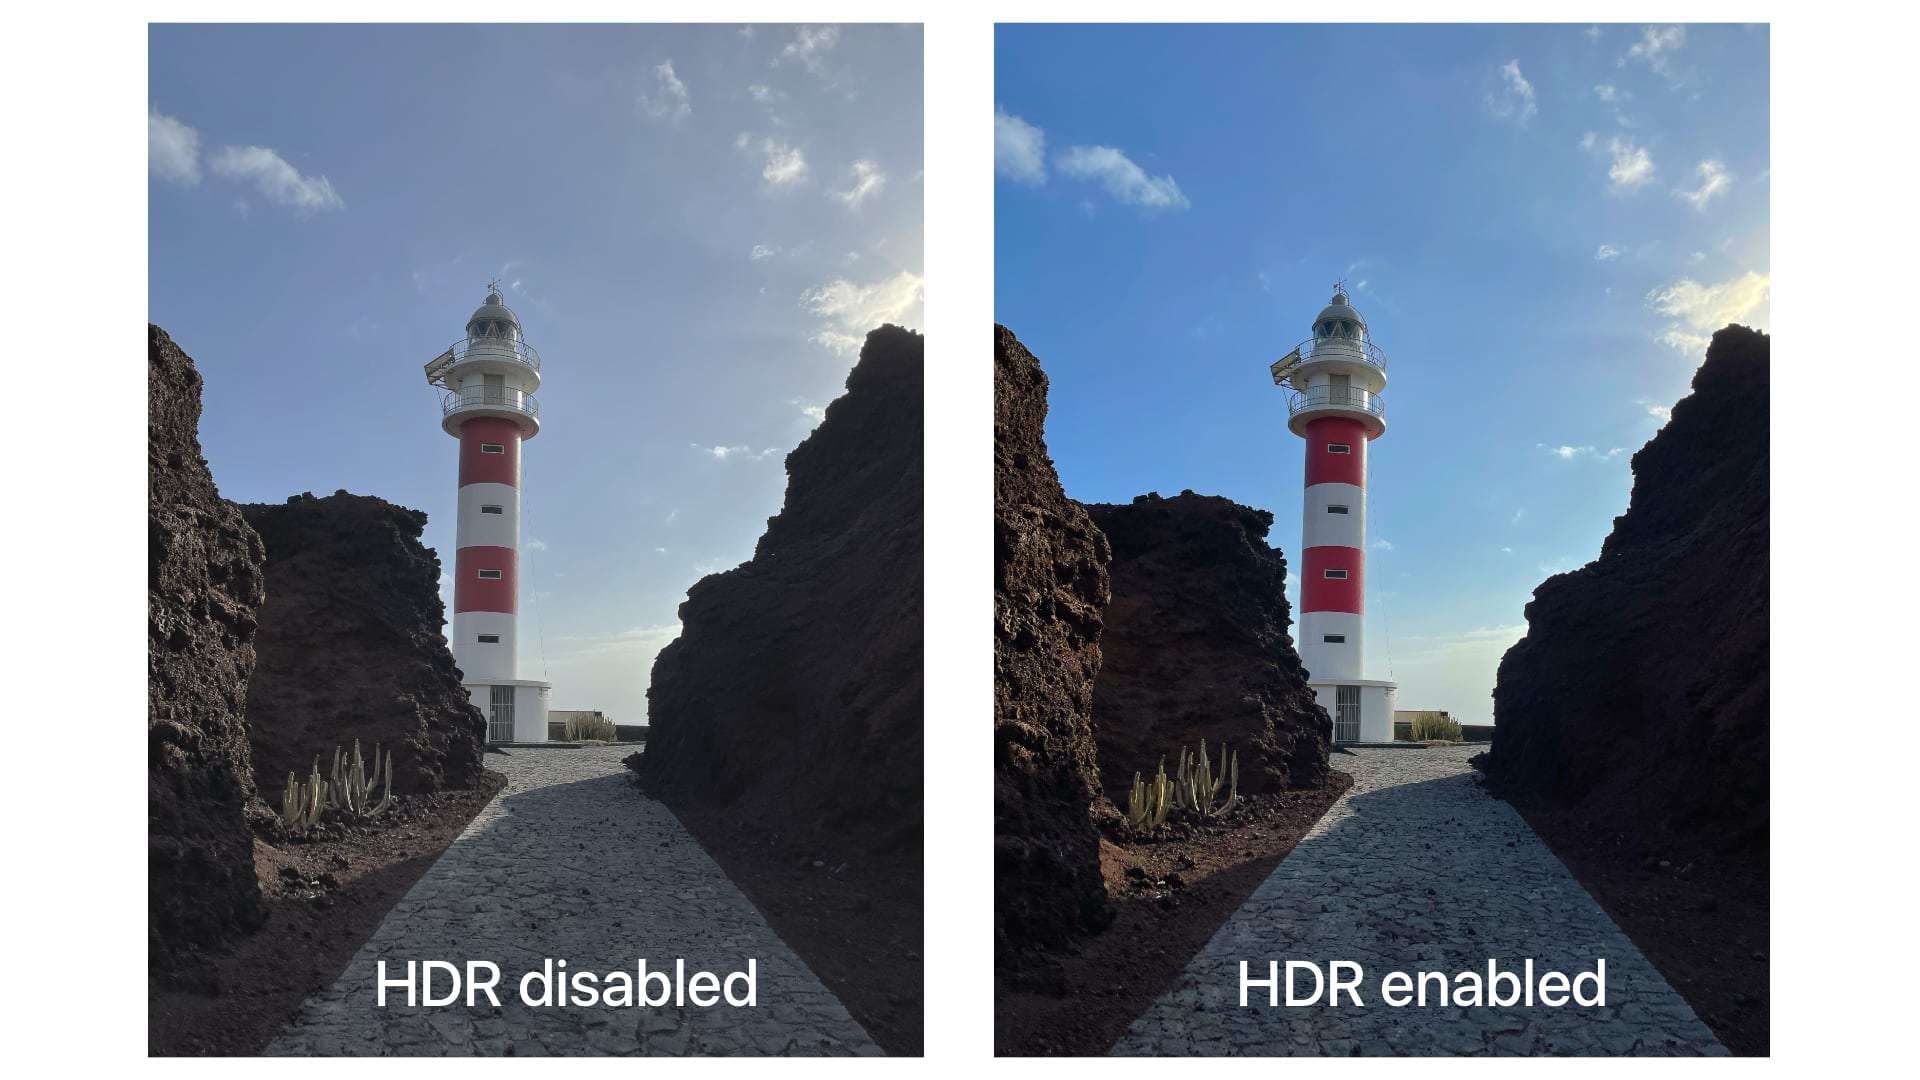
6. Use Hdr
High Dynamic Range, or HDR, is a system used to get the most out of your images. These systems combine different exposures to accentuate the crucial elements of your photos. If you want the best results without editing your pictures, you should run on HDR in the settings and watch your journey transform.
HDR will make your images sharper and more precise, thus effectively solving the blurry live photo issue. You can also manipulate the settings to get the desired results.
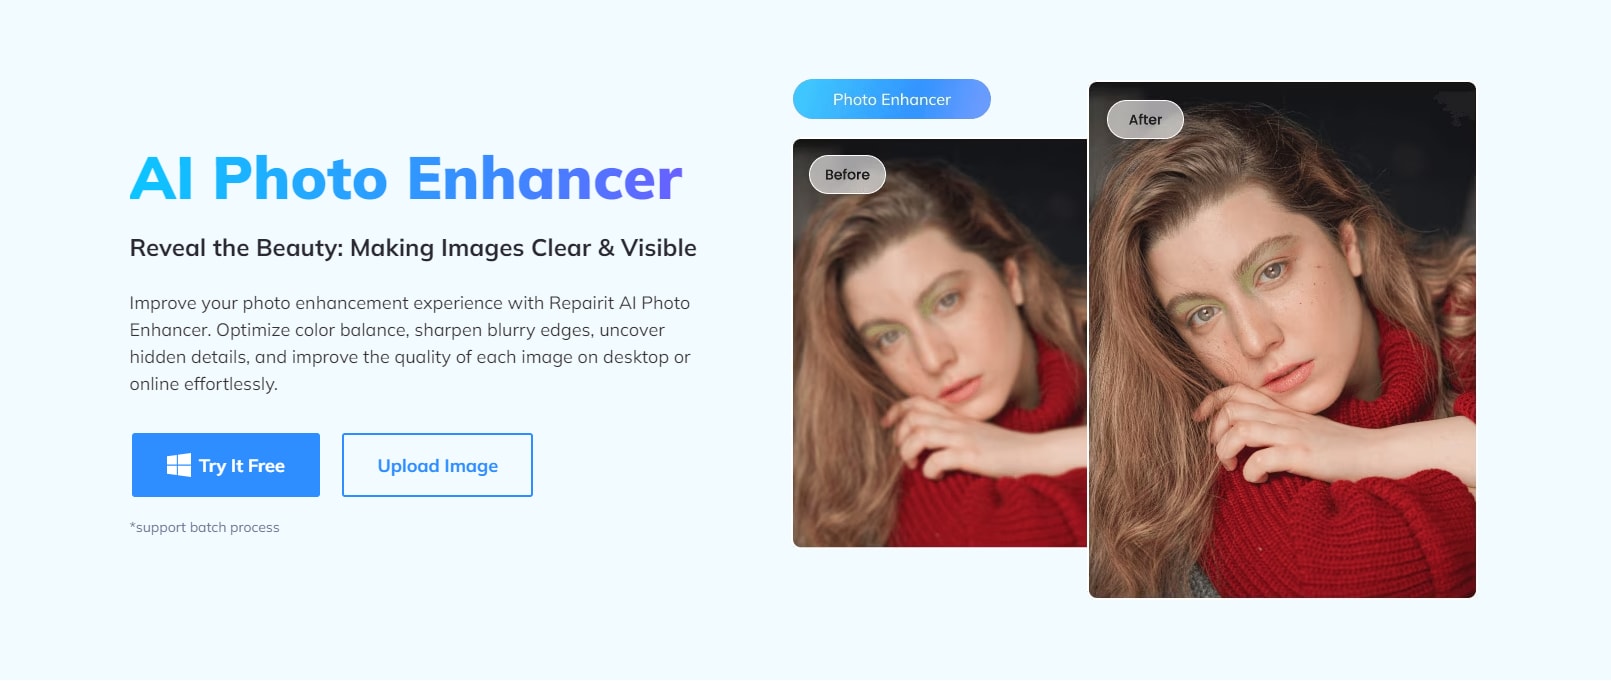
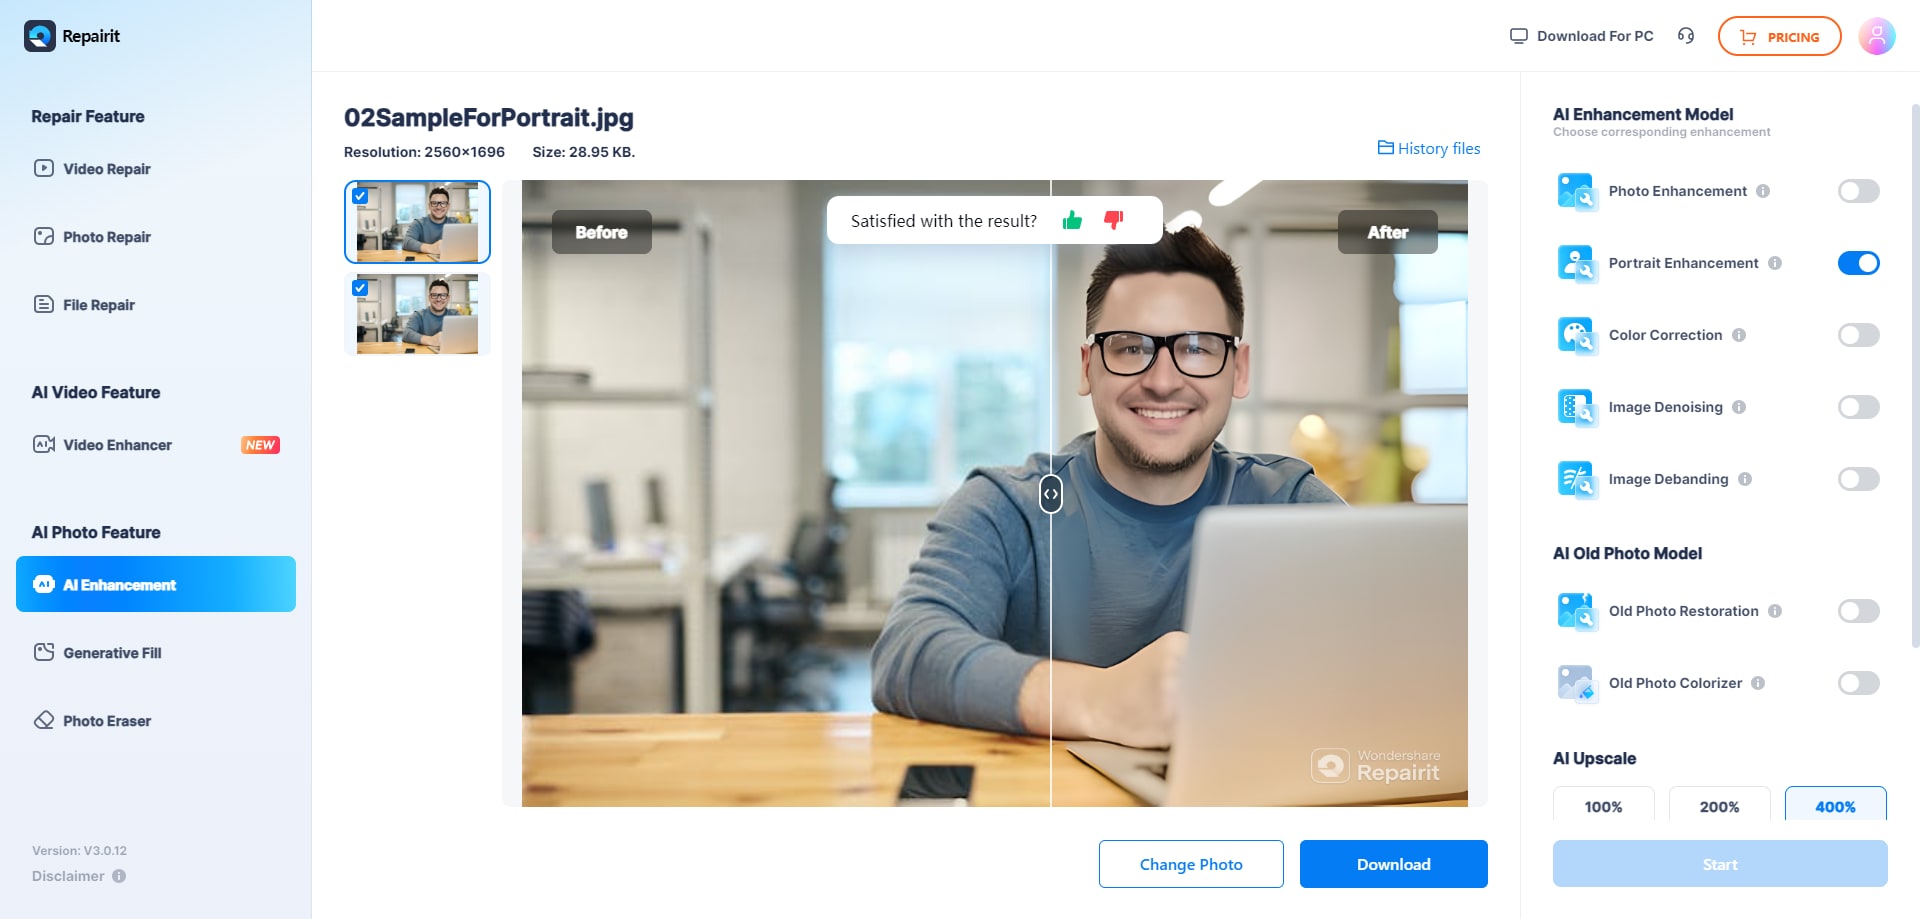
7. Use AI photo app to enhance clarity
If your Live Photo still looks blurry after basic editing, an AI enhancement tool can help clean it up instantly. Repairit AI Photo Enhancer can automatically fix common Live Photo quality issues such as:
- Motion blur
- Low resolution or softness
- Noise / grain
- Color loss
- Pixelation
- Soft-focus frames
Why use AI photo enhancer?
- One-click clarity boost
- Repairs both the main photo and all Live Photo frames
- Enhances colors, edges, and brightness
- No manual editing or expertise needed. Best for everyone.
With Repairit, you can make your Live Photos crisp and clear in seconds — perfect for beginners and anyone who wants fast, professional-looking results. All you have to do is follow the steps presented below:
Step 1: Click the Add button to add the live image, or drag and drop the image into the website.
Step 2: After uploading the image, click the Repair button.
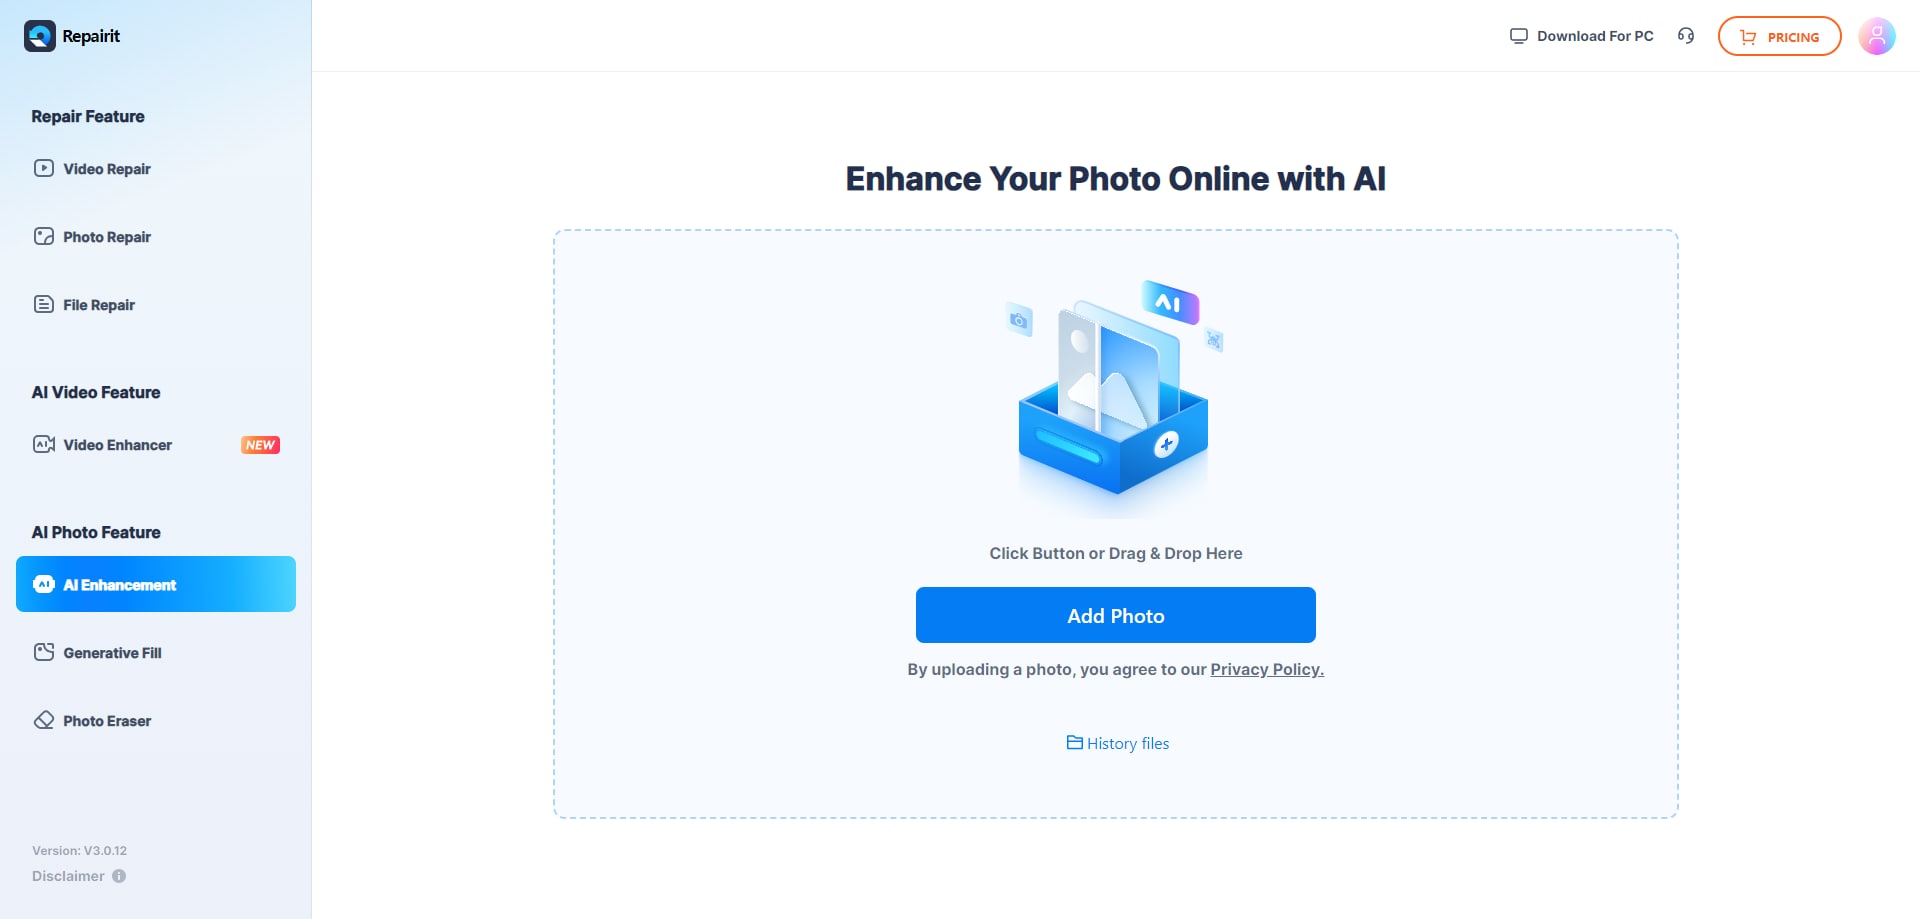
Step 3: The program will start enhancing your images, and you can track the progress.
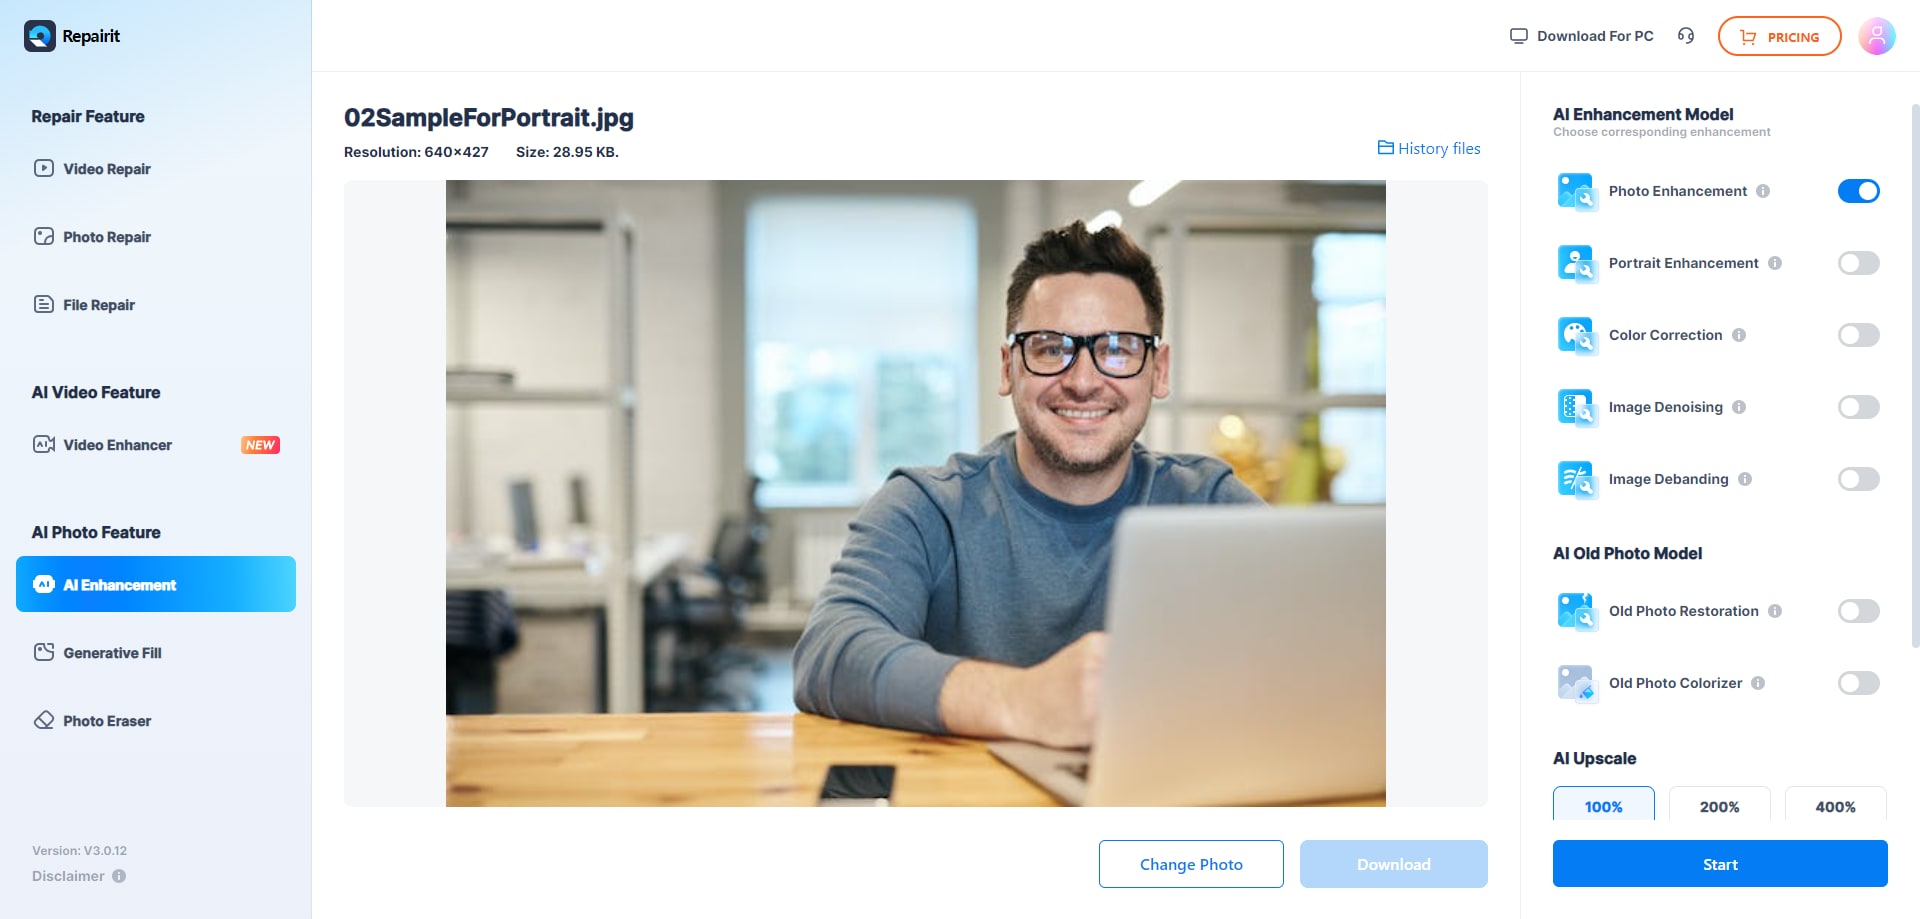
Step 4: Preview the repaired files and click the Download icon.
As you can see, the process is very simple, and you'll get new live images if you opt for this tool.
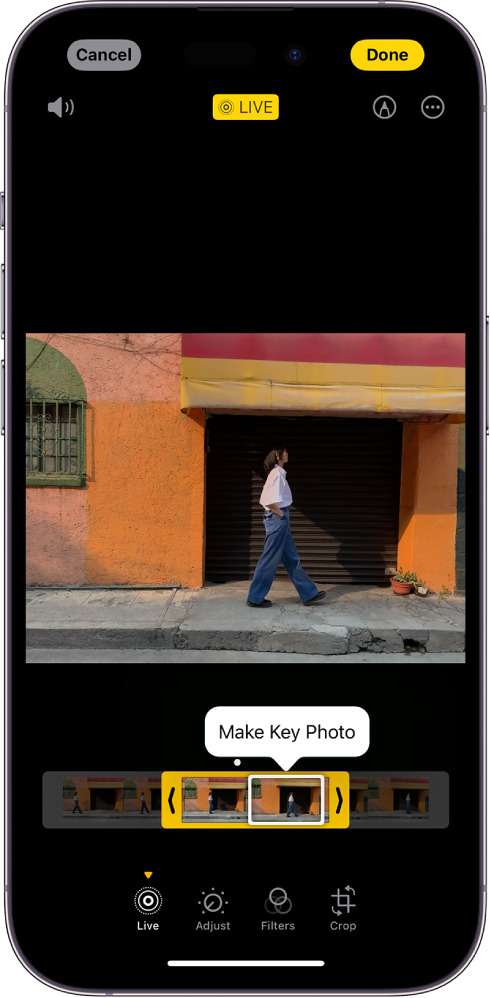
8. Edit Using Live Photo
One of the best ways to completely customize your live photos and make them clear is by using the built-in editing tools. If you opt for this solution, you can create images according to your preferences.
All you have to do is open your live photo and click the Edit option. There, you'll find numerous editing tools, such as shadows, hue, sharpness, and others, to help you on your journey. However, this may not be the best option for beginners.
You can experiment with your images, but reaching the desired results may take some time.
Part 2: How to repair your corrupted photos easily?
Sometimes, even after taking care of lighting, focus, and stabilization, your Live Photos may still turn out blurry or lose quality over time. In some cases, the Live Photo may become partially corrupted — for example, it won't play or shows glitches. Don't worry, this is where an AI-powered photo repair tool can save the day.
Wondershare Repairit is a desktop solution that can quickly fix corrupted or blurry photos, restoring them to their original quality. By using Repairit, you can enjoy:
- ✔ Quick, automatic photo repair in minutes
- ✔ Restored clarity and color for your Live Photos
- ✔ No need for technical skills or complex editing
- ✔ Batch repair for multiple photos at once
Follow the steps below to learn how to repair your corrupted photos in just a few minutes:
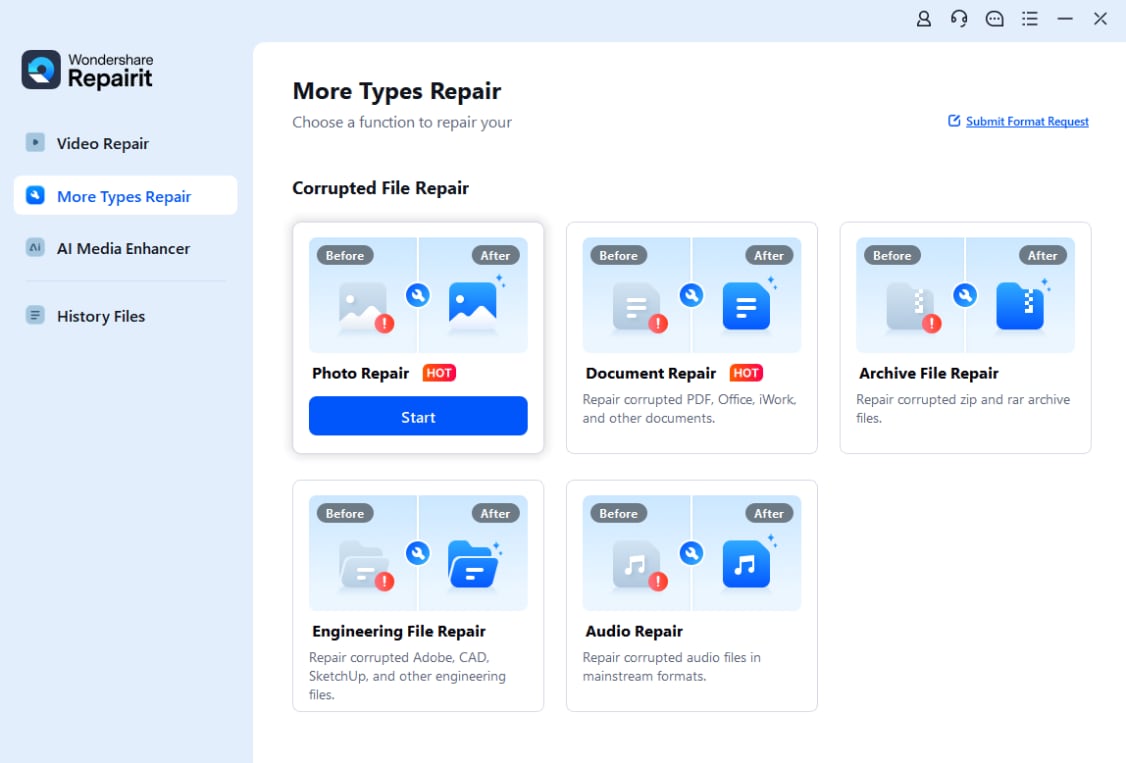
Step 1: Open the app and choose the Photo Repair option.
Step 2: Click on the Add button to start the process. You can also drag and drop the files into the program.

Step 3: Click the Repair button.

Step 4: Once the program finishes repairing, you'll get a notification.

Step 5: Preview the repaired files and click the Save button to download the images.

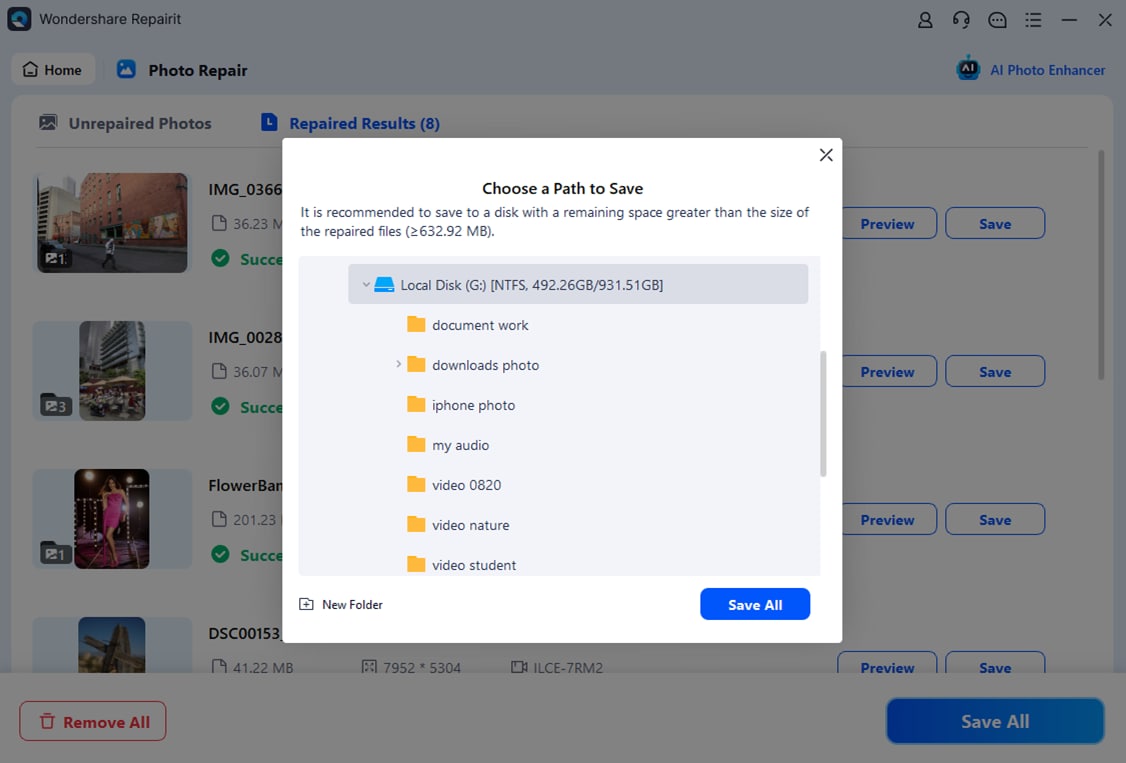
Step 6: Choose where to save the files.
This video can help you fix your corrupted photos with a step-by-step guide.
With just a few clicks, you can restore your Live Photos and preserve your memories without any complicated manual editing. Repairit is a lifesaver for anyone who wants perfect, clear Live Photos every time.
Conclusion
In this guide, we've shared practical solutions to fix blurry Live Photos and ensure your memories stay crisp. From adjusting lighting and focus to using built-in editing tools, and even AI-powered apps to unblur a Live Photo on iPhone, you now have the tips and tools to make your Live Photos not blurry and restore their original quality.
Try these methods today and never miss a moment due to blurry Live Photos again!
FAQ
-
What Is iPhone Live Photo?
The live photo feature on iPhones lets you record a 3-second video before and after taking a picture. When you press and hold the image, you can view the video and relive the moment before and after taking the image. -
What Can I Do With iPhone Live Photo?
One of the most common things people do after taking live photos is share them with friends and family. You can also post live photos to your social media platforms and share your memories with the world. Another common use case is setting the live photo as wallpaper so you can remember your favorite memories every time you unlock your phone. -
Why Are My iPhone Live Photos Blurry?
Many reasons may lead to blurry live photos. For instance, your camera lenses may be dirty, you may use the zoom feature, or the lighting in the area may not be good enough for a perfect motion image. You can resolve these issues by trying out some of the tips mentioned earlier. -
How to make live photos not blurry?
You can unblur Live Photos using built-in iPhone editing features, third-party AI photo repair apps like Repairit. These tools can correct motion blur, improve resolution, enhance colors, and restore missing details in your live photos.
