Video repair online supports advanced repair. Here’s a three-step guide that you can follow:
- Upload corrupt and sample video files
- Launch the repairing process
- Preview and save videos
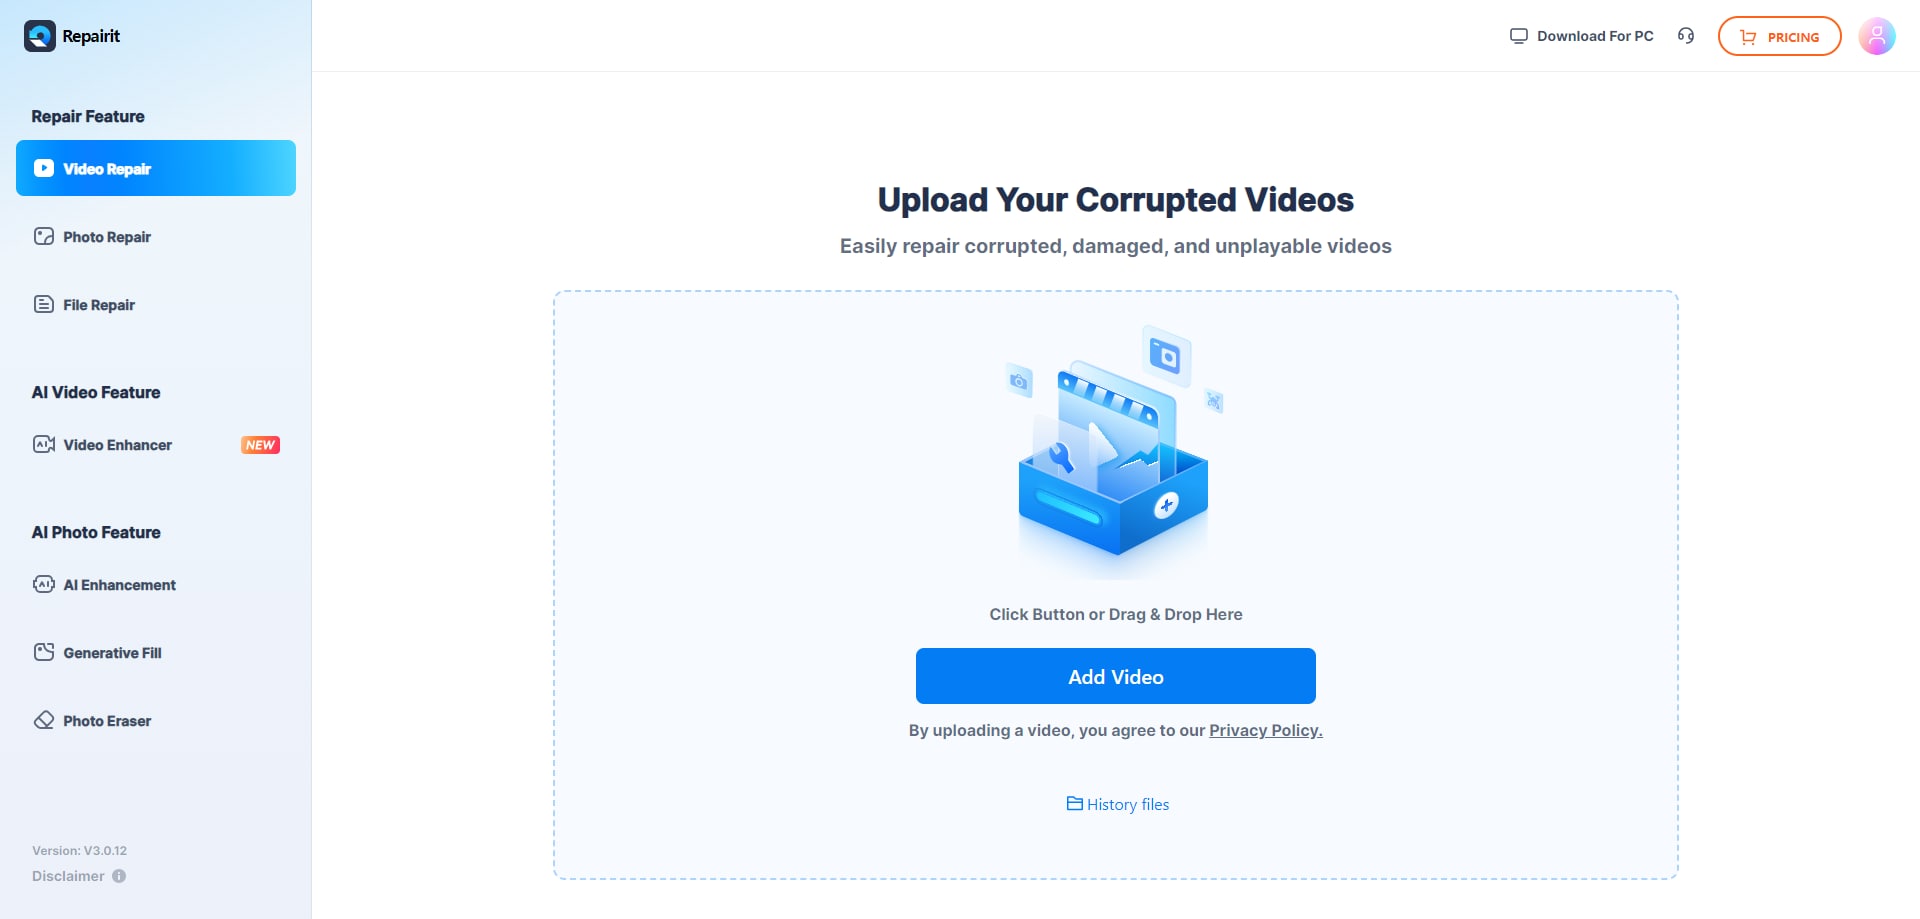
Upload corrupt and sample videos
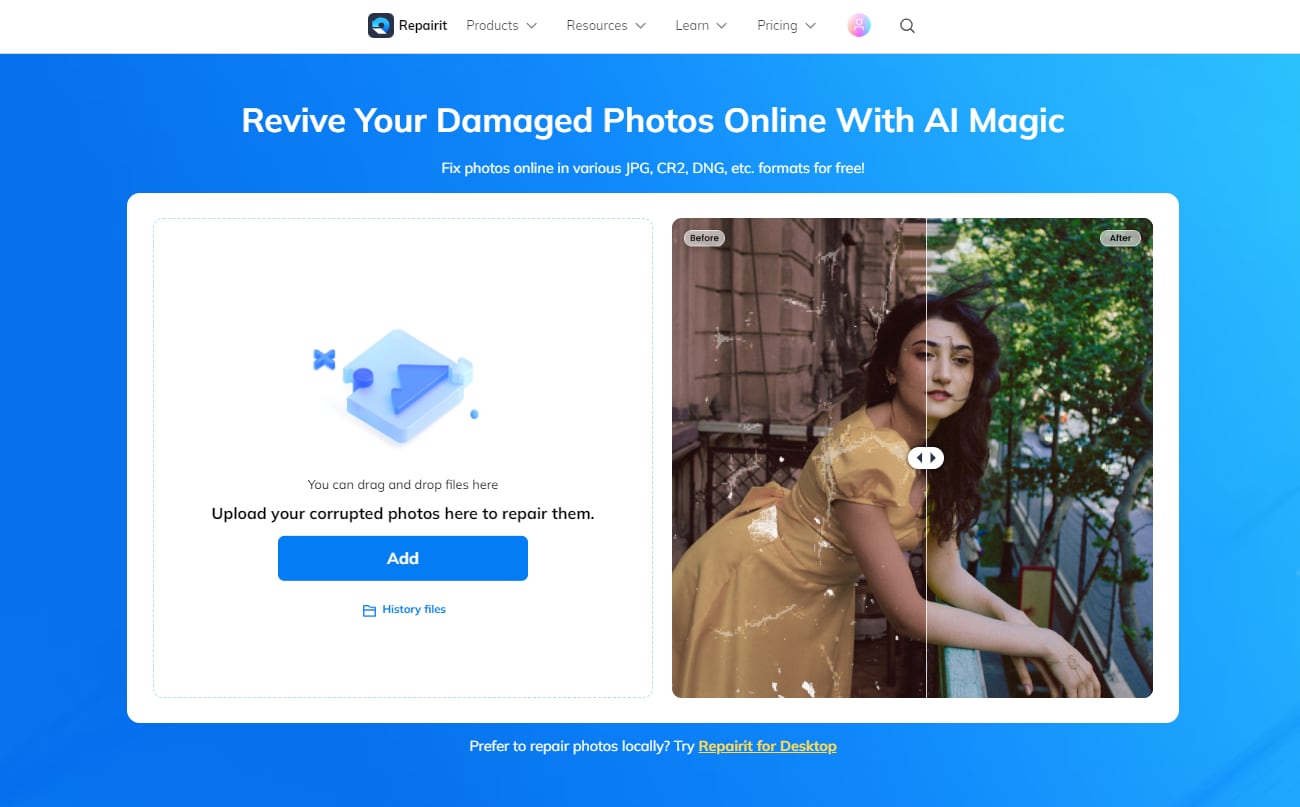
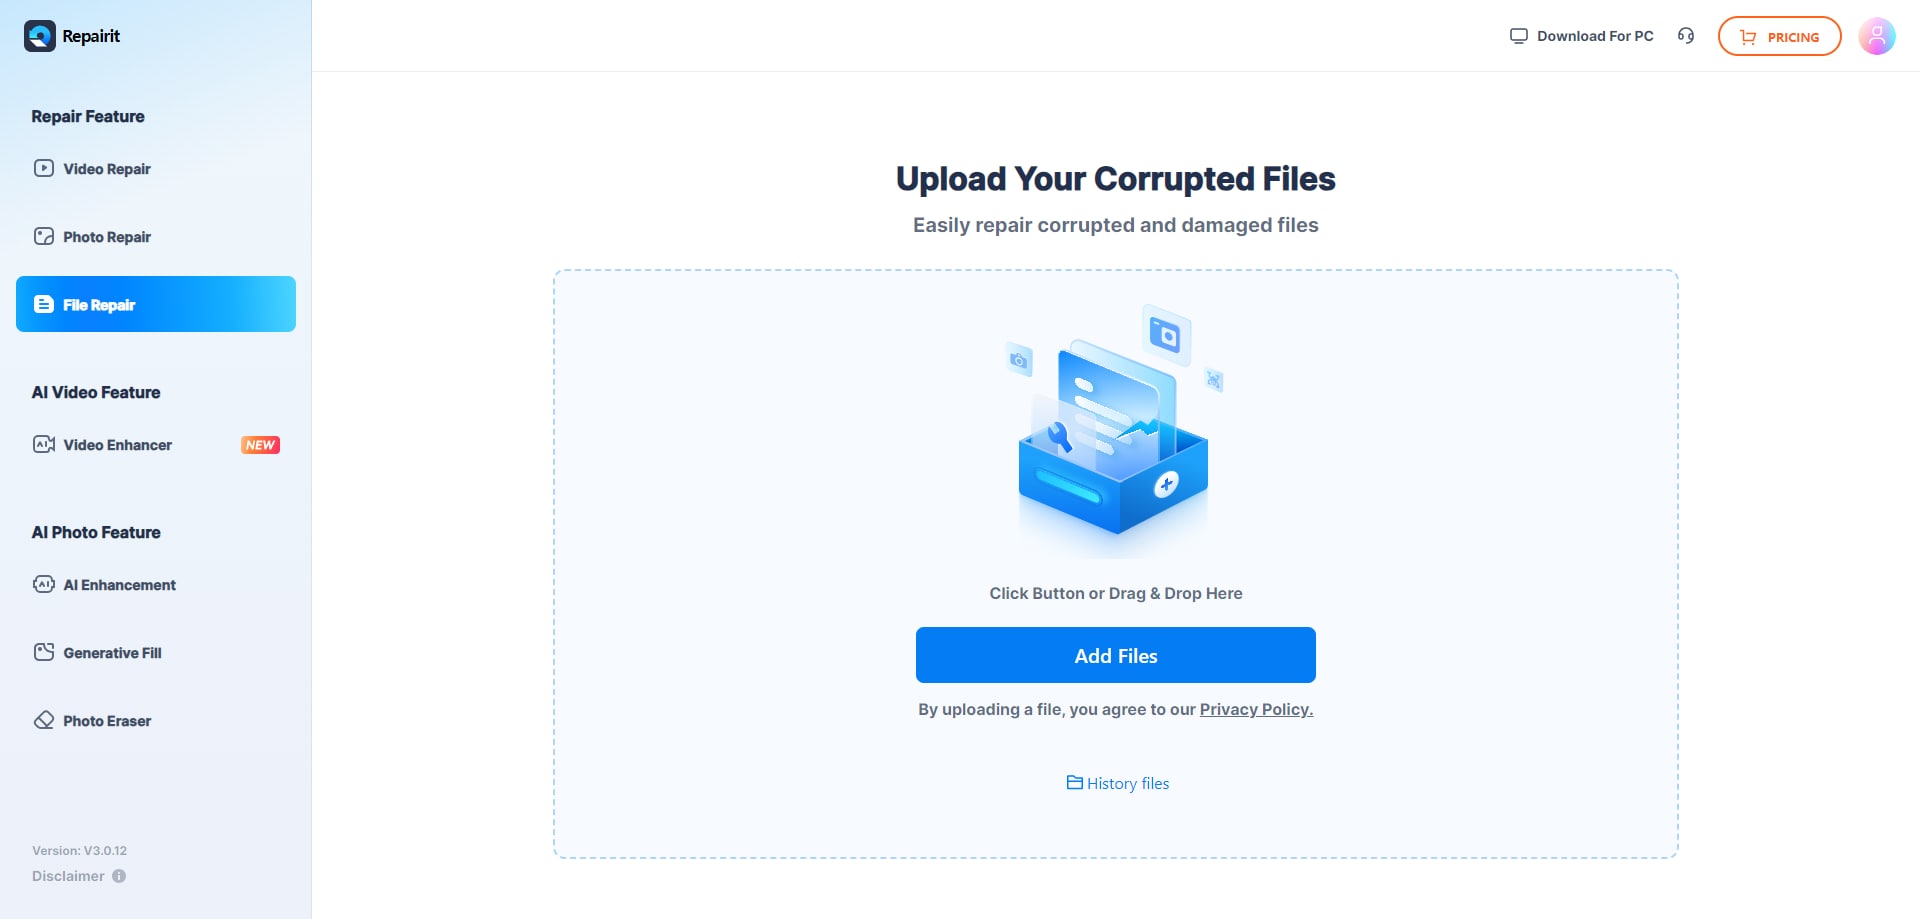
After entering the online video repair page, please click the "Add" button to access to the professional online video repair workbench.
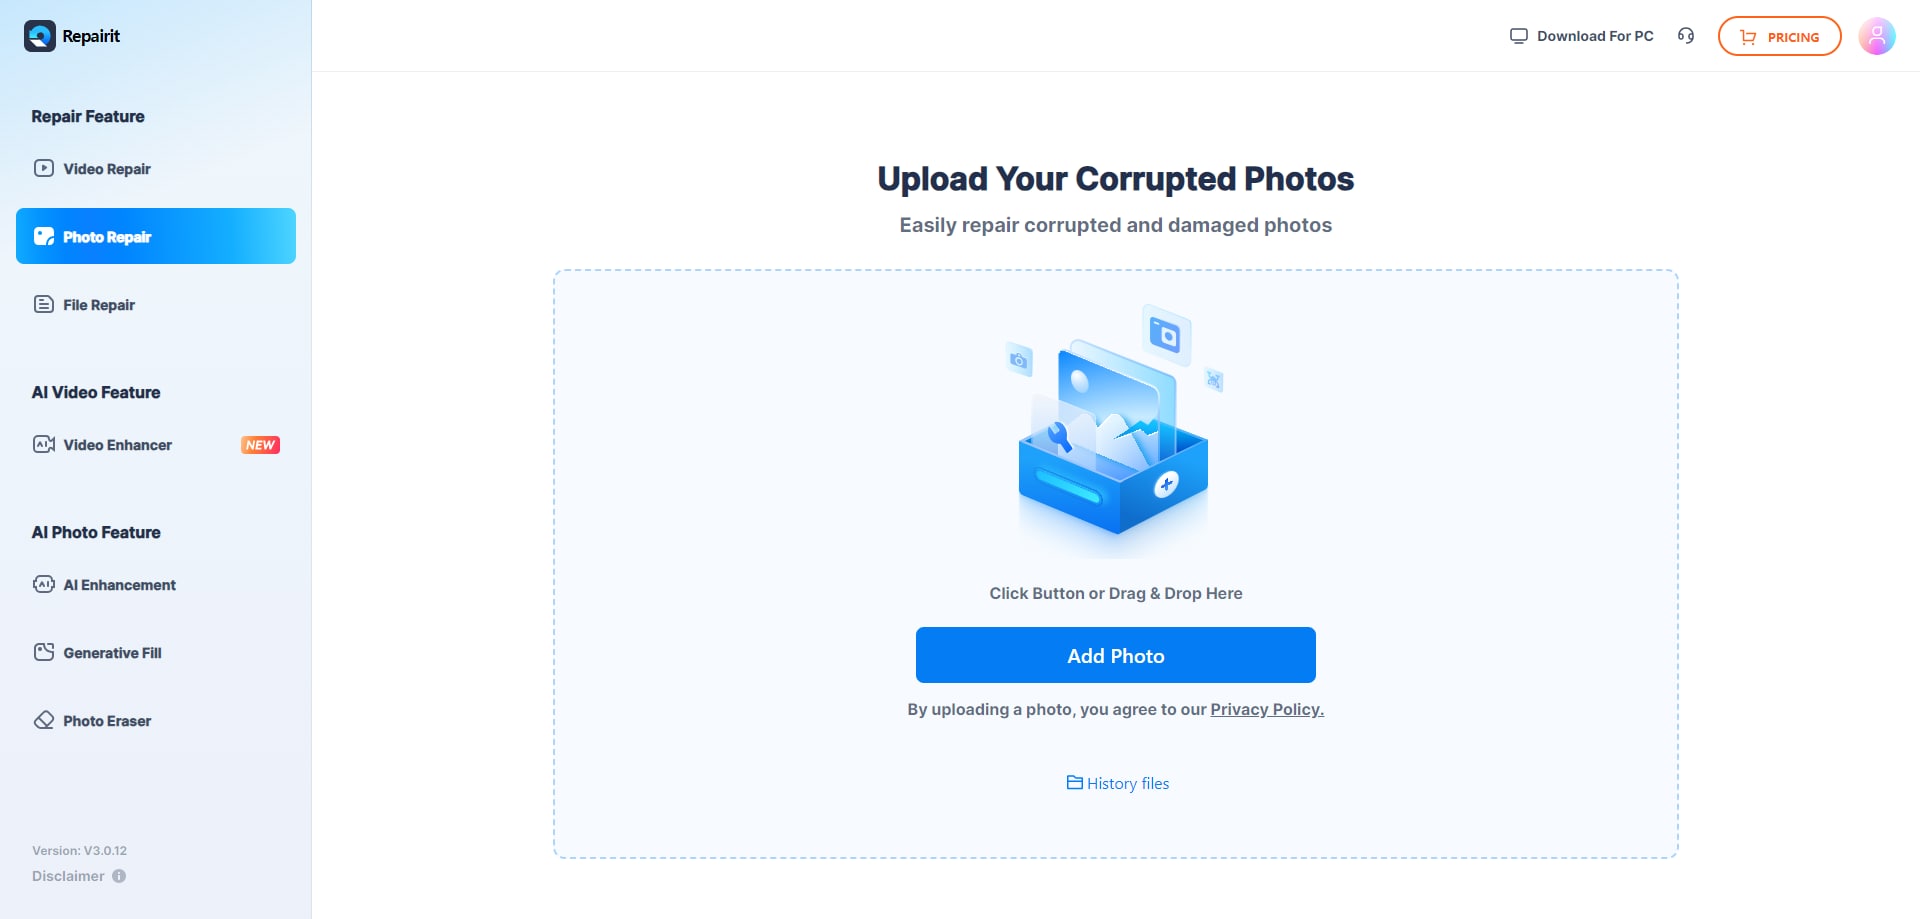
Select "Video Repair" in the "Repair Feature" section from the left side of the interface, then click the "+Add" button or drag your video files into it.
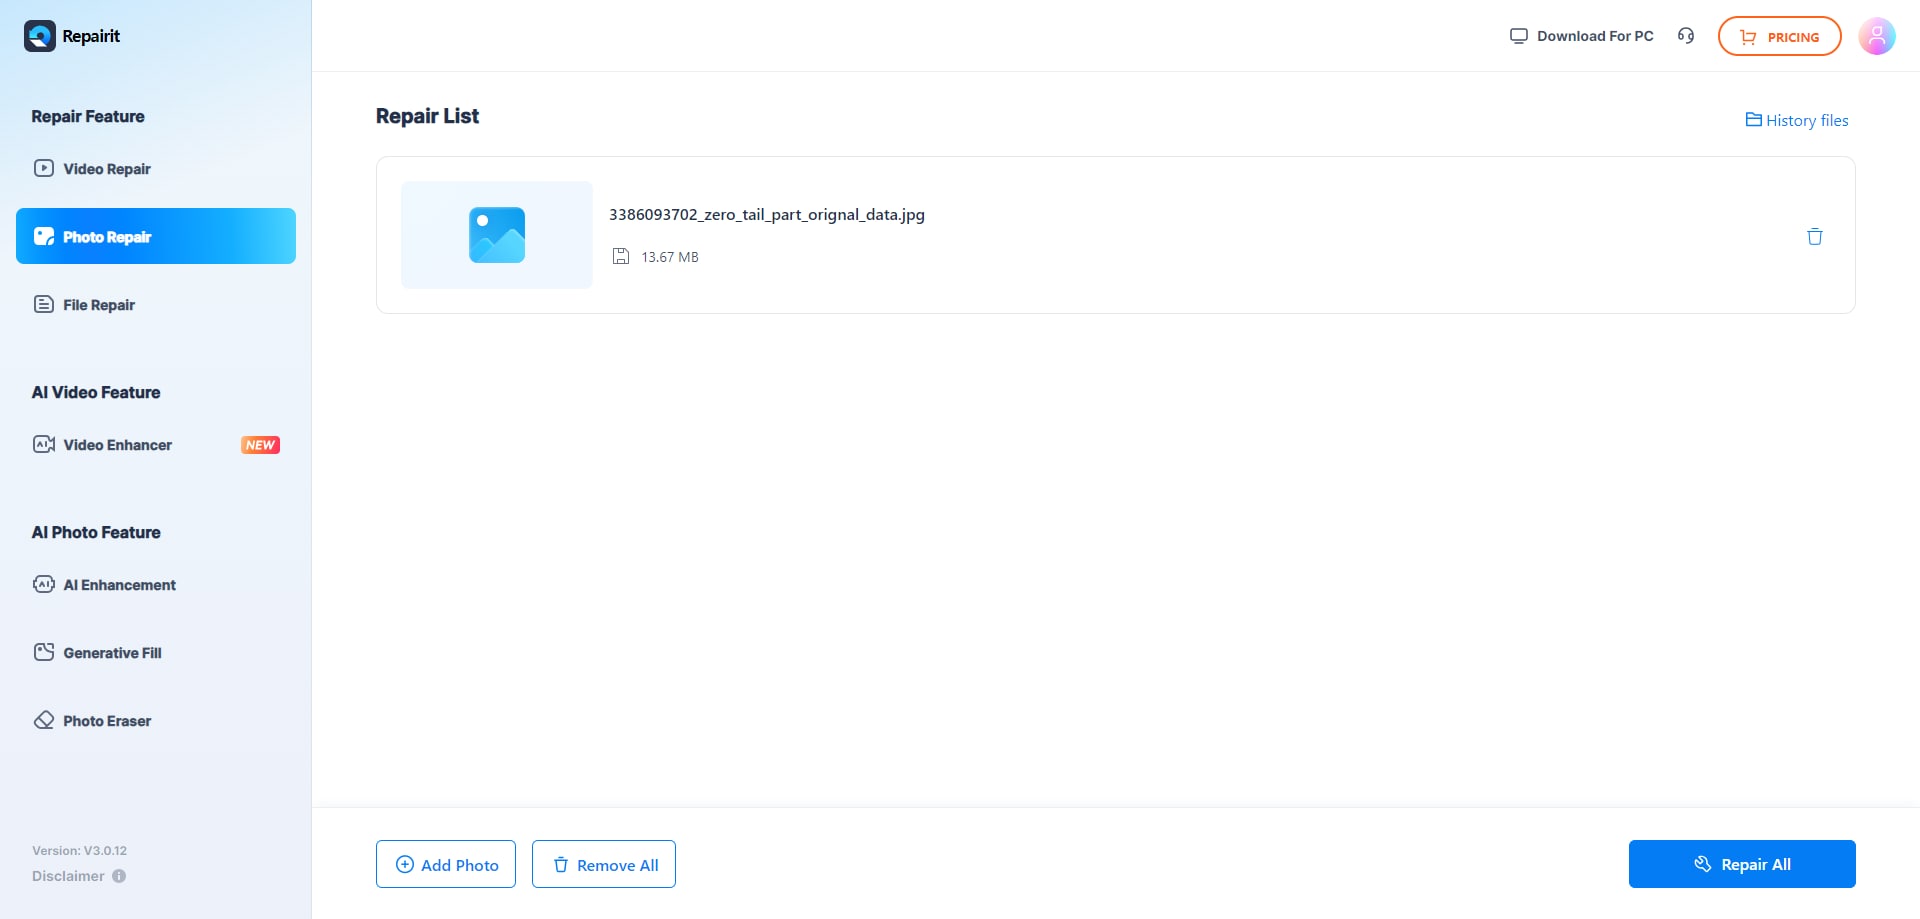
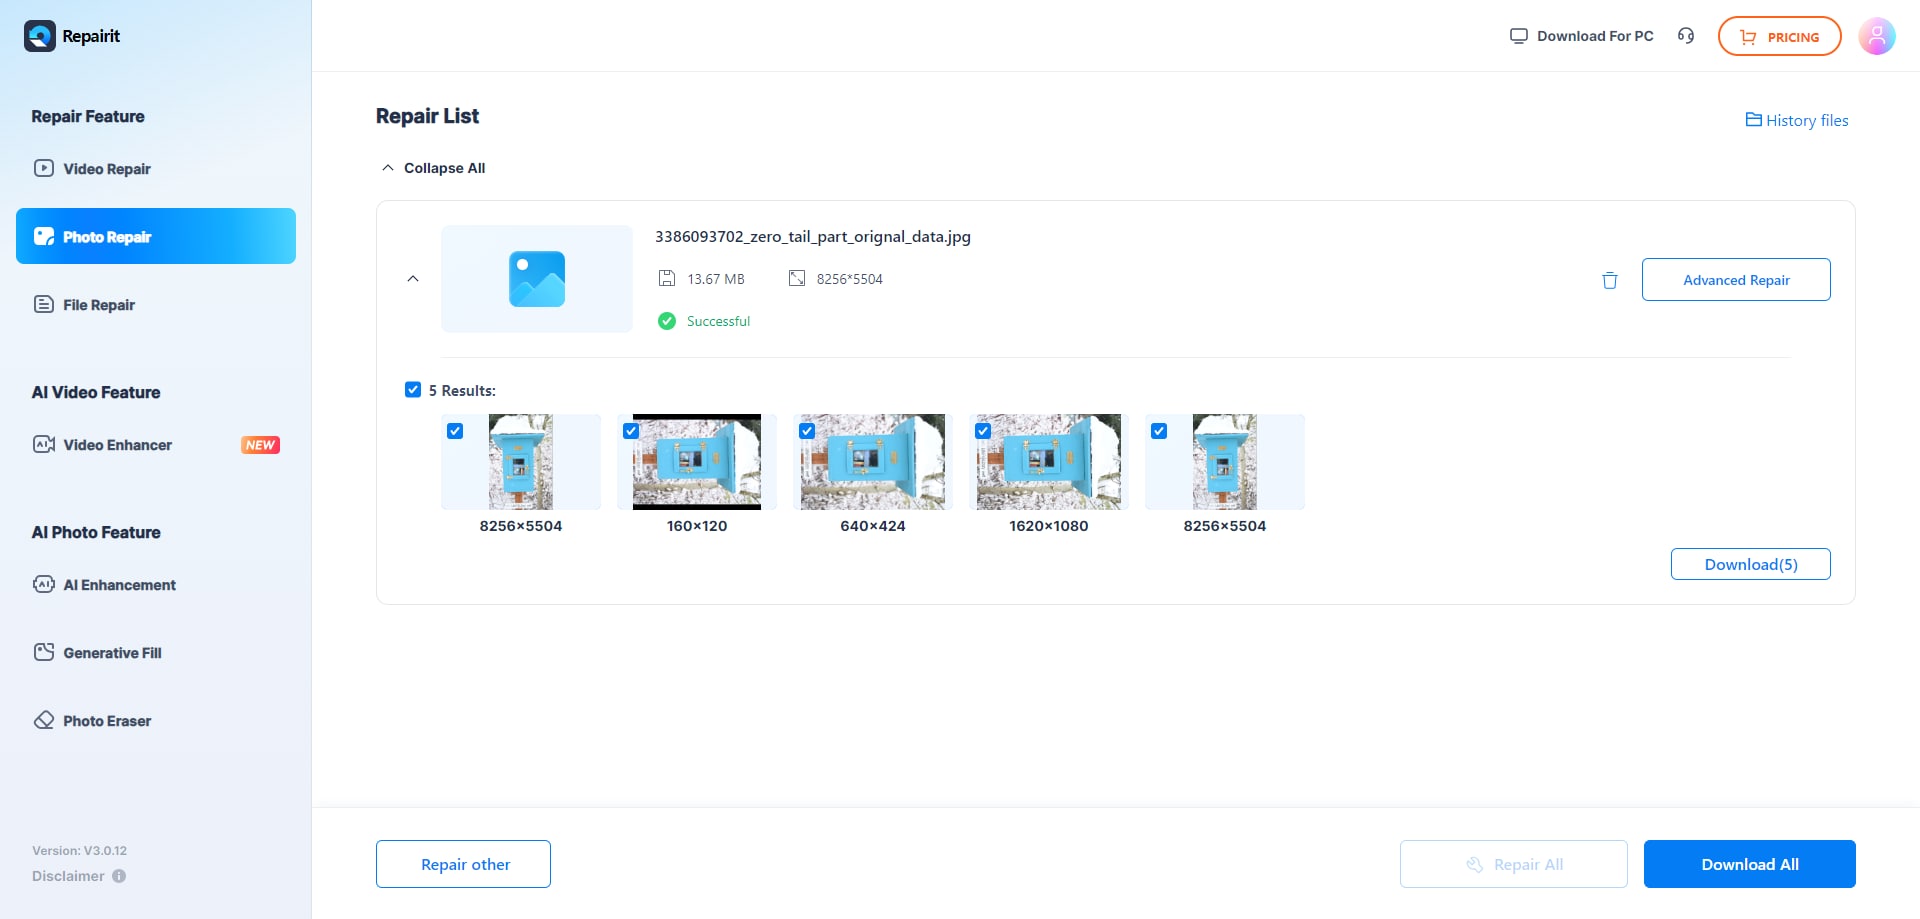
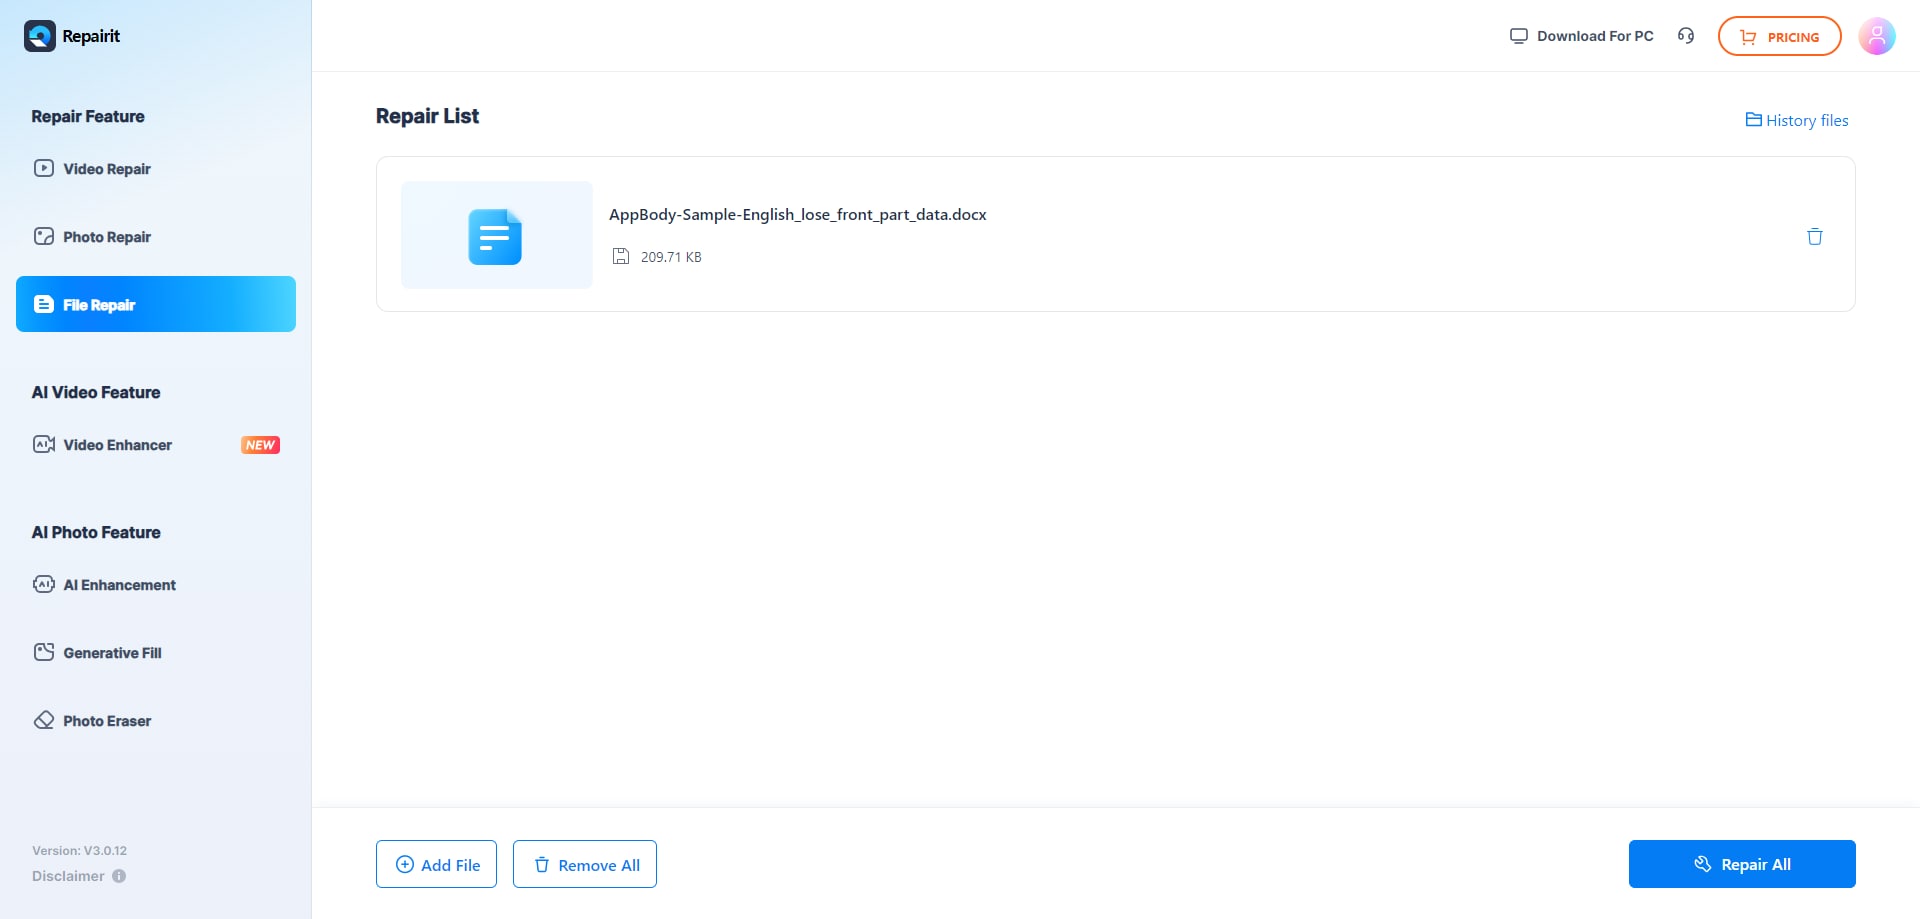
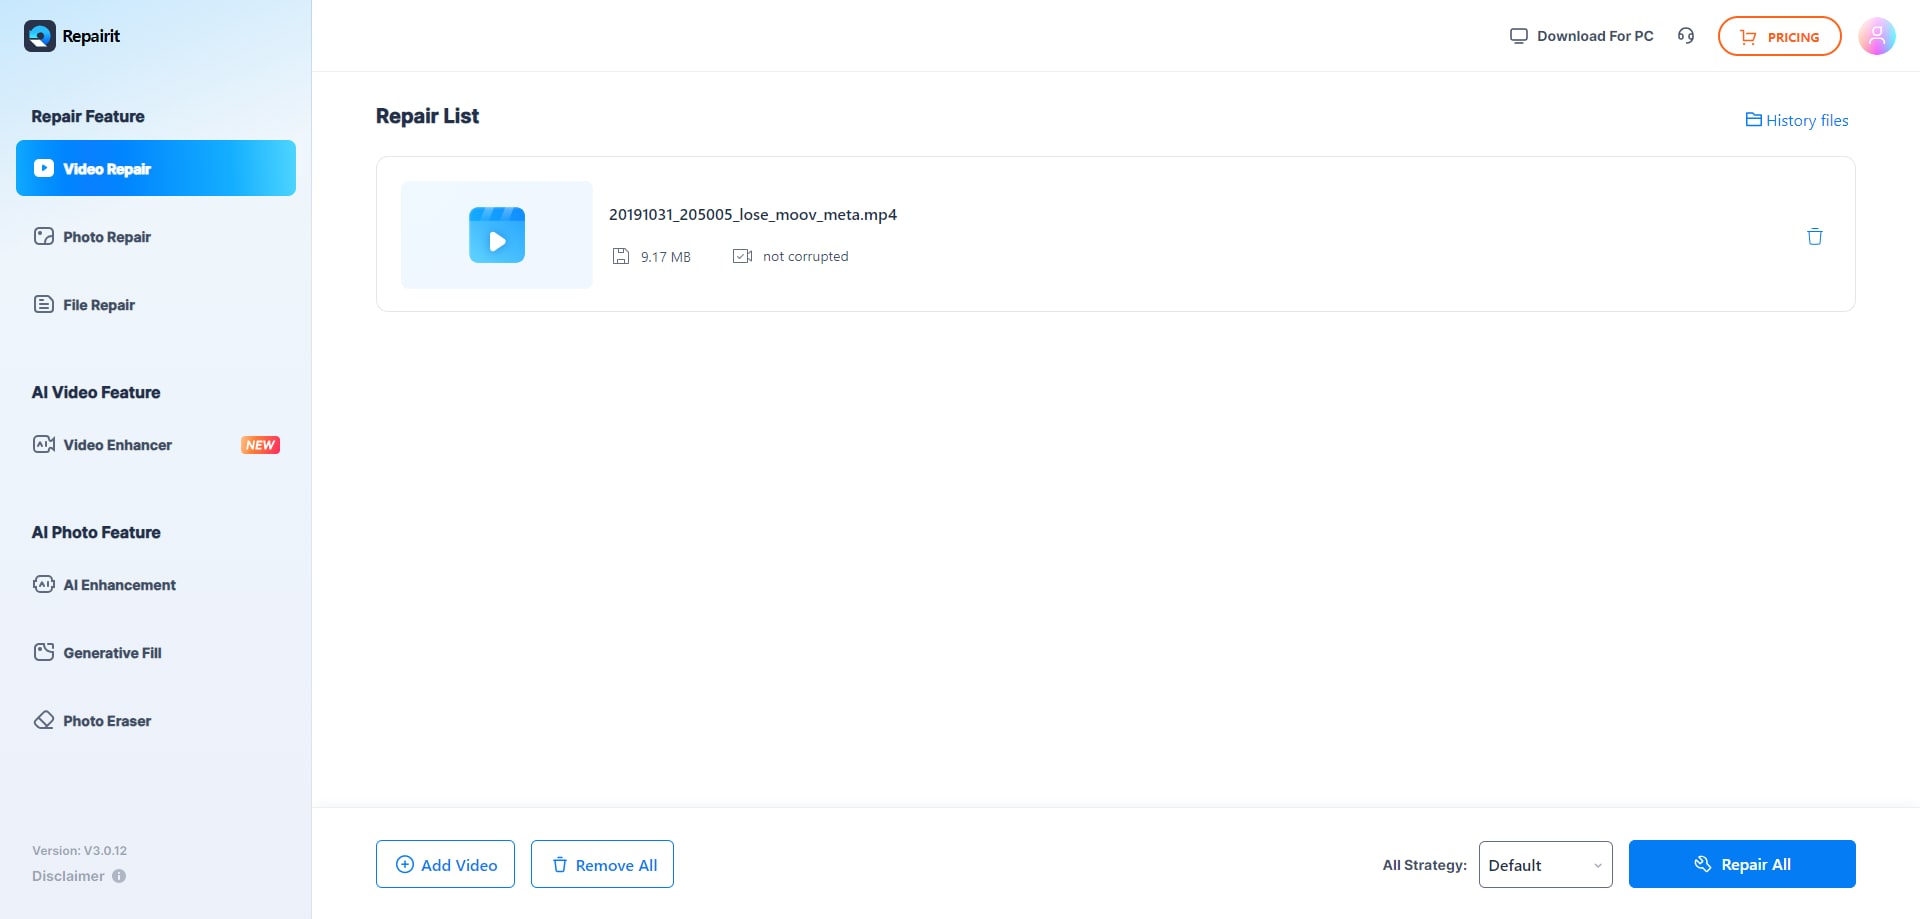
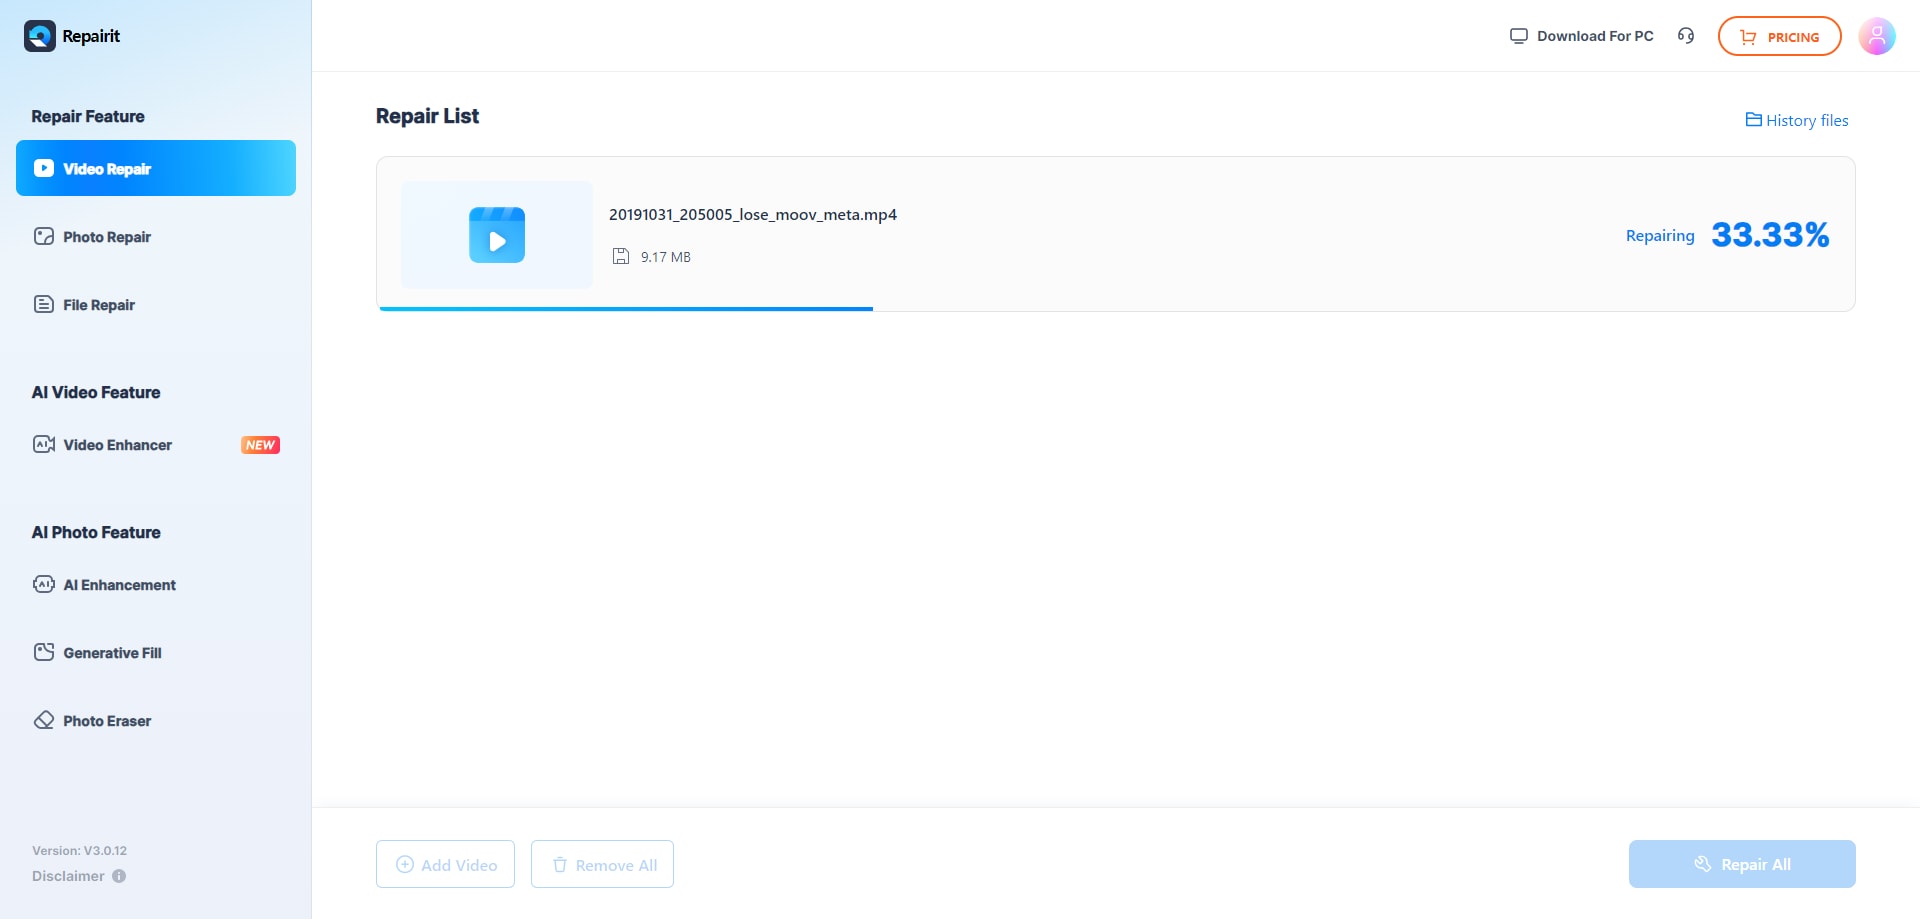
All the videos will be shown on the interface, and detailed information about each video.
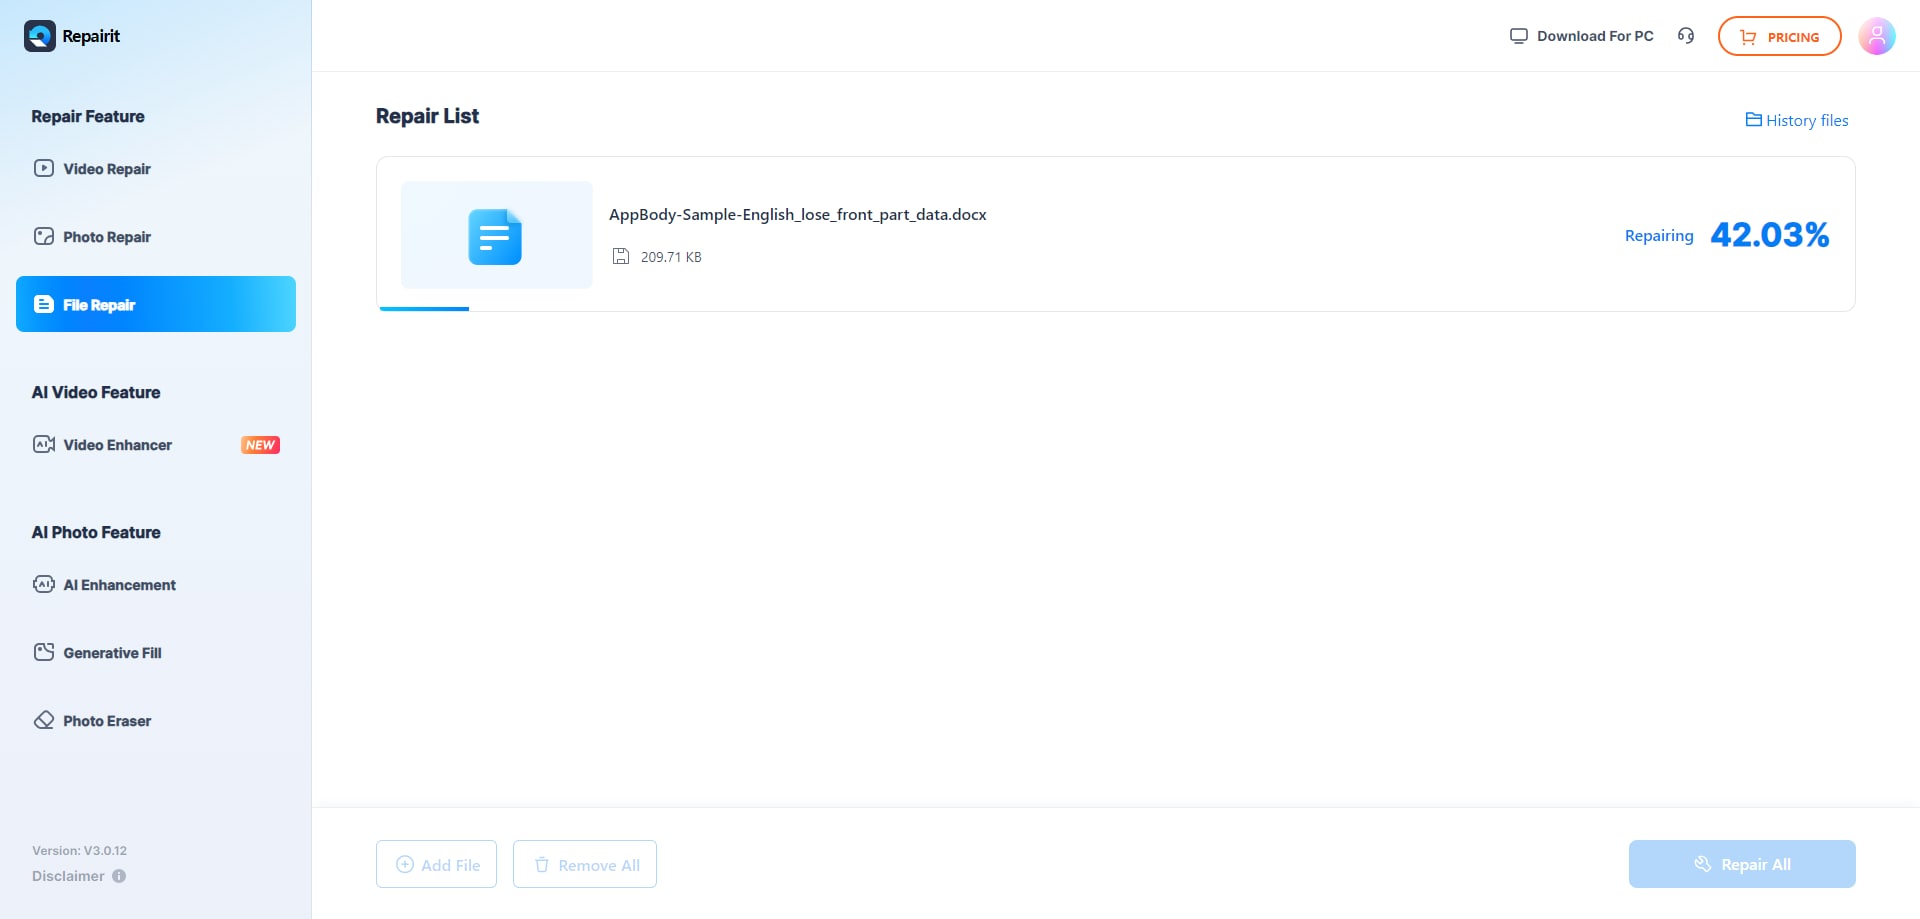
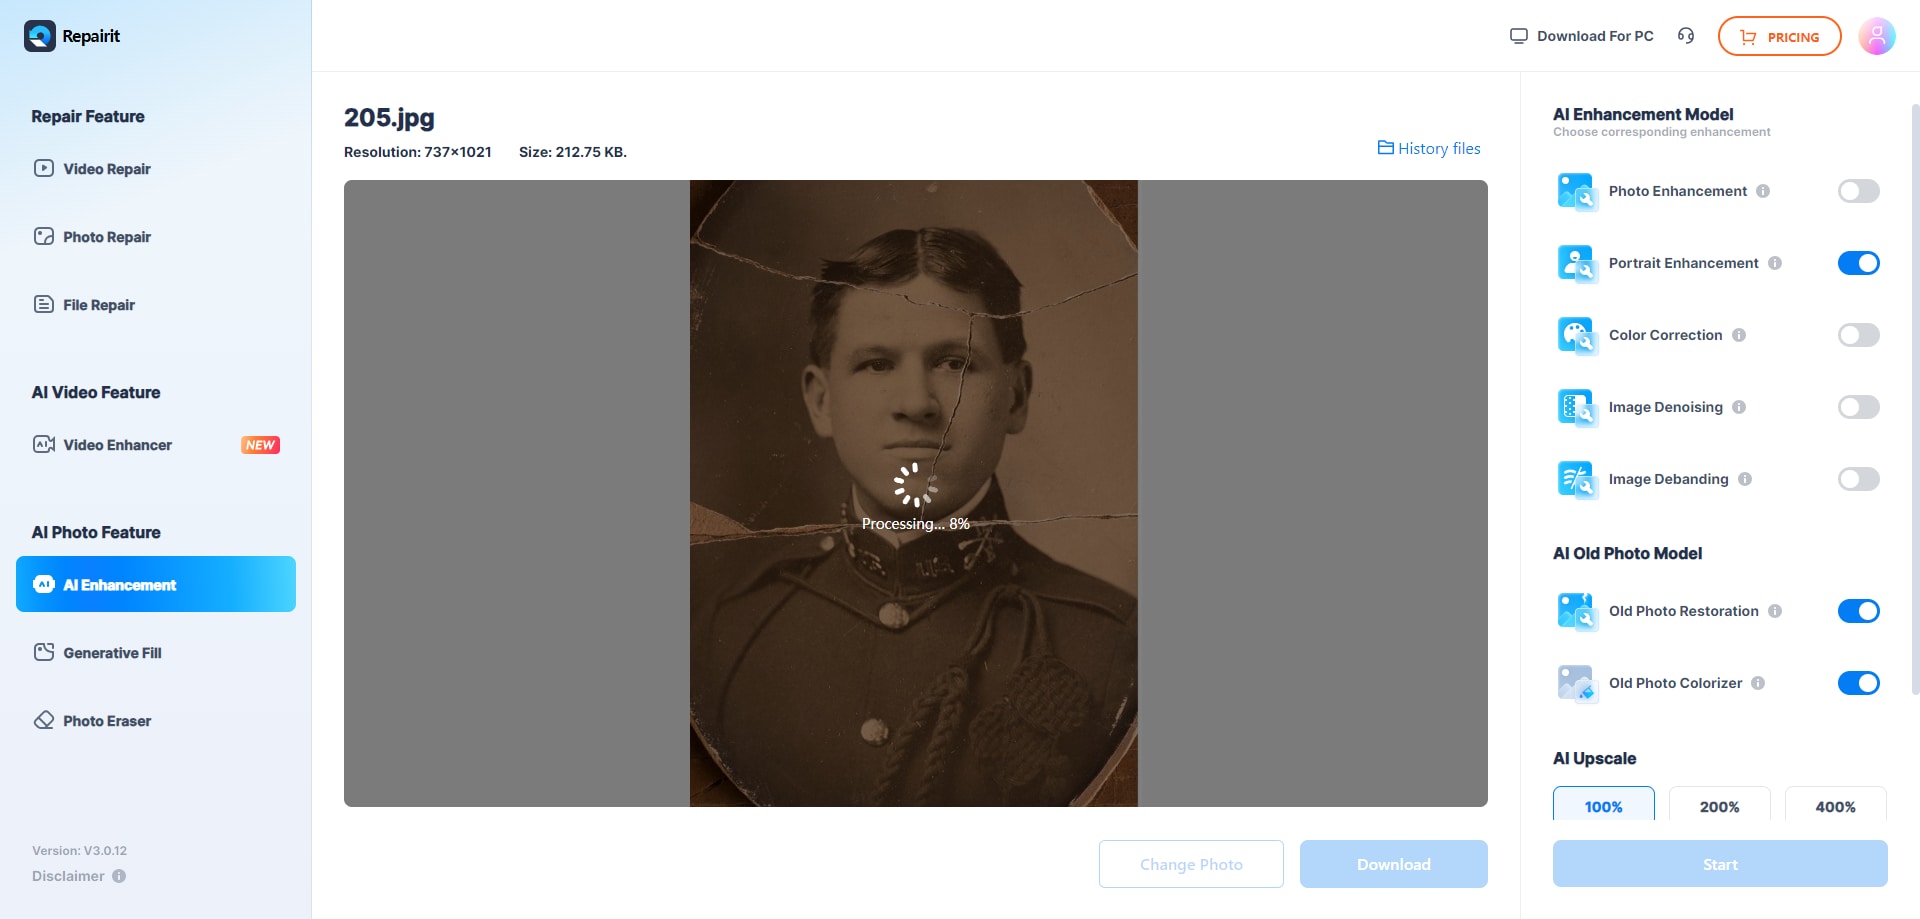
Launch the repairing process
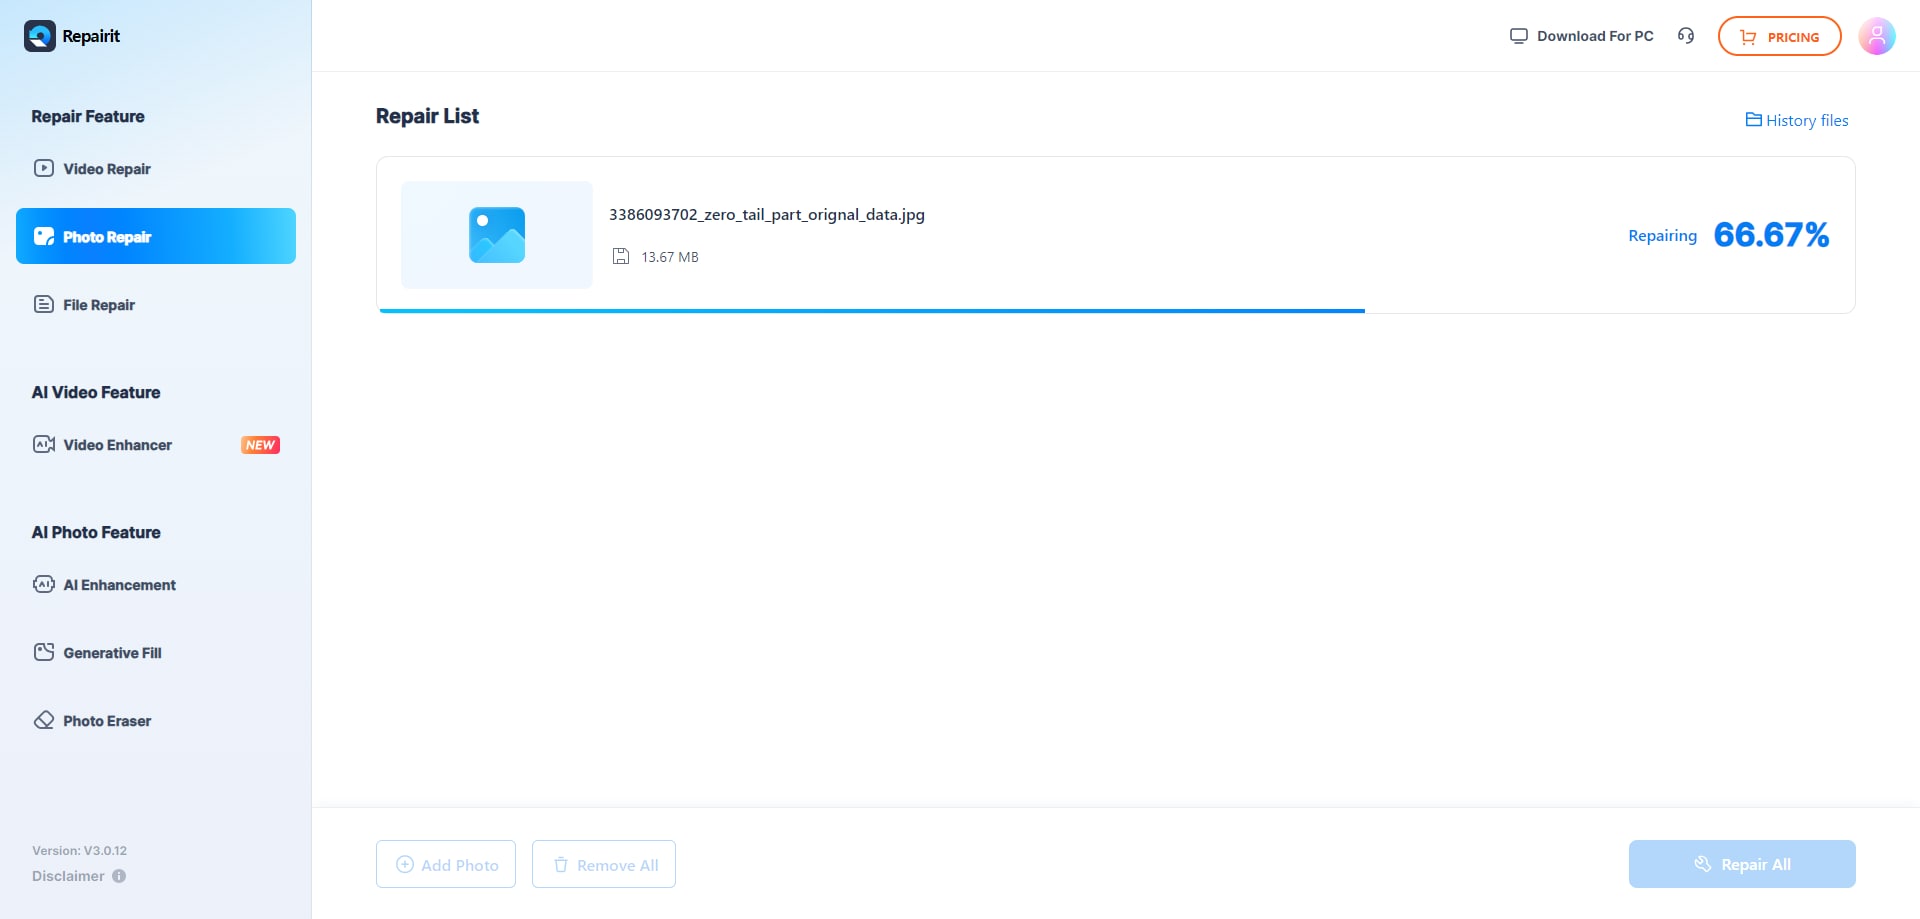
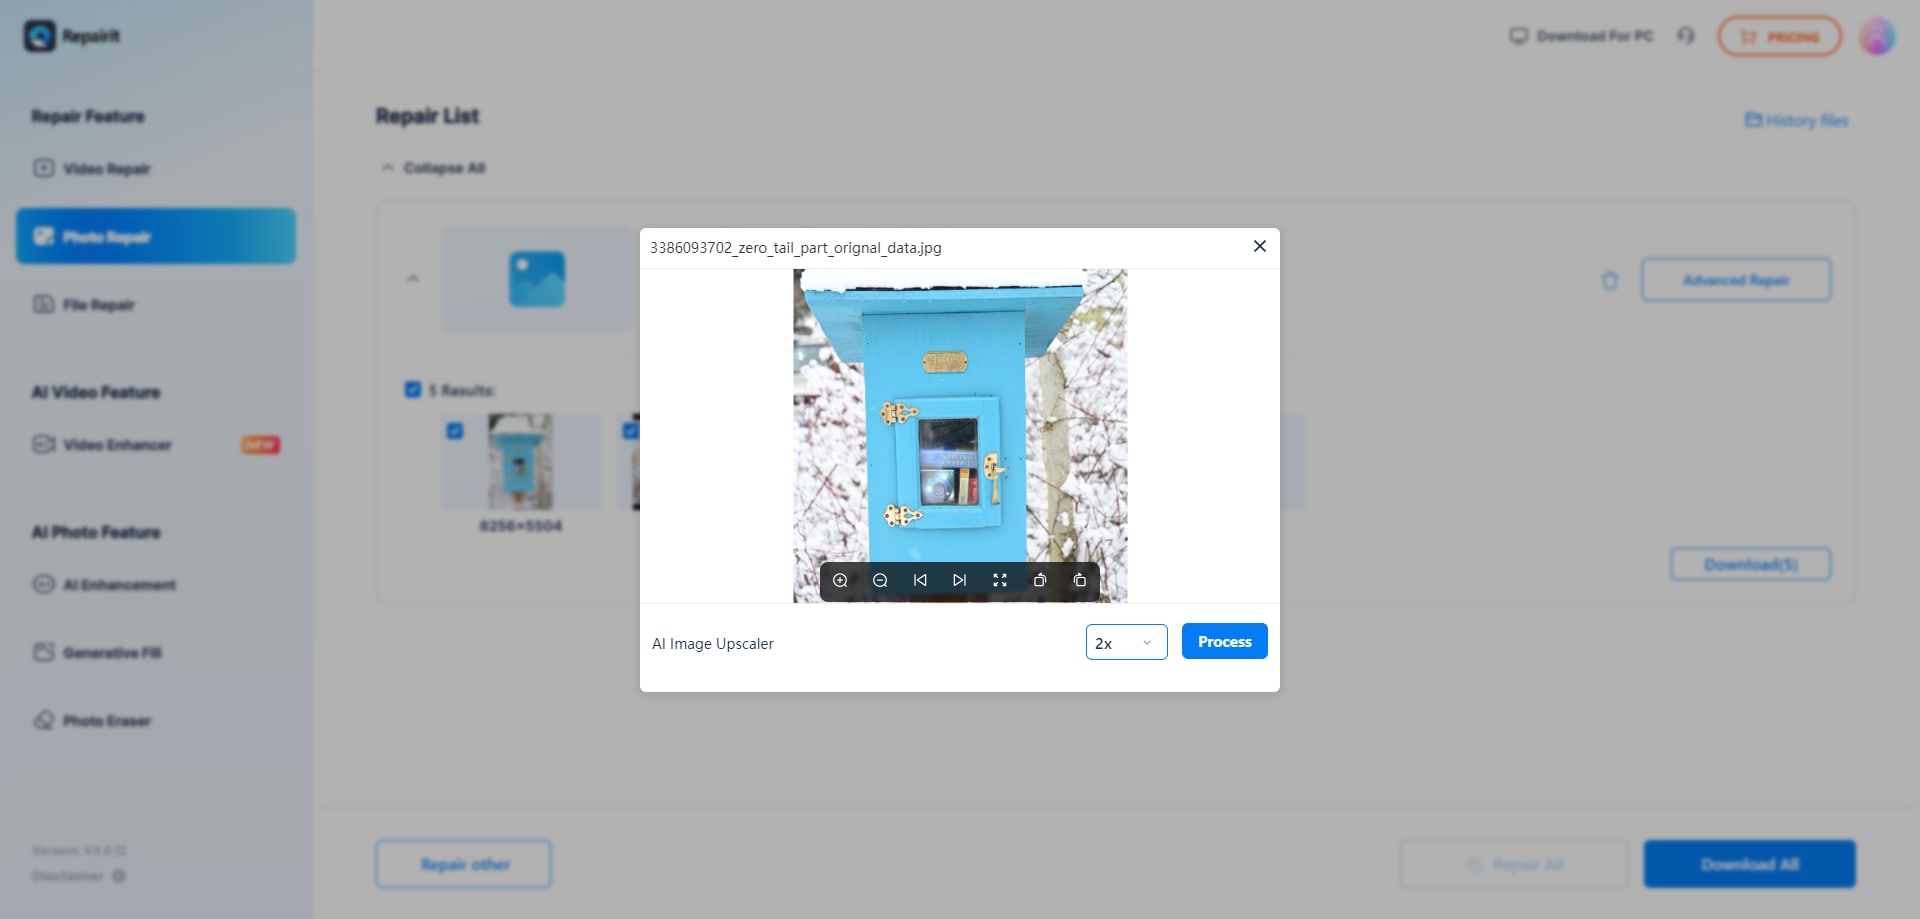
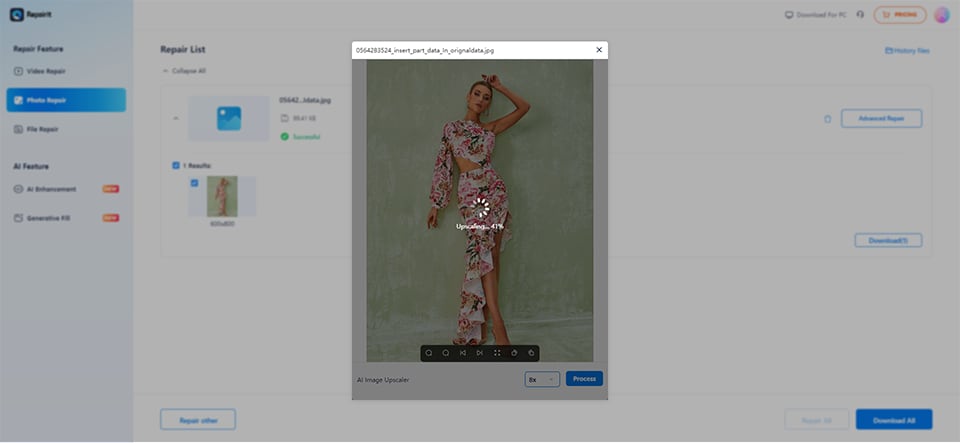
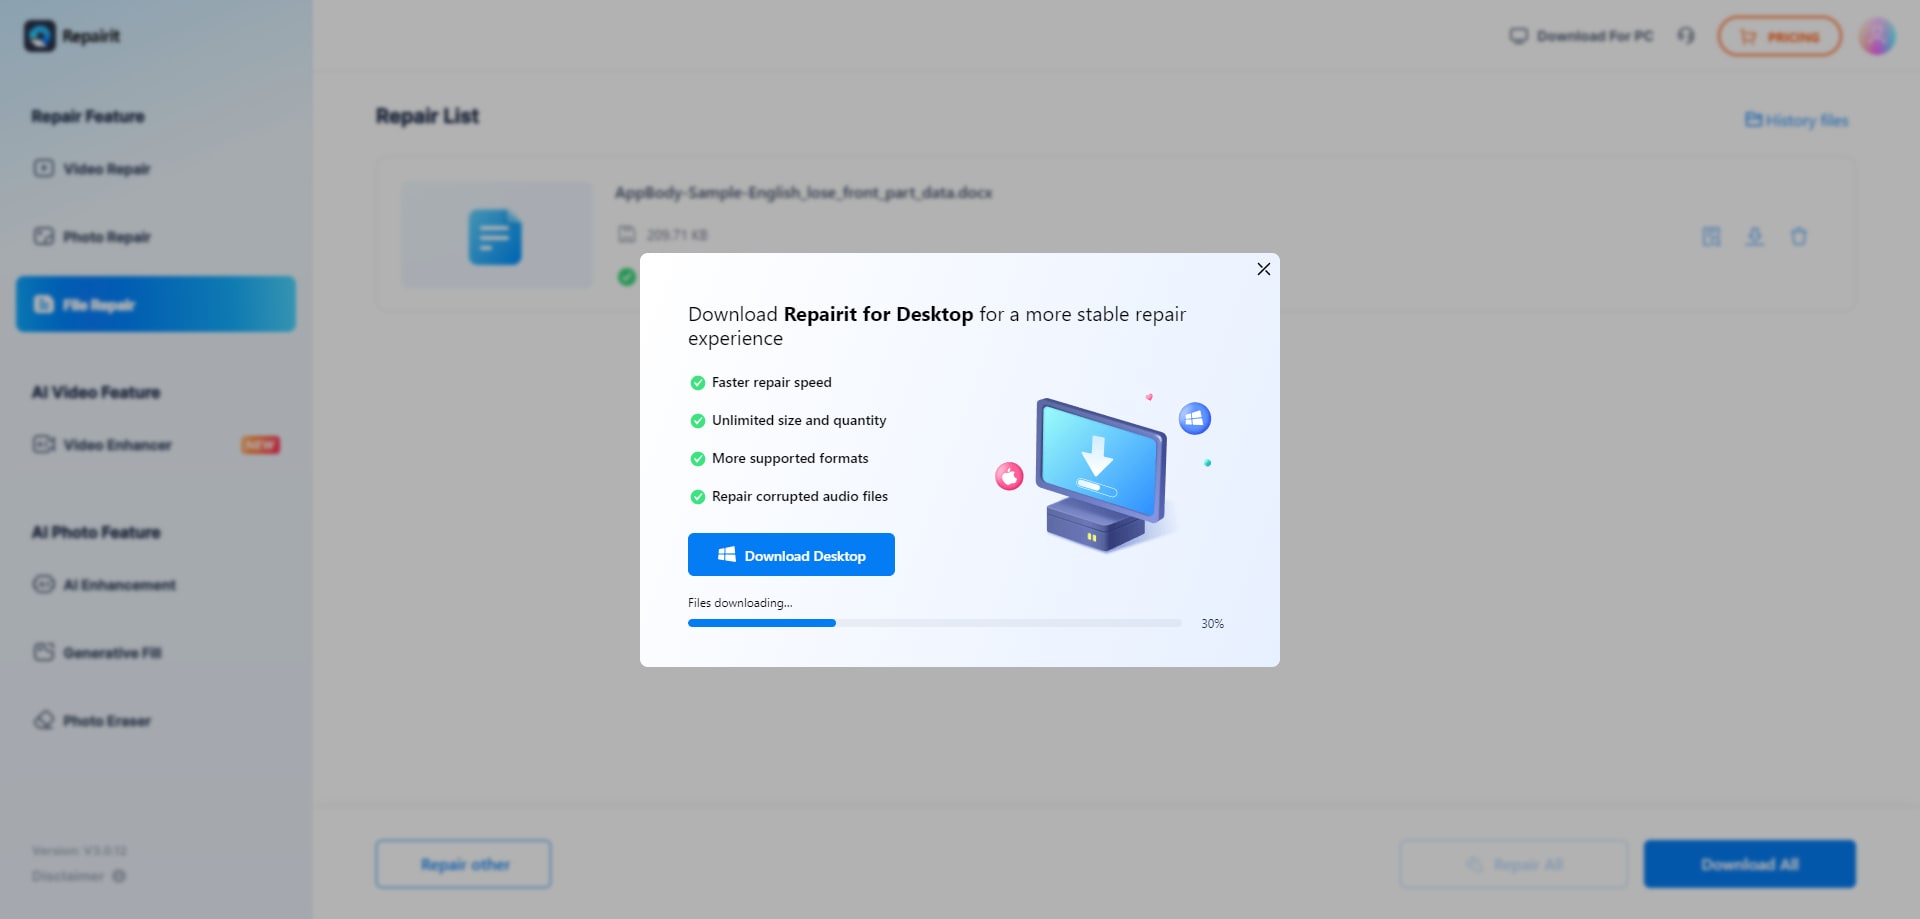
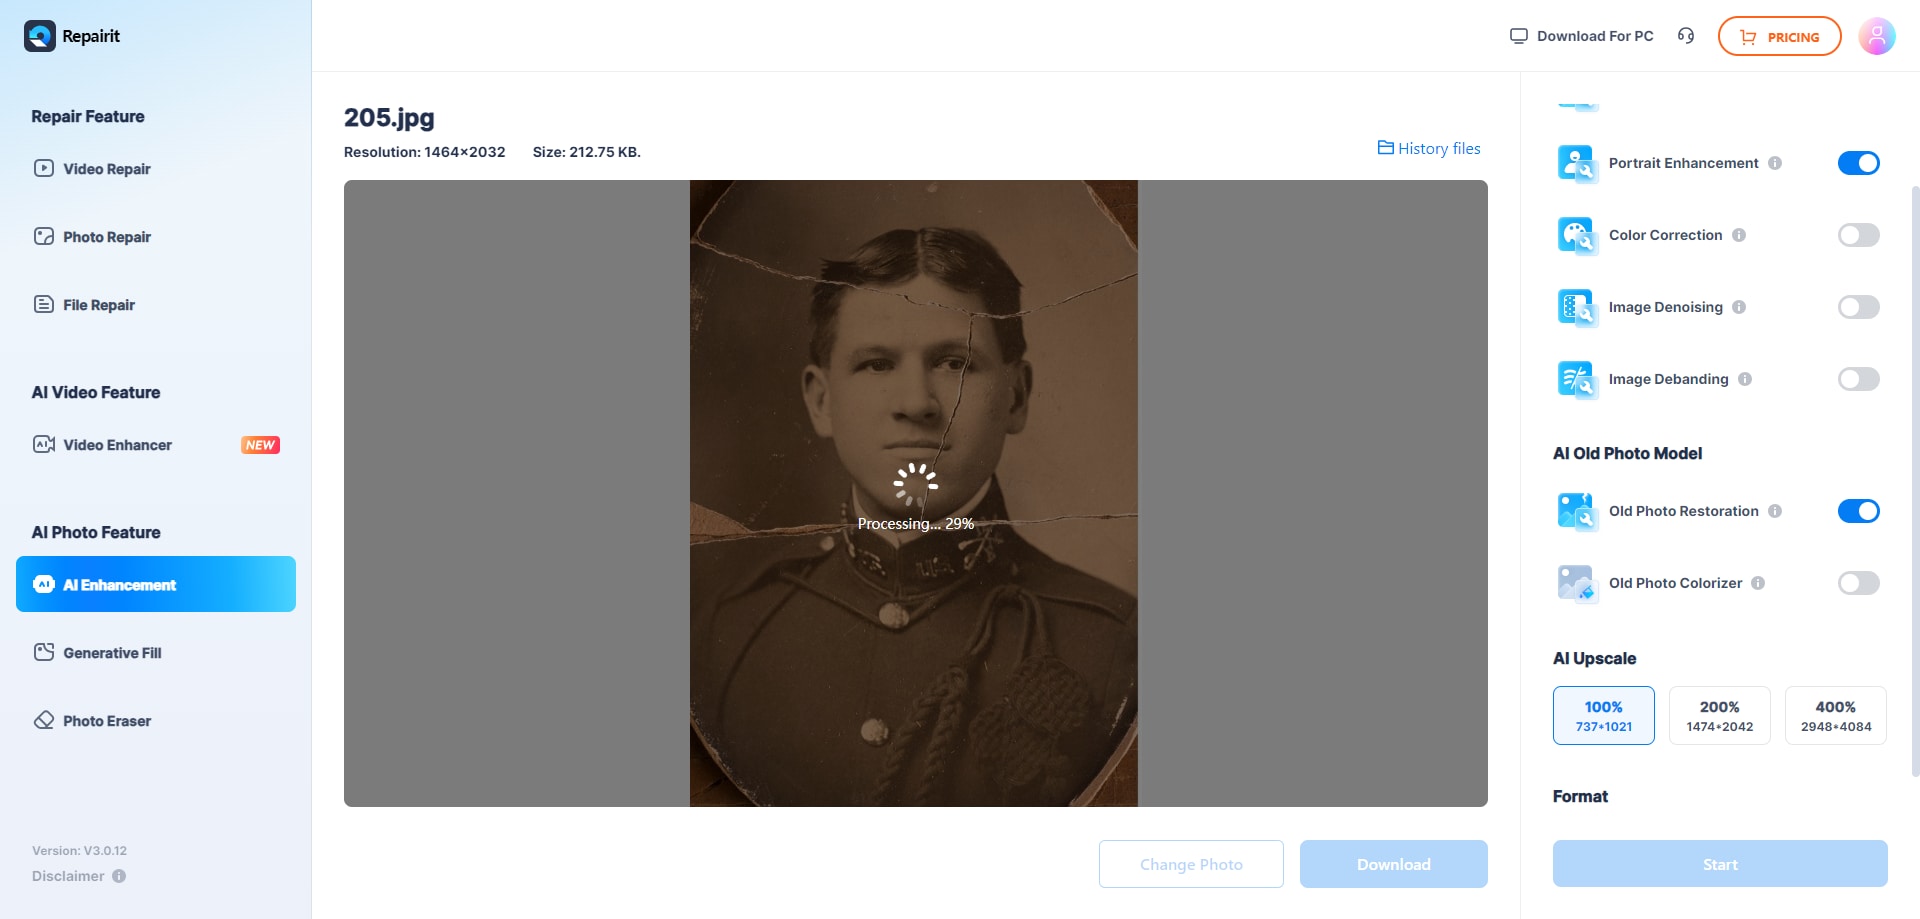
Click the "Repair" button to start the repairing process. You can clearly see the repair progress bar of each video. Wait for a few seconds for the process to be done.
Attention: If the corrupted video fails to be repaired, it means this video is severely damaged, you can click "Upload Sample Video" to add a good video that has the same format as the corrupted video to repair the corrupted video in a more professional way.
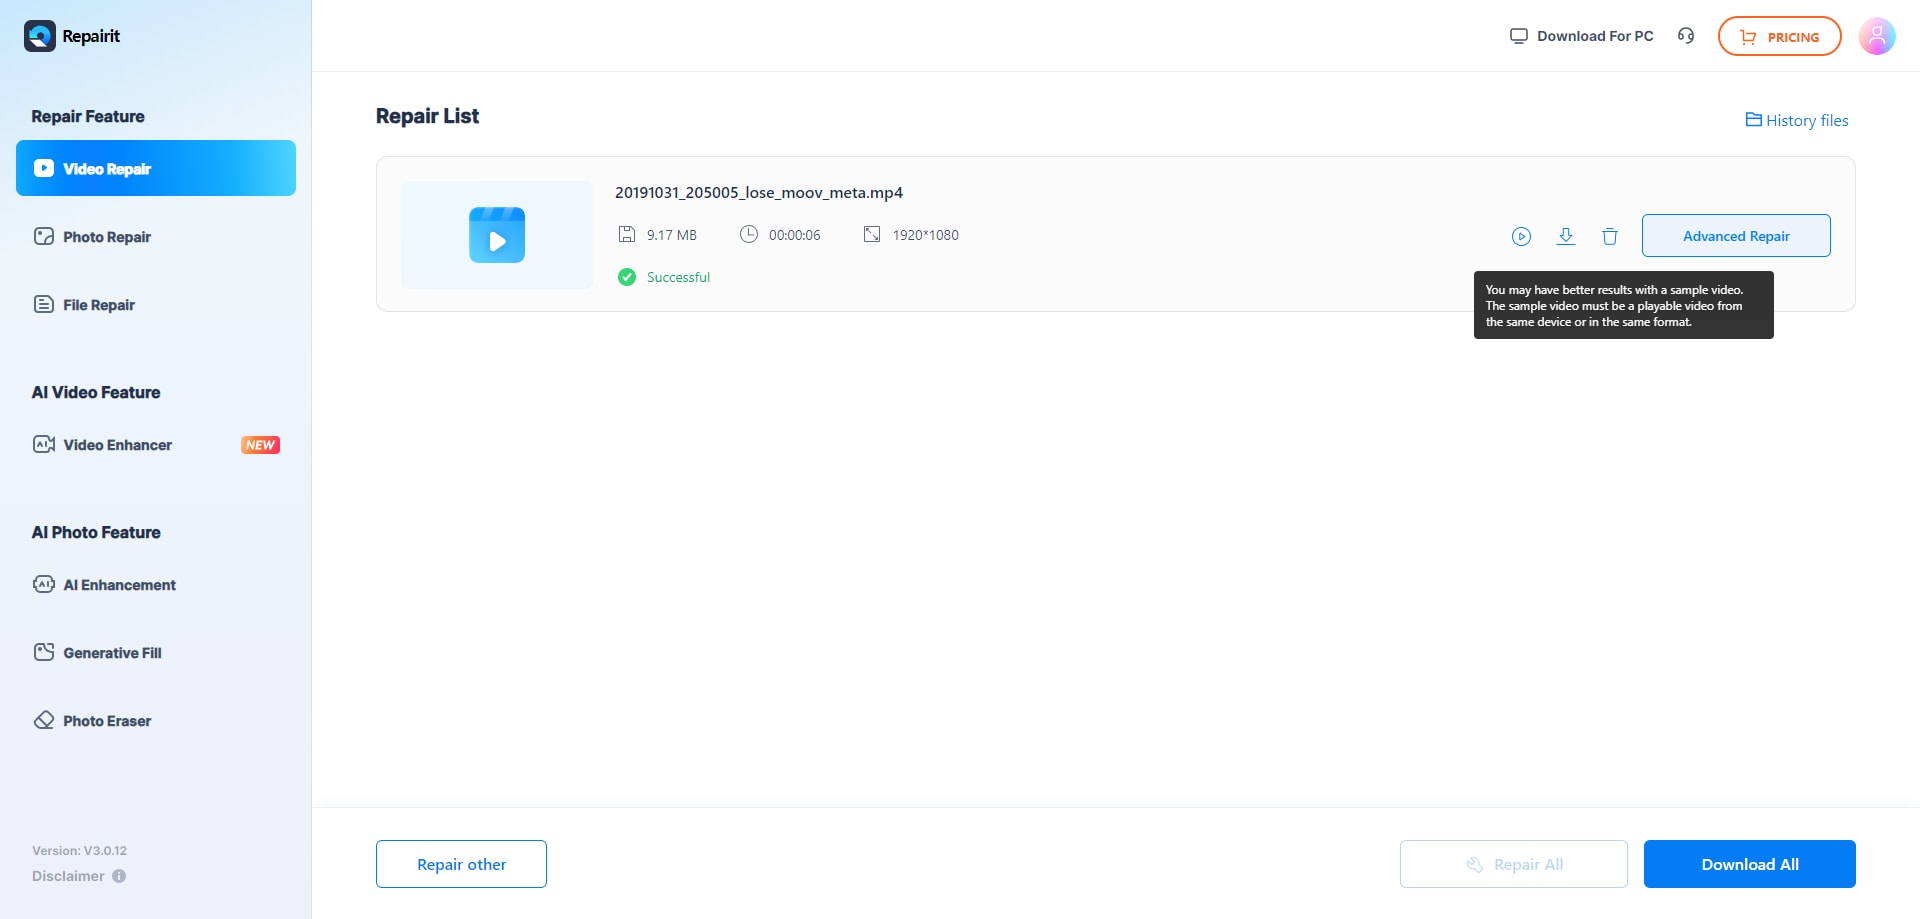
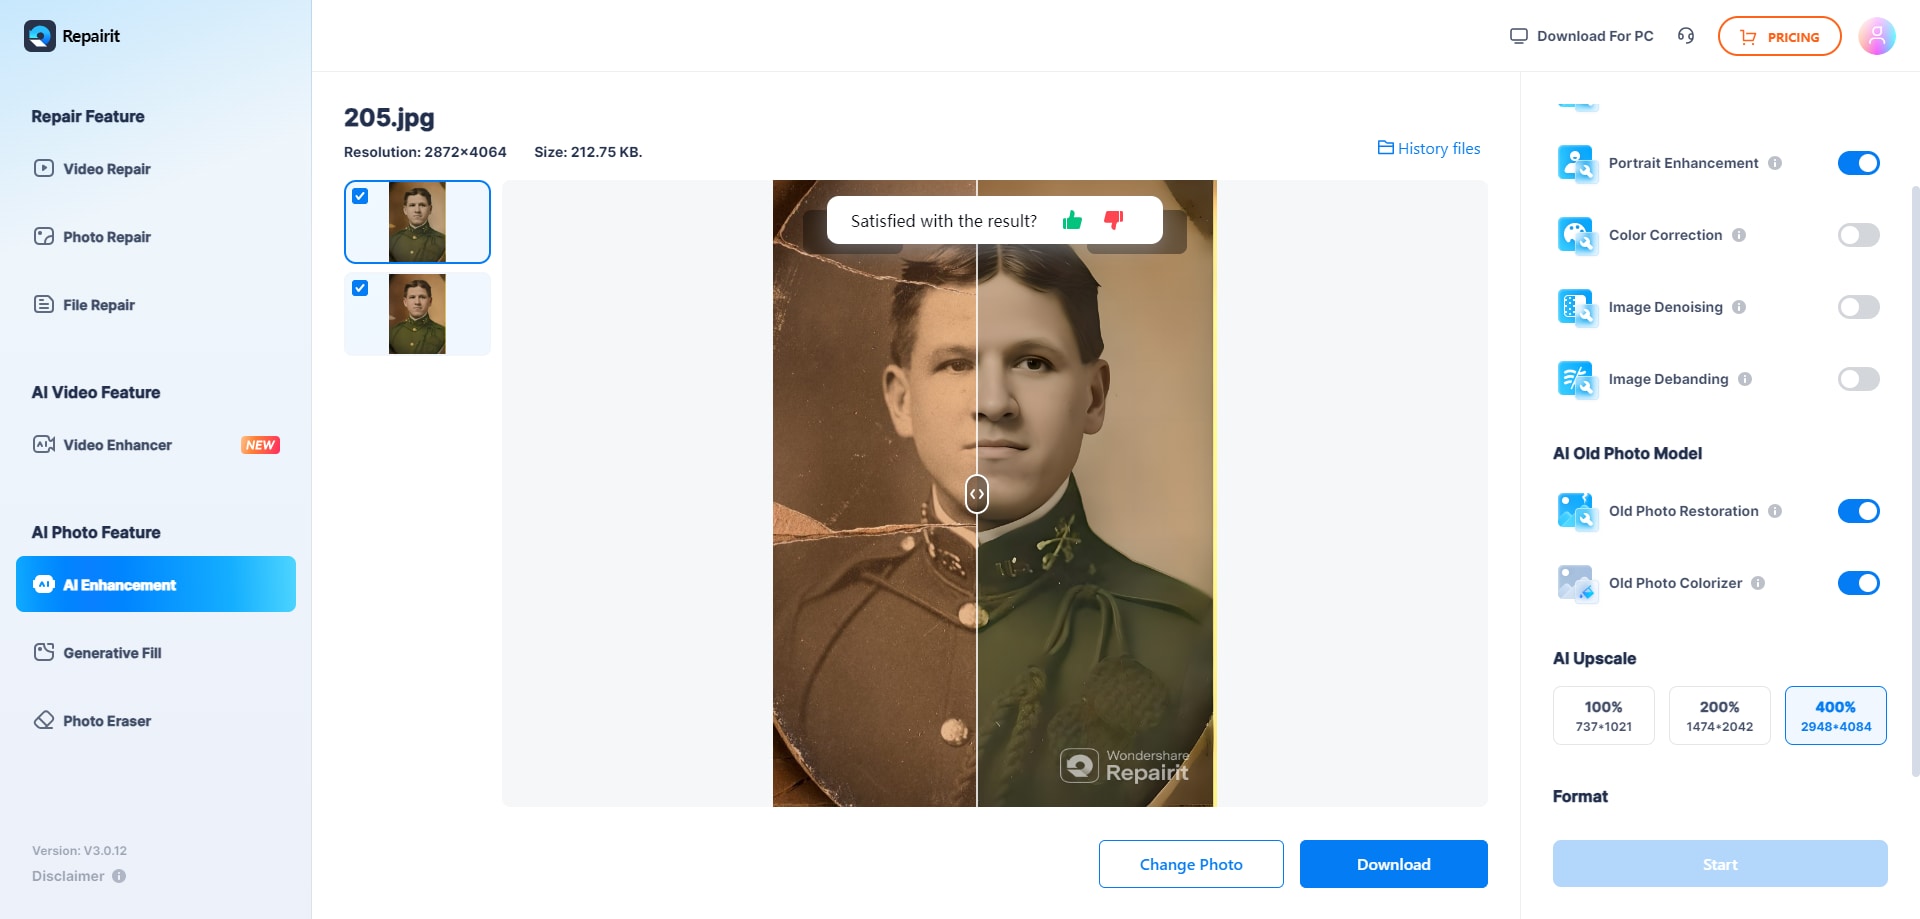
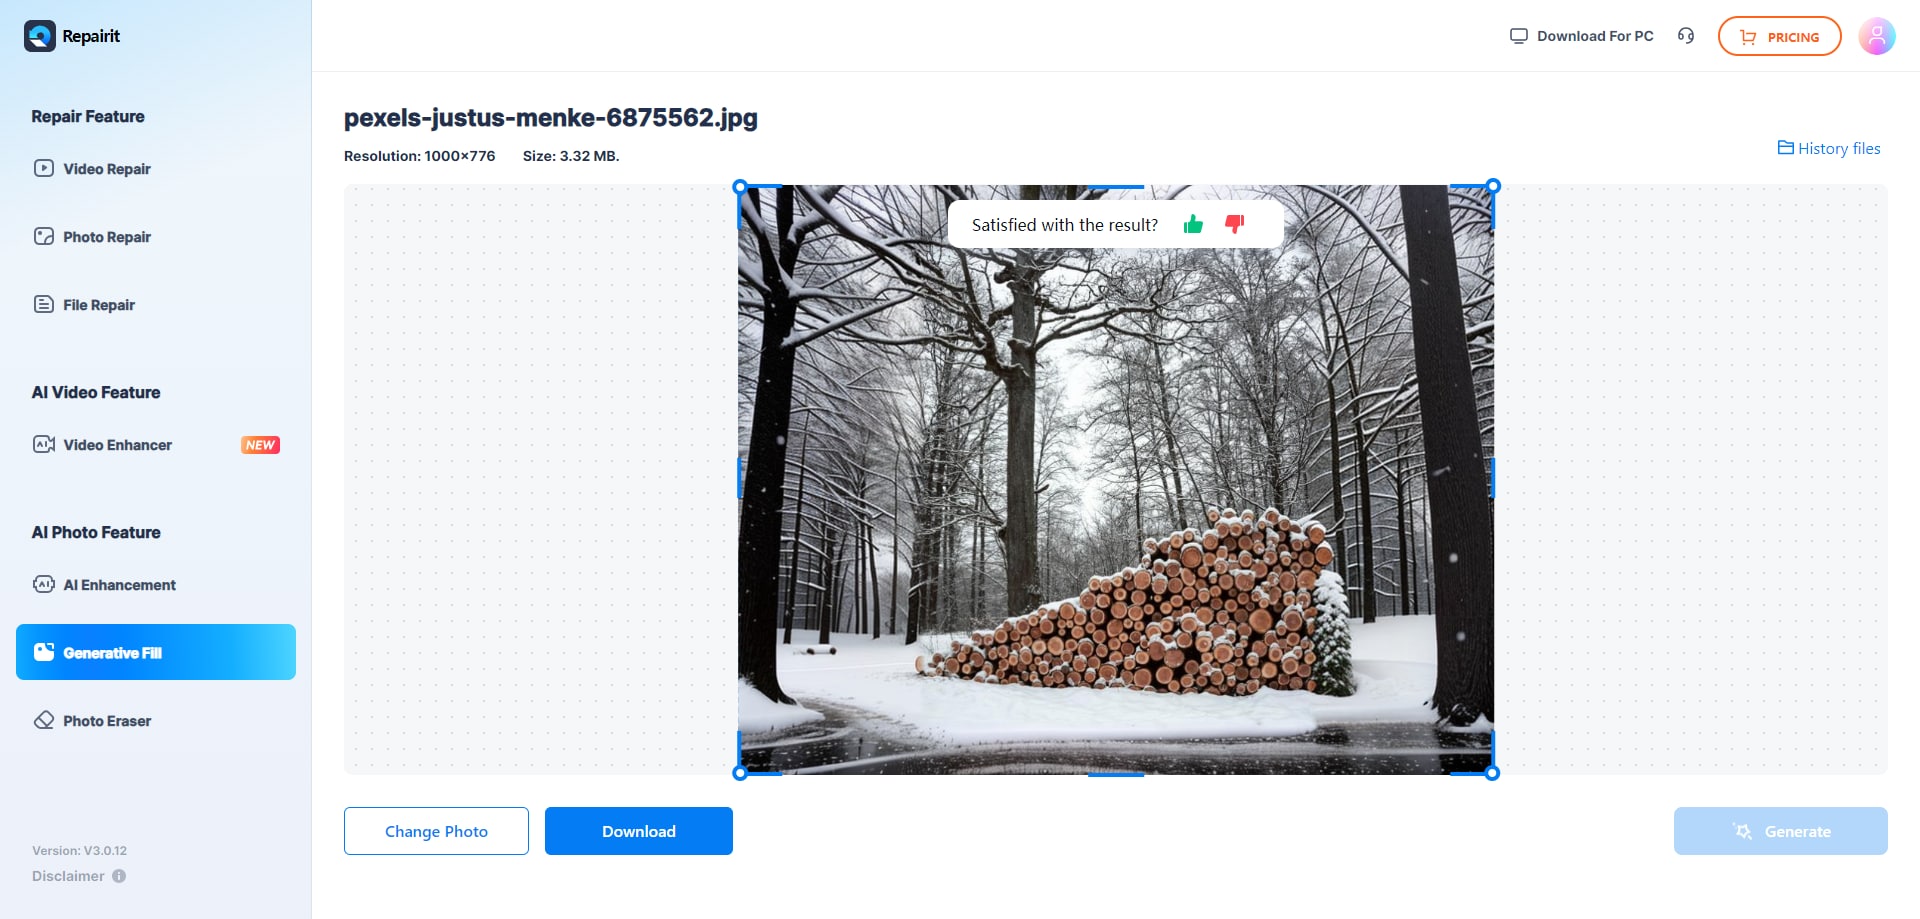
Preview the repaired videos
Click the "play" icon ![]() to watch the video that has been repaired. If you‘re satisfied with it, You can either click on the "download" icon
to watch the video that has been repaired. If you‘re satisfied with it, You can either click on the "download" icon ![]() beside the "play" icon, or click "Download All" on the lower right corner to download the videos.
beside the "play" icon, or click "Download All" on the lower right corner to download the videos.