
Are you tired of posting images daily on Instagram only to see them look blurry and faded after trying every possible solution? This situation can be very disappointing, especially when you've spent hours of effort taking a perfect shot and editing it. Whether the issue was related to power, photoshoot settings, Instagram compression, or poor internet, seeing your photos lose quality takes away the charm.
Therefore, to save you from this situation, we will explore a simple guide with practical and straightforward ways to deal with blurred Instagram photos. So, utilize these fixes and reliable tools to restore clarity, boost quality, and ensure your Instagram feed looks just the way you intended.
In this article
Part 1. Why Do My Pics Look Blurry on Instagram?
If you've ever had Instagram blurred photos, you might have wondered how they lost their quality despite taking security measures. To determine that, we’ve gathered some possible reasons that might be making your image blurry and less appealing:
1. Instagram Image Compression
To conserve space and aid in loading the images quickly, this application will automatically compress the image, which may diminish your image clarity and details. This is usual when the image is resized to the optimum size or saved at the optimum resolution, thereby being compressed when posted.
2. Incorrect Resolution or Aspect Ratio
Note that the ideal requirements for posting images on Instagram are 1080 x 1080 pixels for square, 1080 x 1350 pixels for portrait, and 1080 x 566 pixels for landscape. If you post a picture that doesn’t match the ideal resolution and size of the platform’s requirements, it can lead to unwanted cropping and stretching.
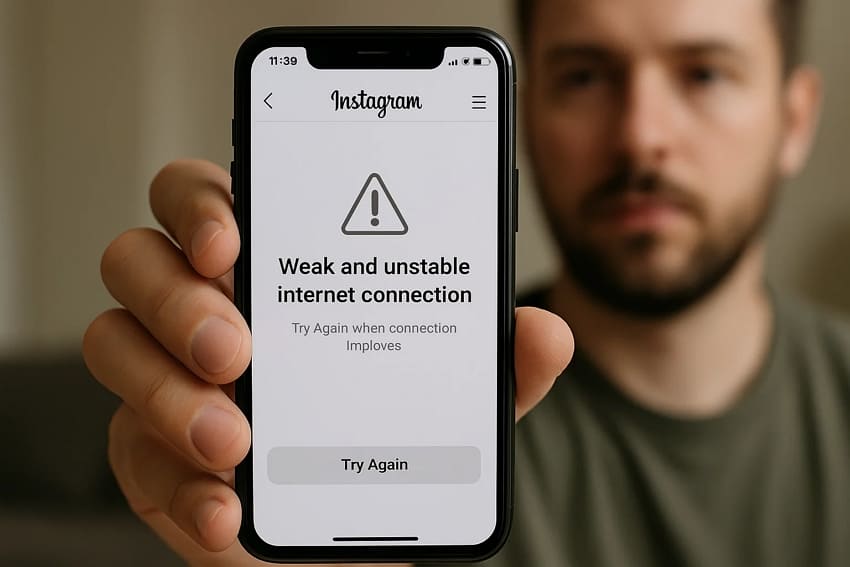
3. Weak or Unstable Internet Connection
If you are using a weak or unstable internet connection, it can interrupt the uploading procedure and cause the image to not upload at the highest quality. Due to these factors, they can also become corrupted, resulting in blurred Instagram photos.
4. Data Saver Mode or Low-Quality Upload Settings
When you have a poor or unstable internet connection, it may cut the uploading process and make the image fail to upload at the best quality. They are also prone to corruption due to these factors, which causes blurred Instagram photos.
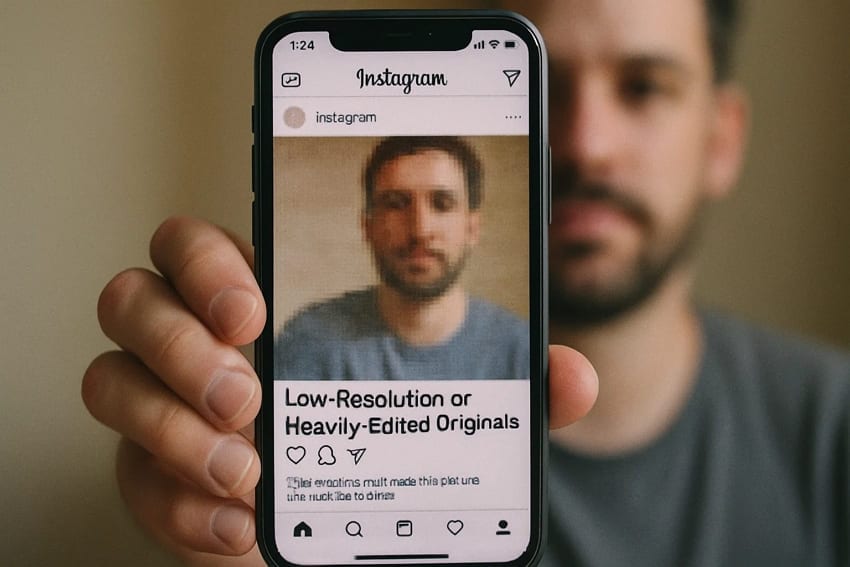
5. Low-Resolution or Heavily-Edited Originals
When the original image is of low quality and is further edited extensively, it will surely lose quality upon upload. In addition, Instagram compressions will enhance the imperfections and make the picture pixelated and blurred.
Part 2. General Fixes to Deal with Instagram Blurred Photos
Upon knowing “Why do my pics look blurry on Instagram,” we've offered you some seamless solutions that you can consider to upscale your image:
Way 1. Turn Off Data Saver Mode
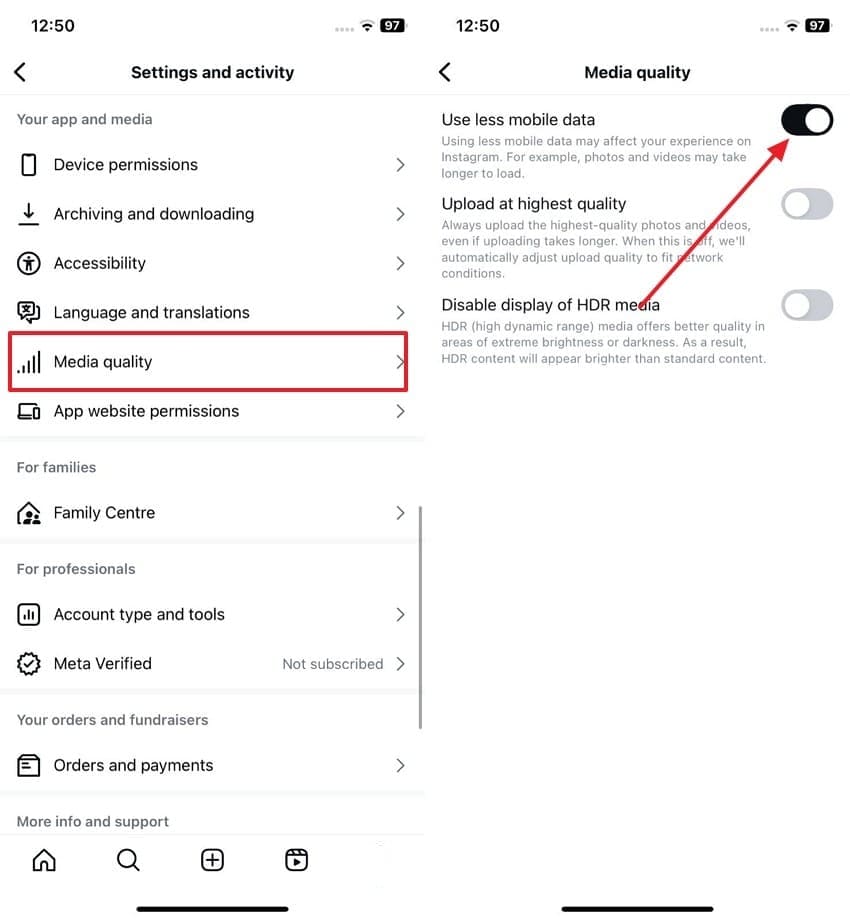
In order to upload an image in its best quality, first, turn off the data saver mode, as it will make sure that Instagram does not compress your images without a reason. Above all, it will maintain the original resolution and details of your image in the uploading process. So, to know how to turn off this option, review the steps mentioned below for guidance:
Instructions: After heading to the profile, access the settings by picking the “Hamburger” icon and scroll down to select the “Media Quality” option. Now, on the new interface, disable the “Use Less Mobile Data” option to upload photos and videos in the highest quality available.
Way 2. Enable Upload at Highest Quality
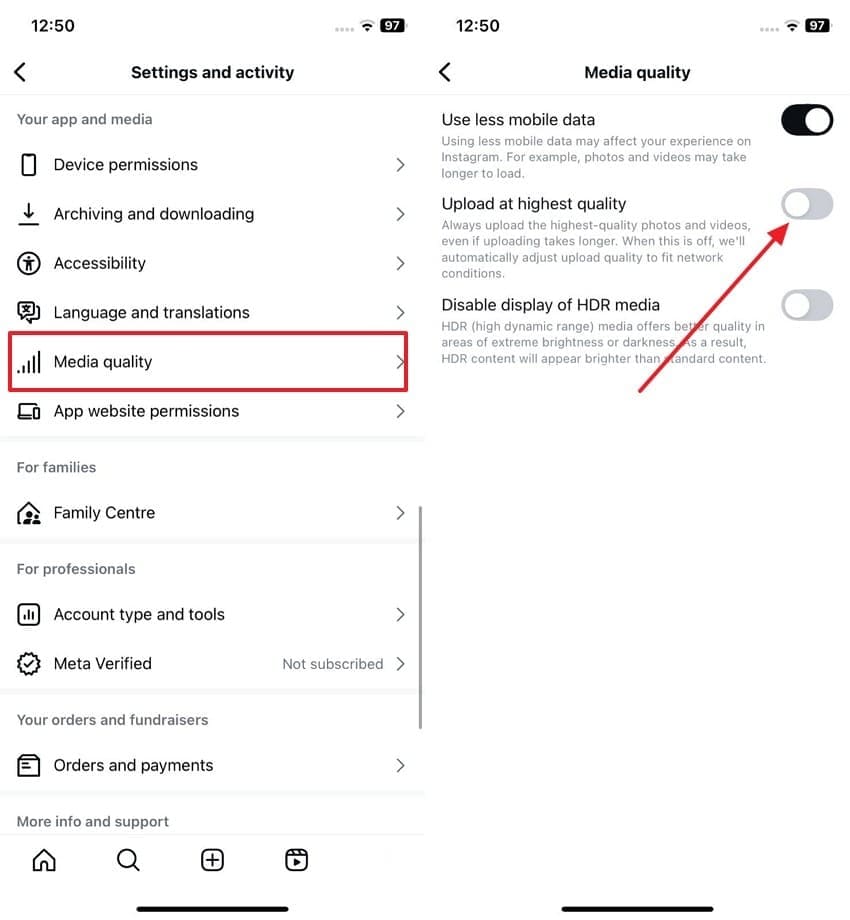
For questions, “Why do my pictures look blurry on Instagram?" Enabling the upload at high quality option will preserve the clarity and original resolution of the image. This will also guarantee that the platform does not overly compress your images, enabling them to appear sharp and crisp. Thus, upon heading to the settings, here is how you can enable this option in a few taps:
Instructions: From the Instagram settings, choose the “Media Quality” option and enable the “Upload at High Quality” option.
Way 3. Enhance Your Photos with a Professional Image Enhancer
As a workaround, you can use any image-enhancing tools while choosing some of the mentioned settings. After picking these, you’ll be able to sharpen details, adjust listening, and reduce noise with various editing tools.
However, ensure to opt for one that is AI-powered, supports batch processing, and offers you one-click enhancing solutions. Additionally, the tool must preserve image quality and support high-resolution exports to limit further degradation of quality.
Part 3. Looking to Enhance Blurred Instagram Photos? 5 Tools
To help you upscale the blurred Instagram photos, review this section thoroughly since it offers 5 easy-to-use tools with a detailed guide on photo enhancing.
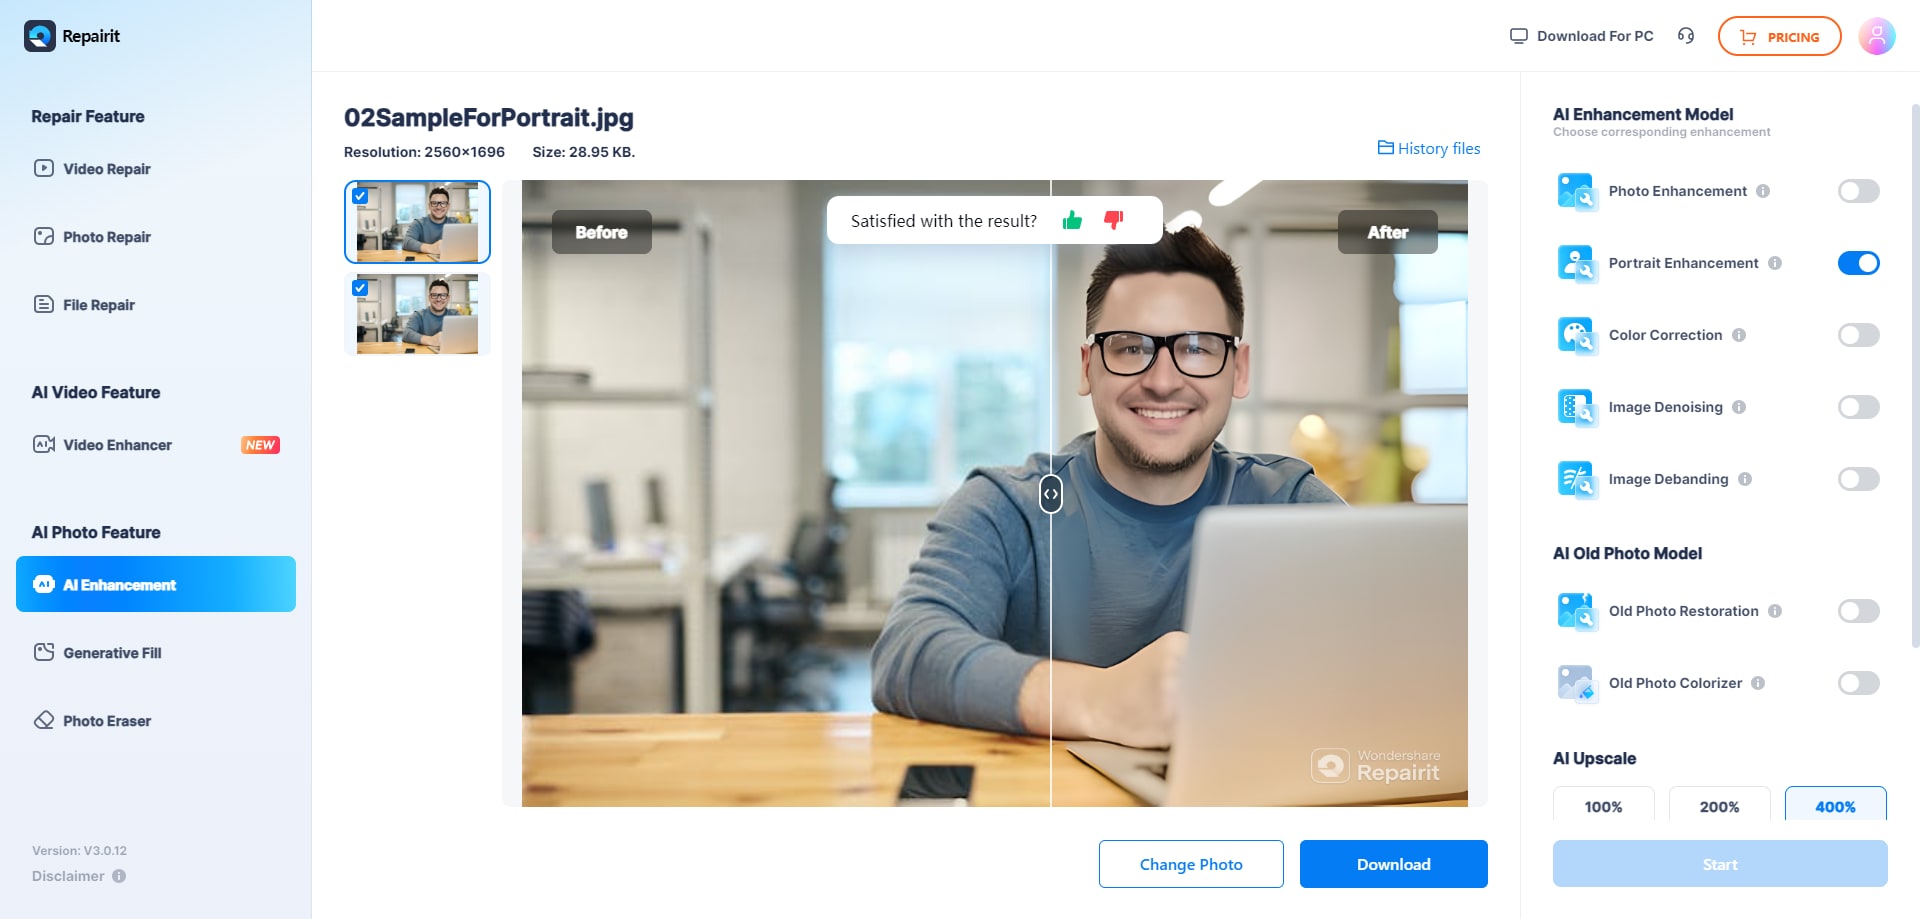
1. Repairit AI Photo Enhancer
Being AI-powered, Repairit offers you an AI Photo Enhancer that you can seamlessly access on your browsers as it supports formats like JPG/JPEG/PNG/BMP/WEBP. Working on advanced AI algorithms, this tool can optimize color balance, uncover hidden details, and resolve blurred edges issues. Regarding photo enhancement, it supports various models, including photo enhancement, color correction, and image denoising.
Most importantly, users can choose from 100 to 400% AI Upscale option to make this process effortless. After getting the results, users can also change the image from within the result screen rather than starting the process again. Being a versatile option, it also supports old AI photo models to let you restore and colorize your old and damaged images.
Key Features

-
Preview Effortlessly: Upon enhancing the image, users can easily preview the enhanced Instagram image to determine if the results are worth saving.
-
Batch Processing: Despite being easy to use, it also offers batch processing to enhance multiple Instagram images in one go.
-
History: Within the History tab, users can fetch the previous enhanced Instagram files for easy reference, comparison, or re-download.
Guide to Enhance an Instagram Image with Repairit AI Photo Enhancer
To regain the originality of Instagram blurred photos, the following guide shows how you can use this too in 3 simple steps:
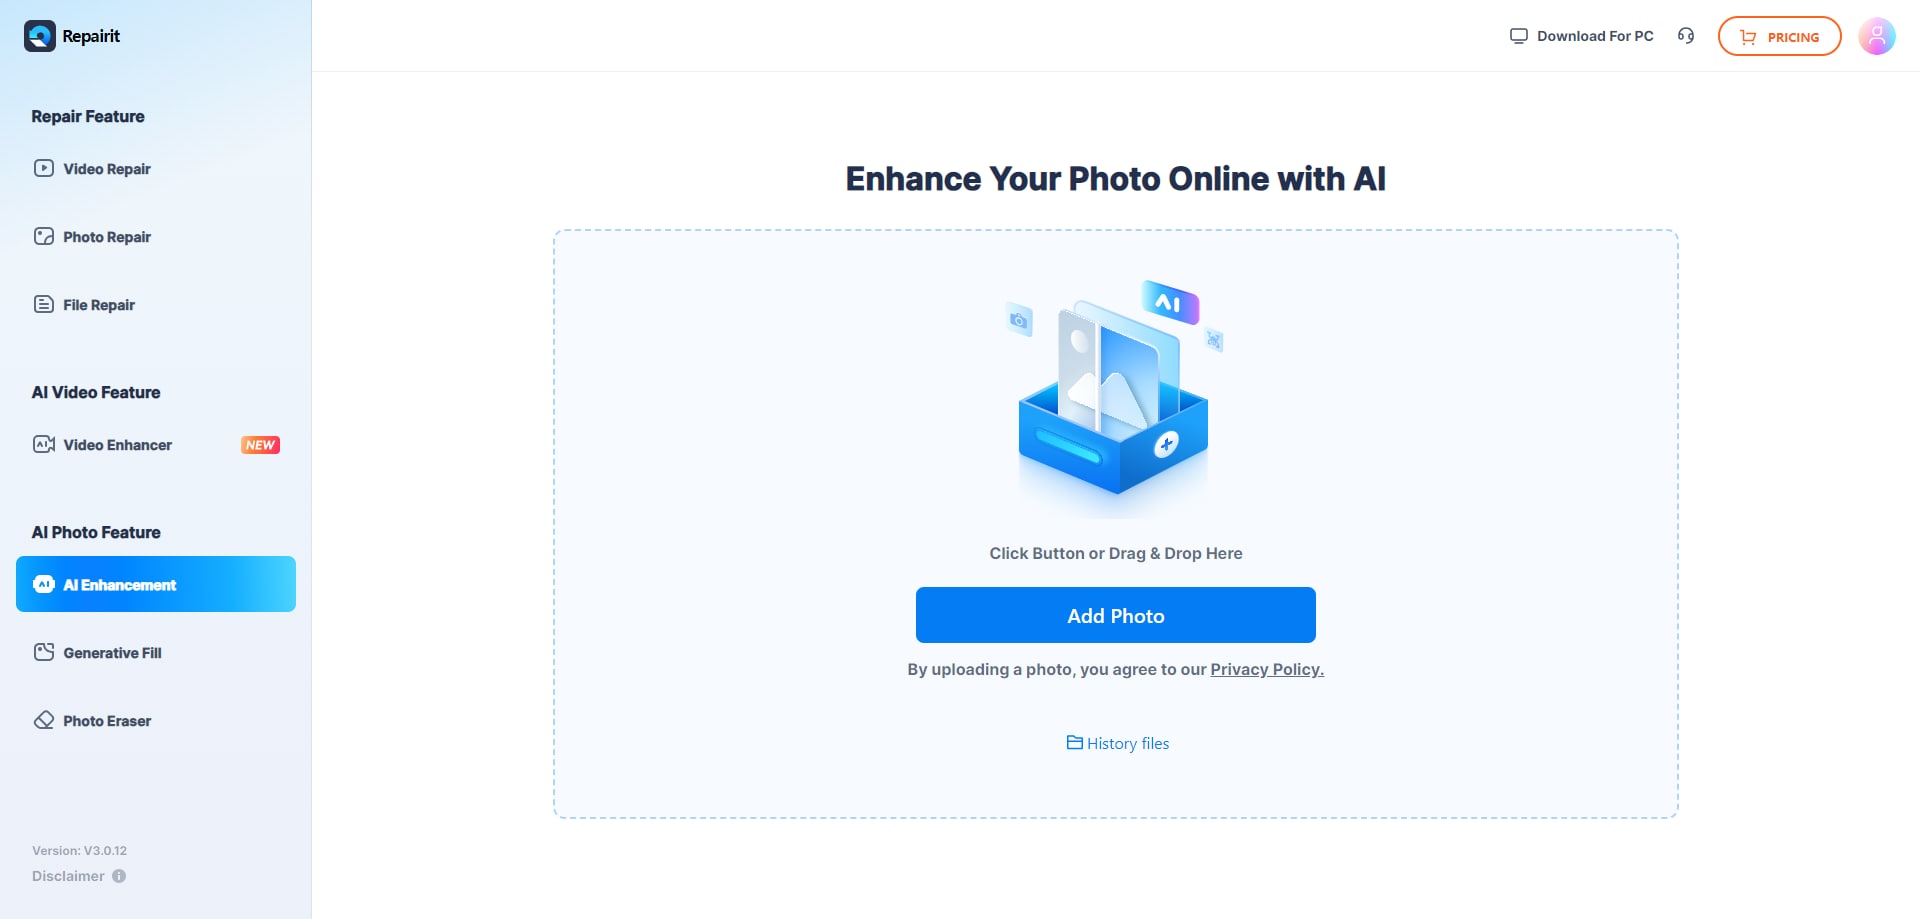
Step 1. Insert Photo in the AI Photo Enhancement Feature
Within the “AI Photo Enhancement” feature of Repairit Online, start by pressing the “Add Photo” button to fetch the blurred Instagram image from the device.
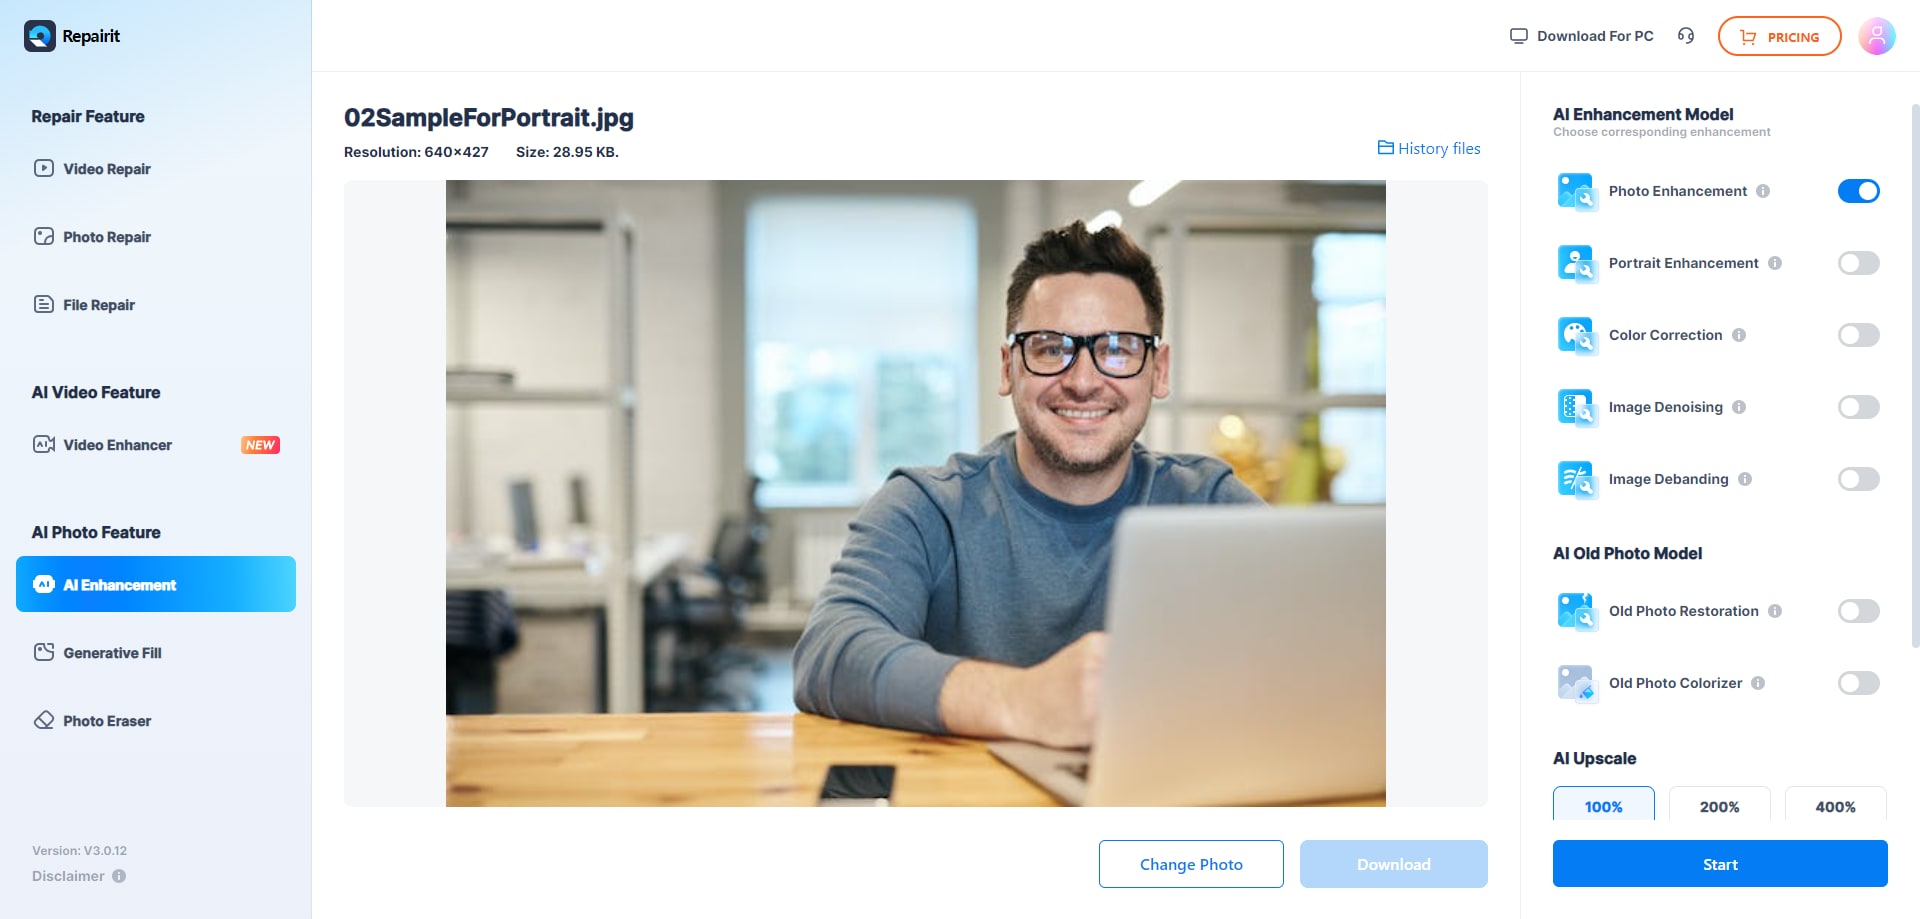
Step 2. Pick the Enhancement Model for Your Instagram Image
Locate the “AI Enhancement Model” section, toggle the “Photo Enhancement" option, and let the tool upscale the Instagram image after clicking the “Start” button.
Step 3. Preview & Download the Upscaled Instagram Image
When the process ends, review the changes made and press the “Download” button to save the Instagram picture on your device.
Enhance an Instagram Image
 Security Verified. Over 7,302,189 people have downloaded it.
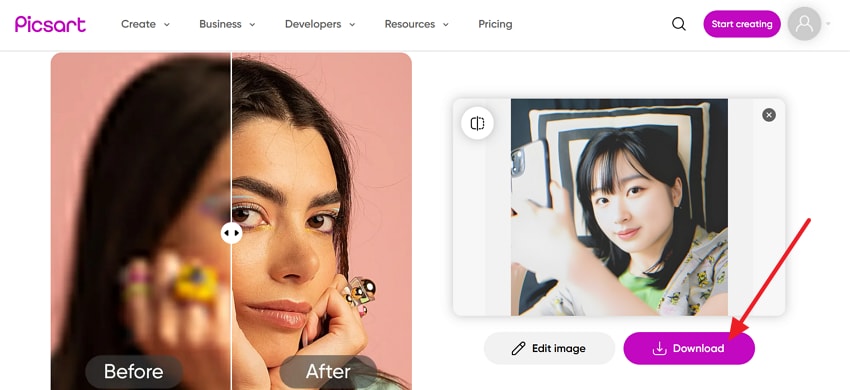
2. Picsart
To get answers for “Why do my pics look blurry on Instagram?” use the Piscart image enhancer, which allows you to compare the enhanced results. Moreover, users can further edit the image, where they can insert text or resize the image as per Instagram’s requirements. You can also make use of 100 MB to 5GB storage for saving and managing multiple files once enhanced through the given steps:
Instructions: After selecting the Instagram file from the device using the “Browse Files” button, it will automatically start enhancing the blurred image, which you can save by clicking "Download.”
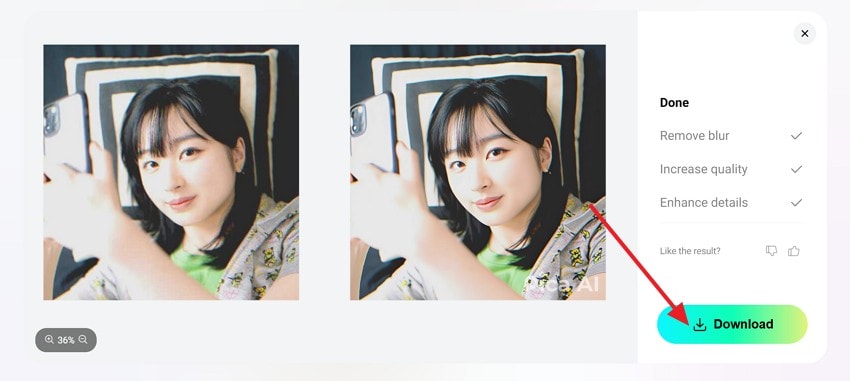
3. Pica AI
To fix the blurred Instagram photos, this tool allows you to upload up to 50 images at a time to save the manual hassle. Upon uploading, the tool automatically removes the blurred effect through the given steps, keeping the image for 24 hours to ensure data security. With its premium plans, users can choose to export the image in HD to 4K quality without having a watermark using this tutorial:
Instructions: Start by uploading your Instagram image to the tool, after which automatic enhancement will start, and you can choose the “Download” button to export it.
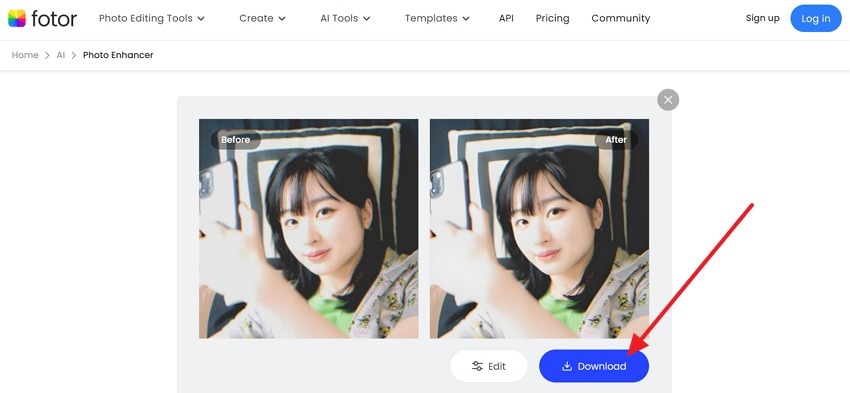
4. Fotor
Supporting JPG, JPED, PNG, WEBP, and many other formats, the tool allows you to drag or paste the URL of your Instagram blurred photos for enhancement. Featuring AI-powered capabilities, the tool restores image quality in seconds and lets you edit the image further with tools like Magic Eraser and BG Remover. Additionally, users can compare the upscaled results after enhancing the image through the given instructions:
Instructions: As you access the tool, upload your Instagram post and let the tool automatically enhance your image in seconds. When the process ends, click the “Download” button to export and post the upscaled image on Instagram.
5. iLoveIMG
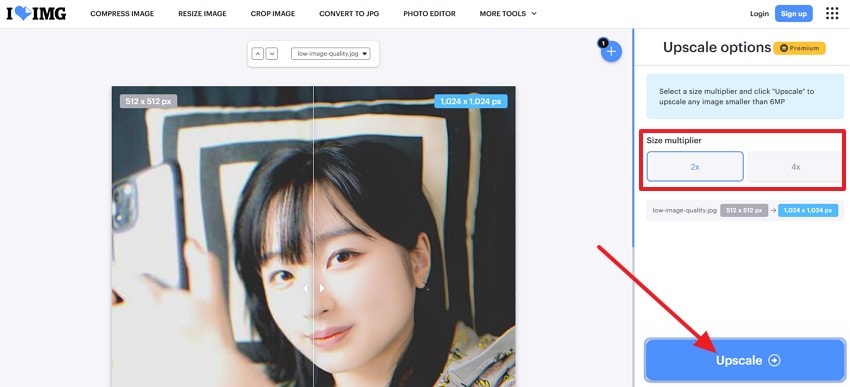
When you wonder, “Why do my pictures look blurry on Instagram?" iLoveIMG can be an ideal solution, offering you 2x and 4x upscaling options. Unlike other tools, it displays the image resolution so that you can determine whether it suits the platform's requirements. Additionally, after upscaling through these sequential steps, users can then resize and compress the image while downloading, without any quality loss:
Step 1. On the main interface, upload your image, select from the given “Size Multiplier” options, and tap the “Upscale” button.
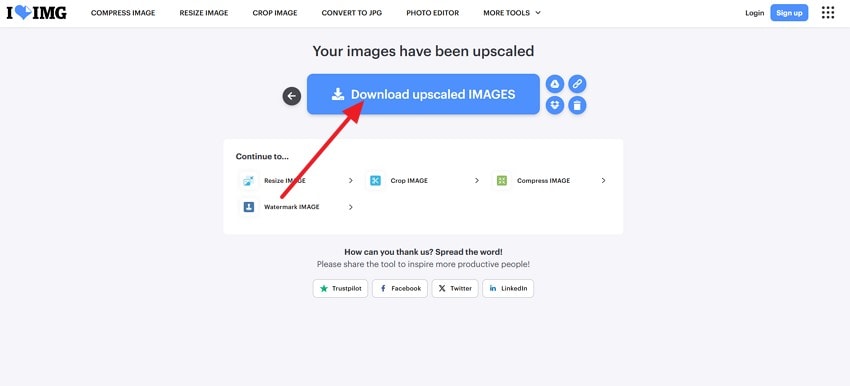
Step 2. After that, choose the “Download Upscaled IMAGES" option when the tool ends the image enhancement process.
Conclusion
To wrap up, having blurred Instagram photos can affect your audience engagement and make your profile less appealing. To address this issue, we’ve provided you with generic and image-enhancing solutions to consider for restoring the image's originality. Among all these fixes, opt for Repairit since it's AI-powered and supports various AI enhancement models.
Frequently Asked Questions
-
1. Can I enhance a photo after uploading it to Instagram?
Unfortunately, you can't edit or enhance the image after it's uploaded to Instagram since the platform doesn't allow post-upload modifications. To upscale it, you have to delete the post, enhance it using AI-powered solutions like Repairit, and then post it again to see if there's any change in quality. -
2. What settings should I change on Instagram to avoid photo compression?
To avoid having Instagram blurred photos, it is suggested to disable the Data Saver Mode and enable Upload at Highest Quality in your Instagram settings. Doing so will ensure that Instagram won't limit the data use, compress the image automatically, and upload pictures in optimal resolutions. -
3. Do I need to resize my images for Instagram to avoid blurriness?
Yes, if you have a portrait, it is best to resize the image as per the platform's requirements, like 1080px by 1350px. It will guarantee a higher quality and minimize the influence of the Instagram compression algorithm.
