
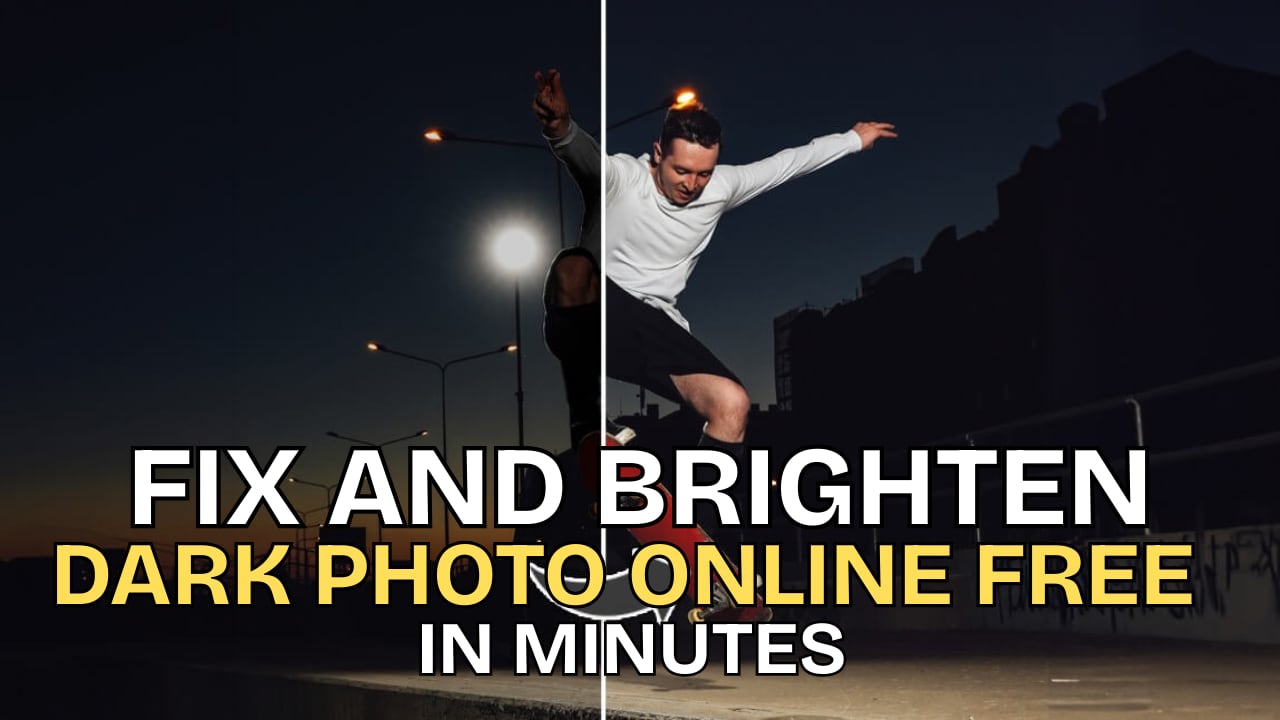
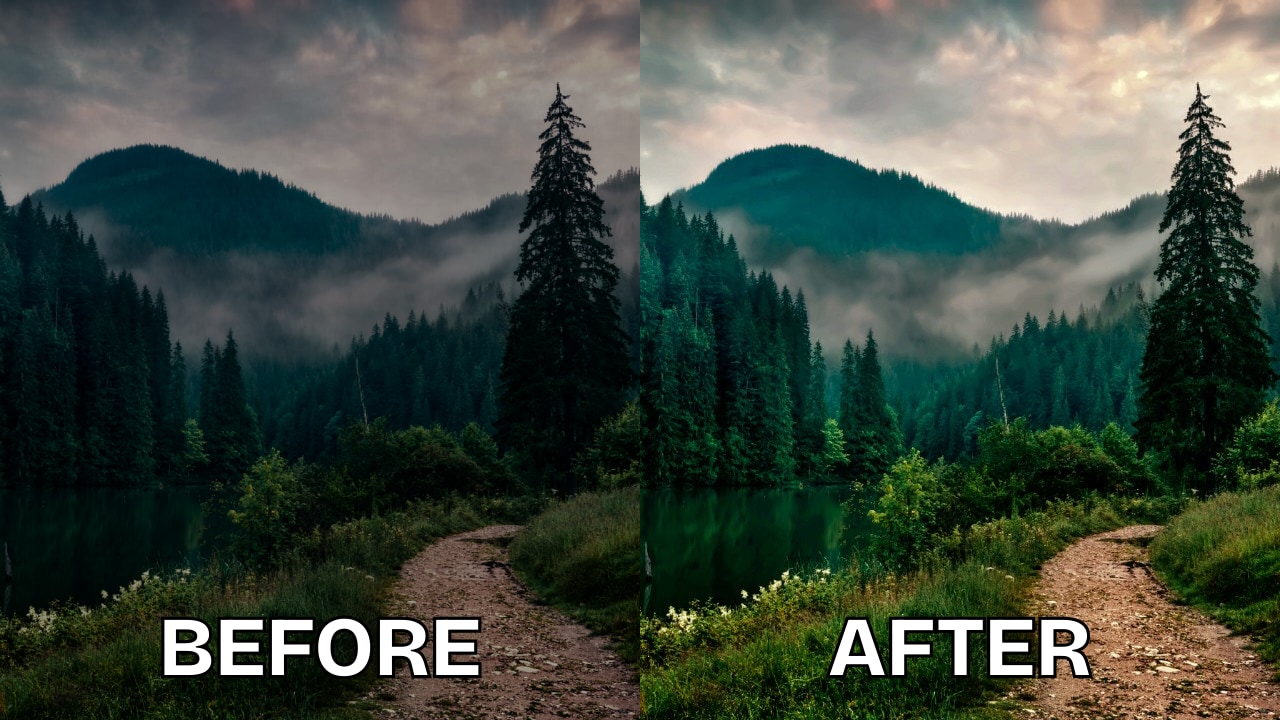
A couple’s dream photoshoot can quickly turn into a challenge when the lighting works against them, leaving their pictures dark, dull, or lacking detail. If you’ve ever faced the same struggle with underexposed photos, the good news is that fixing them has never been easier. With the right tools, you can lighten dark photos online free and restore natural brightness without advanced editing skills.
Well-lit photos are essential for capturing emotions, preserving memories, and sharing moments, but manual fixes often take too long and rarely look natural. That’s why using an online photo repair tool makes such a difference, as it balances exposure, sharpens details, and enhances colors, giving your photos a polished, professional finish in just a few clicks.
Table of Contents
Part 1. Why Do Photos Turn Out Dark?
Before fixing a dark photo, it’s important to know why it happens. Photos often turn out dim due to lighting conditions, wrong camera settings, or exposure problems. Understanding these reasons helps you prevent dark images in the future.
- Low Lighting Conditions. Shooting indoors, at night, or in poorly lit areas often results in darker photos. Since cameras rely on available light, limited illumination makes images appear dull and unclear.
- Wrong Camera Settings. Settings like a fast shutter speed or low ISO reduce the amount of light entering the lens. This can cause underexposed photos that don’t reflect what your eyes actually see.
- Shadows and Backlight Problems. When the subject is against a bright background, like sunlight or a window, the camera may adjust exposure incorrectly. This leads to a well-lit background but leaves the subject too dark.
- Issues with Exposure. Exposure determines how much light the camera captures. Too little exposure hides details in shadows, while too much can wash out highlights and ruin image balance.
By recognizing these common causes, you can better control lighting and settings when taking photos. And if mistakes still happen, online tools can help you quickly brighten and restore your images.
Part 2. Best Tools to Lighten Dark Photos Online
Editing photos no longer requires complicated software. With the right online tools, you can quickly brighten underexposed shots and make them look natural. These platforms combine AI and manual editing features, giving you everything you need to restore clarity in just a few clicks. Let’s explore the best tools you can use to lighten dark photos online free.
1. Repairit Photo Enhancer (Best Overall Solution)
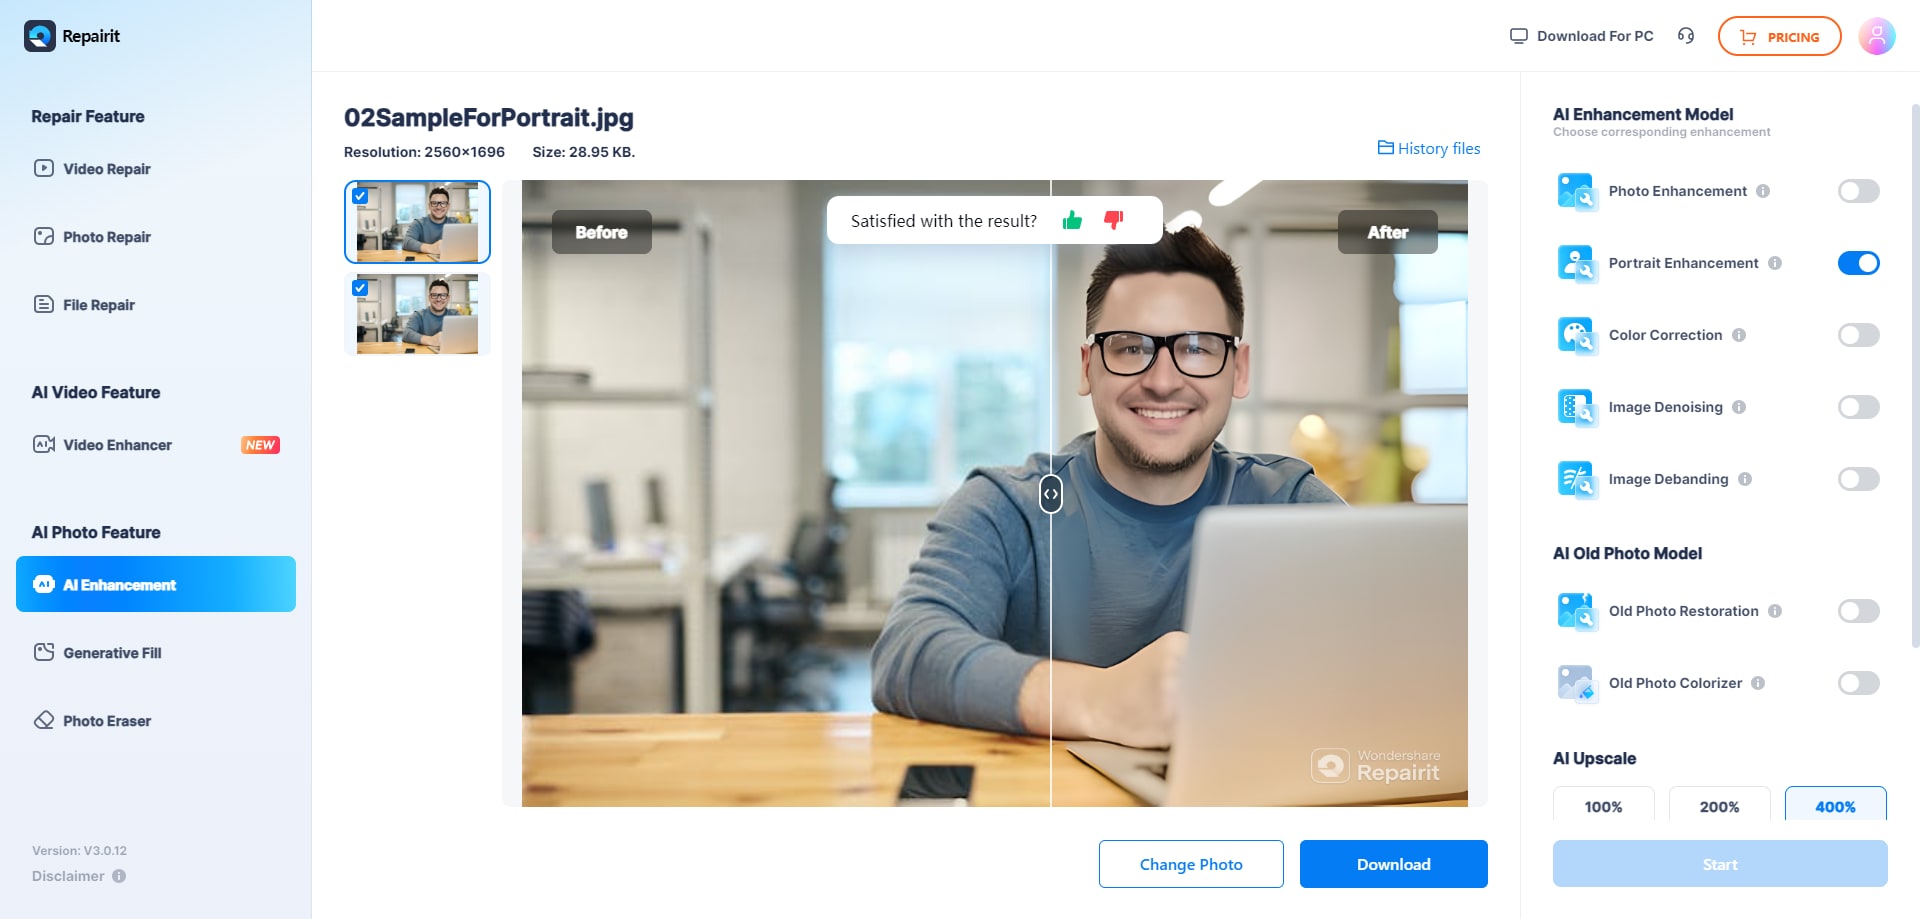
Repairit Photo Enhancer is a reliable AI-powered tool designed to restore brightness and detail in seconds. It automatically detects underexposed areas and balances light without washing out the natural look of your photo. This makes it a great option for anyone who wants professional-quality results without spending hours on manual adjustments.
Key Features
- AI-powered brightness correction
- Enhances sharpness and restores lost details
- Works on portraits, landscapes, and old photos
- One-click enhancement with no watermark
- Available online and as a mobile/desktop app
Steps to Use
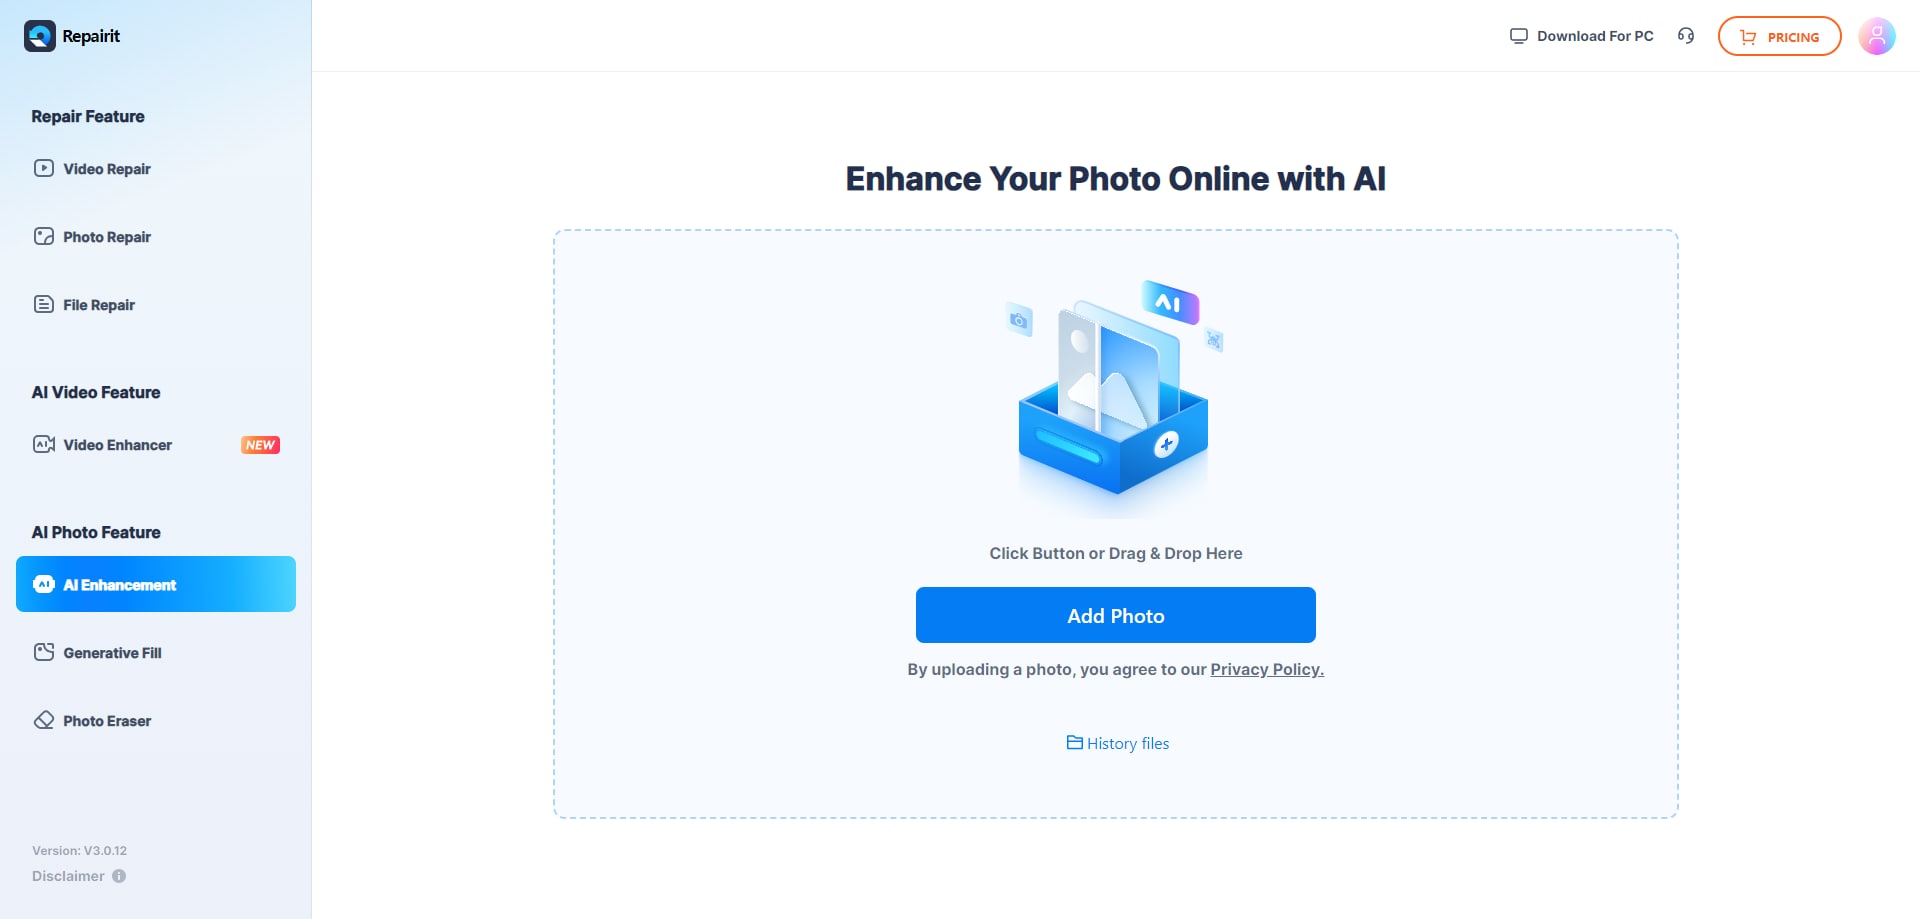
Step 1. Upload Your Photo. Go to the Repairit Online Photo Enhancer and click Upload Image to open your photo in the workspace. You can also drag and drop the file directly.
Step 2. Enhance Automatically. Select the AI Enhancement option and press Start. The tool will automatically adjust brightness, restore details, and improve clarity.
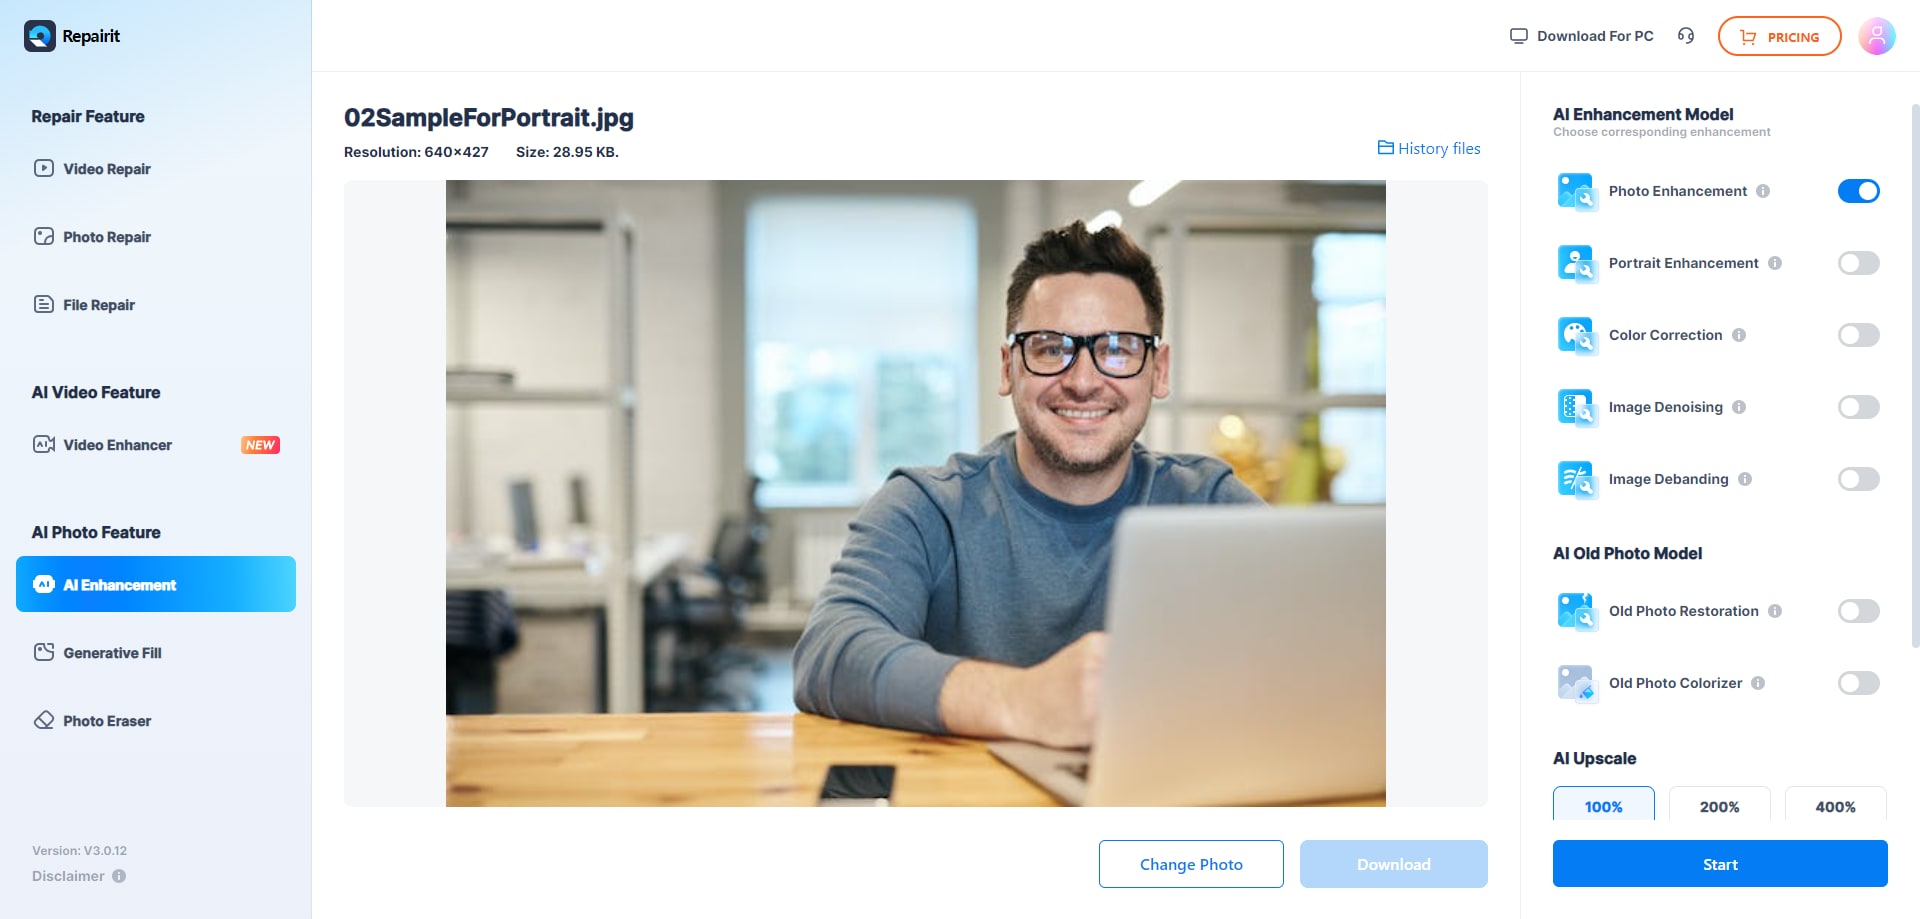
Step 3. Preview and Save. Once processing is complete, preview the enhanced result. If you’re satisfied, click Download to save the improved photo to your device.
Why It Stands Out
Repairit doesn’t just brighten photos, it intelligently restores balance, reduces noise, and keeps details sharp, making images look naturally clear instead of artificially brightened. You can use it both online and through the Repairit App for mobile.
Fix Drak Photo without Limits
 Security Verified. Over 7,302,189 people have downloaded it.
2. Fotor
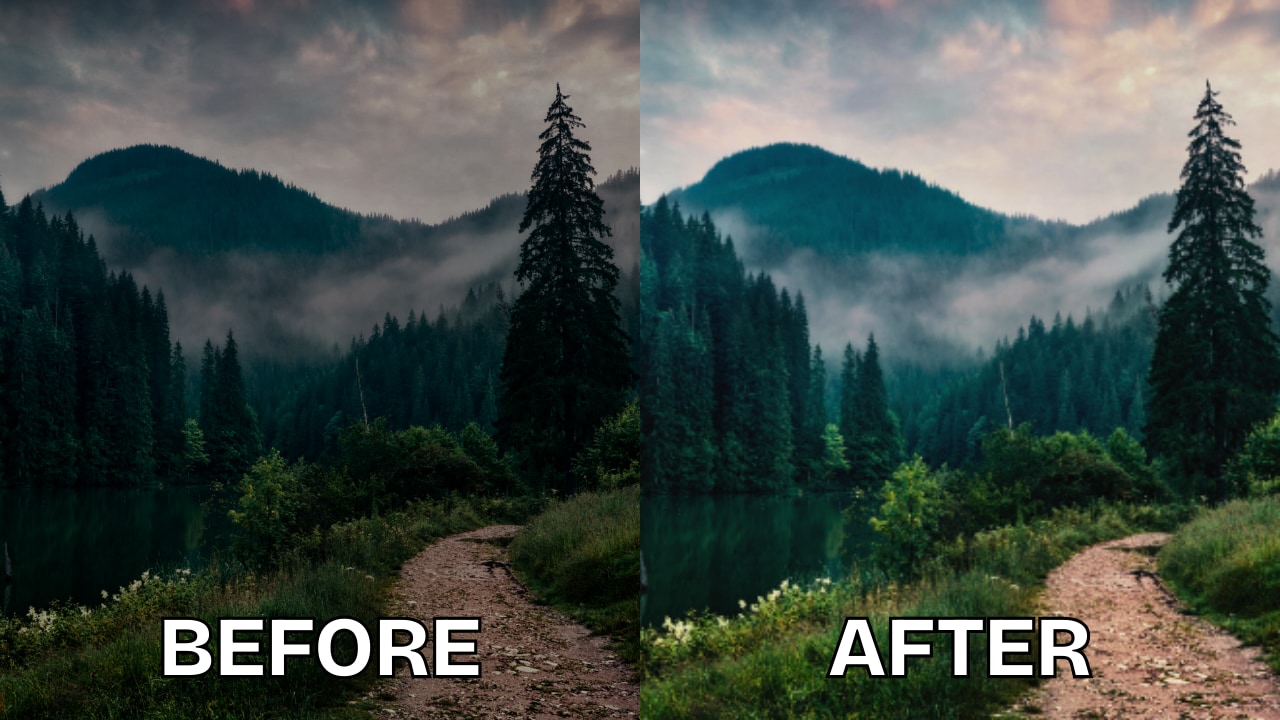
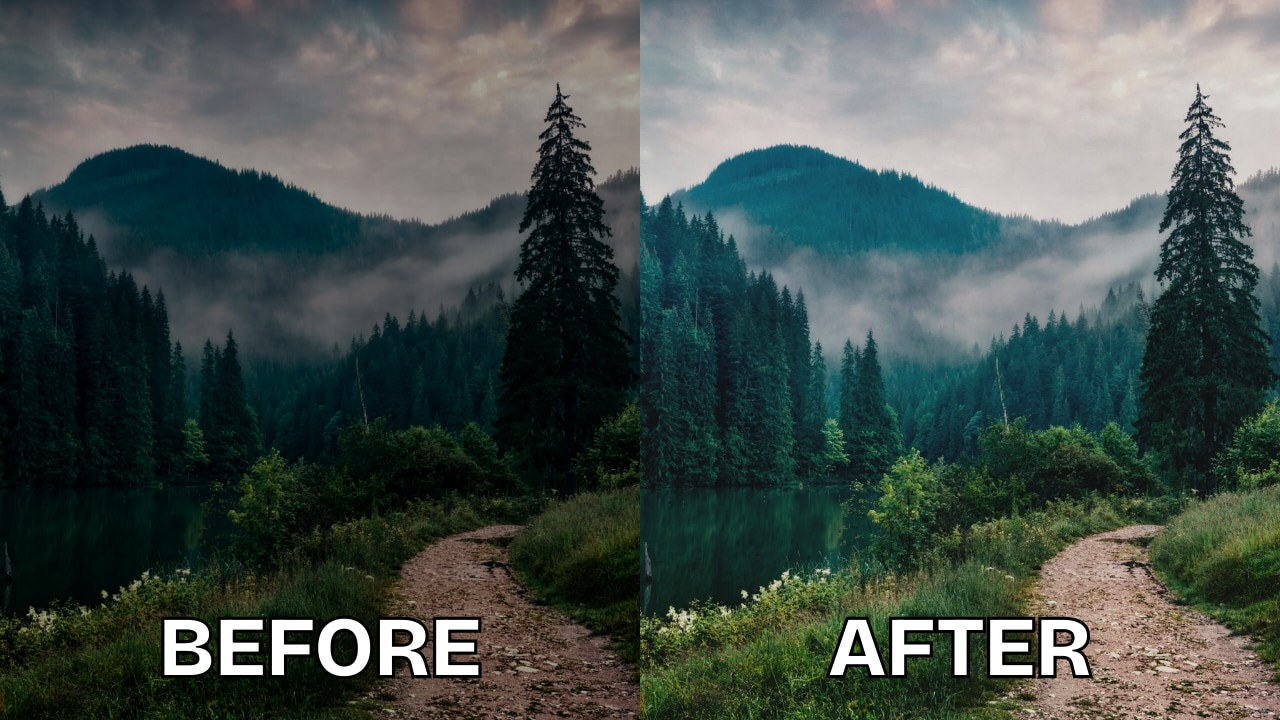
Fotor is a popular photo editor known for its simplicity and beginner-friendly interface. Instead of relying heavily on AI, it provides manual control through an easy brightness adjustment slider. This makes it perfect for users who prefer to fine-tune their edits and decide exactly how bright they want their photo to be.
Key Features
- Simple brightness and exposure sliders
- Extra editing tools like cropping, filters, and retouching
- Cloud-based editor accessible from any device
- Beginner-friendly interface
Steps to Use
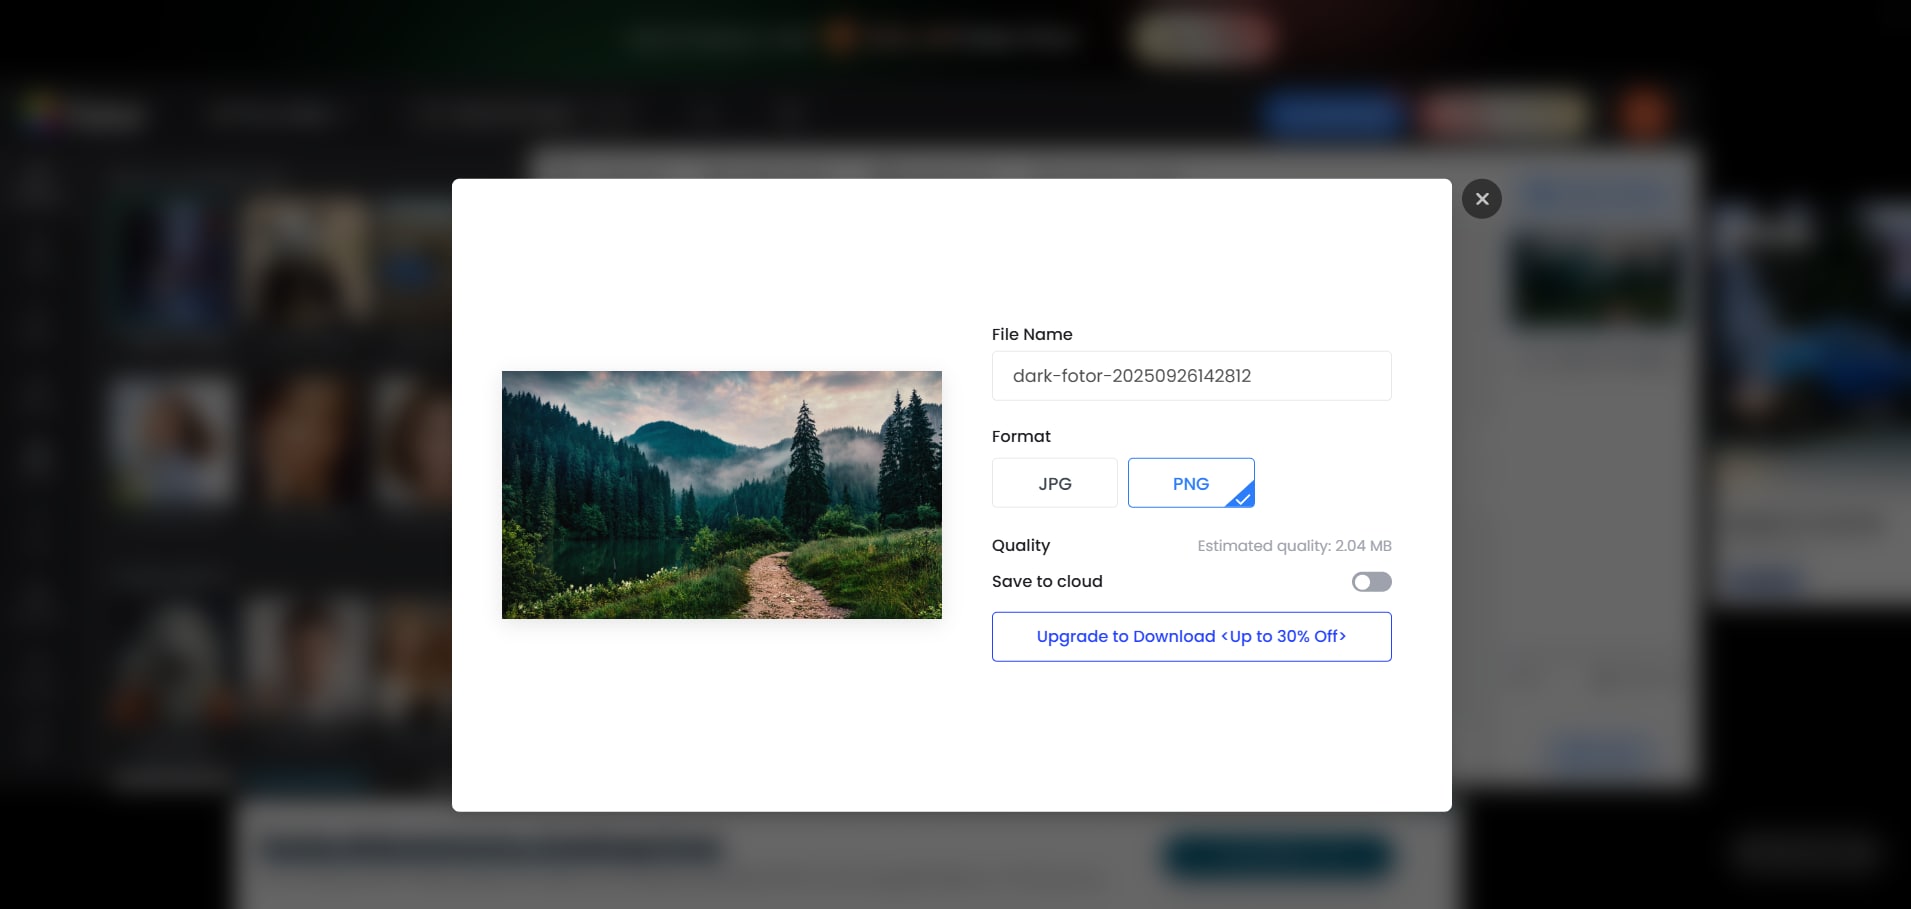
Step 1. Open Fotor Online. Visit the Fotor website and upload the photo you want to brighten.
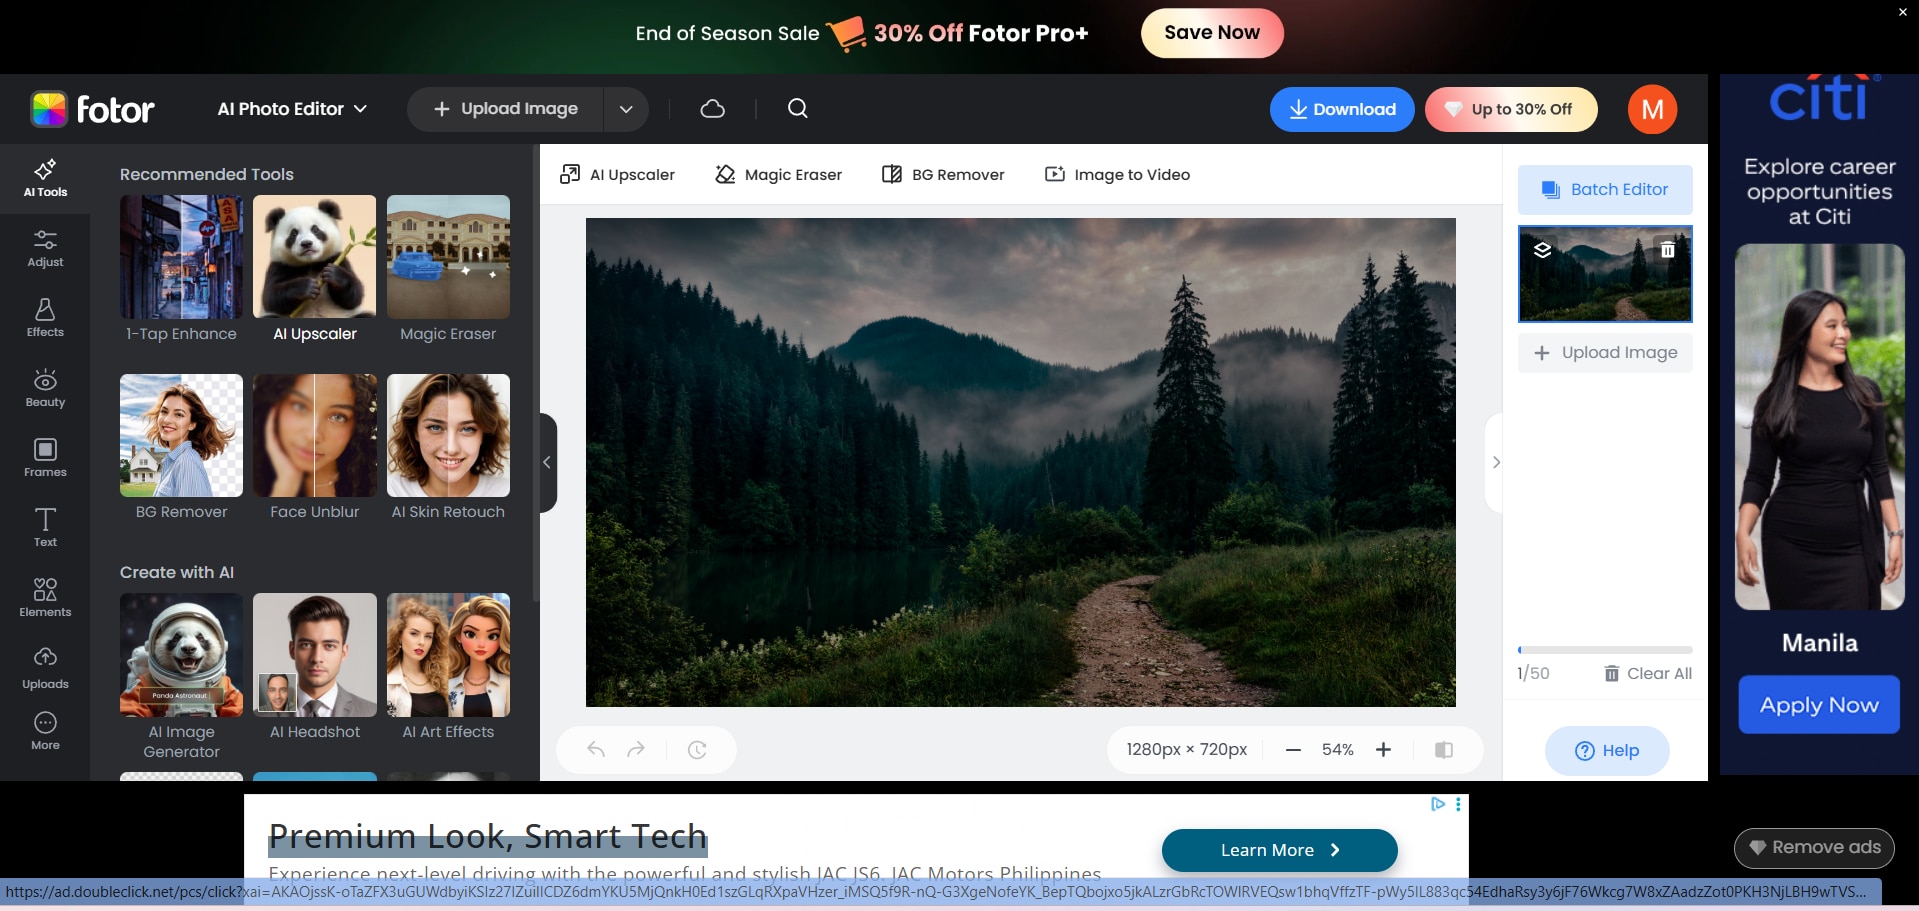
Step 2. Adjust Exposure. Use the brightness or exposure slider to bring more light into the photo.
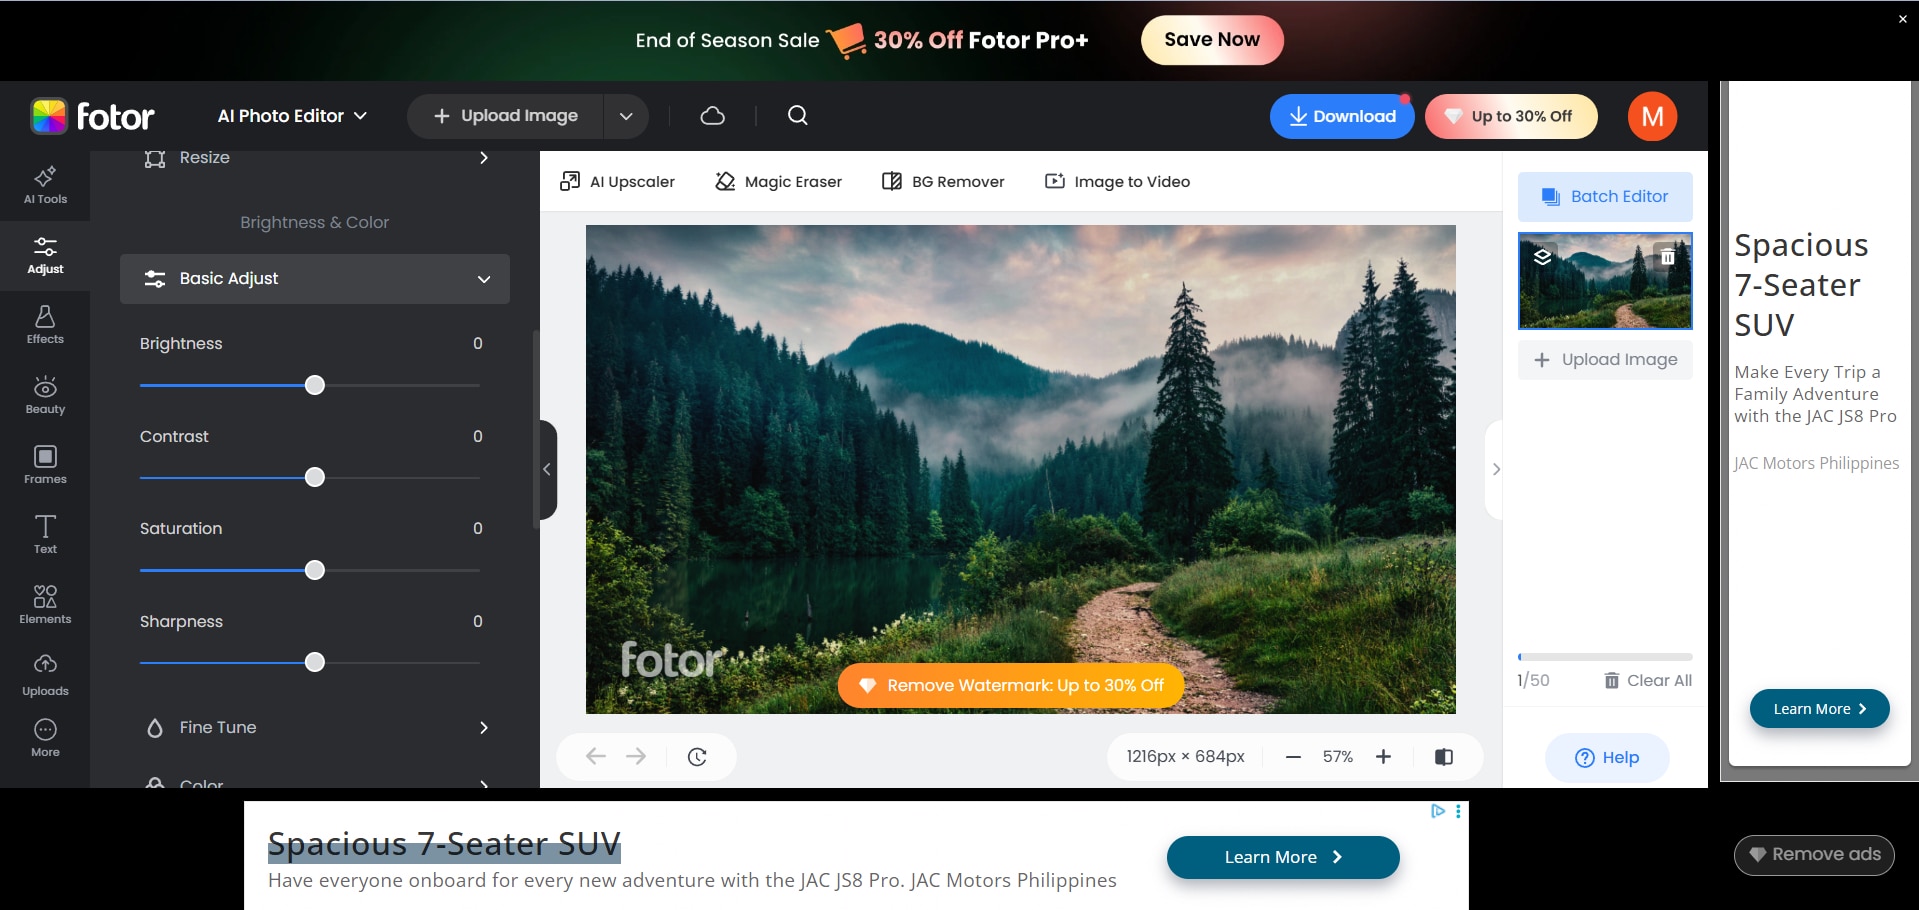
Step 3. Save Your Photo. Apply any extra edits if needed, then save the final version to your device.
Why It Stands Out
Fotor is a reliable photo editor that combines ease of use with professional-quality results. It offers a clean interface and essential tools that make adjusting brightness, contrast, and sharpness straightforward. You can enhance your images without feeling overwhelmed by complex settings, which makes it perfect if you’re new to editing. With Fotor, you get both simplicity and powerful results in one platform.
3. Pixlr
Pixlr is a free online photo editor that offers both quick fixes and advanced editing tools. It has brightness and contrast adjustments, filters, and overlays, giving users flexibility in how they enhance their photos. While it requires more manual work than AI-based tools, it’s ideal for users who want creative control while still being able to brighten images effectively.
Key Features
- Free to use with no installation required
- Brightness, contrast, and color correction tools
- Layer support for advanced editing
- Wide range of filters and overlays
Steps to Use
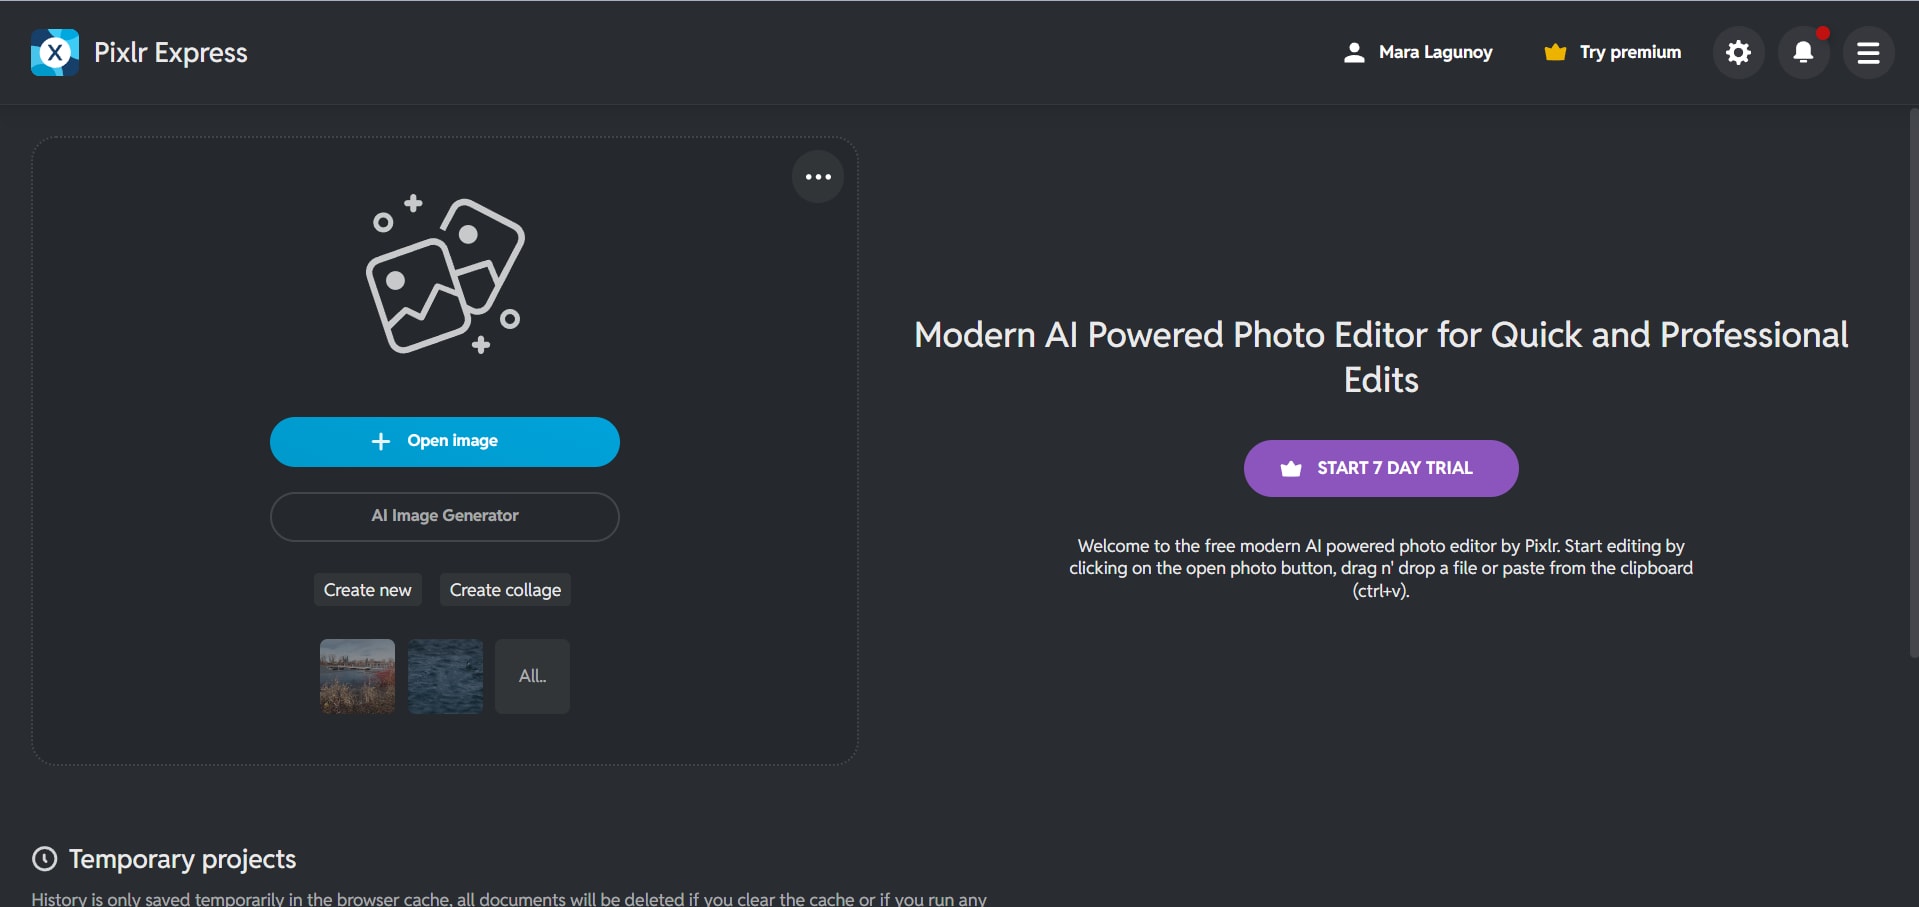
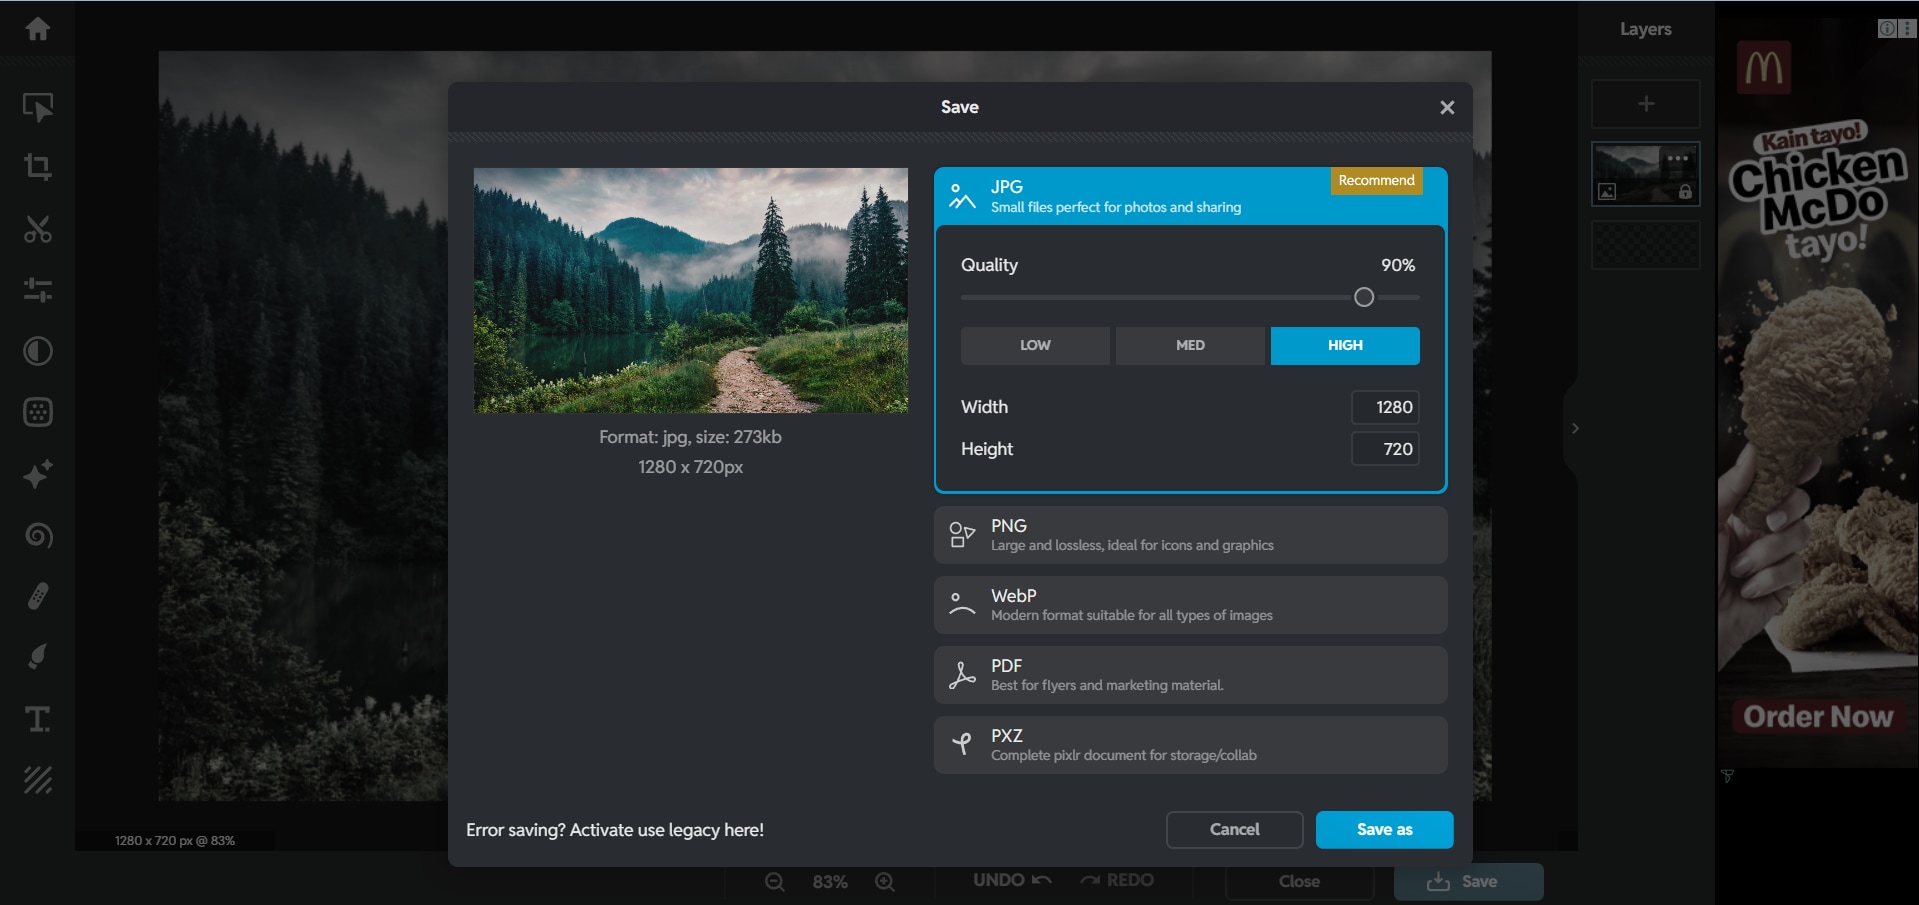
Step 1. Open Pixlr Online. Go to the Pixlr editor and upload the photo you want to fix.
Step 2. Adjust Brightness and Contrast. Use the Adjustment menu to tweak exposure settings until the photo looks brighter and clearer.
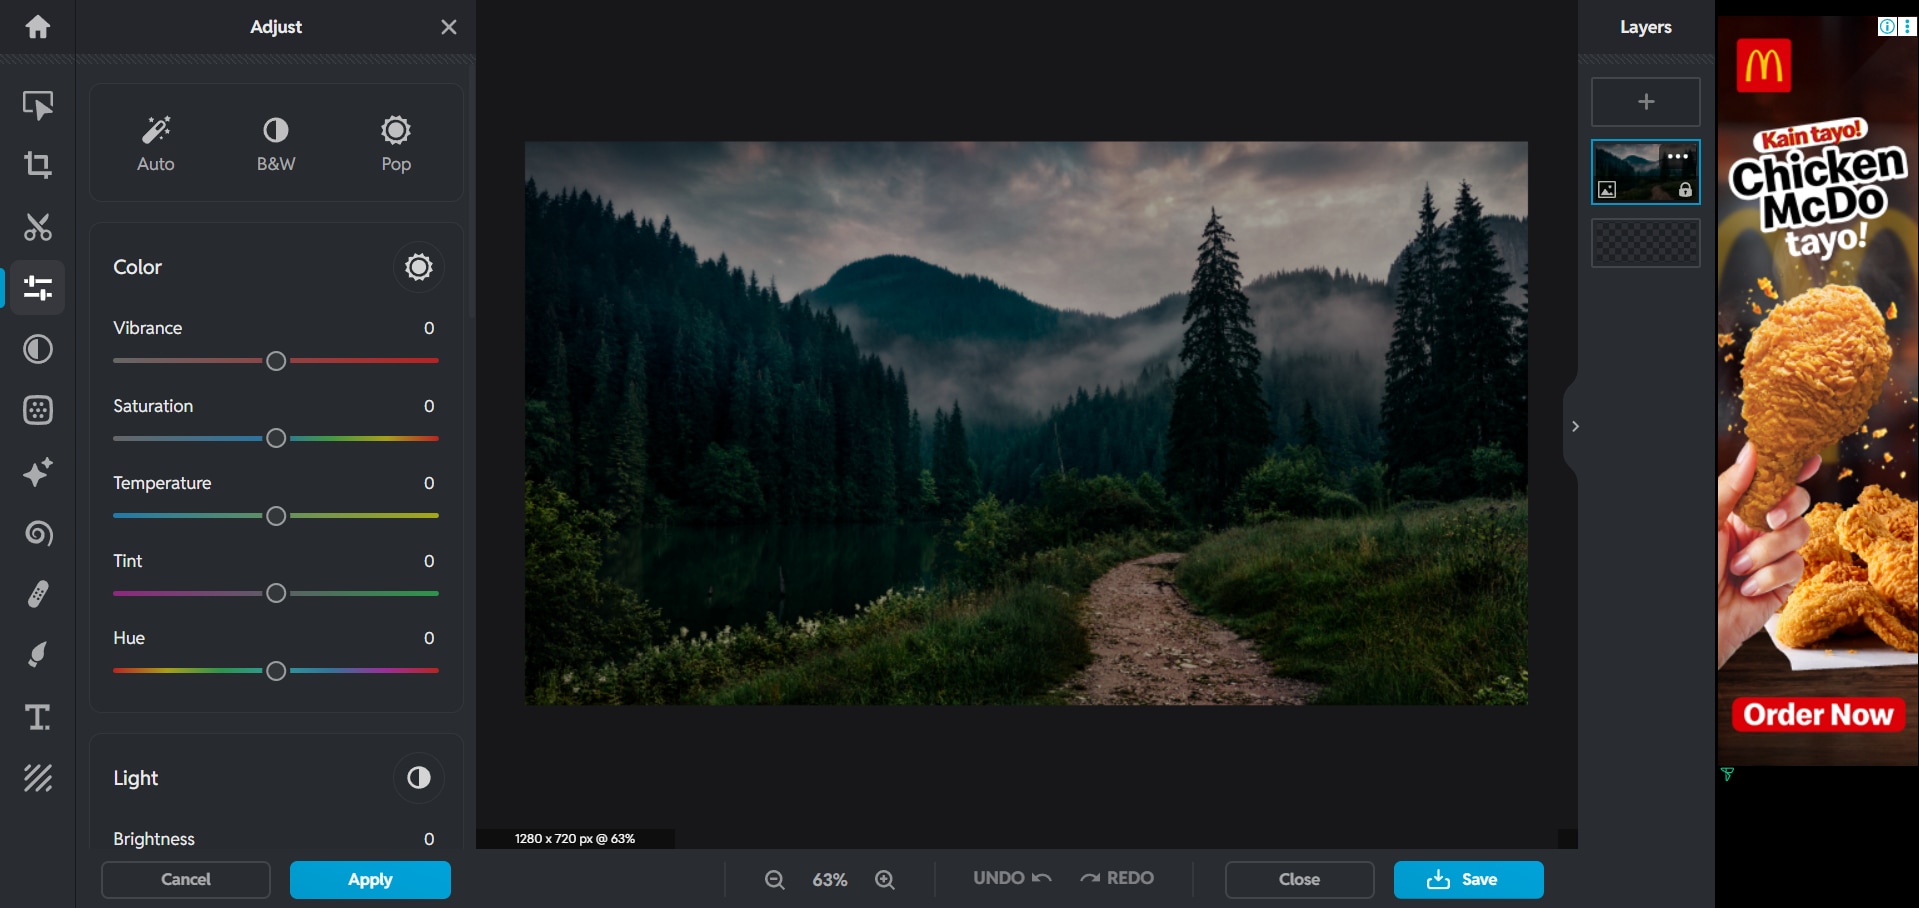
Step 3. Apply and Save. Add filters if you want, then save your final edited photo to your device.
Why It Stands Out
Pixlr is a convenient online editor that allows you to edit directly in your browser without installing any software. It provides AI-powered enhancements, exposure fixes, and creative filters that you can apply in just a few clicks. You’ll appreciate how fast and flexible it is, especially if you need quick edits while on the go. With Pixlr, you can balance speed and creativity with ease.
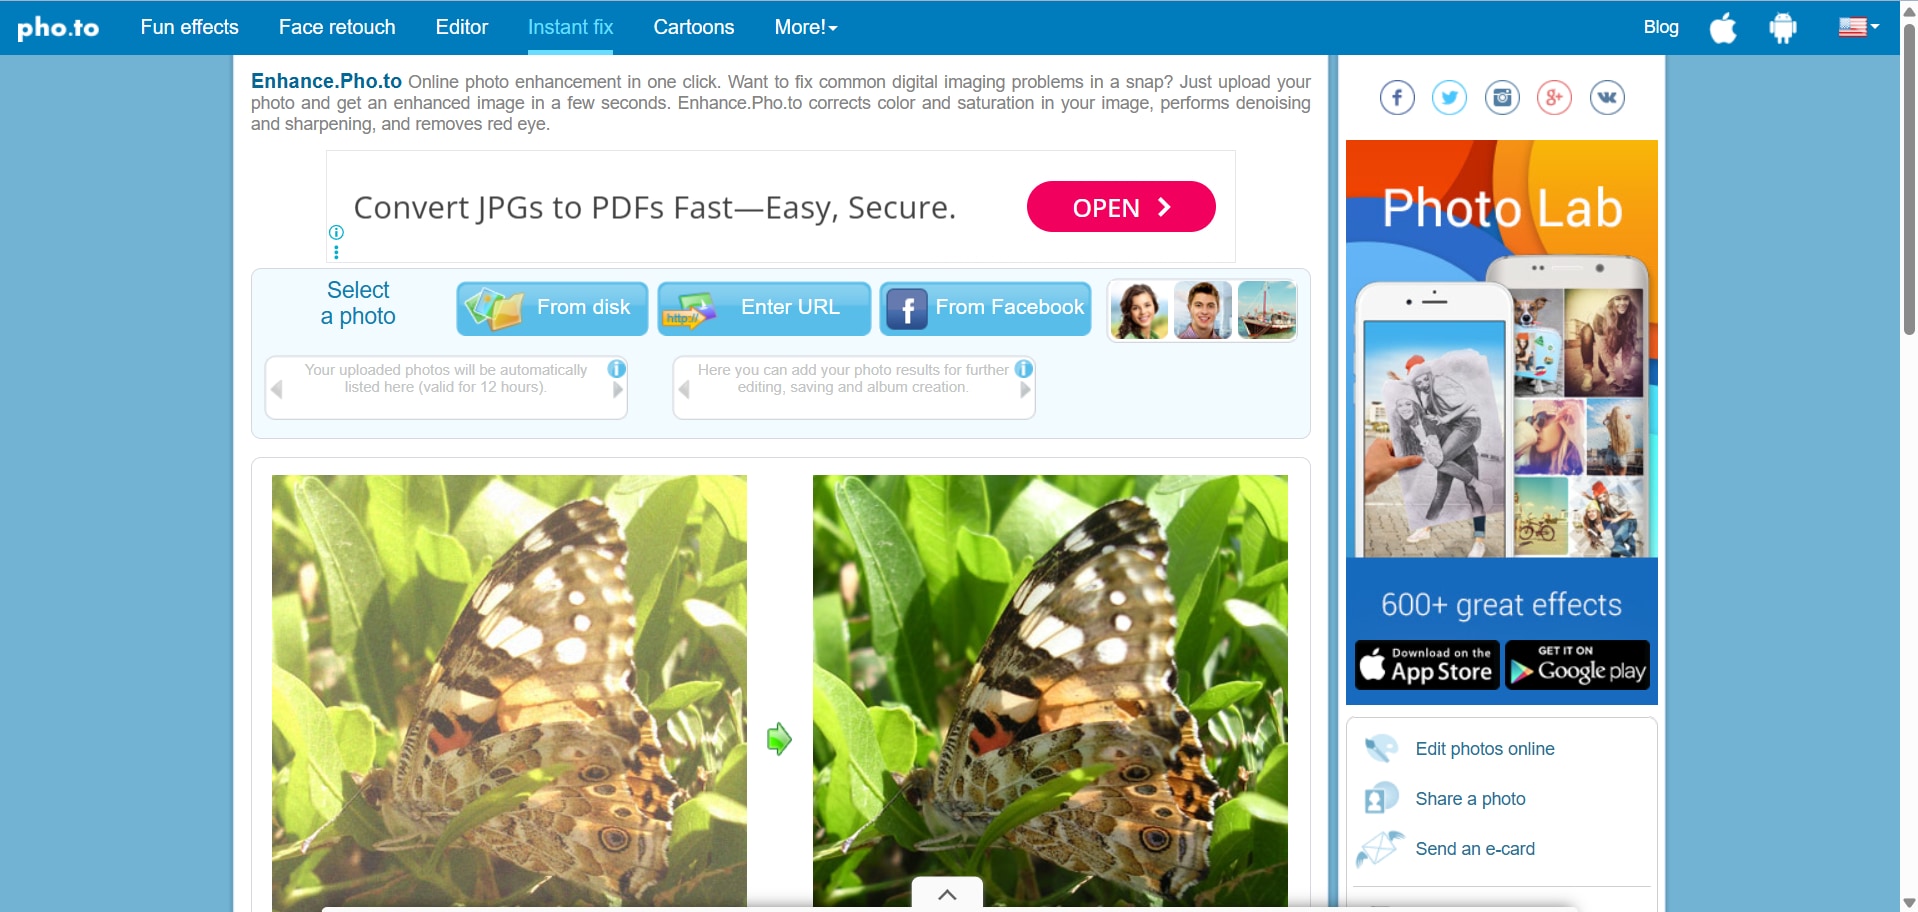
4. Enhance.Pho.to
Enhance.Pho.to is a one-click solution for users who want a quick and effortless fix. It automatically adjusts brightness, contrast, and saturation, making photos look more balanced and lively. While it doesn’t offer the same precision as AI-driven tools, it’s a great choice for casual users who need fast results.

Key Features
- Automatic brightness and color correction
- One-click enhancement for quick fixes
- Improves contrast and saturation simultaneously
- 100% free and easy to use
Steps to Use
Step 1. Open Enhance.Pho.to. Go to the Enhance.Pho.to website and upload the dark photo you want to fix.
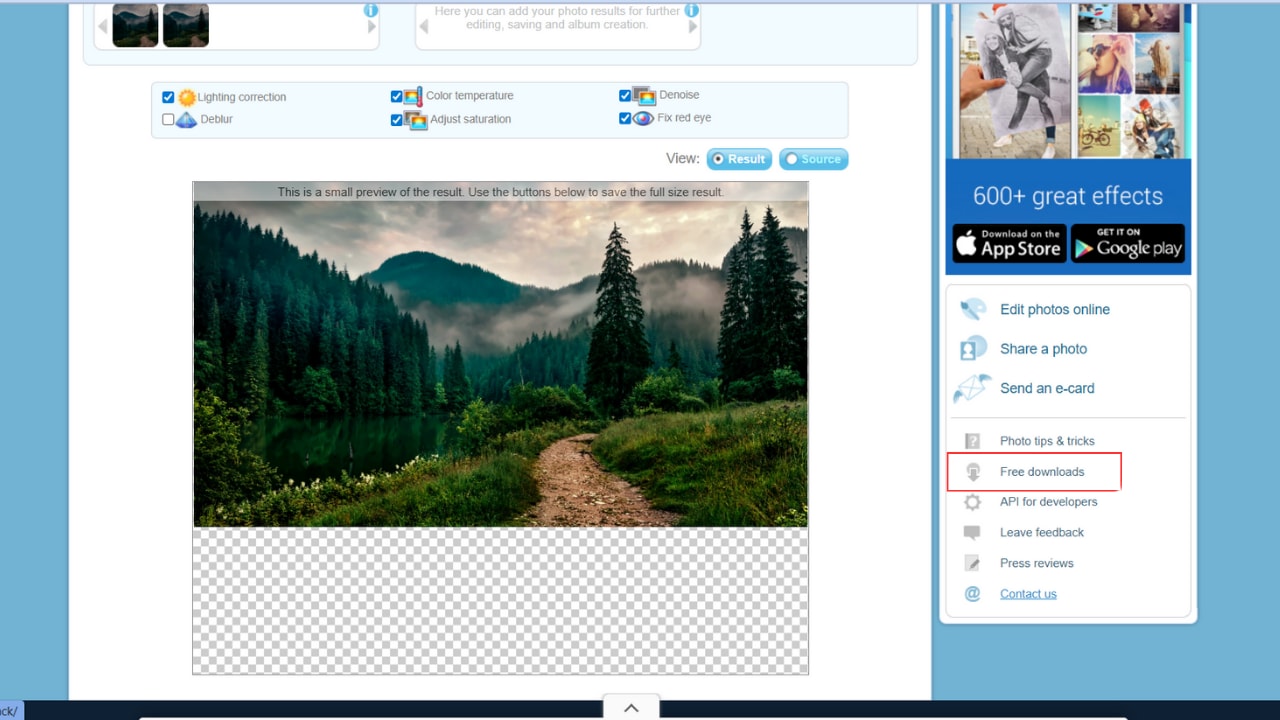
Step 2. Apply Enhancements. Click the Enhance button to automatically adjust brightness, contrast, and colors for a clearer look.
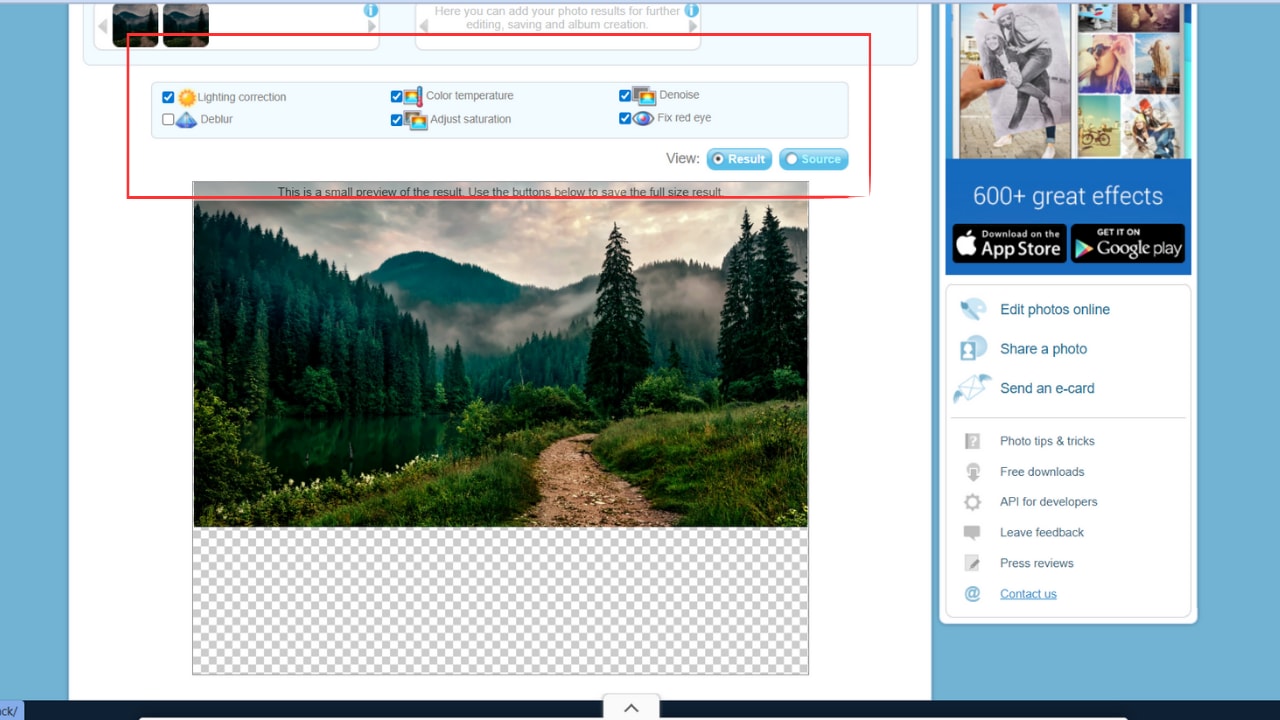
Step 3. Save Your Photo. Once the corrections are applied, download the improved version instantly to your device.
Why It Stands Out
Enhance.Pho.to is designed for efficiency, offering automatic photo corrections with just one click. It instantly brightens, sharpens, and balances colors, giving your images a cleaner look without manual adjustments. You’ll find it especially useful if you prefer quick solutions and don’t want to spend much time editing. This tool helps you achieve better results effortlessly.
5. Canva Photo Editor
Canva is best known as a design platform, but it also includes a handy photo editor with brightness controls. It’s especially useful for people who want to edit photos and immediately use them for social media posts, invitations, or other creative designs. With filters and exposure settings, Canva gives both functional and stylish results.
Key Features
- Brightness, contrast, and exposure adjustments
- Huge library of filters and design elements
- Easy drag-and-drop interface
- Ideal for social media and marketing use
Steps to Use
Step 1. Open Canva Photo Editor. Go to Canva and upload the photo you want to edit.

Step 2. Adjust Brightness and Exposure. Use the Adjust panel to tweak lighting settings until your photo looks brighter and clearer.
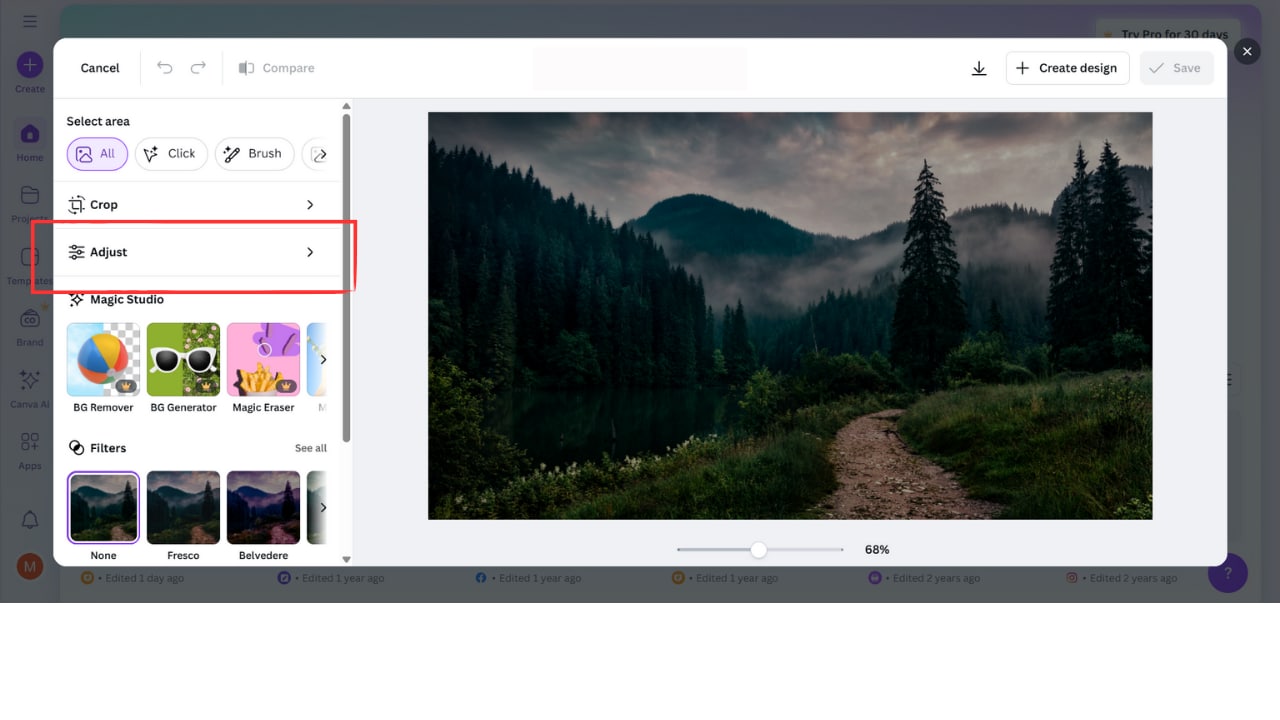
Step 3. Apply and Save. Add optional filters, text, or graphics, then download your finished photo to your device.

Why It Stands Out
Canva Photo Editor is more than just a tool for enhancements; it’s also a creative platform. After polishing your images, you can seamlessly add them into social media graphics, presentations, or marketing designs. You’ll enjoy how it saves you time by combining photo editing and design in one place. With Canva, you can make your photos look professional and instantly ready to share.
Part 3. Tips to Capture Brighter Photos in the Future
While online tools can fix dark images, the best way to keep your photos looking great is to capture them properly from the start. Poor lighting is one of the most common challenges in photography, but with the right techniques, you can avoid underexposed or shadow-heavy shots. By practicing good habits when shooting, you’ll reduce the need for heavy editing later and preserve the natural quality of your pictures.
- Use natural light when possible. Natural daylight is the most reliable source of brightness for photos. Position your subject near windows indoors or take advantage of outdoor daylight to create evenly lit and vibrant images. This minimizes shadows and gives your pictures a more natural look.
- Adjust camera exposure setting. Modern cameras and smartphones allow you to tweak settings like ISO, shutter speed, and aperture. Increasing the ISO or lowering the shutter speed helps let more light into the camera, while adjusting the aperture controls brightness and depth of field. Learning to balance these settings can make a huge difference in low-light conditions.
- Avoid shooting directly into strong light sources. Pointing your camera straight at a bright light, like the sun or a lamp, can cause silhouettes and loss of detail. Instead, place the light source at an angle to your subject to create softer and more flattering illumination. This helps prevent harsh contrasts and blown-out areas in your photos.
- Use HDR mode if available. HDR (High Dynamic Range) mode combines multiple exposures of the same shot to balance shadows and highlights. This is especially useful in tricky lighting situations where parts of the photo may appear too dark or too bright. It creates a more evenly lit picture without sacrificing detail.
By following these simple practices, you can prevent dark or underexposed photos before they happen. Good lighting and smart camera use will save you time on editing and help you capture memories that look bright, natural, and ready to share.
Conclusion
Capturing memories in poor lighting doesn’t mean those moments are gone for good. With today’s technology, you can easily lighten dark photos online free and reveal the details hidden in the shadows. These tools are designed to adjust exposure, balance brightness, and improve overall quality in just a few clicks. Instead of keeping dull or underexposed photos, you now have simple solutions to bring them back to life and make them worth sharing again.
FAQs
-
Can I lighten dark photos online for free without losing quality?
Yes. Many online tools use AI or manual brightness adjustments to improve lighting while keeping details intact. -
Do these tools leave a watermark?
Some free editors may leave a watermark, but there are also options that allow you to save images without one. -
Is it safe to upload my photos online for enhancement?
Most reputable online platforms prioritize user privacy, but it’s always best to check the tool’s security and data policy before uploading personal photos.
