
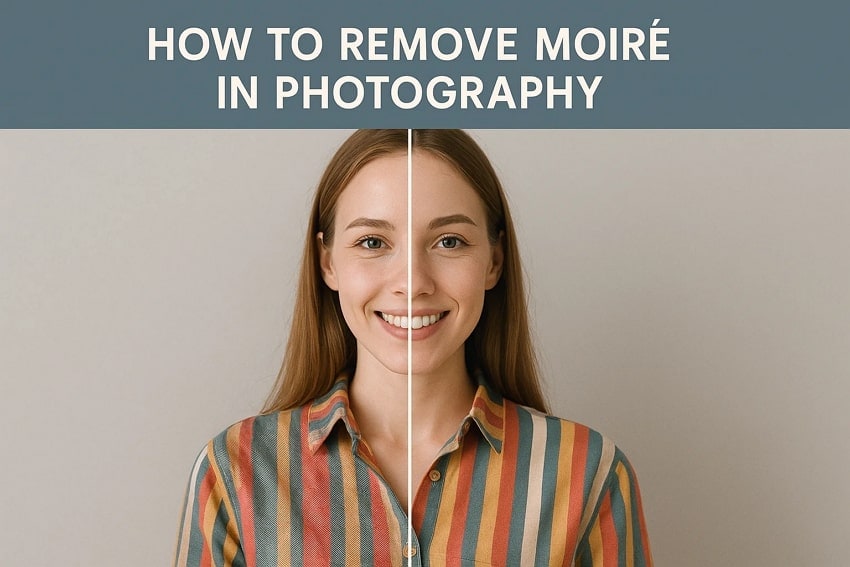
Captured a stunning shot only to find wavy distortions ruining the detail? That’s Moiré—an optical illusion that occurs when fine patterns clash with your camera sensor. Whether you’re shooting fashion or digital screens, these interference patterns can be a major hurdle for any professional.
Fortunately, you can easily remove moiré using the right tools. This guide will walk you through 3 proven methods from one-click AI erasers to advanced Photoshop techniques, plus expert tips to prevent it in your future shoots.
In this article
Part 1. What Is Moiré: Understanding the Moiré Pattern
Before you seek the solutions to remove moiré in Photoshop, exploring the term is necessary so that you can apply the practical solution. Hence, being a large-scale interference pattern, Moiré is formed when 2 similar objects are placed with a slight offset and difference in spacing. In photography, this usually occurs when fine details like tightly woven fabrics or printed textures clash with the pixel grid of a digital camera sensor.
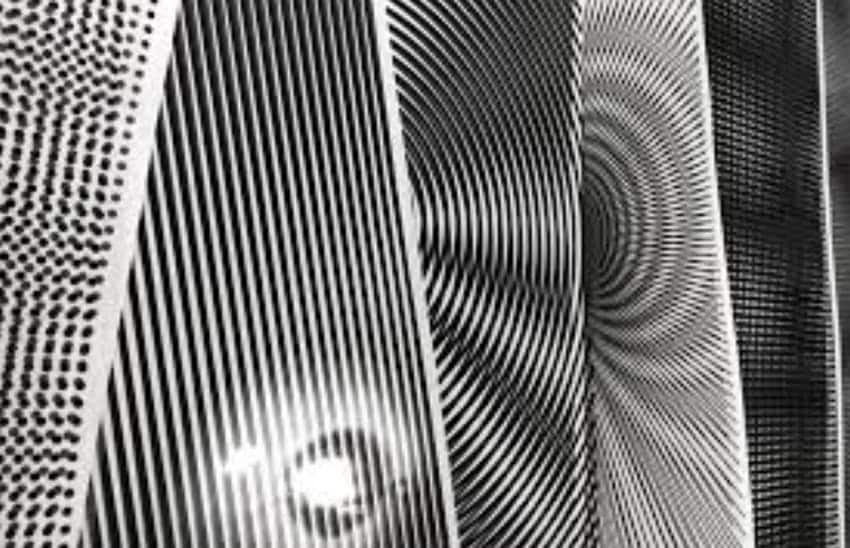
Additionally, this effect dramatically magnifies minor differences between 2 overlaid patterns, where the base becomes hard to view, making the moiré effect prominent. Since moiré is not part of the original scene, it can be distracting and reduce the overall quality of your photo.
Part 2. Why the Moiré Pattern Appears in Photos: 5 Reasons
Despite knowing the issue in detail, when dealing with removing moiré pattern in Photoshop, many users wonder what actually is causing this distortion. If you are among them too, review the possible causes of the Moiré pattern:
Fine Details Beyond Sensor Limits: When the captured object has delicate patterns that the sensor cannot resolve, the camera struggles to interpret the details. This mismatch leads to interference and causes moiré patterns when the subject’s texture exceeds the resolution capacity of the sensor.
Pattern Clash with Sensor Grid: During the shoots, the target object’s repeating patterns can align or clash with the regular grid of pixels on the sensor. Hence, this overlap creates new visual patterns that were not evident in the original scene.
Overlapping Patterns with Similar Frequencies: Two patterns sharing similar frequencies and spacing, such as a shirt or sensor grid, usually interfere. Thus, this interference produces false patterns and distorts the images with this wavy pattern, causing you to remove the moiré effect with expert solutions.
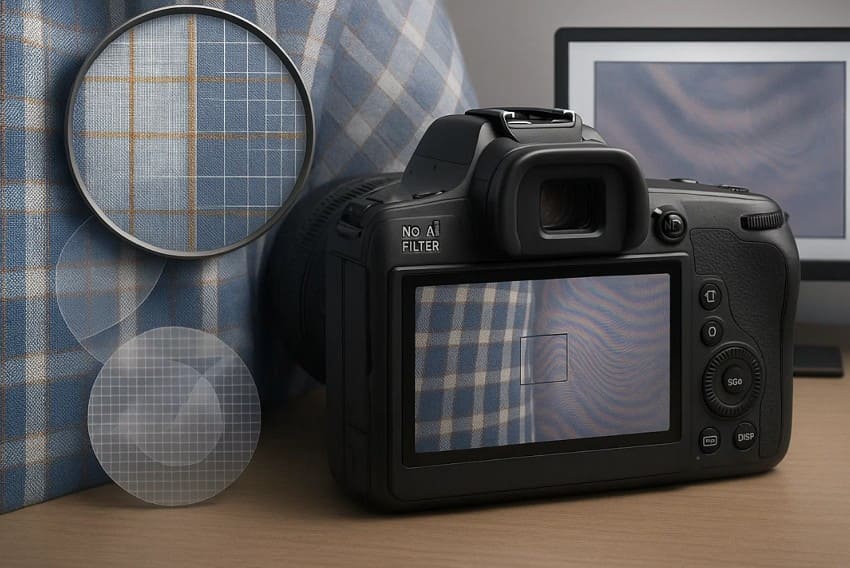
Aliasing from Missing Anti-Aliasing Filter: Cameras that don’t have an anti-aliasing filter, also known as an optical low-pass filter, are prone to the moiré effect. This occurs since nothing prevents the recording of false frequency signals from intricate textures.
Scaling or Viewing Artifacts: A moiré pattern can also happen while post-processing when shots are resized and zoomed in or out. Moreover, this actually occurs due to mismatched pixel mapping, leading to artificial wave patterns not visible in the original capture.
Part 3. How to Remove Moiré Effect with Ease
To remove the moiré pattern in Photoshop, this section offers you 3 simple and effective ways that can significantly improve your image quality. So, review the given methods and determine which option suits you best to eliminate unwanted distortions with precision.
Way 1. Remove Moiré Effect in One Click with Repairit AI Photo Eraser
Being the most dependable solution, Repairit AI Photo Eraser can seamlessly accept standard image formats for user convenience. To remove the moiré effect, this tool comes with a brush that users can resize up to 160px to highlight the objects finely. The foremost aspect is that the tool’s AI engine rapidly scans the file and isolates the object without requiring manual effort.
The process is much faster than traditional editing methods, as you can preview the results before saving. Unlike other solutions, you can import files in batches and get the moiré effect removed without dealing with each image individually. Not just that, being online solutions, users won’t have to face the hassle of installation and save hours of effort.
Key Features

-
History Files: To keep track of previously repaired photos, the tool automatically saves a record of files in its History tab, making it easier to access when needed.
-
Undo or Redo: When using the brush to remove details, users can also undo and redo the results to edit their edits for getting precise results.
-
Zoom in or Zoom out: There is an option to zoom in and zoom out images while using the brushes to offer detailed control and accuracy in editing./p>
Detailed Guide on How to Eliminate Moiré Pattern with Repairit Online
Upon adhering to its detailed features, here is how you can remove moiré pattern using Photo Eraser on the go:
Step 1. Choose the Photo Easer Tab to Import Images
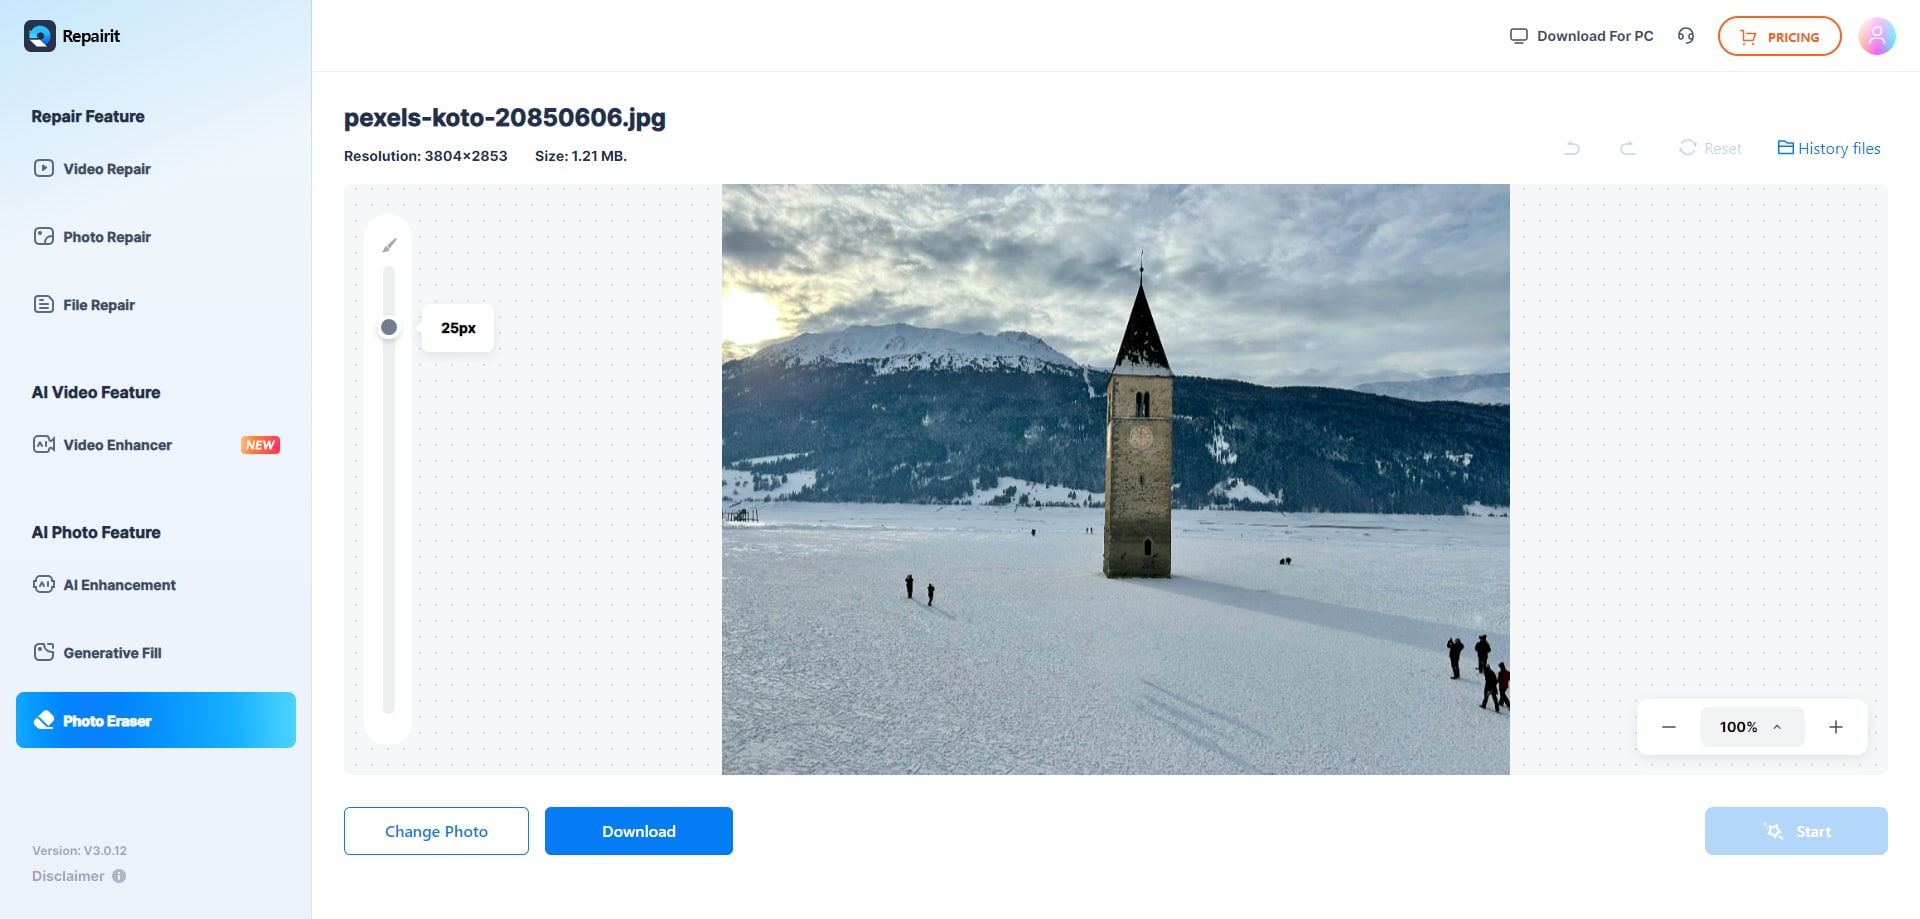
Launch the AI Photo Eraser page and head to the “Photo Eraser” tab on the left side to hit the “Add Photo” button for importing a moiré-patterned image.

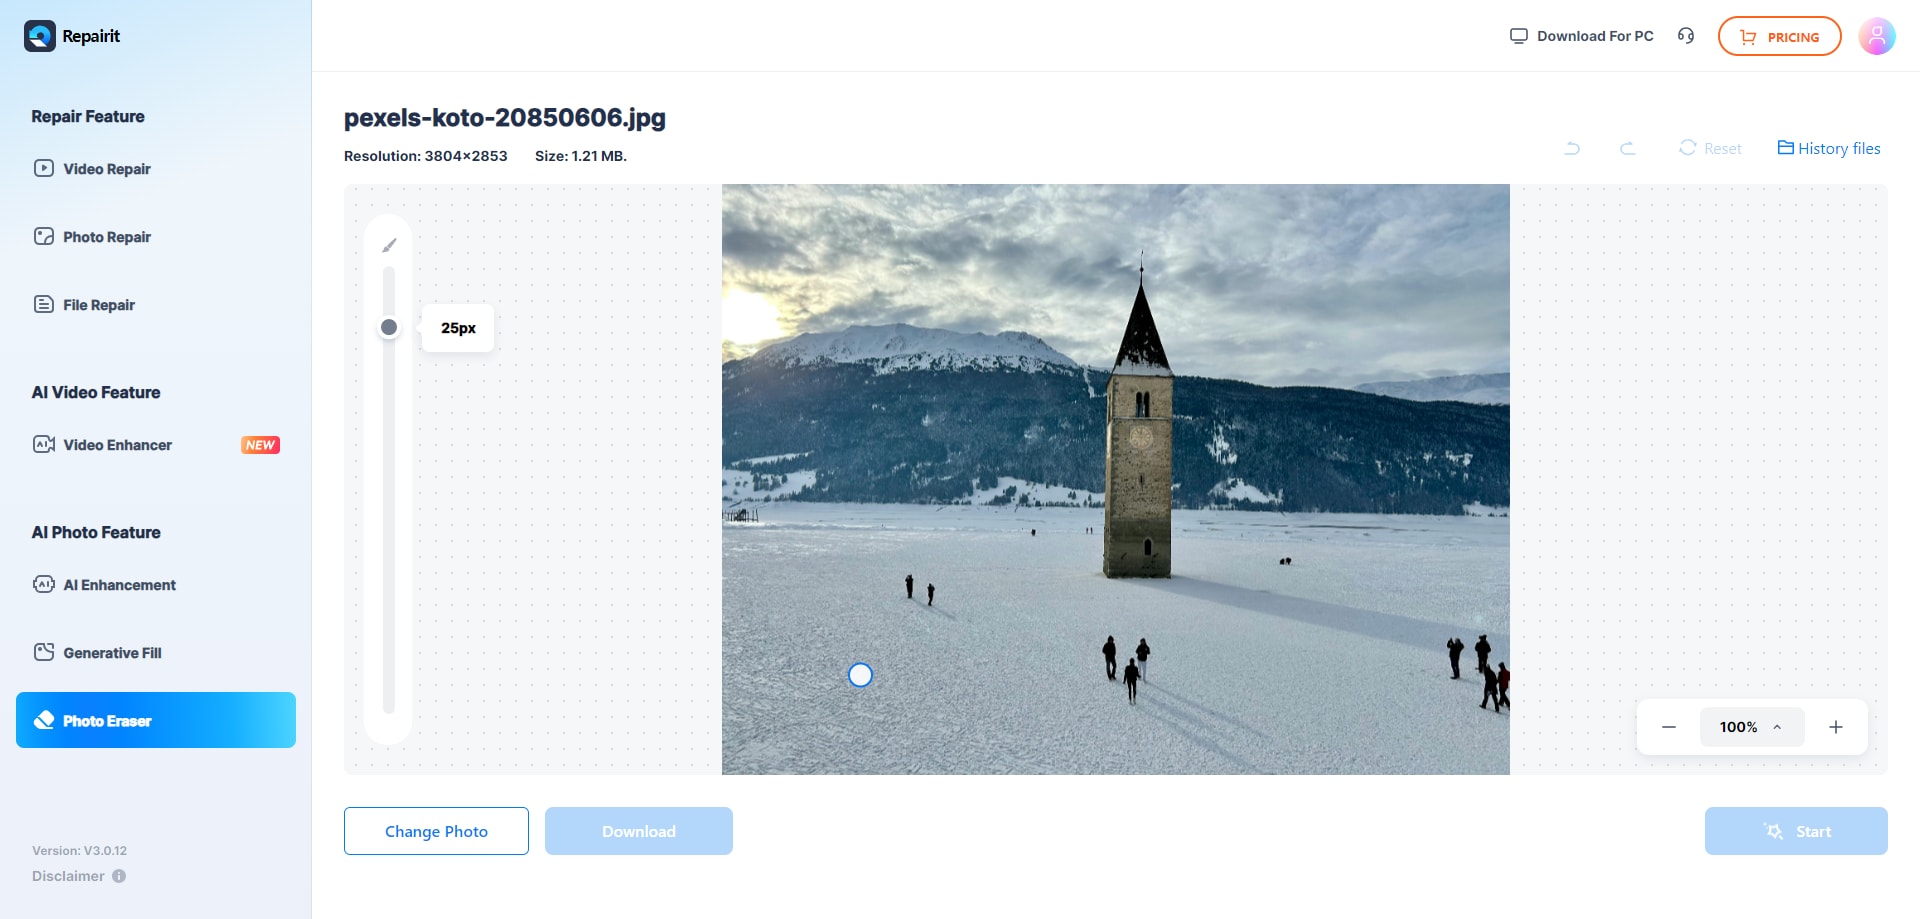
Step 2. Adjust the Brush and Start the Process
When the image is there, adjust the brush size with the given slider and highlight the areas where you have the moiré effect. After that, choose the “Start” button and wait till the tool erases the unwanted details from your shot.
Step 3. Save the Moiré Free Image to Your Device
Once it's done, preview the results and tap the “Download” button to fetch the image on your system. In case the results aren’t up to mark, you can pick the “Change Photo” button to import an image and start the process again.
Way 2. Remove Moiré Photoshop Using Adobe Camera Raw’s Moiré Reduction Slider
To remove the moiré pattern in Photoshop, you can consider using Adobe Camera Raw’s Moiré Reduction Slider since it easily targets and removes the patterns. Compared to aggressive blurring or cloning, the sliders selectively eliminate Moiré patterns without removing the texture. Additionally, this method is efficient and requires few strokes of the brushes to fix the affected area, as mentioned below:
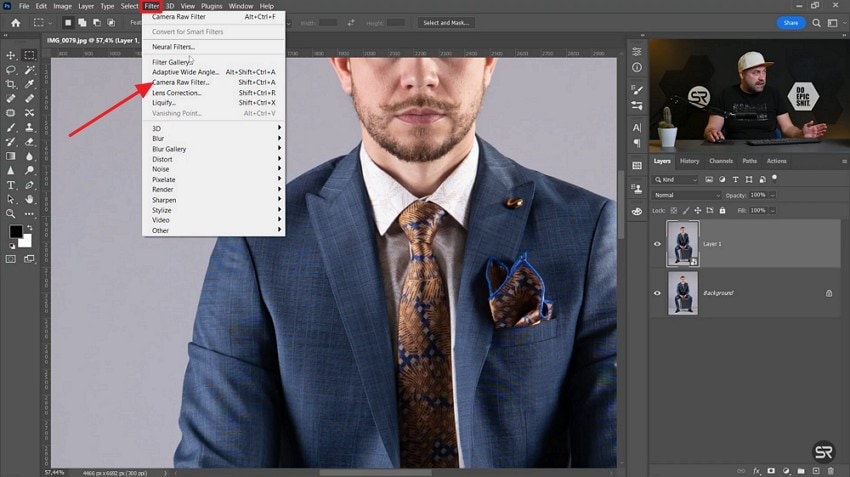
Step 1. From the “Filter” tab, choose the “Camera Raw Filter” option after opening the image in Photoshop.
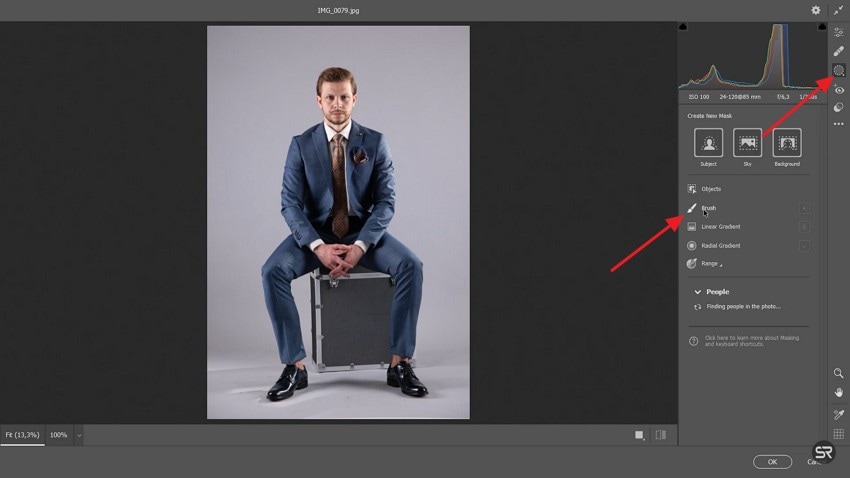
Step 2. Then, head to the “Masking” tool and choose the “Brush” tool to start removing the moiré pattern.
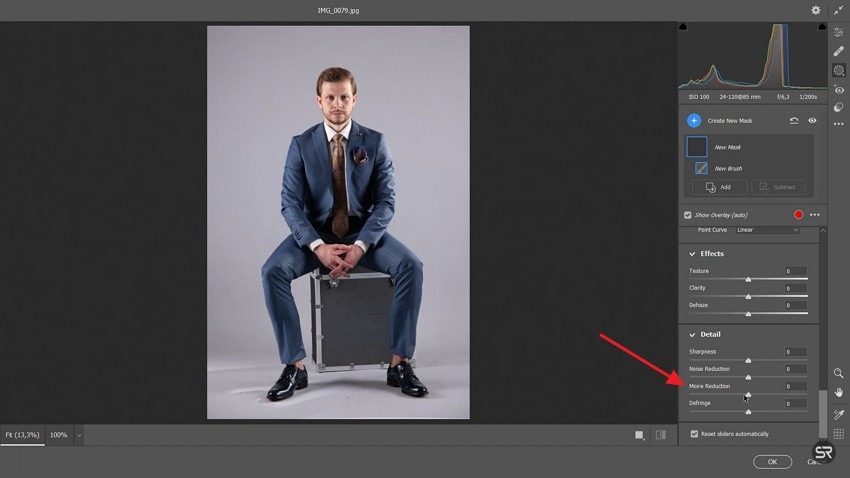
Step 3. On the menu that appears, select the “Moiré Reduction” slider, mark the areas to remove the pattern, and wait till the tool eliminates it.
Way 3. Remove Moiré Pattern Photoshop via the Content‑Aware Method
You can also try using the Content Aware method to remove moiré in Photoshop since it ensures that the image details are preserved. This method is best suited when you have complex or colorful moiré, or when patterns appear on textured backgrounds or faces. Additionally, this tool allows you to replace problematic regions with nearby clean pixels as described in the steps given below:
Step 1. Head to Photoshop and choose any selection tool like “Lasso’ from the left toolbar and highlight the area where you want to remove the moiré pattern.

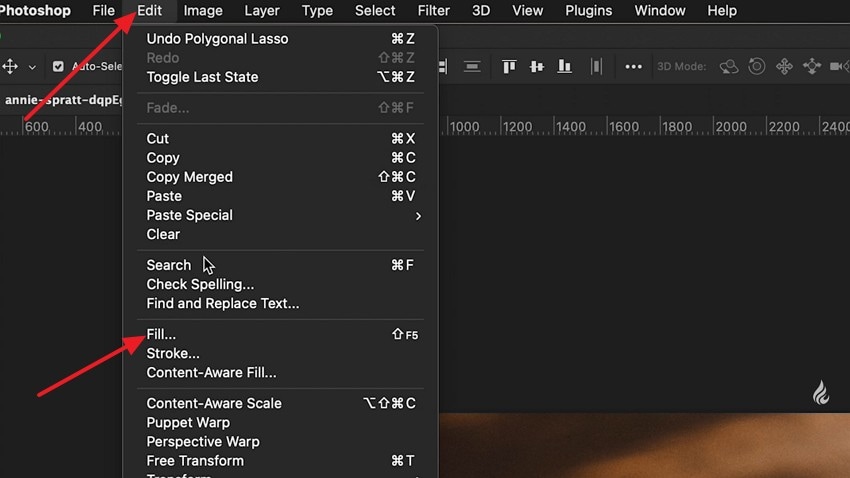
Step 2. After that, pick the “Edit” option from the toolbar and opt for the “Fill” option from the list.
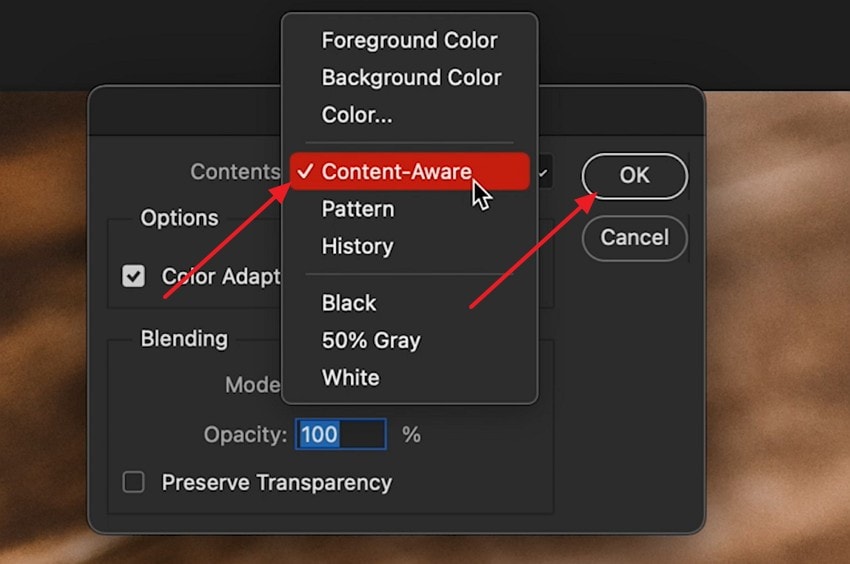
Step 3. From the new menu that appears, pick the “Content Aware” option from the option tab and hit the “OK" button to remove the moiré pattern.
Comparison of Moiré Removal Methods
| Method / Tool | Platform | Ease of Use | Processing Speed | Best For | Key Features |
|---|---|---|---|---|---|
| Repairit AI Photo Eraser | Windows, Mac & Online | Very Easy | Very Fast | Automated removal and batch processing | 1-click AI scanning, adjustable brush, batch file support, high-speed processing, no technical skills required |
| Camera Raw Moiré Reduction | Adobe Photoshop | Moderate | Fast | Preserving original texture while reducing patterns | Dedicated Moiré Reduction slider, selective brush masking, professional-grade targeted control |
| Content-Aware Method | Adobe Photoshop | Moderate | Fast | Complex or colorful moiré on backgrounds or faces | Smart pixel replacement, preserves image details, seamless integration with Photoshop selection tools |
Further Reading:
Remove glare from photos easily
How to remove reflections from photos
Remove unwanted shadows from photos
Remove distractions from photos for cleaner images
Part 4. 5 Tips to Prevent Moiré Patterns from Appearing Again
Although you have gained a detailed idea on how to remove the moiré effect, this issue can happen again if you don’t take precautionary measures. Therefore, in this section, we have offered you some expert tips that you can follow to bypass this issue in the future.
Change the Camera Angle or Distance: Slightly shifting your angle or moving closer or farther from the object can change how patterns align with the sensor. Thus, reducing the chance of interference, this simple step can break up the repetitive patterns leading to moiré.
Use a Camera with an Anti-Aliasing (Low-Pass) Filter: Before hitting the sensor, a camera with optical low-pass filters can slightly blur the fine details. Thus, through this, photographers will be able to control aliasing, which reduces the appearance of the moiré pattern.
Adjust Lens Aperture and Focal Length: Changing the field of depth and pattern sharpness through zooming in, zooming out, or altering the aperture can also eliminate the cause of this pattern. Doing so, you can soften or shift the pattern merely enough to avoid the interference.
Test and Review Shots on Location: Even though after you remove the moiré effect, always zoom in and preview images on camera during the shoot for future reference. Through this, you will be able to catch moiré easily, allowing you to make corrections before wrapping up the shoot.
Avoid Shooting Repetitive Fine Patterns When Possible: Avoid capturing clothes and backgrounds with tight and repetitive designs. By choosing less detailed patterns, the risk of triggering the moiré pattern is minimized.
Conclusion
Summing up, when capturing textured objects, users often encounter a wavy pattern known as moiré, which can affect the image’s appeal. Therefore, in this guide, we have offered you 3 simple solutions to effortlessly remove the moiré effect. However, among all, we recommend using Repairit AI Photo Eraser since it is easily accessible and provides a one-click solution to remove unwanted patterns.
FAQ
-
1. What is the fastest way to remove Moiré in Photoshop?
Among all tools, using the Camera Raw Filter with the moiré Reduction Brush is the most effective method to target moiré in specific areas. Still, if you are unable to use this tool, solutions like Repairit offer an AI Photo Eraser that can eliminate unwanted patterns in mere seconds with AI scanning. -
2. Can I remove Moiré without using Photoshop?
Yes, tools like Lightroom, GIMP, etc., offer you multiple ways to get rid of the moiré if you are unable to remove the moiré in Photoshop. Besides, if you want to remove this pattern from any image without any size limit, along with a preview option available, Repairit AI can be a dependable option. -
3. Why does Moiré only appear in some of my photos?
This pattern only happens when you capture textured objects, and these repetitive patterns then conflict with the camera's sensor grid. This issue occurs more frequently when using cameras with lower-resolution sensors or when shooting certain fabrics and screens.
