

With over 330 million monthly users, Twitter is one of the most popular social media platforms that is actively used worldwide. One of the best ways to make your Twitter profile stand out from the crowd is by having a striking header photo.
Unfortunately, a lot of its users encounter Twitter header photo issues while uploading or scaling their images. Therefore, to help you overcome these problems and have a stunning Twitter header image, I have come up with this complete troubleshooting post.

Part 1: Things to Know About Twitter Header Photo
Just like other popular social platforms like Facebook and LinkedIn, we can also post a dedicated cover photo on Twitter, which is known as a header photo. Since this is the first picture that your audience would see on your Twitter profile, it should be impactful.
Even though your Twitter header photo would be optimized for different platforms, let’s consider the example of a desktop. In this case, you need to follow these guidelines to overcome various Twitter header photo issues:
1. Aspect Ratio
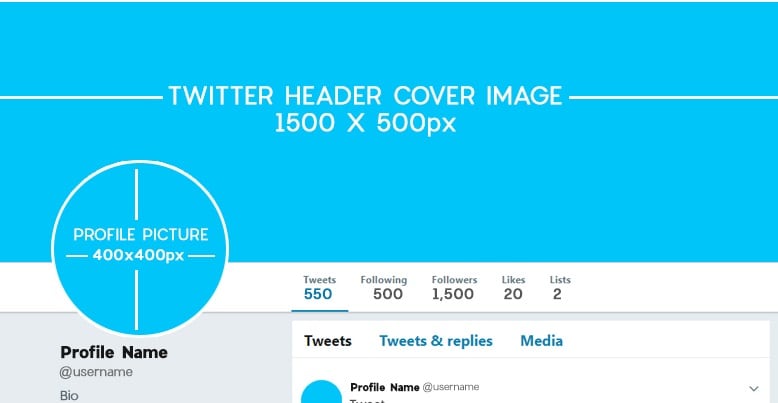
The header picture for Twitter should be in the aspect ratio of 3:1 (horizontal by vertical).
2. Size and Type
The photo should not be more than 2GB in size and can be of PNG or JPEG format (if it’s a GIF, then it must be static).
3. Dimensions
The ideal size for Twitter photos is 1500x500 pixels (horizontal by vertical), but you should consider your profile photo that would overlap the header image. Your Twitter profile picture would be of 400x400 pixels. That’s why you should tactfully place the header in such a way that its vital part won’t be covered by your profile picture.
Part 2: Common Twitter Header Photos Issues and How to Fix Them
If you want, you can upload or change your Twitter header photo from its website or the mobile app. Though, chances are that you might encounter these common Twitter header photo issues that can easily be fixed in the following way.
Issue 1: How to Change a Header Photo on Twitter?
The first issue that a lot of Twitter users face is related to the uploading or editing of their Twitter header photos. For this, you need to make sure that your device is connected to a stable internet connection and that you are following the right approach to change your picture.
Solution 1: Check your Internet Connection
Needless to say, to change your header photo on Twitter, you need to be connected to a stable network. Therefore, you can go to the Network Settings of your PC and check the strength of the connected network.
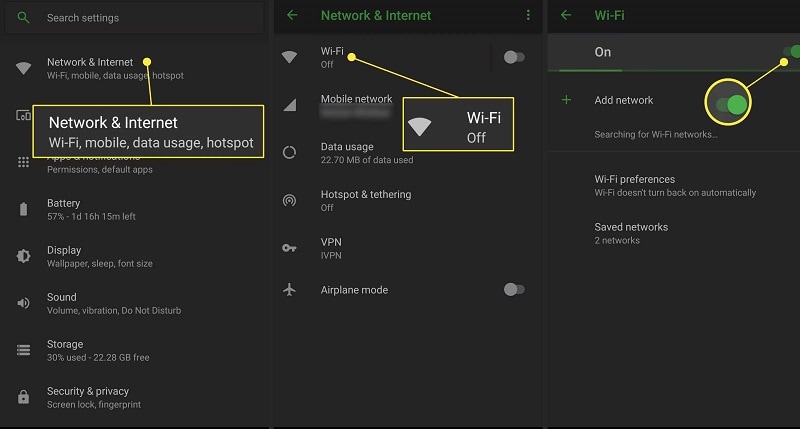
If you are using the Twitter app on your mobile, then you can also go to its Settings > Network & Internet to ensure that it is connected to a stable internet connection.
Solution 2: Follow the Right Approach
If you are new to Twitter, then chances are that you might not get how to change your account’s header image. Well, to overcome these Twitter header photo issues, you just have to go to your profile, and click on the “Edit Profile” button (below the header image).
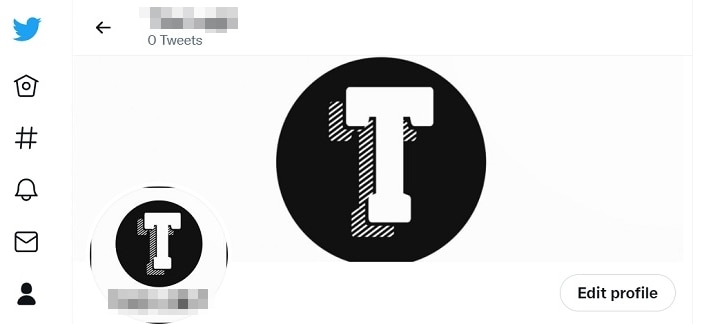
This will open a new pop-up window where you can change your Twitter account’s details. Now, just go to the header photo section and click on the upload button that would let you browse and load any image for your account’s header.

Issue 2: How to Resize Photos for your Twitter Header?
Another prominent issue that a lot of Twitter users face is regarding the overall size of their header’s photo. For your convenience, I have already mentioned the requirements for a Twitter handle photo that you should follow in advance.
Solution 1: Reize your Twitter Photo before Uploading
If you want to avoid these Twitter header photo issues, then you should consider resizing your photo in advance. Remember, your photo should be of PNG or JPG format and must not exceed 2GB in size.
Now, the ideal dimensions for a Twitter header photo are 1500x500 pixels (horizontal by vertical). Let’s say you have an image that does not follow these dimensions. In this case, you can first open the image in MS Paint and use its “Crop” tool to cut the desired section of the photo.
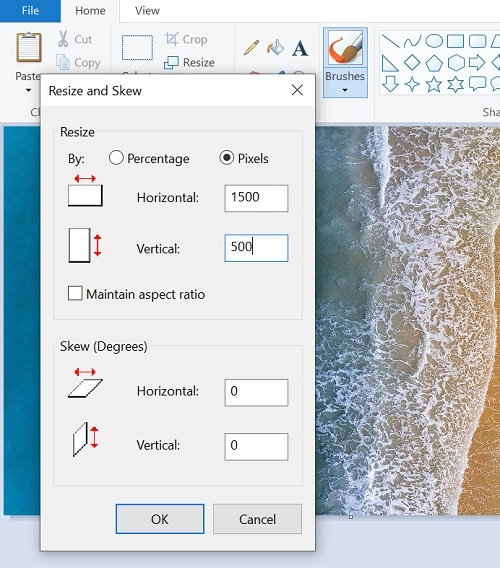
Afterward, you click on the “Resize” option from the toolbar and go to the “Pixels” tab. Here, you can enter 1500 for the Horizontal and 500 for the Vertical pixel value. You can choose not to maintain the aspect ratio if you want to manually set these pixel values for your header image.
Issue 3: How to Fix Blurry Images for Twitter’s Header and Profile Photo?
Great! Now, you would be able to overcome Twitter header photo issues for uploading your images. Besides that, at times even after uploading our images, they can get blurry or distorted due to their low quality or file corruption.
Solution 1: Check the Image Quality Before Uploading
As I have listed, the ideal dimensions for a header image for Twitter are 1500x500 pixels. Therefore, if your image is of lesser quality, then it would automatically be blurred or might break after uploading. You can just right-click the image of your choice and go to its Properties > Details tab to check the dimensions and quality of the image.
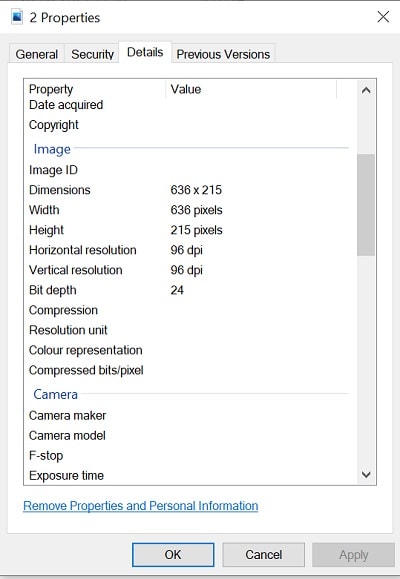
If the image is of inferior quality, then you can consider repairing it or try to pick any other picture instead for your Twitter header.
Solution 2: Fix a Damaged or Blurry Image with Repairit
Another possible reason for these Twitter header photo issues could be related to a blurry, damaged, or corrupt image. To fix that, you can try any dedicated image repairing application like Wondershare Repairit. It is a desktop application that features two dedicated repairing modes and can fix almost all kinds of issues with corrupt or damaged photos in the following way.
Step 1: Launch Repairit and Load any Corrupt Image
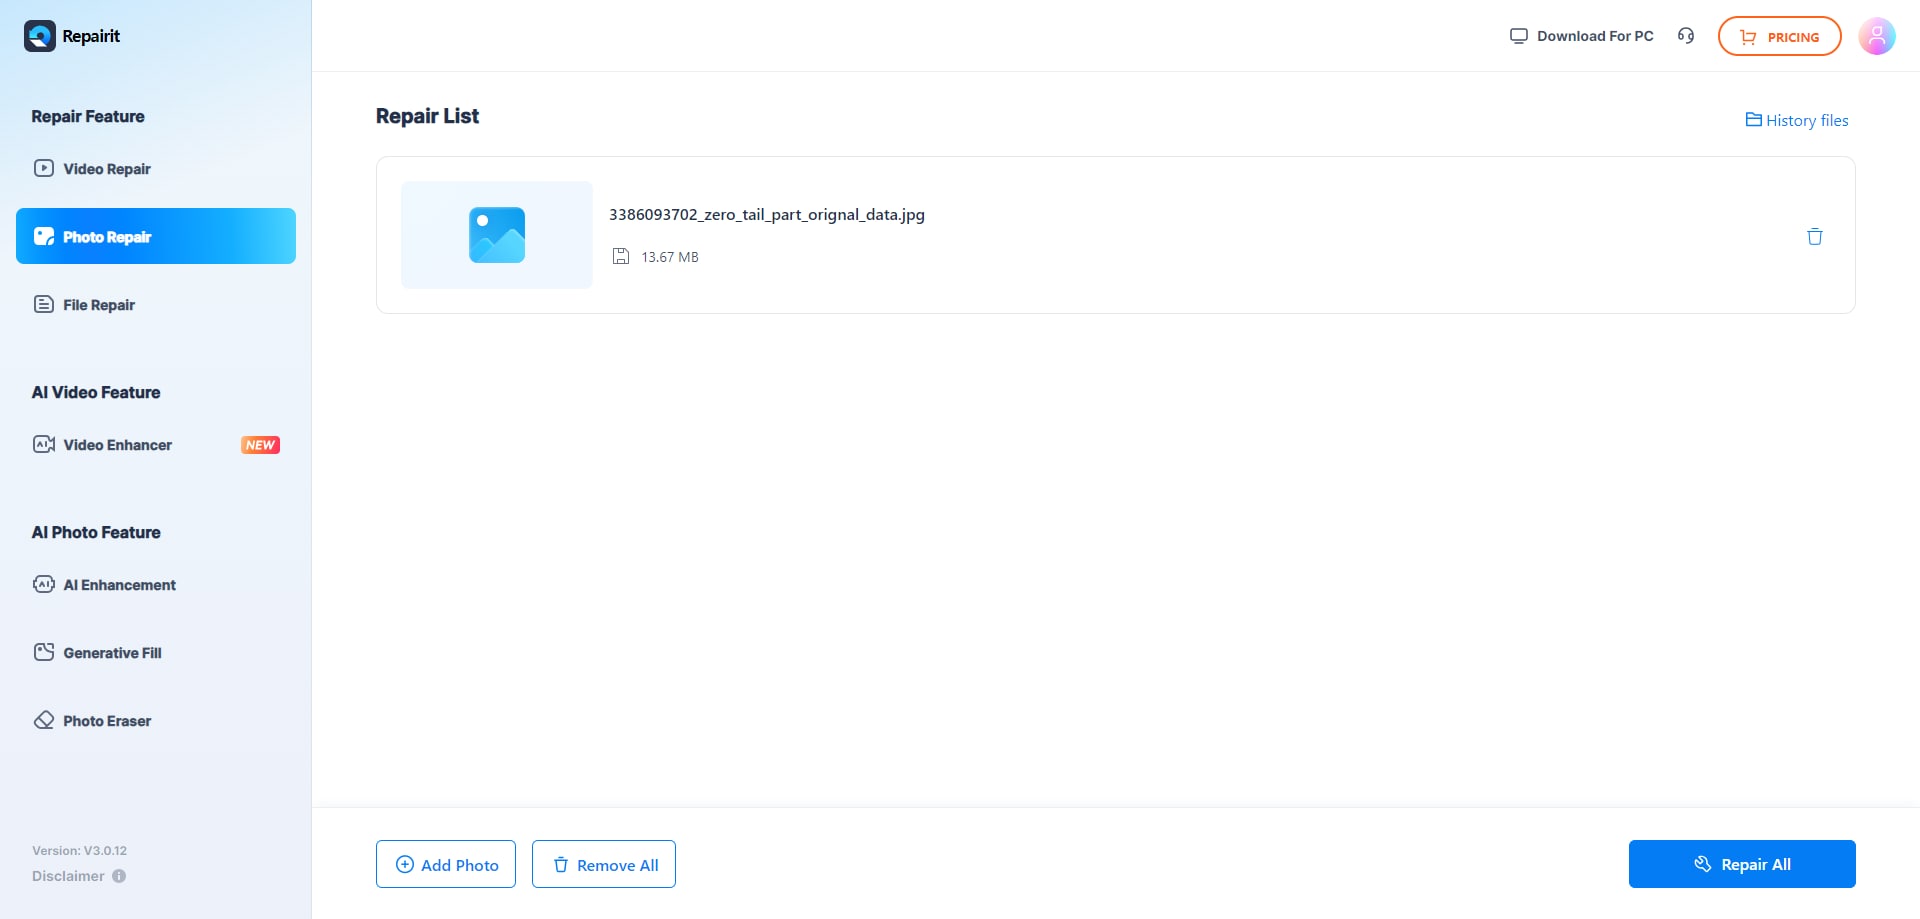
Firstly, just install Wondershare Repairit on your system, launch it, and go to the “More Types Repair” feature and click "Photo Repair". From here, you can click on the “Add” button to browse and load your corrupt/blurry photos.

Once your damaged photos are loaded on Repairit, you can simply view their details.
Step 2: Repair and Preview Your Photos on Repairit
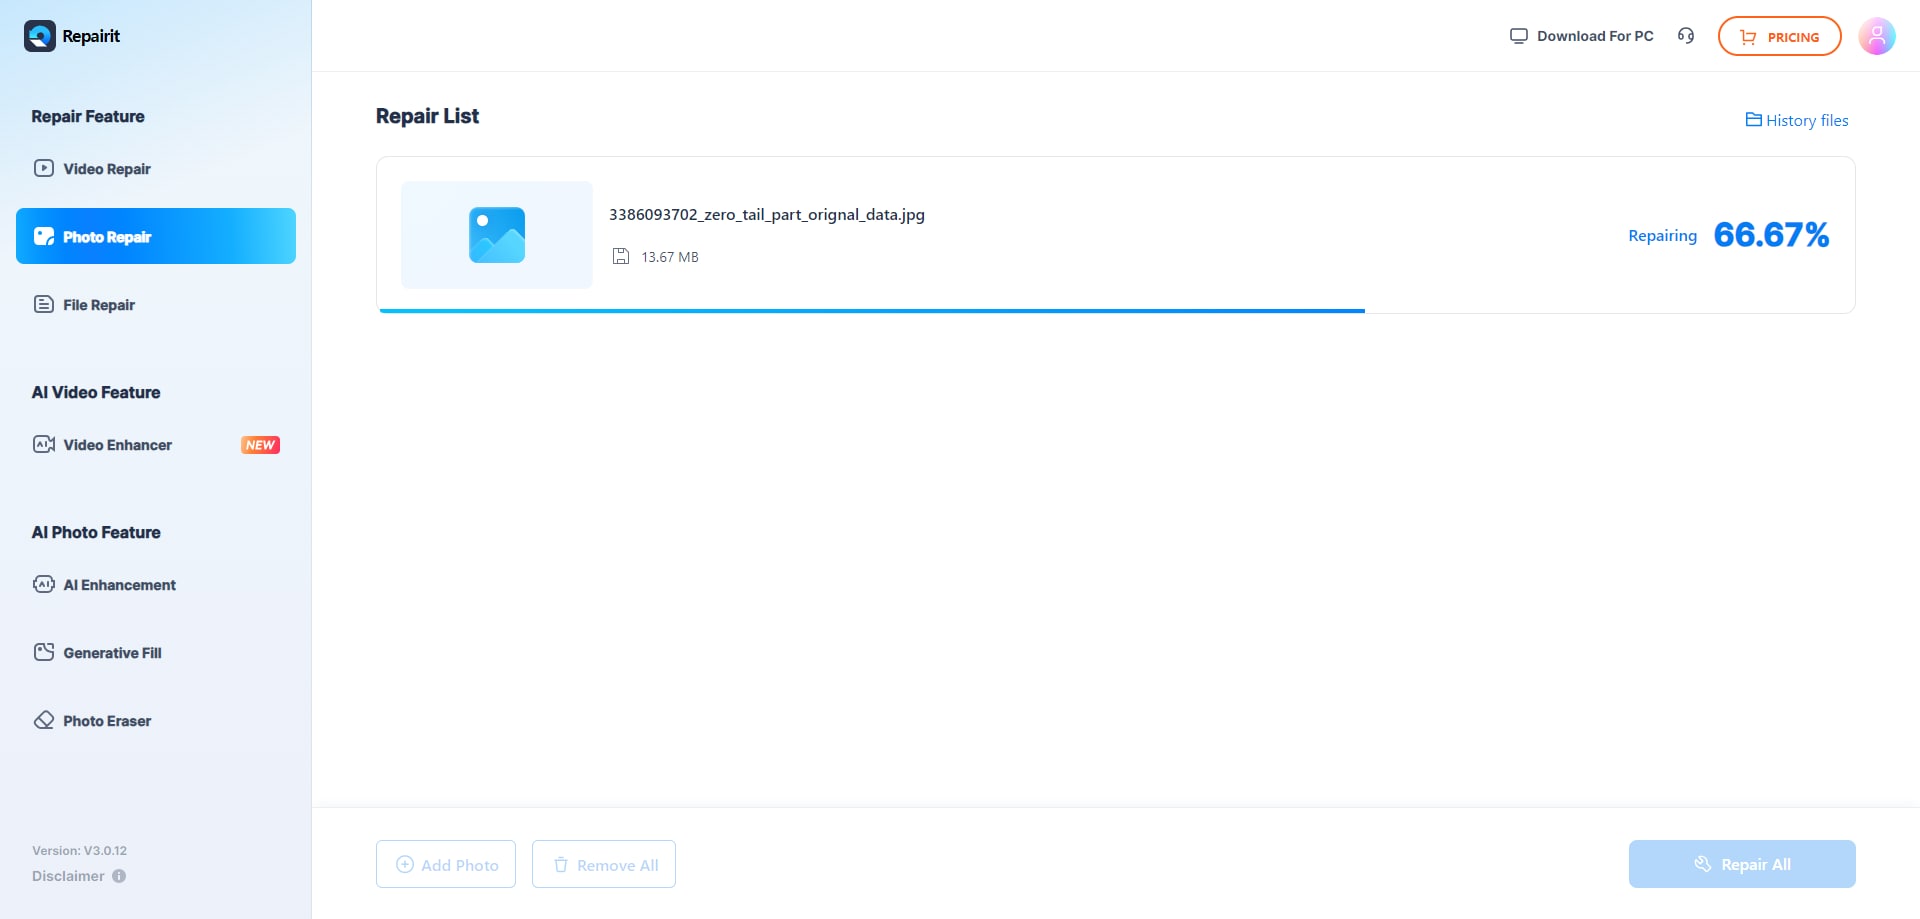
After loading your photos, you can just click on the “Repair” button and let Repairit run a Quick Scan.

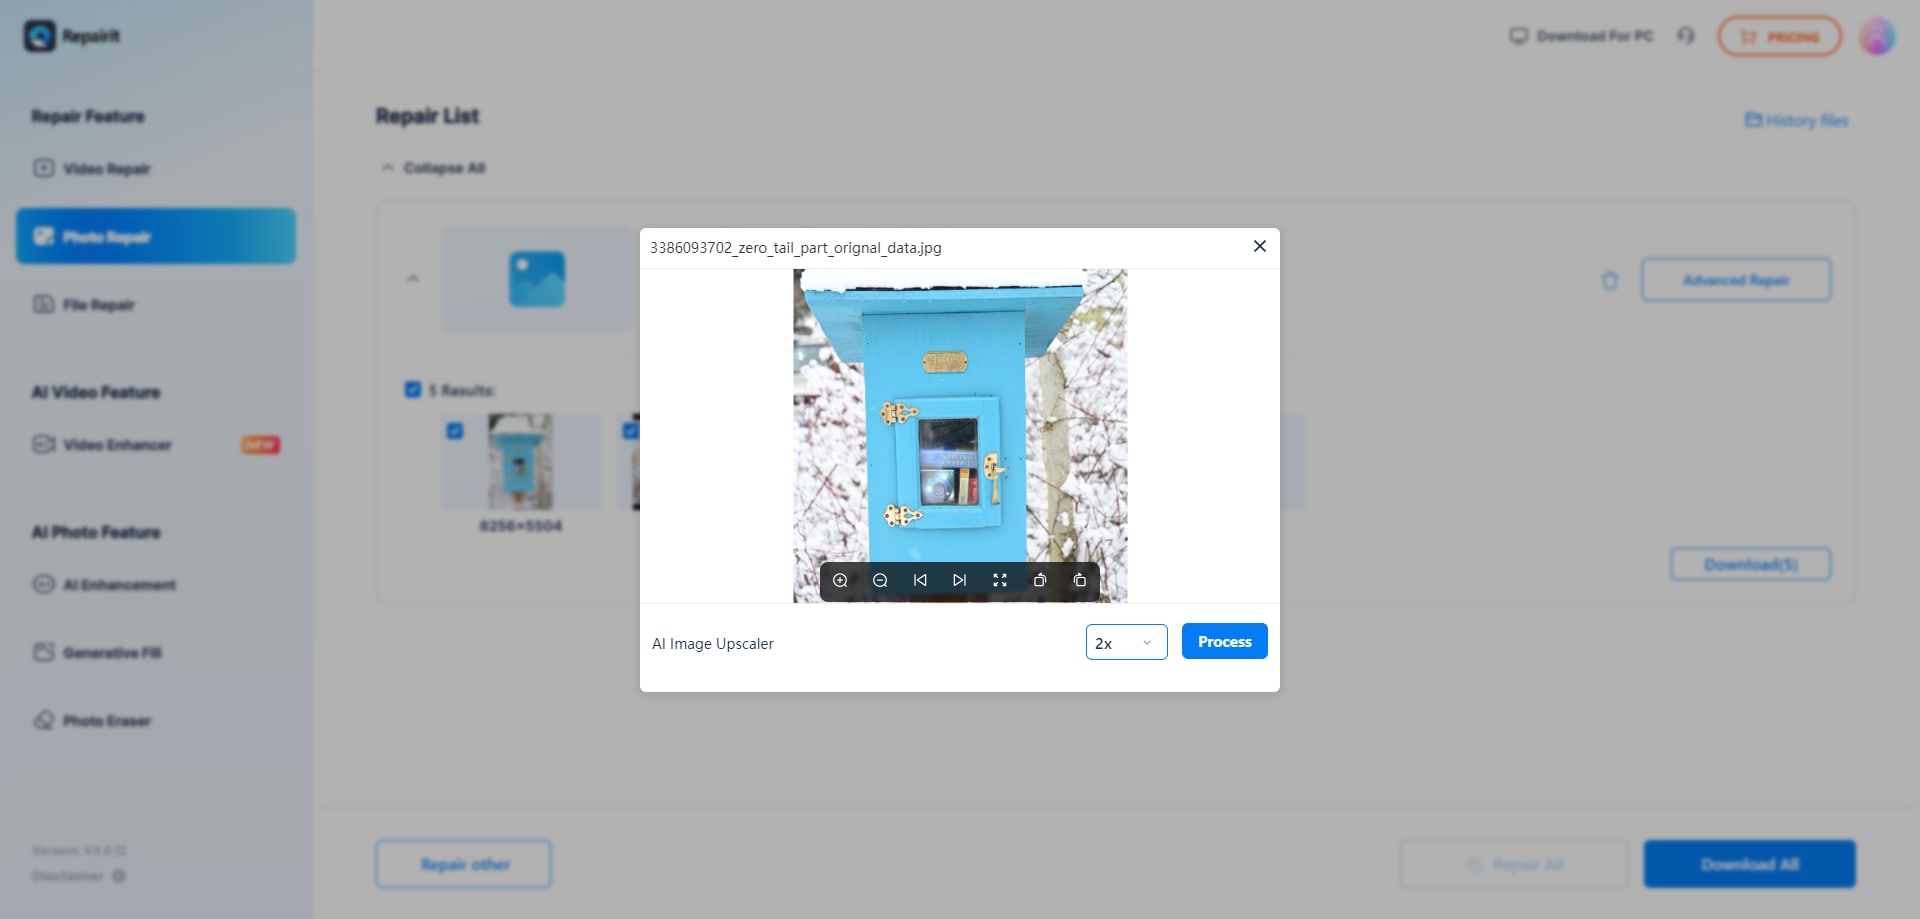
Once the Quick Repair Scan has been complete, you will be notified. You can now click on the eye icon (or the Preview button) to check its results.

If there is a more severe issue with your loaded images, then Repairit will let you know, and would recommend running an advanced scan instead. You can click on the “Advanced Repair” button from the bottom panel and can load a sample image on the application. The sample image should be of the same format (and shot on the same device) as the broken image.
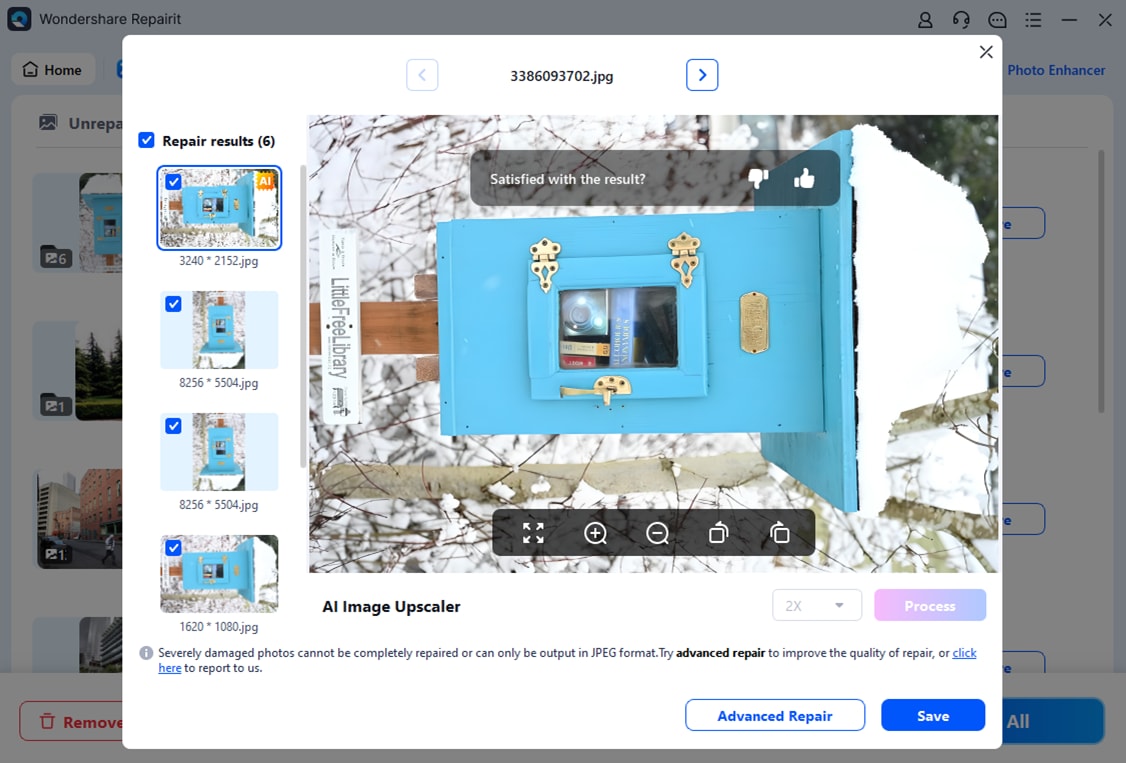
While the Advanced Repair Scan of Repairit would take more time, its results would also be better than the Quick Repair Scan.
Step 3: Export Your Repaired Photos from Repairit
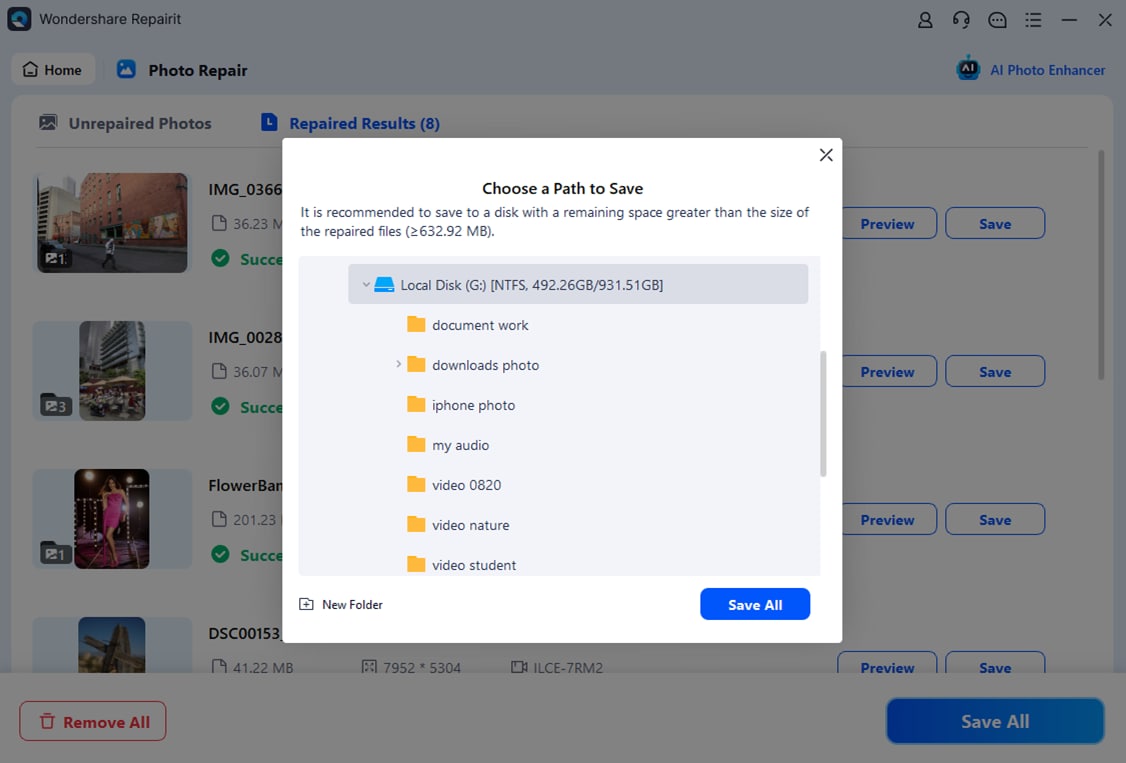
After getting a preview of your repaired photos, you can simply export them to your system. To do this, just click on the “Save” or the “Save All” button and select a location where your repaired header photo would be exported.
Attention:
If you do not want to download software on your computer and your corrupted photo is no more than 300MB, you can try the online version of Repairit Photo Repair to get your photo repaired online with ease.
Fix a Damaged or Blurry Image with Repairit Photo Online
A simpler and more effective way to repair your damaged and blurry image is to use the online tool – Wondershare Repairit Online. Only in three steps, the image can be repaired well and efficiently.
Step 1. Upload Image
Click the +Add button to select and upload the images. Or you can drag the files into the photo repair functional area.

Step 2. Start the Repair Process
Here you can check the uploaded files’ information. Click the Repair option at the lower right corner to start the repairing process.
If the photo fails to be repaired, you will get an Upload Sample Photo option on the failed file. By clicking on it, you need to upload a sample photo file to start the Advanced Repair process. The sample file should be a good image created with the same device or the same format as the corrupted one.
Step 3. Preview and Save Image
Once the repairing process completes, you can click the Play icon to preview the image and check whether the file is repaired successfully. If you are satisfied with the repaired file, you can click the download button, or the Download All option at the right bottom to save the file.
Wondershare Repairit and Repairit Photo Online
Wondershare Repairit
Pros
More file formats are supported.
Supports large-size file.
Cons
Need to download the program to access the repairing feature.
More expensive than Repairit Photo Online.
Repairit Photo Online
Pros
Access the repair feature online, no need to download the software.
Free to repair 3 old photos.
More affordable than Wondershare Repairit.
Cons
Supports less file formats than the desktop version.
Has limit to the file size.
Issue 4: How to Adjust Header Photo on Twitter?
At times, even after having an ideal high-quality image, we are not able to set it as a header photo on Twitter. To overcome these Twitter header photo issues, you should learn how to manually adjust your image after loading it.
Solution 1: Adjust Photo on Twitter Manually
You can already follow the above-mentioned guide to change your header photo on Twitter. Once you go to your profile, click on the “Edit Profile” button to load any photo of your choice.
Now, after you have loaded your image, Twitter will automatically display the following screen. Here, you can use the controllers to crop the image in a 3:1 aspect ratio for Twitter. You can also slide your image or even zoom in/out to make sure that it would fit perfectly on your profile.
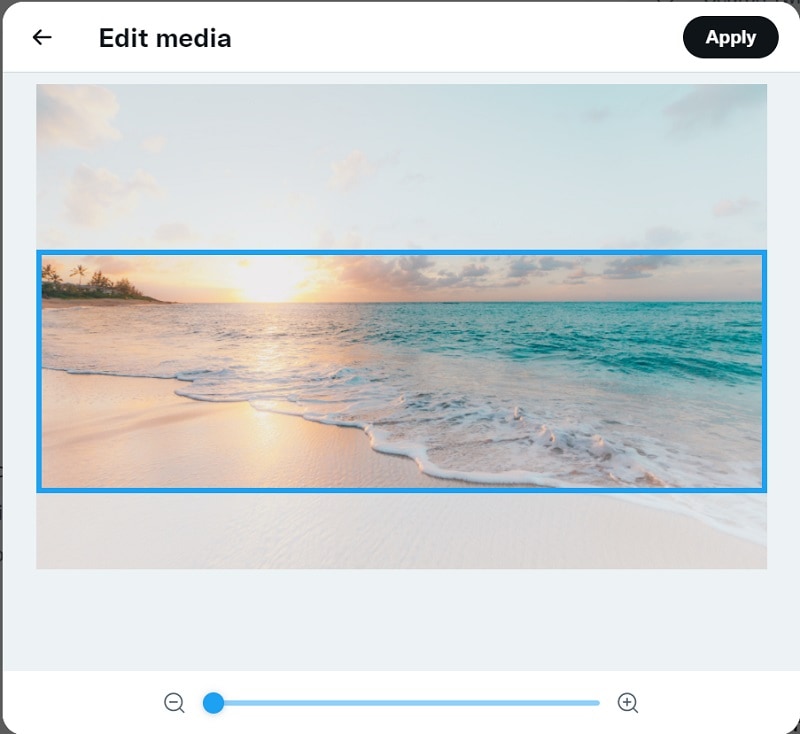
After making all these changes, you can just click on the “Save” button and your image would be uploaded as a header photo.
Related Reading:
1. Fix Twitter Video Quality .
2. Twitter Videos Not Playing.
3. Snapchat Photos Not Opening.
To Sum Up
There you go! As you can see, it can be extremely simple to fix all these common Twitter header photos issues. Here, I tried to provide all kinds of solutions to upload or change a header image on Twitter.
Furthermore, you can also go through the exact specifications that are needed for Twitter’s header photo to avoid any unwanted issues in advance. Besides that, if your images are corrupted or blurry, then using a repairing tool (like Wondershare Repairit) would be an ideal solution.