

Ever created a real stunner of an image with AI but then realized it's not quite the size you need? Well, from social media posts to website banners and print projects, learning how to resize AI images is something that can help you move into the modern digital world.
But exactly how can you resize image with AI without affecting its quality? Now, in this very detailed tutorial, we will take you through the steps to resize AI images. We will go over three very easy ways of resizing AI images. Does resizing really alter the image quality? —we will talk about—and give you very useful tips to make sure that you do it perfectly.
Now, whether you are a professional designer or an occasional user, you will know exactly what to do to resize AI-generated images like a pro.
In this article
Part 1: Will the Quality of the Photo Degrade If I Resize AI Image?
A frequent worry when changing the size of any picture, even those made by AI, is that the quality might get worse. The good news is that by using the right methods and tools, you can resize AI images bigger or smaller without losing much quality.
But it's important to know that making big changes to the size can make the image less sharp and detailed. The trick is to use the right techniques and settings to AI resize image process, which we'll talk about in the next parts.
Part 2: How to Resize AI Image? 3 Simple Image Resize AI Tools to Try
When it comes to resizing AI images, you have several options at your disposal. In this section, we'll explore three reliable methods to resize your AI-generated images with ease and precision.
Whether you prefer professional software or online tools, you'll find a solution that suits your needs.
Method 1: Use Adobe Photoshop to Resize Image
Adobe Photoshop is a powerful and versatile tool that offers extensive capabilities for image editing, including resizing AI images.
Here's a step-by-step guide to resize photo AI using Photoshop:
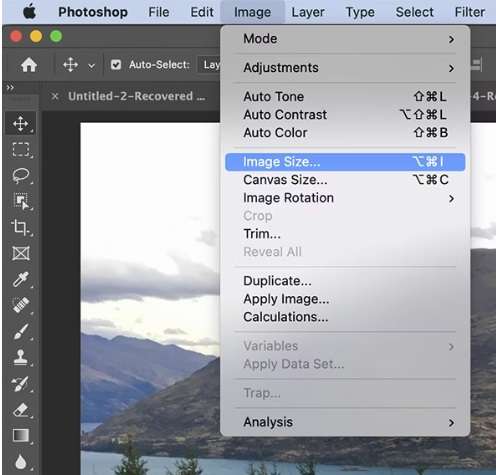
Step 1: Launch Adobe Photoshop and go to File > Open. Navigate to your AI image file and click “Open” to load it into the workspace. To resize your AI image, go to Image > Image Size.
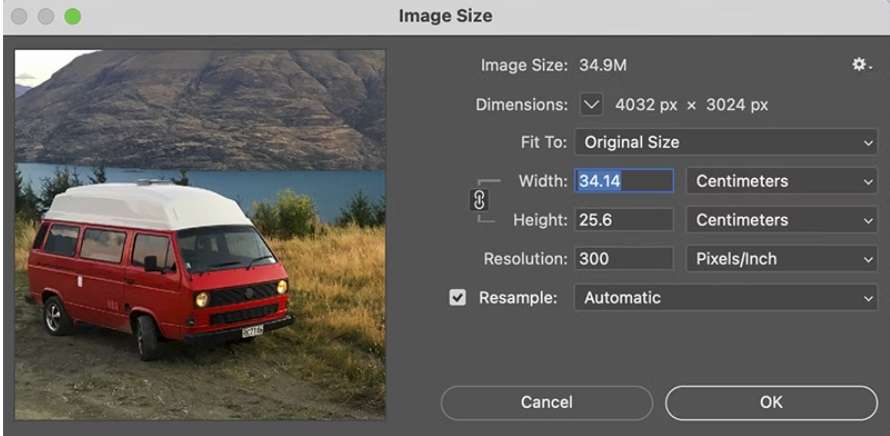
Step 2: This will open the Image Size dialog box, where you can adjust the dimensions of your image. In the Image Size dialog, you can specify the new width and height for your AI image. You can enter values in pixels, inches, centimeters, or other units of measurement.
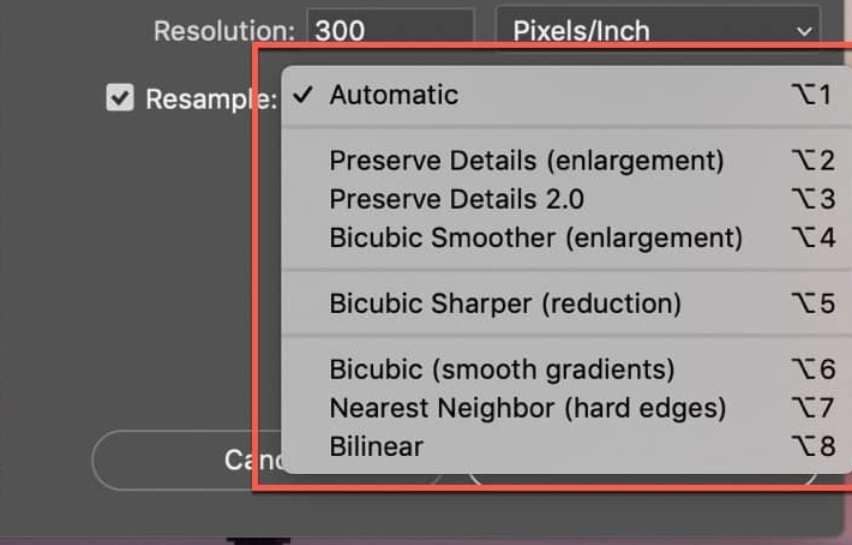
Step 3: Photoshop offers several resampling options to resize photo AI. For AI images, “Preserve Details 2.0” or “Bicubic Smoother” (for enlargement) and “Bicubic Sharper” (for reduction) often yield good results. Experiment with different options to see which works best for your specific AI image. Once you've set the desired dimensions and resampling method, click “OK” to apply the changes and resize your AI image.
Step 4: After resizing, you can use Photoshop's various filters and tools to refine the resized AI image. Go to File > Save As and choose an appropriate file format (e.g., JPEG, PNG) for your resized AI image. Adjust the quality settings if necessary and save the file.
Using Photoshop to resize AI images gives you fine control over the process and allows for additional editing if needed. It's an excellent choice for those who require precise adjustments and professional-quality results.
Method 2: Use Adobe Illustrator to Resize Image
While Adobe Illustrator is primarily known for vector graphics, it can also be used to resize AI images effectively. This method is particularly effective when you have a specific size requirement, as it allows for precise input of width and height values.
Here's how you can use Illustrator to resize AI images:
Step 1: Launch Adobe Illustrator and go to File > Open. Select your AI image file and click “Open” to import it into Illustrator.
Step 2: Access the Transform panel by navigating to Window > Transform in the top menu.
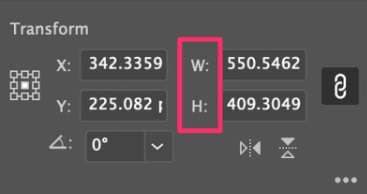
Step 3: Select your target image. The Transform panel will display its current dimensions under W (width) and H (height). To resize, simply change the W value to 400. You'll notice the H value adjusts automatically.
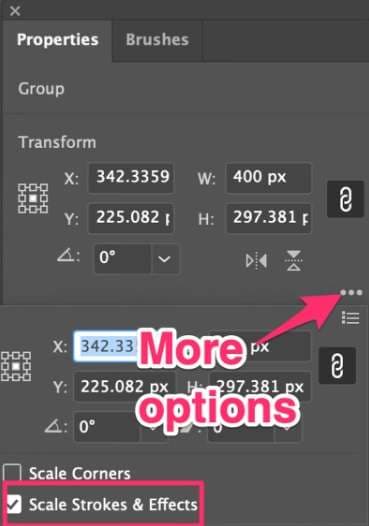
Pro Tip: For images with strokes, click the More Options button (represented by three dots) and enable Scale Strokes > Effects to ensure these elements resize proportionally with your image.
Using Adobe Illustrator to resize AI images can be particularly useful if you're working on projects that combine vector and raster elements. It provides a seamless workflow for designers who frequently work with both types of graphics.
Method 3: Resize AI Image Online with Simplified
For those who prefer a quick and easy online solution, Simplified offers a user-friendly way to resize AI images without the need for complex software.
Here's how you can use Simplified to resize your AI-generated images:
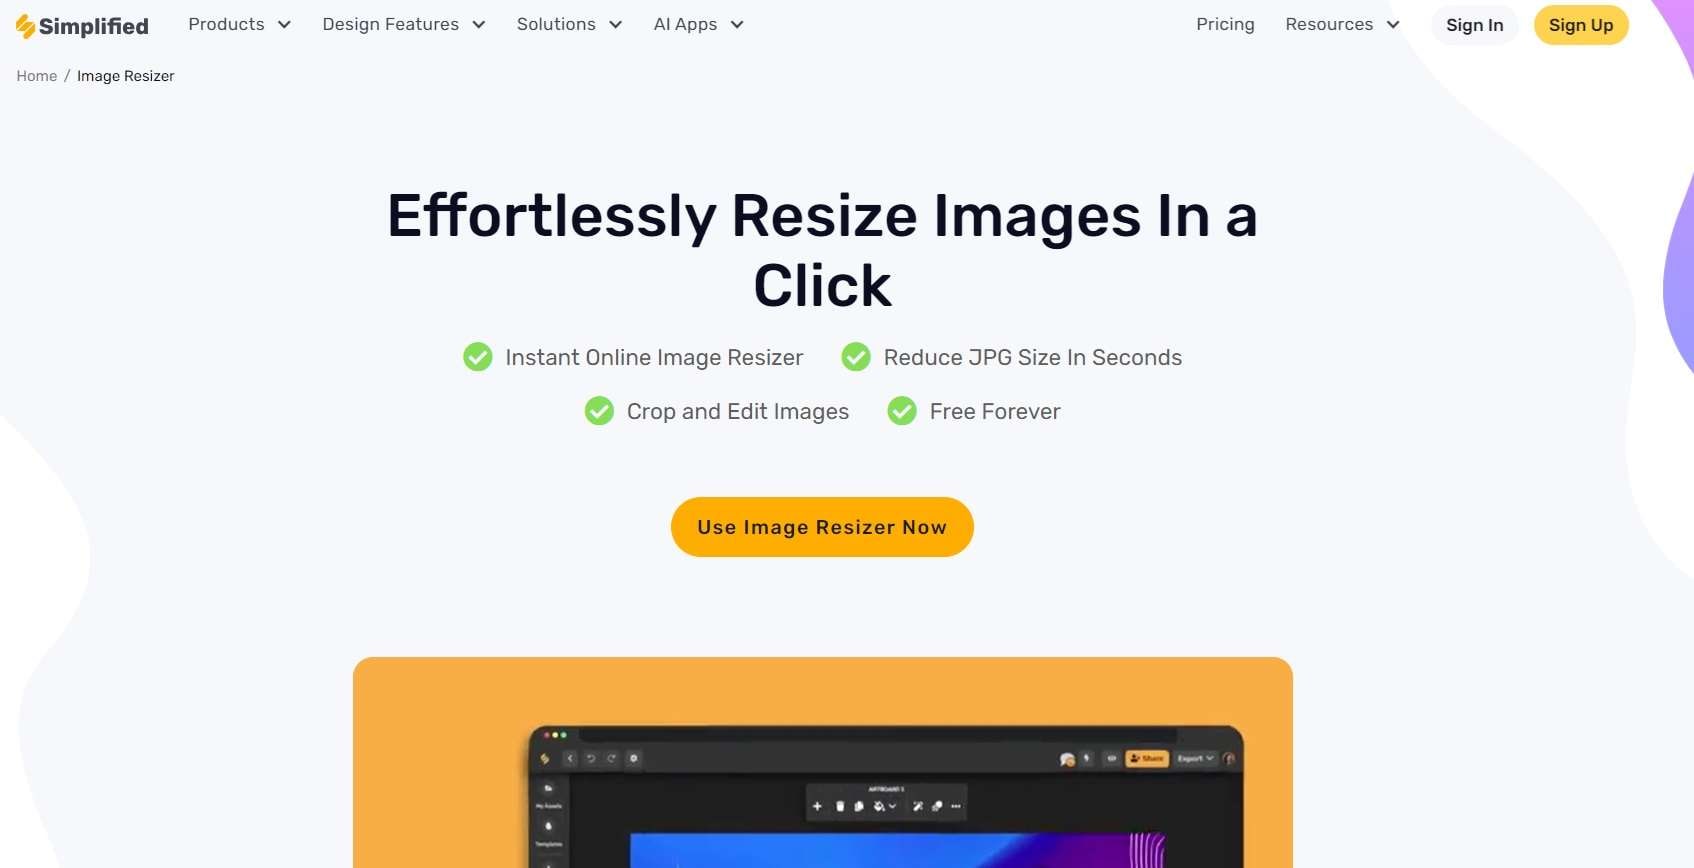
Step 1: Open your web browser and navigate to the Simplified. Once you're in the Simplified dashboard, click on the “Use Image Resizer Now” button and select the AI image you want to resize from your computer.
Step 2: After uploading, click on your AI image to open it in Simplified's image editor. Enter the desired width and height for your resized AI image.
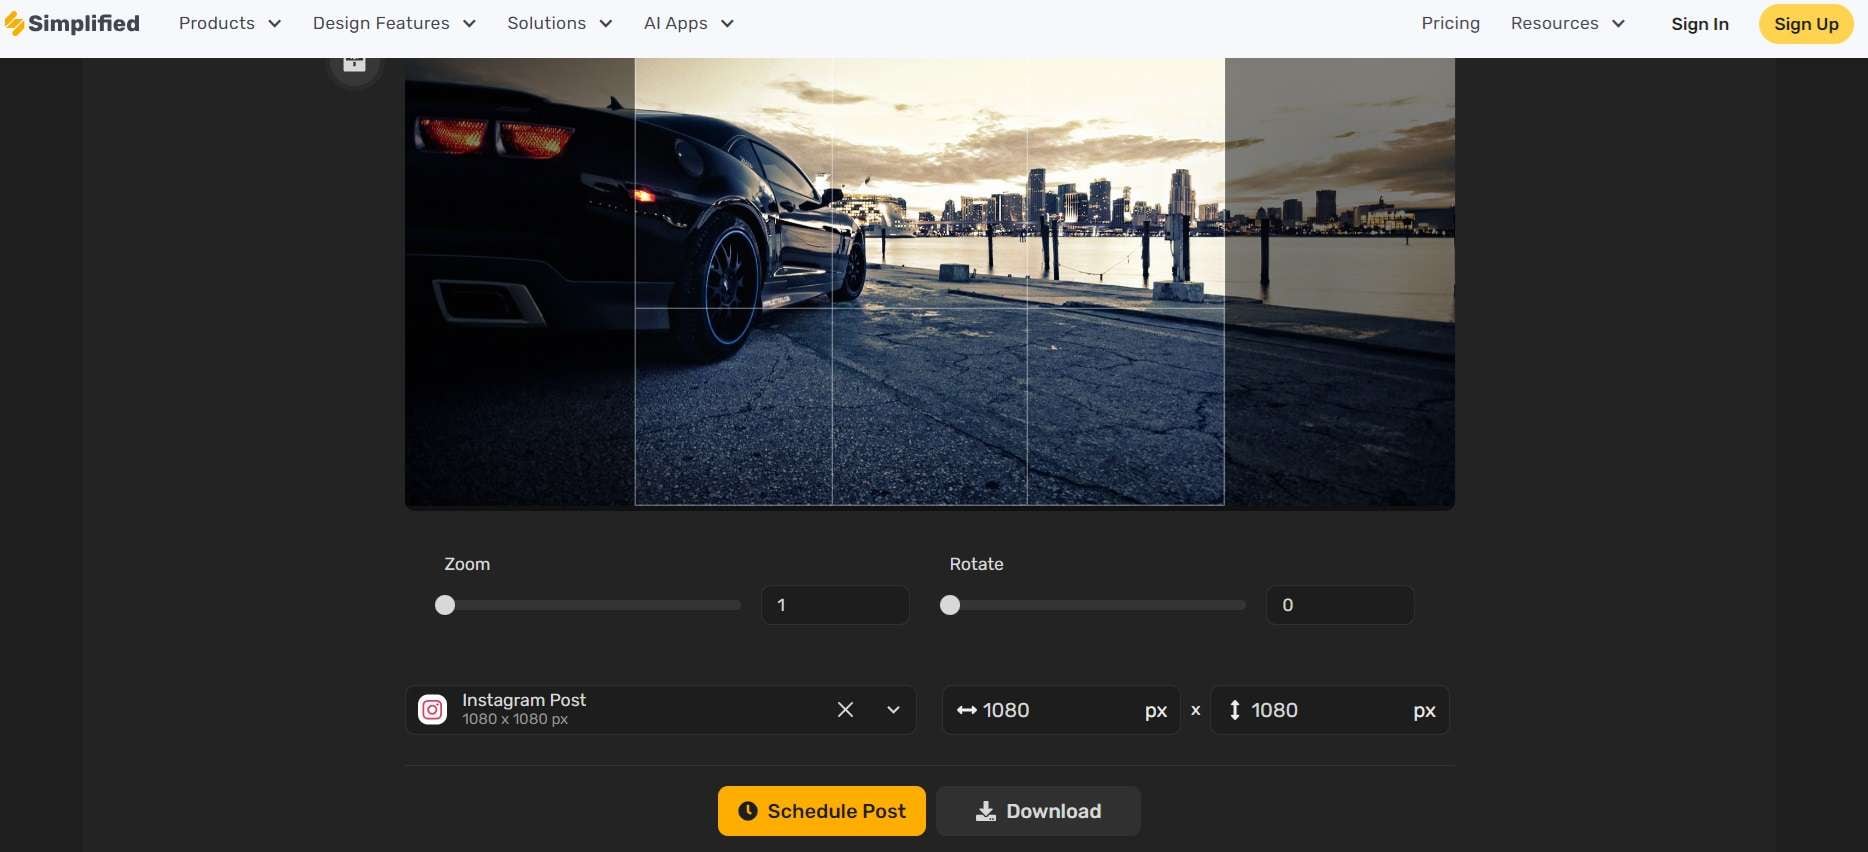
Step 3: Once you're satisfied with the result, click on the “Download” button to save your resized AI image to your computer.
Using an online tool like Simplified to resize AI images is an excellent option for those who need a quick solution without installing software. It's particularly useful for occasional image resizing tasks or when working on devices where installing desktop applications isn't feasible.
Part 3: Improve Your Photo Enhancement Experience With Repairit AI Photo Enhancer
While resizing AI images is an important skill, sometimes you may need to go beyond just changing dimensions. This is where Repairit AI Photo Enhancer comes into play, offering advanced capabilities to improve the quality of your AI-generated images.
Let's explore some scenarios where Repairit can be particularly helpful and then walk through the steps to use this powerful tool.
How Repairit AI Photo Enhancer can be beneficial:
- Upscaling low-resolution AI images: If you've generated an AI image at a lower resolution and need to enlarge it significantly, Repairit can help maintain and even improve quality during the upscaling process.
- Enhancing detail and sharpness: Sometimes, resizing an AI image can lead to a loss of fine details. Repairit's AI-powered algorithms can help restore and enhance these details, resulting in a crisper, more defined image.
- Improving color and contrast: If your resized AI image looks a bit flat or washed out, Repairit can help adjust the color balance and contrast to make the image more vibrant and visually appealing.
- Reducing noise and artifacts: AI-generated images, especially when resized, may sometimes exhibit noise or unwanted artifacts. Repairit can help smooth out these imperfections while preserving important image details.
Now, let's go through the steps to use Repairit AI Photo Enhancer:
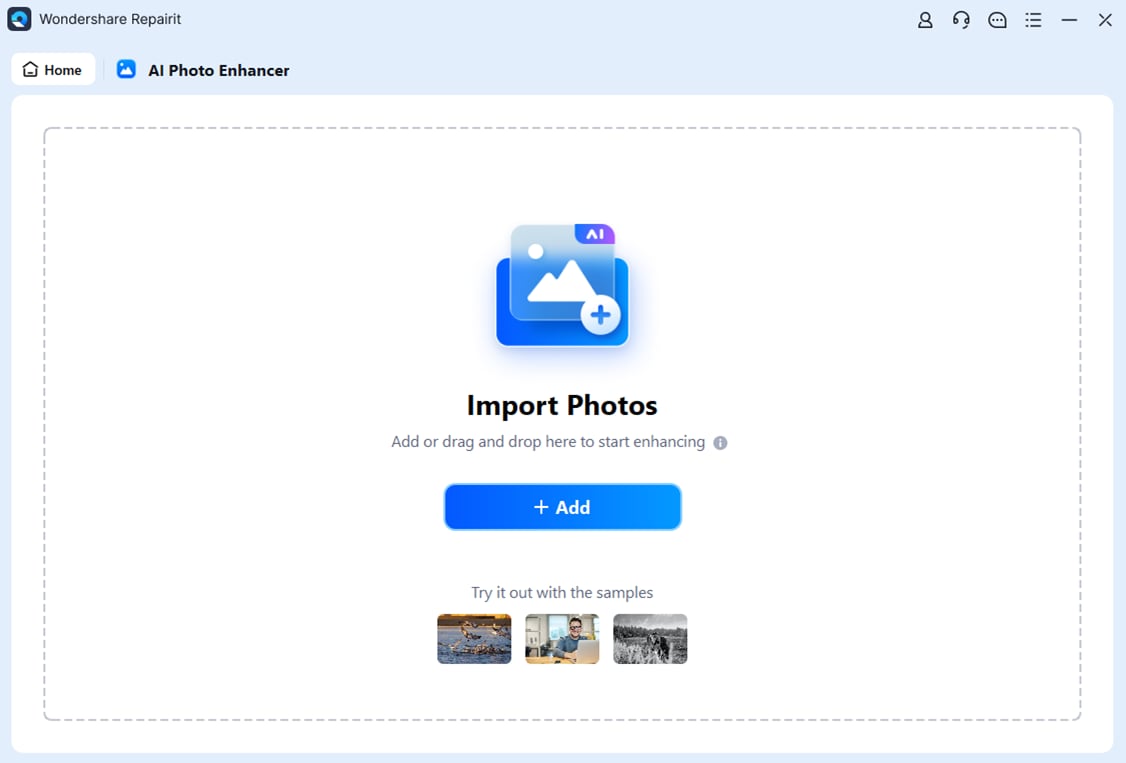
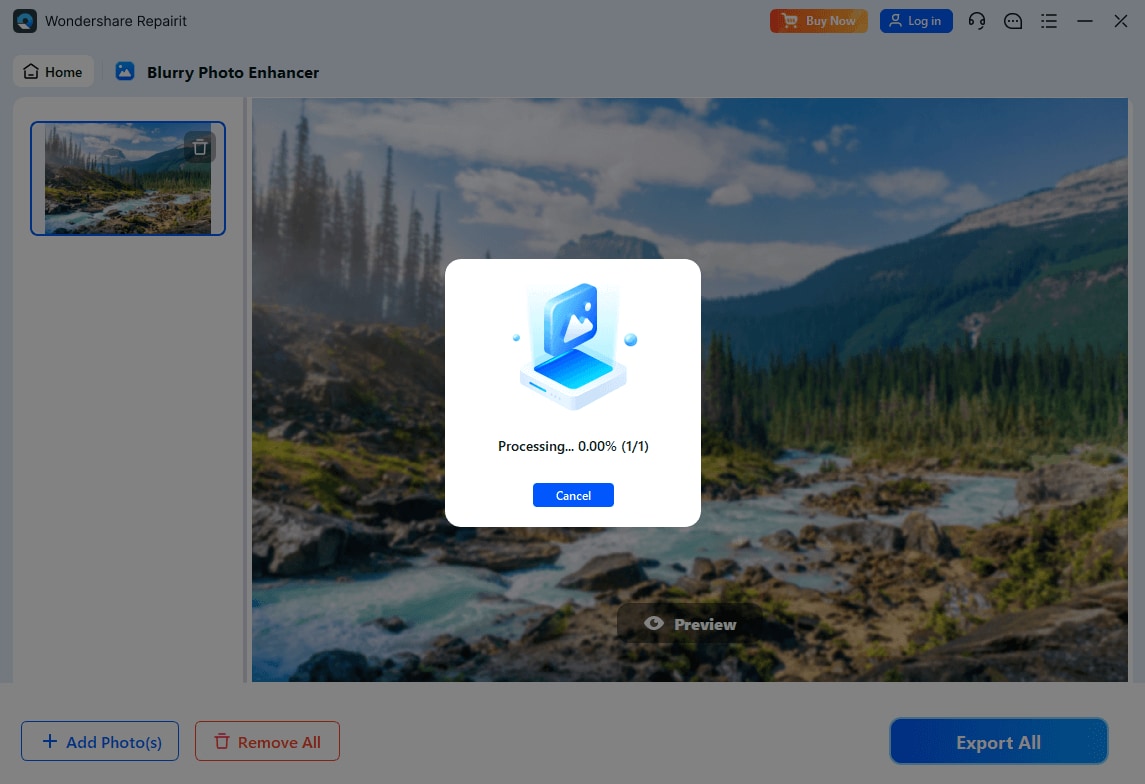
Step 1: Hit "AI Photo Enhancer" and then click on the "+Add" button to upload the resized photo that you want to improve.
Step 2: Select the appropriate options based on your needs. Then click on the “Start Enhancing” button to process your AI image.
Step 3: After the enhancement process is complete, use the preview feature to see how the enhanced results. Once you're satisfied with the preview, hit the “Save All” button to save your improved AI image to your desired location on your computer.

By incorporating Repairit AI Photo Enhancer into your workflow, you can take your resized AI images to the next level, ensuring they look their best regardless of the final dimensions or intended use.
Improve Your Resized Photo Now
 Security Verified. Over 7,302,189 people have downloaded it.
Part 4: Tips to Resize AI Images in Optimal Settings
To achieve the best results when resizing AI images, consider the following tips and best practices:
- Understand the original image resolution: Before resizing, take note of the original dimensions and resolution of your AI image. This will help you determine the optimal resize settings and avoid excessive enlargement or reduction.
- Maintain aspect ratio: Always preserve the aspect ratio of your AI image when resizing to prevent distortion. Most resizing tools have an option to lock the aspect ratio automatically.
- Use appropriate resizing algorithms: Different resizing methods work better for different types of images. For AI-generated images, algorithms like Lanczos or Bicubic often produce good results. Experiment with different options to find what works best for your specific image.
- Avoid multiple resizes: Try to resize your AI image only once if possible. Multiple resizing operations can lead to cumulative quality loss. If you need to make adjustments, start with the original image each time.
By following these tips, you can ensure that your resized AI images maintain their quality and visual appeal, regardless of the method you choose to resize them.
Conclusion
Learning how to adjust the size of AI-generated images is a very useful skill in the modern digital world. Keep in mind the quality of the original image, keep the same proportions, and use the advice we've talked about to get the best results. With practice and careful attention, you'll be able to confidently resize AI images for any project or platform.
FAQ
-
Can I resize AI images without losing quality?
While some quality loss is inevitable when significantly changing image dimensions, using appropriate resizing methods and tools can help minimize this loss. Stick to moderate resizing and use high-quality algorithms for the best results. -
What's the best file format for resized AI images?
The best format depends on your needs. For web use, JPEG or WebP are often good choices. For images with transparency or when maximum quality is needed, PNG might be preferable. SVG is ideal if your AI image is in vector format. -
How do I resize AI images for social media platforms?
Each social media platform has its own recommended image sizes. Research the current size guidelines for your target platform and resize your AI image accordingly. Many online tools offer preset sizes for popular social media sites.
