
 TL;DR:
⚡ Quick Fix: Remove Photo Scratches and Restore Old Pictures
Easily fix faded, torn, or scratched vintage photographs with these top recommended solutions:
● Use an Online AI Photo Restorer: Upload your damaged files to Wondershare Repairit AI Old Photo Restoration. It automatically removes scratches, spots, and creases, sharpens blurred faces, and can colorize black-and-white pictures online for free.● Utilize Desktop Photo Retouchers: For major damage or offline processing, try PhotoGlory or SoftOrbits Photo Retoucher to crop out torn edges, clone missing details, and manually erase deep cracks.
● Digitize and Preserve Properly: Scan your original physical prints or negatives separately at high resolution, then store them in a climate-controlled area away from UV light, high humidity, and acid-heavy adhesives.
Ask AI for a summary
 ChatGPT
 Perplexity
 Gemini
 Claude
 Grok
Grok
Do you possess old photographs that have deteriorated with time? Or do you want to remove photo scratches online? Perhaps a corner has been bent, or the surface has flaws like scratches and dust stains.
You've come to the correct site if you want to reconstruct and repair old and damaged pictures digitally, but you're not sure where to begin. We have some excellent advice on revitalizing printed photographs for the digital age.
Remove Photo Scratches and Revival Photographs Now
 Security Verified. Over 7,302,189 people have downloaded it.
Part 1: Various Issues with Old Photographs
The ideal method for reconstructing old images will depend on a number of frequent issues that might arise. The list of issues you might run across is as follows:
Issue 1: All or part of the photo is faded

This issue arises from the emulsion of a picture degrading as a result of exposure to UV radiation, air, or varying temperatures. The image may occasionally be flawless on one side before progressively fading on the other.
Issue 2: The photo has a color cast
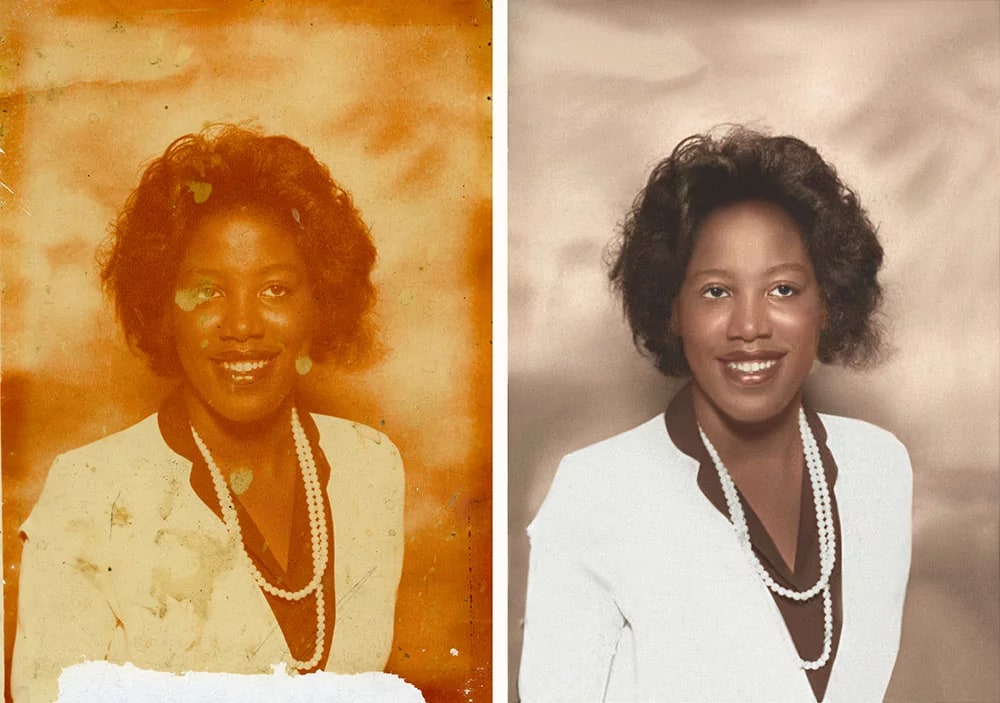
A color image may be completely covered in a yellow, red, or washed-out color. An emulsion's chemical interaction with air or paper may cause this.
Issue 3: The image is wrinkled, torn, scratched, or covered with spots
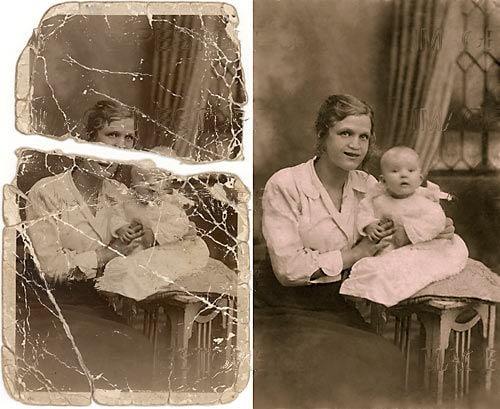
Mistreatment of the photo scratch remover online might help to remove wrinkles and scratches. As a result of dust exposure, spots will form. Images kept in a moist environment are susceptible to mold growth, which might appear as large or small splotches.
Issue 4: The surface is textured
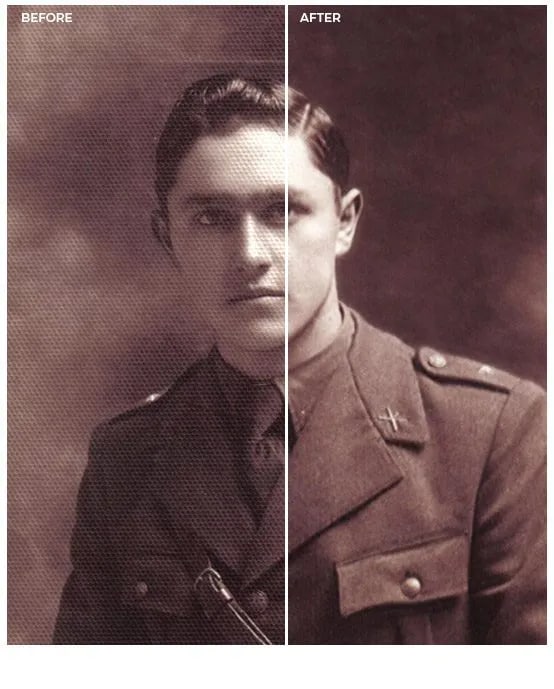
On textured paper, several old pictures were reproduced. During the retouching process, challenges in removing this surface may arise.
Issue 5: Part of the photograph is missing
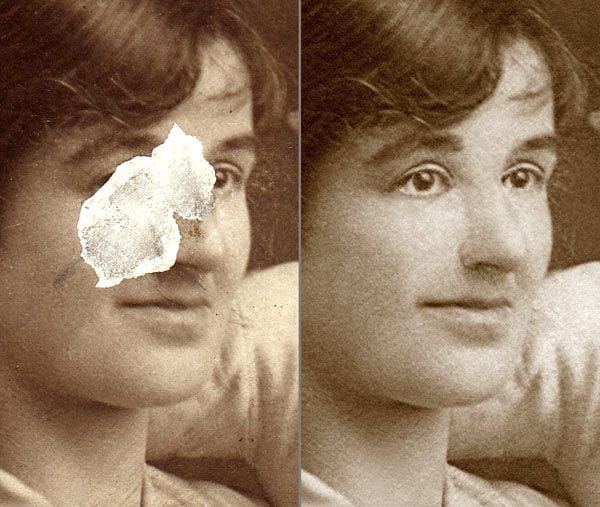
An essential part of the image, such as a hand or a face, maybe severely scratched or completely absent. A corner of the image may be missing, or it may have peeled or faded away.
Issue 6: Bad photography
The picture may contain extraneous components such as phone lines or out-of-focus areas. The photograph may have been captured at an inconvenient time, the composition may be uneven, or the image may be underexposed or overexposed.
Part 2: 3 Clicks to Remove Scratches from Old Photos Online for Free
You may restore an old photograph by taking it to a professional, but this is sometimes a time-consuming and expensive procedure that you may not have the time or money for. Fortunately, there are alternative options open to you. The program listed below allows you to restore your old images.
Tool 1: Use Wondershare Repairit to Restore Old Photos Online
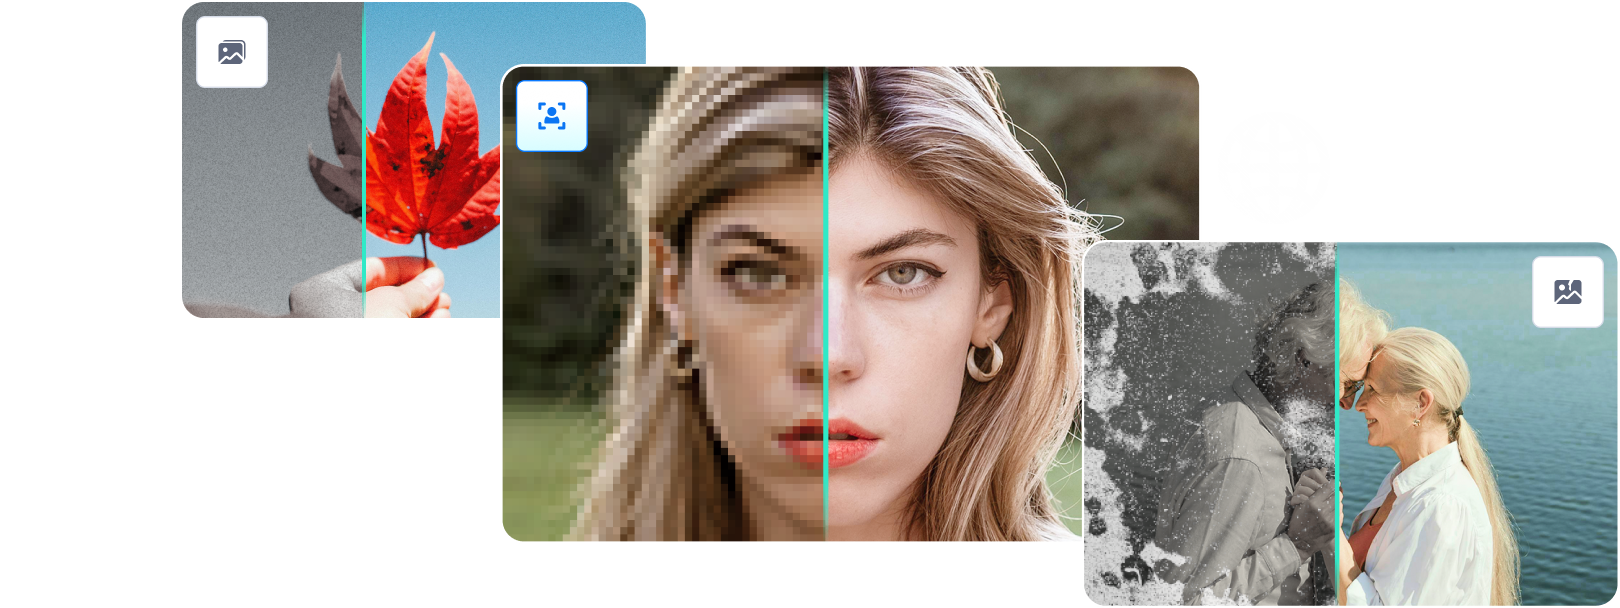
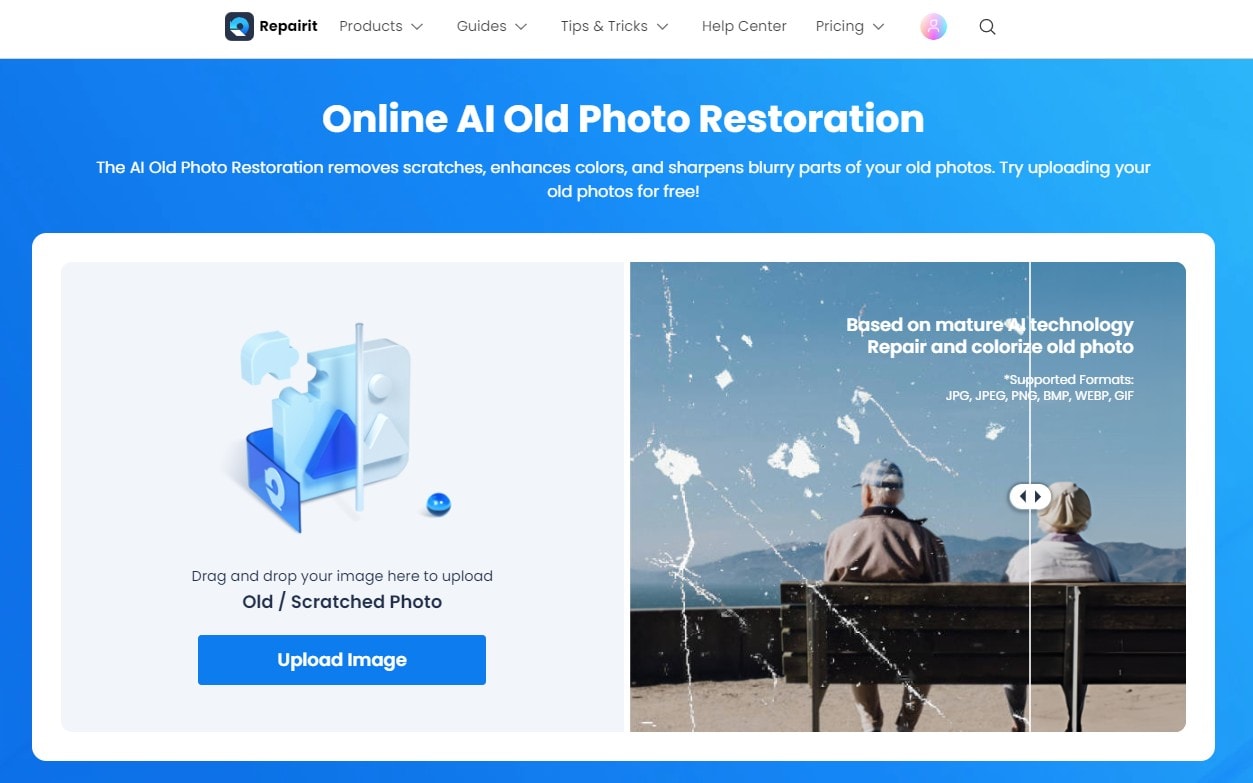
Wondershare Repairit AI Old Photo Restoration is capable of properly repairing old pictures. It's the most effective and easiest tool that I'm going to introduce. Based on mature AI technology, Repairit can remove the scratches, spots, or smudges fom old photos, improve the face clarity in the photos and colorize the old photos with AI. In addition, you can try it for free!
- Easily repair old pictures with the most effective and easiest tool available.
- Remove scratches, spots, and smudges from old photos, restoring them to their original quality.
- Improve face clarity in photos, enhancing the details and making them more vivid.
- Colorize old black and white photos with AI, bringing them to life with vibrant colors.
- Access and use the tool for free, making it accessible to everyone.
Steps To Restore The Old Photos In Seconds
The steps you need to follow to restore old photos are simple. Here is the three-step guide that will help you:
Step 1: Upload the Old Photo.
First, open the Wondershare Repairit tool for old photo Restoration online and on your device. The interface, like the below image, will appear on your screen. Click "Upload Image" to access to the online old photo restoration workbench.
Choose "AI Enhancement" from the left side and click "Add Photo" to upload your old photos that have been ruined.

Step 2: Start the old photo restoration process
After uploading the photograph, you will have two models in front of you. Select the AI Old Photo Model and it also provides two options: Old Photo Restore and Photo Colorize. Select the Old Photo Restore mode.
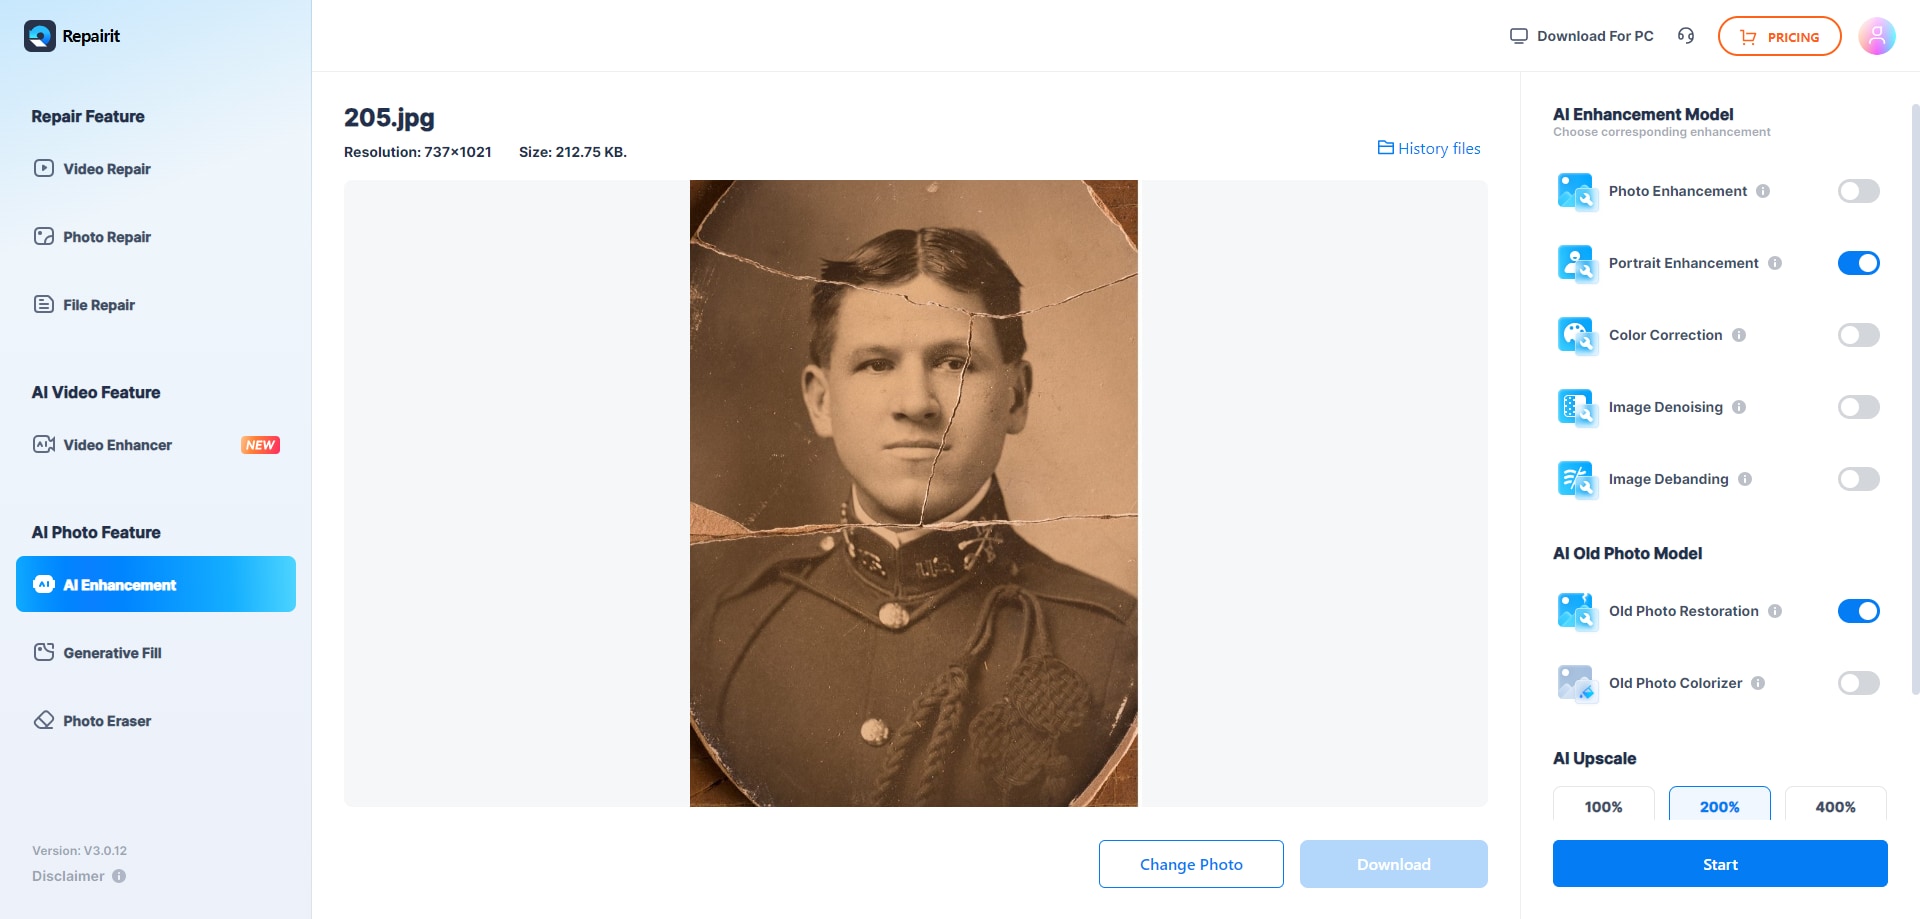
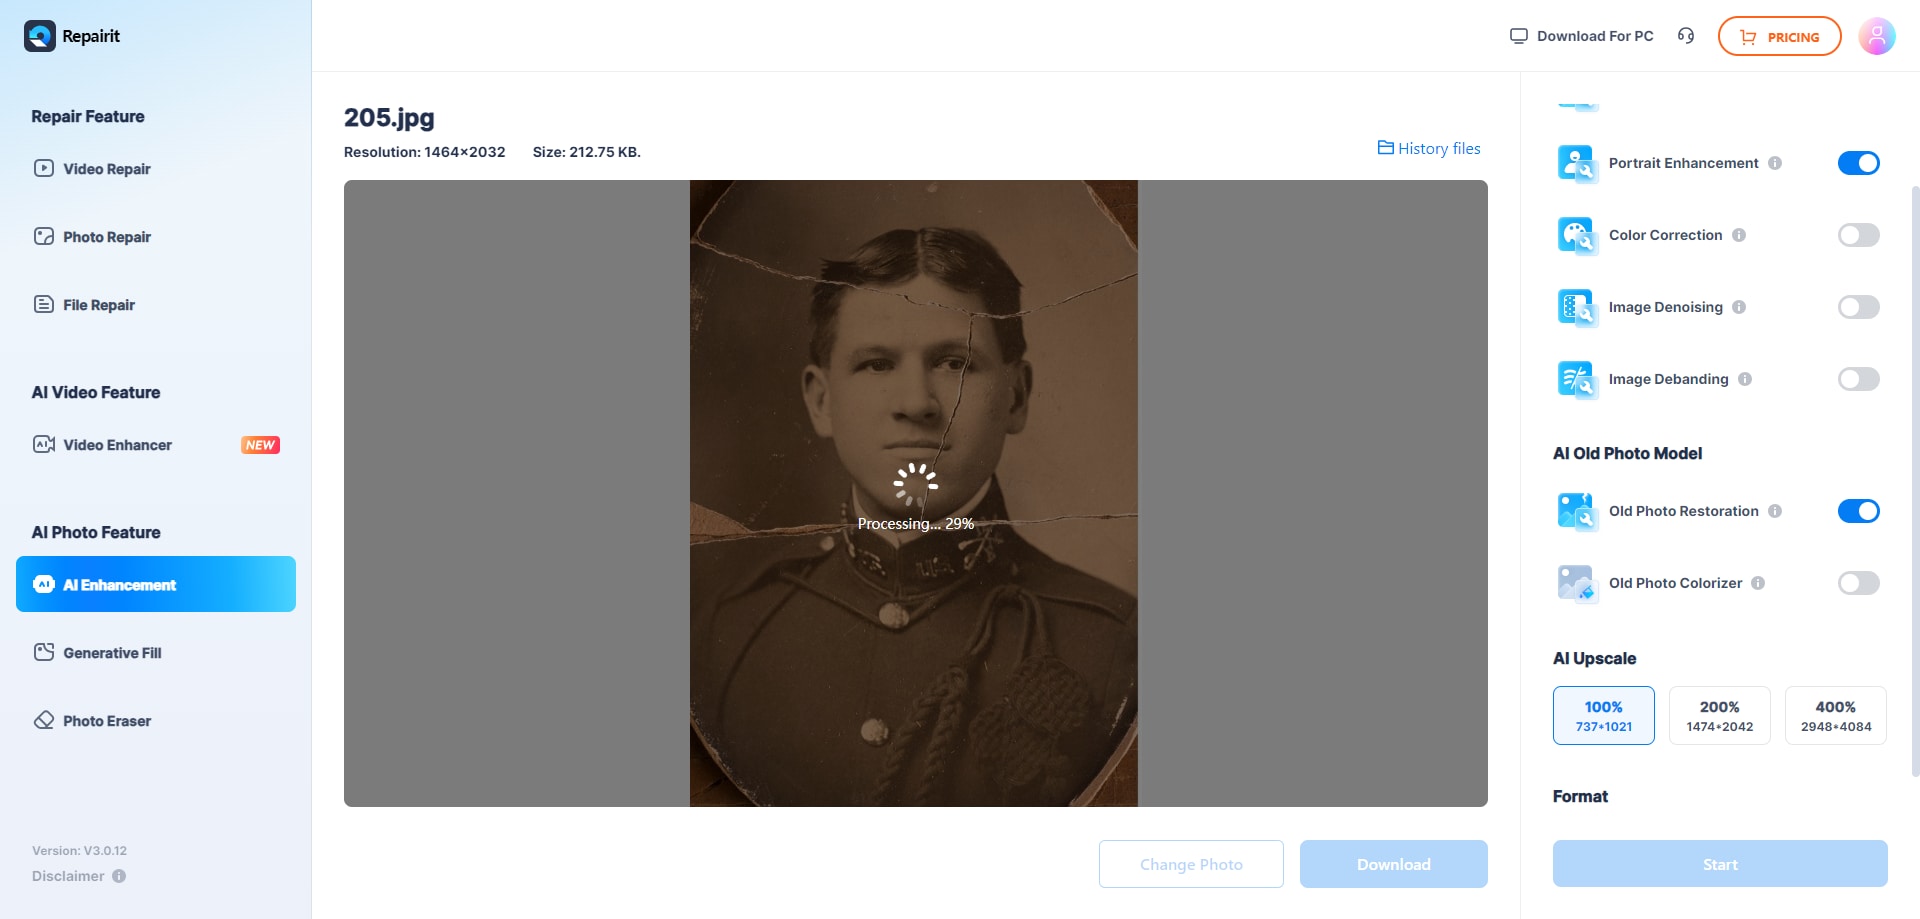
Next, click the Start button in blue in the right-hand bottom corner. It will start the restore process. Now, wait for a few seconds.
Step 3: Preview the Results and Download.
When the repair process completes, you will get a message Processed Successfully. Now, you can preview the restored photographs.
Note: You can also choose the resolution "100%" or "200%" from the AI Upscaler function to make your old photos clearer.
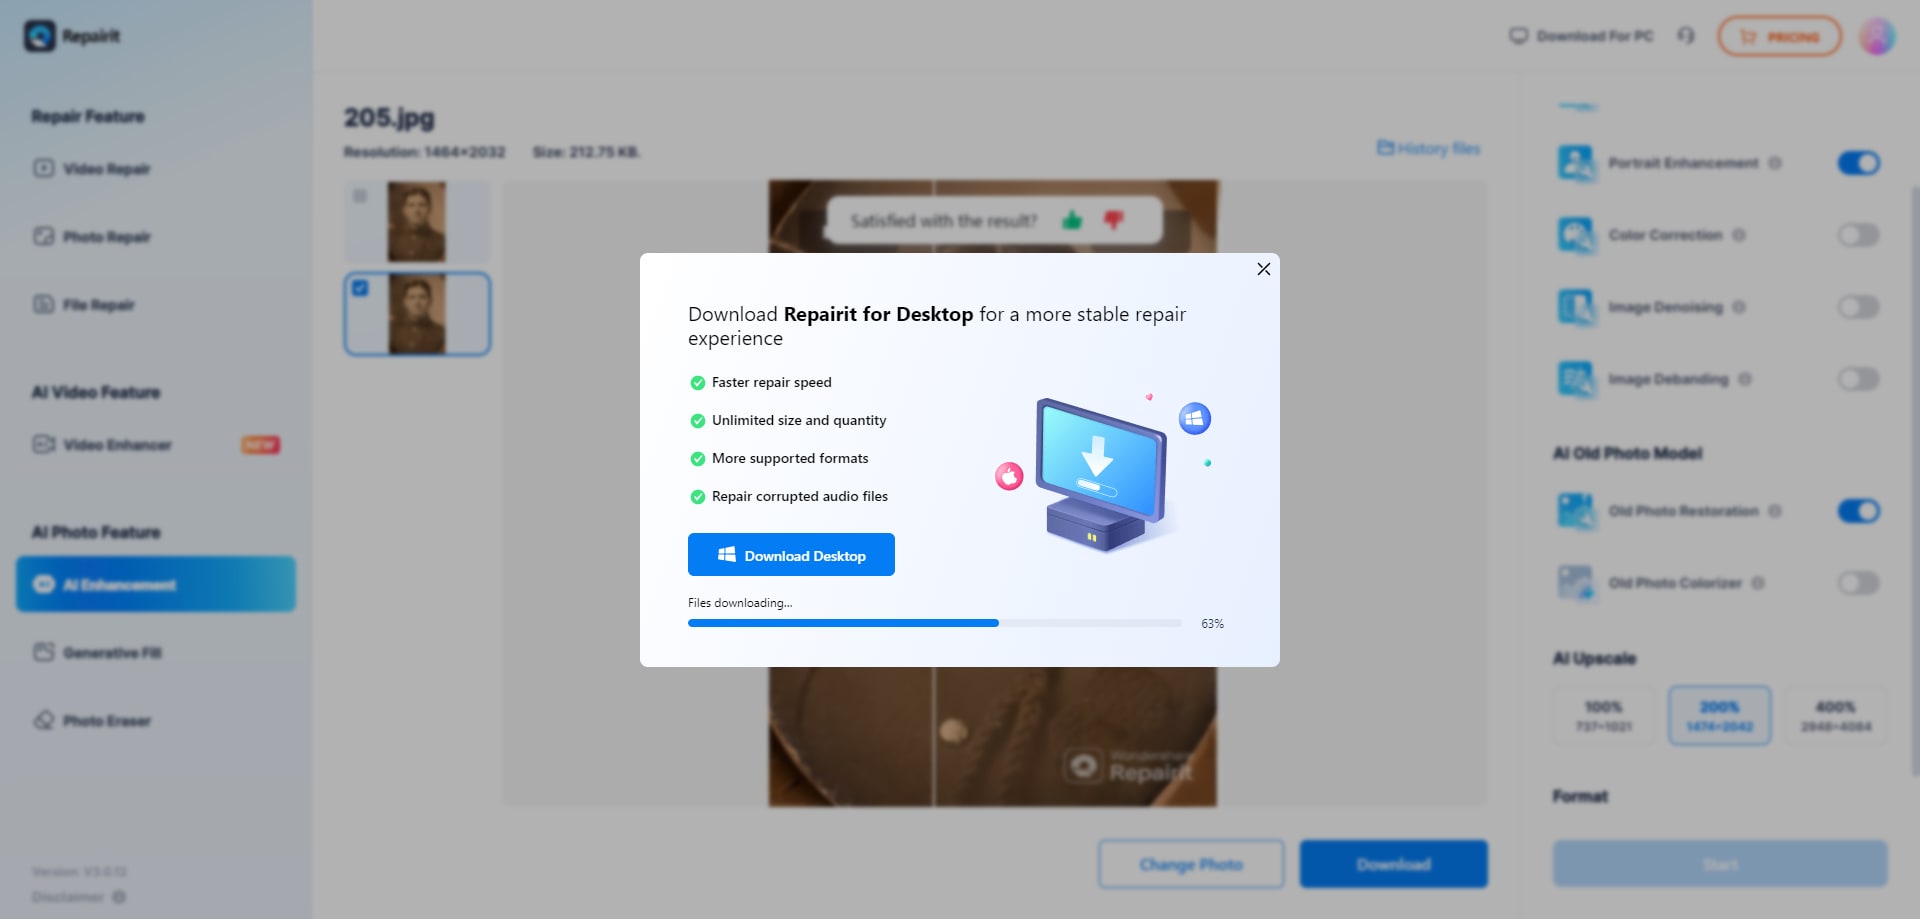
To preview, you can swipe left and right to notice the changes. When you are satisfied with the result, please save it to your device at a particular location.
Attention:
The Repairit AI Old Photo Restoration supports to repair 300 photos each month, and each photo should be no more than 300MB. If you have more photo repair needs, you can also try the deskop version of Wondershare Repairit to restore and colorize old photos, the desktop version has no limit to the size and number of the repairable files. Here is the instruction of Repairit for Desktop:

More Related Articles:
Part 3. Other 2 Professional Tools To Remove Scratches from Old Photos on Desktop
Tool 1: PhotoGlory
With PhotoGlory, you can colorize your black-and-white photos in a matter of seconds by utilizing the various automated tools or clever brushes built for manual editing. This software includes several tools for eliminating wrinkles, scratches, stains, scribbles, and damaged edges. Color saturation may be increased, blemished photographs restored, and custom text labels and date stamps added.
Steps To Restore The Old Photos With PhotoGlory
Step 1: Download PhotoGlory.
First, download and install the software on your computer. The setup wizard will guide you all the way.
Step 2: Cut Away Torn Corners.
Now, within the program, open your previous photo. Crop your image if the edges are too damaged to be fully repaired.
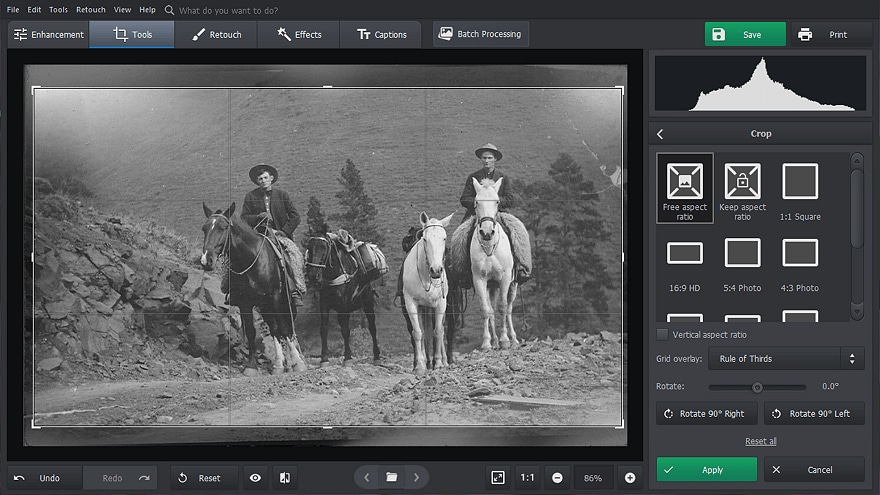
Switch to the Tools menu and select the crop function. Apply the markers such that the ripped corners are not in the frame.
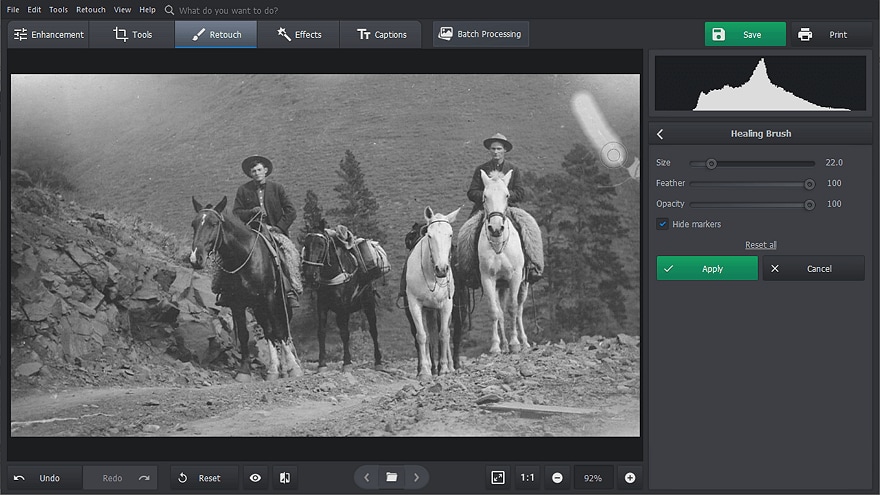
Step 3: Erase Cracks and Stains.
Navigate to the Retouch tab. There are several tools available to remove time marks. Use the patch tool to hide major flaws, such as rips or missing sections. Use the Clone Stamp tool to remove medium-sized faults such as stains, lumps, and rips. If you wish to remove minor flaws such as wrinkles or dust, utilize the Healing Brush.
Step 4: Restore washed Out Colors.
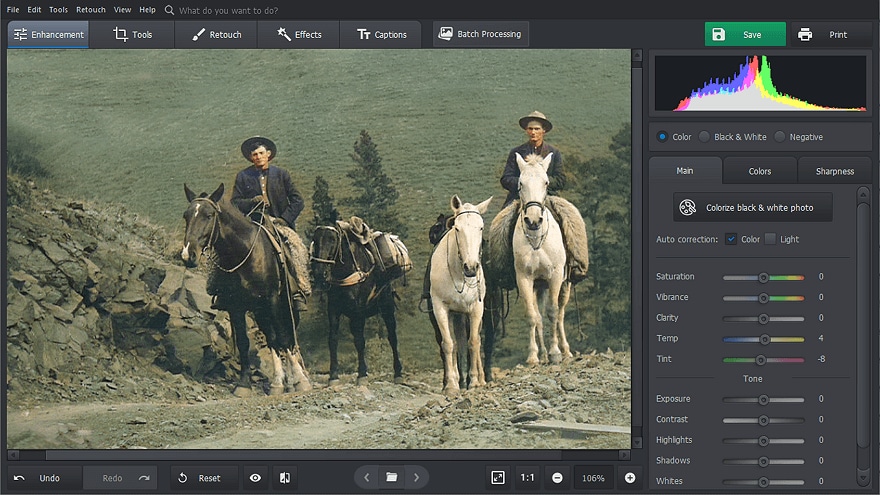
If the colors in your old images have faded, use a color restoration to bring them back to life. If your original image is black and white, PhotoGlory allows you to colorize it with a single click and then manually edit it.
And there you go!
Tool 2: SoftOrbits Photo Retoucher
SoftOrbits Photo Retoucher is the answer for reviving fading vintage images. This picture restoration program is simple to use and can fix a variety of photo restoration concerns. When you use this tool to repair old images, they will be clean and blemish-free.
Steps To Restore The Old Photos With SoftOrbit Photo Retoucher
Step 1: Scan the original image.
The first Step is to create a digital duplicate of the photo that needs to be restored. You are now ready to repair it after scanning or photographing the original.
Step 2: Load the image in the software to restore old photographs.
You will notice the option to Add a File in the corner after the picture restoration program has launched. Utilize it to add the image to the software and start modifying it.
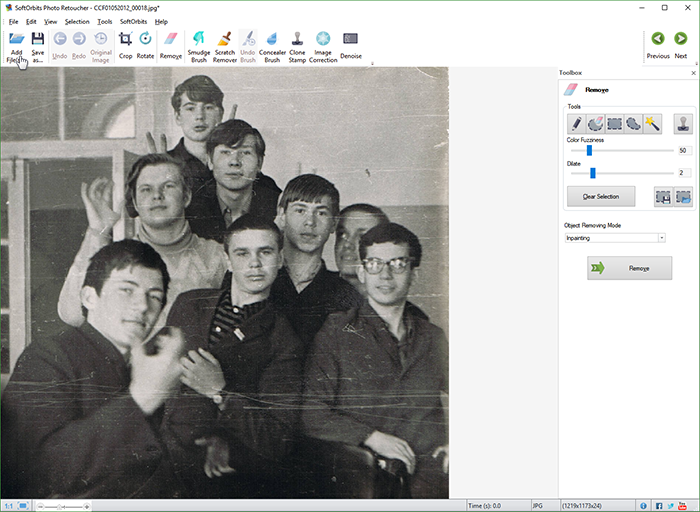
Step 3: Select the remove tool.
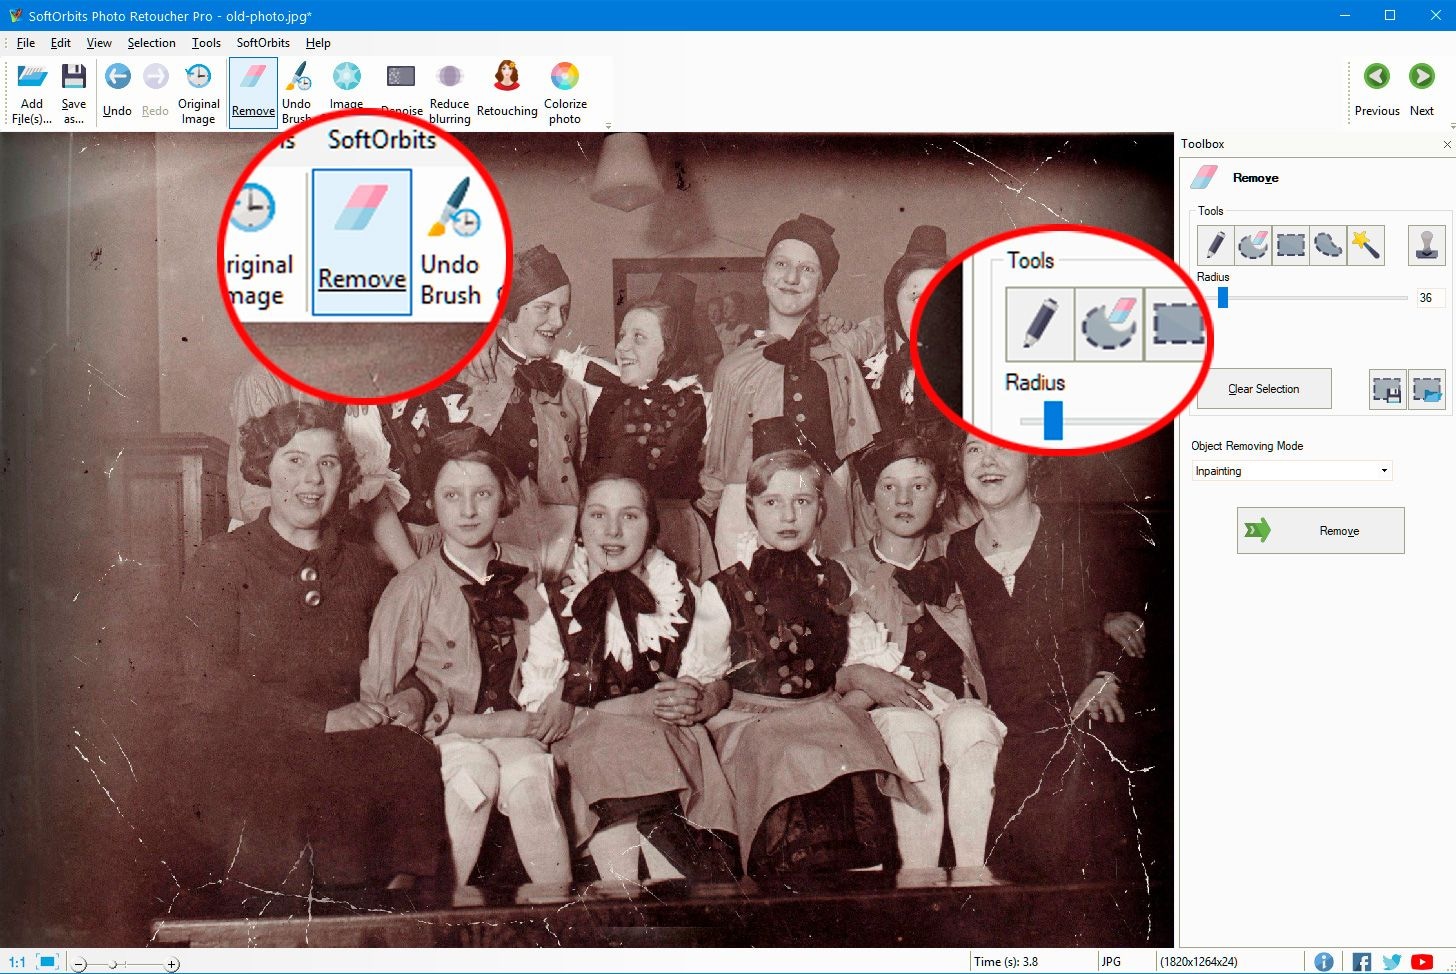
You'll notice a Remove icon in the toolbar at the top. Selecting this option allows you to label and remove damaged or scratched areas simply.
Step 4: Highlight the damaged areas.
Choose the pencil icon from the right side panel and resize it to fit the damaged area!
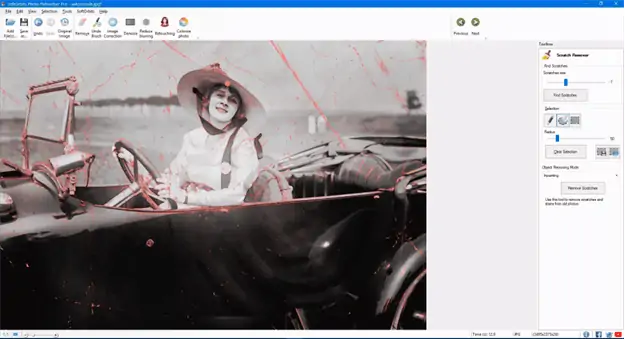
All that remains is for you to left-click your mouse and use the pointer to highlight the damaged region. If you see a scratch or a stain, simply tap and drag over it to label it in red.
Step 5: Click remove.
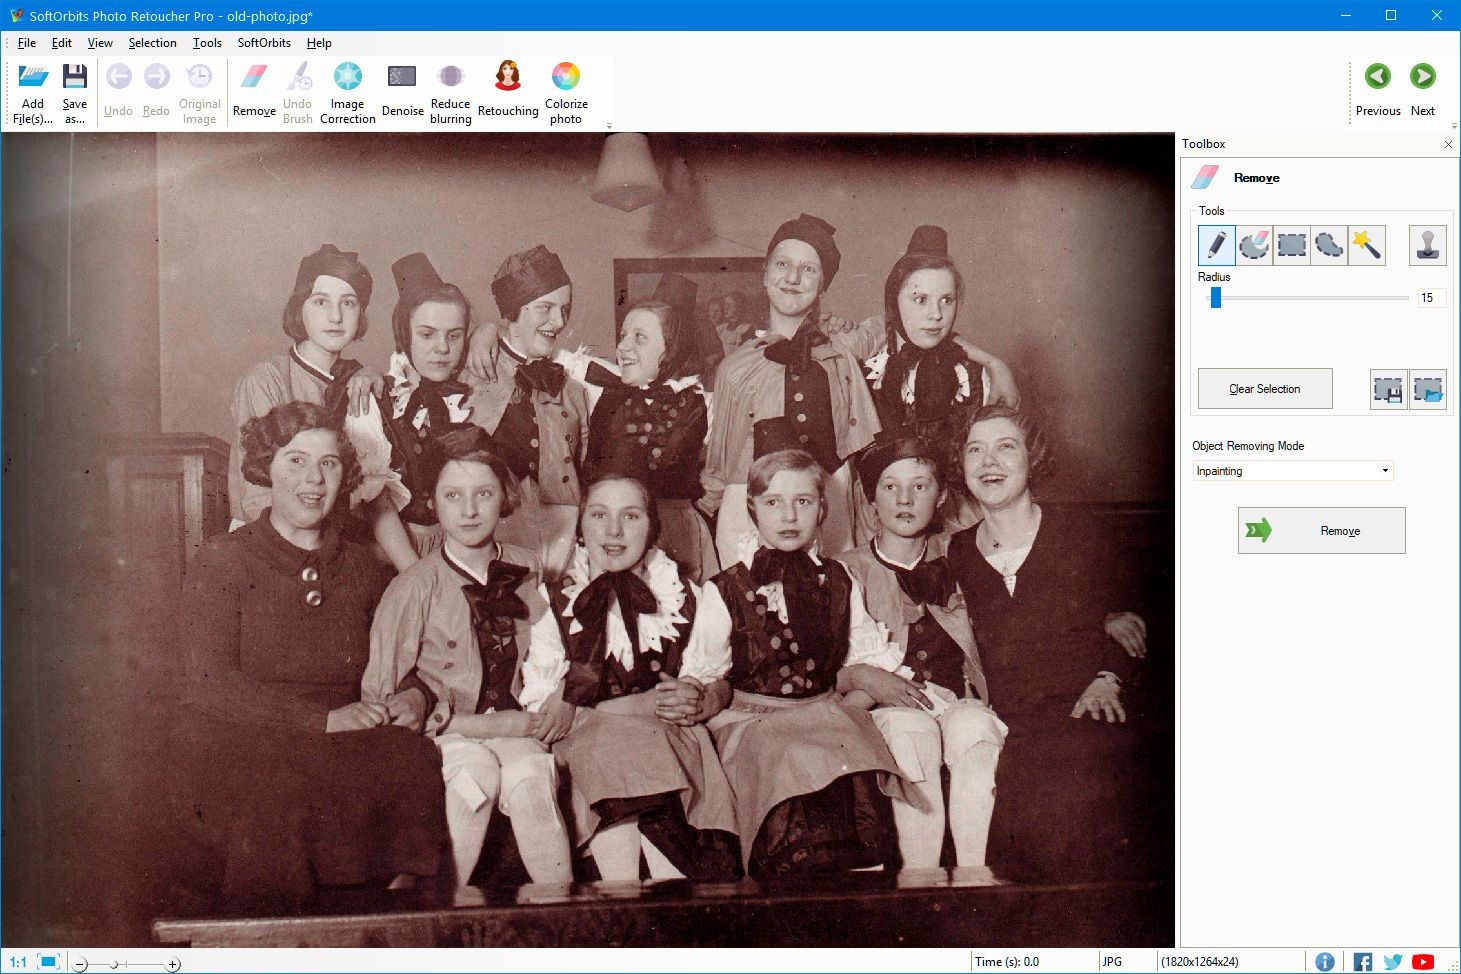
After you've chosen the areas to be cleaned, click the Remove button in the bottom right corner.
SoftOrbits Photo Retoucher will automatically analyze the pixels and clean them up without leaving a trace!
Part 4: What Causes A Photograph to Deteriorate?
Photographic materials deteriorate for a variety of causes. Without appropriate care, pictures will deteriorate and degrade into dusty, smeared scraps of paper in your garbage bin. Knowing what causes images to fade allows you to safeguard your memories from destruction and preserve them for future generations.
The following factors are frequently responsible for fading on photographs:
Cause 1: UV Light
Placing a photograph in direct sunlight for a long time is one of the fastest ways to damage the image. When exposed to UV radiation, the molecules within the plastic that cause the colors to appear to degrade and finally evaporate, leaving splotches.
Cause 2: Airborne Pollutants
The most prevalent source of fading is sunlight, but the combination of chemicals in the air will also hasten the aging process of images. In addition, unprotected images can fade and disintegrate due to the ongoing mix of dust, cleansers, and smoke - whether from cigarettes, fires, or cooking.
Cause 3: Acid Damage
We don't typically consider ordinary household objects with high acid concentrations, let alone how they can affect our images. If you've ever wondered why some of the most basic paper goods are labeled "acid-free," it's usually because of how the materials react with the chemicals in pictures.
Cause 4: Adhesives
Sticky residue not only creates a nasty, sticky texture on the photo but also changes the chemical makeup of the coloring and causes yellowing. So whether you leave a photo pinned to a wall or in a scrapbook, the adhesive will eventually offer you an unpleasant surprise: a huge, faded stain where the adhesive was.
Cause 5: Paper
Whether you print a photo on acid-free paper or keep it in an acid-free envelope, you're preparing the image for quick aging. Always look for "acid-free" on the label when preserving your images on paper, which may not give the best protection otherwise.
Cause 6: Scrapbook and Albums
A scrapbook's pages may become yellow, brown, or orange as they age, which can only be terrible news for your images. Old megantic scrapbooks or picture albums are also frequently harmful to photographs. Before you utilize your albums, whether paper or plastic, be sure they're acid-free.
Part 5: Tips to Save Your Old Photographs
Temperature, humidity, and sunshine all have a greater impact on images than any other aspect. Here are some suggestions for preserving old photographs:
Tip 1: The optimal circumstances for archiving images are in a setting with a steady temperature of around 65°F-70°F with a relative humidity of about 50%. These aren't always possible in the house, so if your images are very valuable to you, you might want to consider putting them in a safe deposit box at your bank, where the circumstances are optimal.
Tip 2: Negatives should not be kept in the same area as photos. If your images or albums are damaged, your negatives will still be accessible to reproduce your prized family relic.
Tip 3: Avoid cheap drugstore picture albums, magnetic photo albums, and paper and plastic storage goods. Only use lignin-free, acid-free, unbuffered paper for keeping pictures or as interleaving paper in albums. PVC-free polymers such as Polyester, Mylar, Polypropylene, Polyethylene, and Tyvek should be used.
Tip 4: Keep pictures away from heaters, dryers, and other heat sources. Store pictures on high shelves far from water pipes and in places that aren't prone to floods or leaks to prevent water damage.
Conclusion
Digital technologies can help you restore your fading, ripped, or discolored images to some extent. You could require a pro to take charge of this if your old images are irreparably ruined.
Yes, there are a lot of technical details to remember, but once you get going, we assure you that it will become pretty simple. So go ahead and dig up some of those old, torn pictures and give restoration a shot. The methods for restoring or fixing your old, damaged images are covered in this article. I hope one of these fixes was successful for you.
People Also Ask
-
How do you remove scratches from old photos?
Scratches can be removed using photo editing software with retouch or healing tools. Start by scanning or photographing your original photo digitally, then carefully use tools to remove scratches and restore the image. -
How to restore faded old photos online?
Faded photos can be restored online using tools that adjust color balance, brightness, and contrast. Upload a scan of your photo and apply enhancements to bring back lost details without needing advanced software skills. -
Can I remove scratches from old black and white photos?
Yes, black and white photos can be restored by scanning them digitally and using retouching tools to remove scratches and blemishes. Online AI tools can also help maintain the original contrast and details while cleaning up damage.