
Color is pivotal in visual design, but it’s also sometimes unnecessary. The right message can also be sent with gray monochrome photos, making these options preferred in some scenarios. That’s why many photo-editing professionals remove color from their artwork, converting RGB or CMYK files to grayscale.
Today, you’ll learn how to remove colors from an image, effortlessly converting Illustrator files to grayscale. We’ll guide you through three of the best methods for doing these conversions, discuss common grayscale color uses, and show you a tool for repairing Illustrator files.
In this article
What Is Grayscale Color Mode?
As the name suggests, grayscale color mode consists of various shades of gray. In most modern photo-editing tools, there are 256 of these shades, as every pixel in a grayscale image has a different black (white) value between 0 and 255.
Common Uses of Grayscale Colors
Designers and photo enthusiasts constantly use the grayscale color mode to create gray monochrome artwork. The particular style can be excellent for a marketing strategy or amplify the effects of your artwork’s message, but grayscale also has numerous other uses.
- Creating Print Designs – While image editing and photography are some of the most common use scenarios of grayscale, we mustn’t forget about print design. After all, color printing isn’t always an option, and ensuring your designs look good in black and white can only happen with grayscale colors.
- Film Industry – Grayscale has a massive use in cinematography, where gray colors can create the director’s desired effect. Experts in this industry often use grayscale to create an atmosphere or cause a sense of nostalgia.
- Architectural Designs – In computer renders of buildings and other architectural elements, grayscale colors can perfectly show the texture or shadows of different objects, providing an exact and detailed representation of what something will look like before applying colors.
- Medical Imaging – Doctors and other medical specialists constantly use grayscale imaging to represent intensity, structure, or density when scanning patients with an X-ray, MRI, or CT scanner.
These are only a handful of areas where grayscale colors are pivotal, but they’re used in numerous other industries to create different effects and attract attention. Including all of these would be impossible, and we’d better jump to converting colored images into grayscale instead.
How to Convert Colors to Grayscale in Illustrator
Adobe software suite has been developing since 1987, and today, they have some of the most widely used and versatile photo and video editing apps, including Illustrator.
This Adobe app is tremendous for design and perfect for converting colored images to grayscale. Users can pick between three methods for this task, so let’s dive straight into them.
Option 1: Using Recolor Artwork
Converting Illustrator files to grayscale works is easy with the app’s Recolor Artwork tool. It’s primarily helpful when dealing with complex designs, but using the feature is incredibly straightforward. Here’s what you should do:
Step 1: Load your colored image in Illustrator.
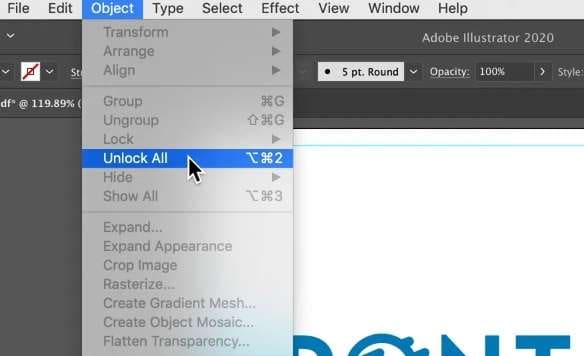
Step 2: Open the Layers panel and select Unlock .ll Layers (or hit CTRL + A on your keyboard).
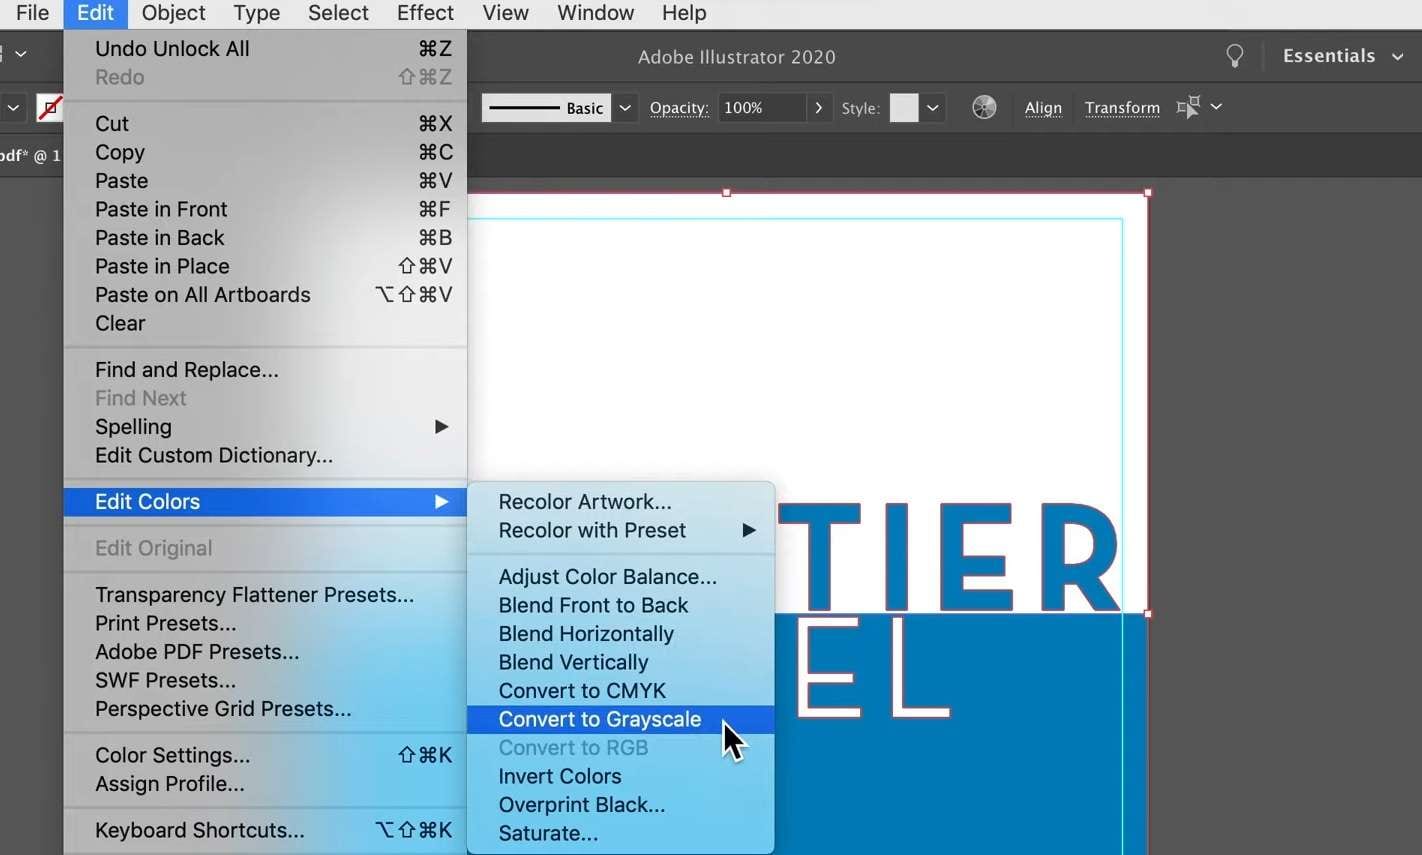
Step 3: Choose the elements whose colors you want to edit and navigate to Edit > Edit Colors > Recolor Artwork.
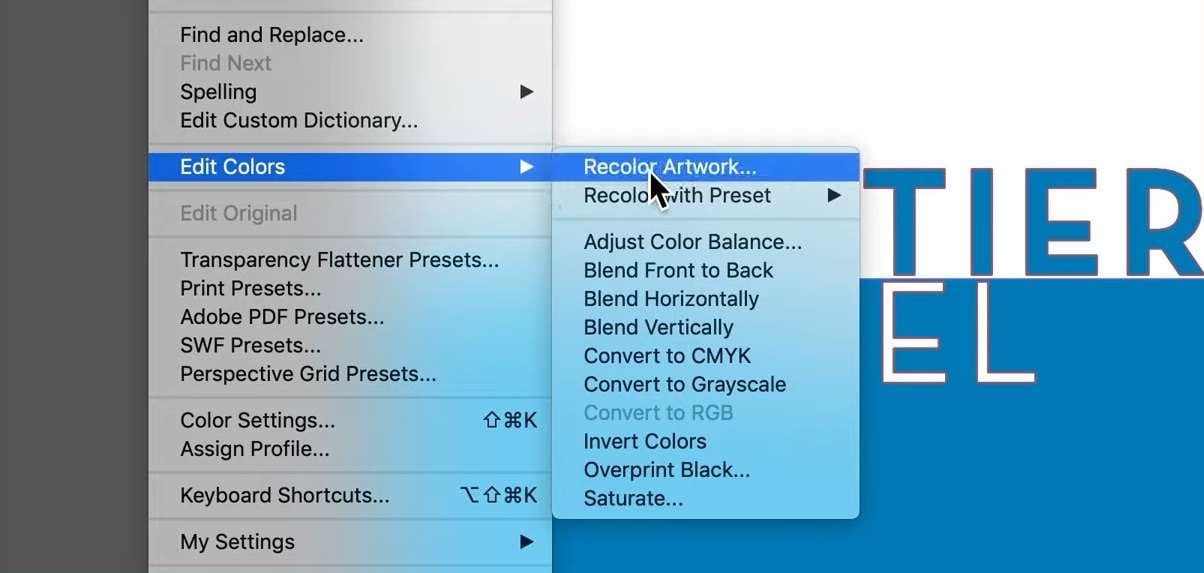
Step 4: You’ll see a menu with Current Colors, where you can change individual elements by clicking New.
Step 5: You can choose random colors and presets or change CMYK values to create grayscale colors.
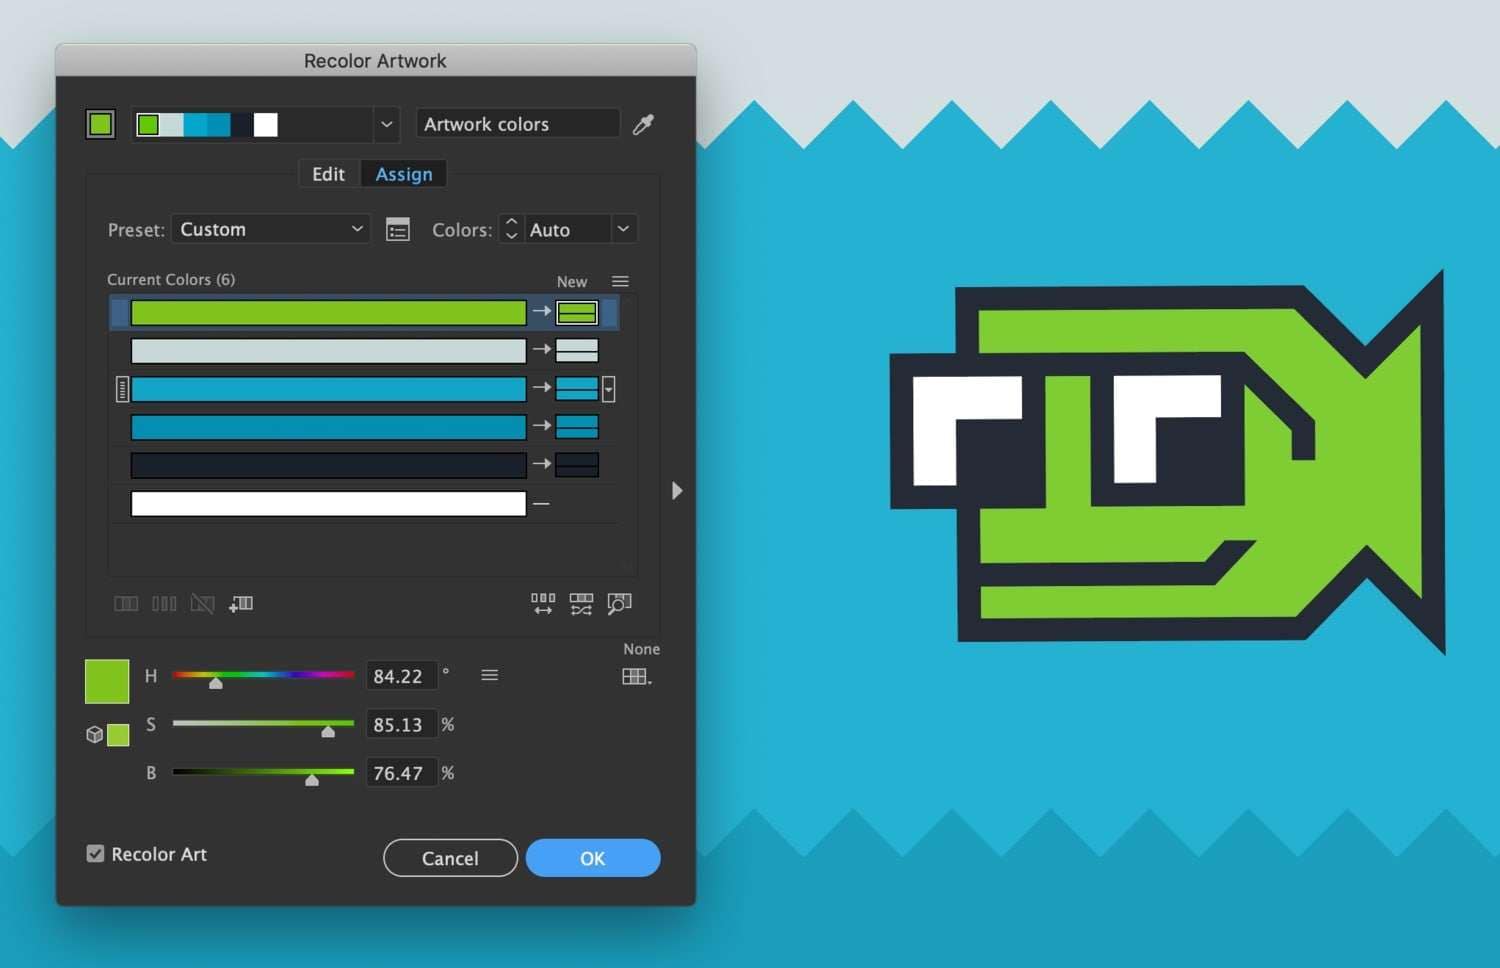
Illustrator’s Recolor Artwork feature essentially deconstructs your images into different colors, allowing you complete control over every aspect of your artwork. Still, the tool can be a bit challenging if you’re an Adobe Illustrator amateur.
Option 2: Using Grayscale Color Mode
Adobe Illustrator also offers a beginner-friendly Grayscale color mode, which makes converting to grayscale inside Illustrator a piece of cake. To use it, you can follow these steps:
Step 1: Open your artwork in Adobe Illustrator.
Step .: Hit CTRL + ALT + 2 to unlock your file’s layers, or navigate to the Layers panel and find the option.
Step 3: Tap CTRL + . on your keyboard to select all layers before the conversion.
Step 4: Navigate to Edit > Edit Colors > Convert to Grayscale.
Step 5: Adjust the amount of black by selecting Window > Color and modifying your artwork’s different elements.
That’s it, as using this option is incredibly straightforward. Of course, you can also convert grayscale to color in Illustrator by choosing the Convert to RGB option in the Edit menu.
Option 3: Using the Appearance Panel
There’s one more way of converting to grayscale in Adobe Illustrator, and that’s through the Appearance panel. It automatically shows up on the Properties panel when you select an object, and here’s how you can use it:
Step 1: Once you’ve opened a colored file and selected the elements you want to convert, click the Three Dots button in the bottom right corner of the Properties > Appearance. Alternatively, you can click on the Window menu and select Appearance.
Step 2: The characteristics of the Appearance window change depending on what you’ve selected, but its three main elements are Stroke, Fill, and Opacity.
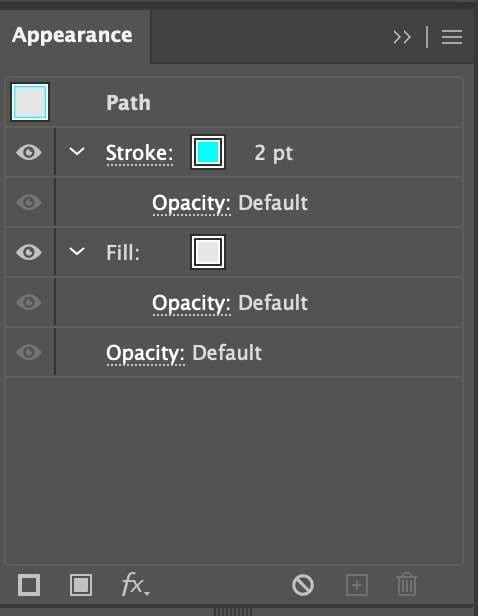
Step 3: Double-click on Opacity and change the blending mode from Normal to Luminosity.
Step 4: Create a square with the Rectangle tool, select black as the fill color, and make it bigger than your image.
Step 5: Right-click the square, and go to Arrange > Send to Back.
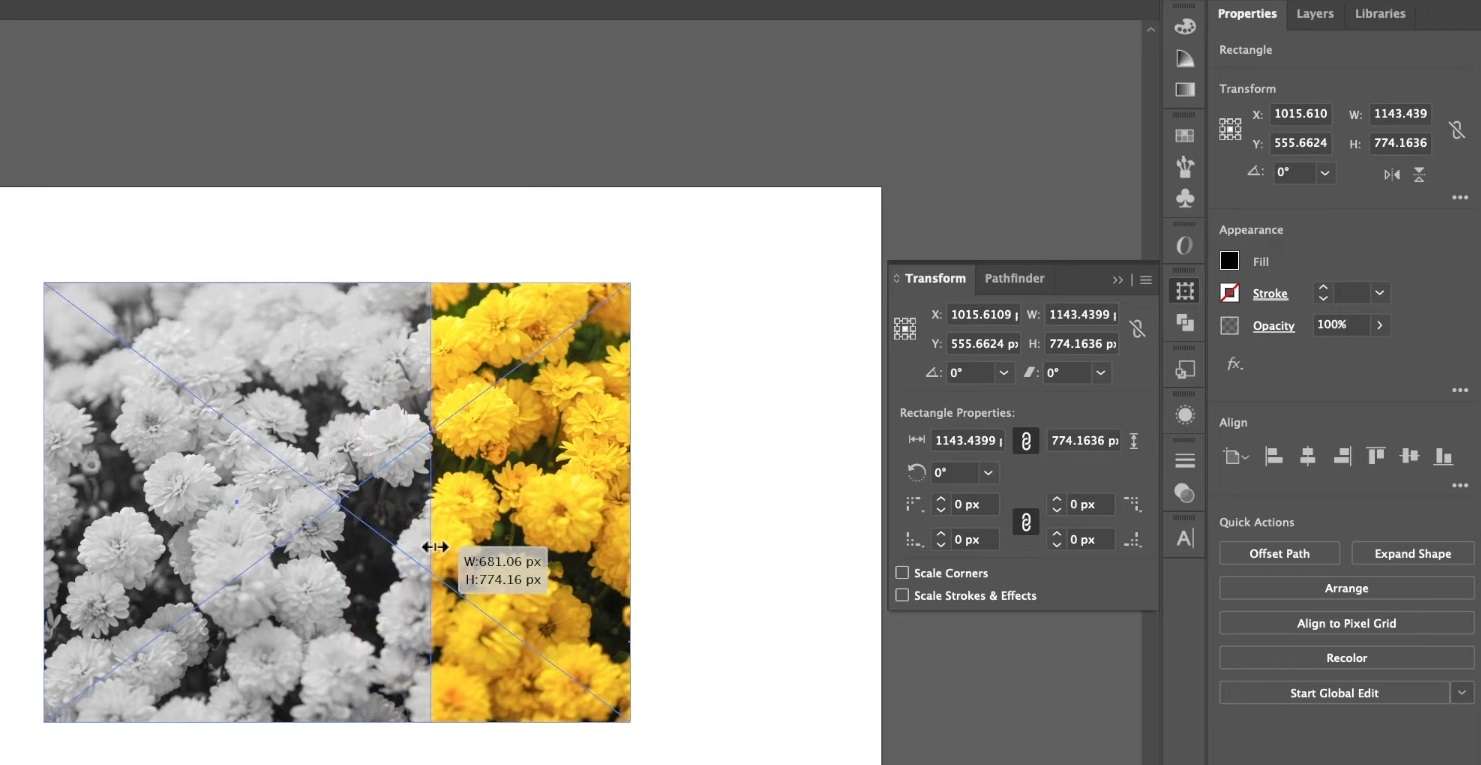
Step 6: Adjust the square to fit your image and tint the image by changing the color with the Rectangle tool.
You can also group your image with the square to prevent moving one element without the other. All you need to do is right-click the square and hit Group.
Illustrator’s Edit menu provides countless tools for handling a photo’s color balance. With some skill and imagination, you can use almost any of these to create black-and-white artwork, including the Adjust Color Balance feature we didn’t cover above.
Bonus Advice: How to Repair Corrupted Illustrator Files
Converting colored photos to black-and-white or grayscale can be a lot of fun, as you can let your imagination run wild, creating exciting and intricate designs and pushing your artwork to the next level. However, editing is also known to corrupt files, and broken Adobe Illustrator artwork occurs commonly.
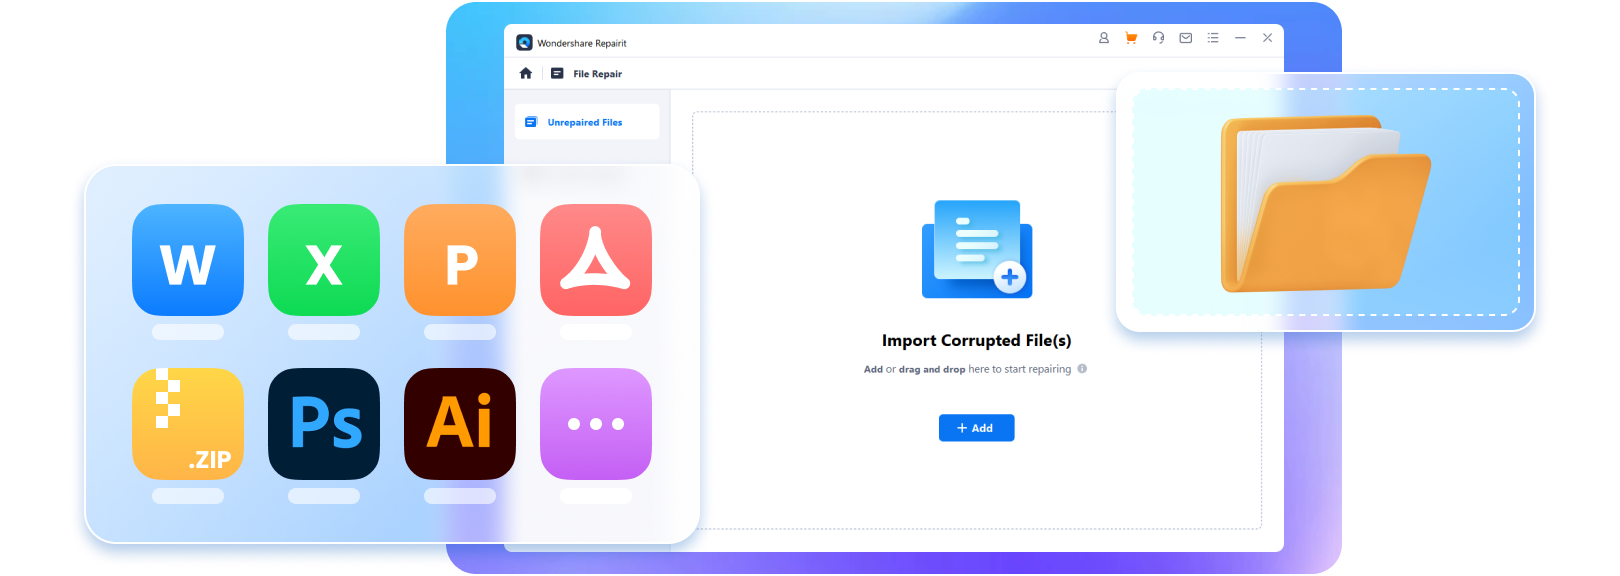
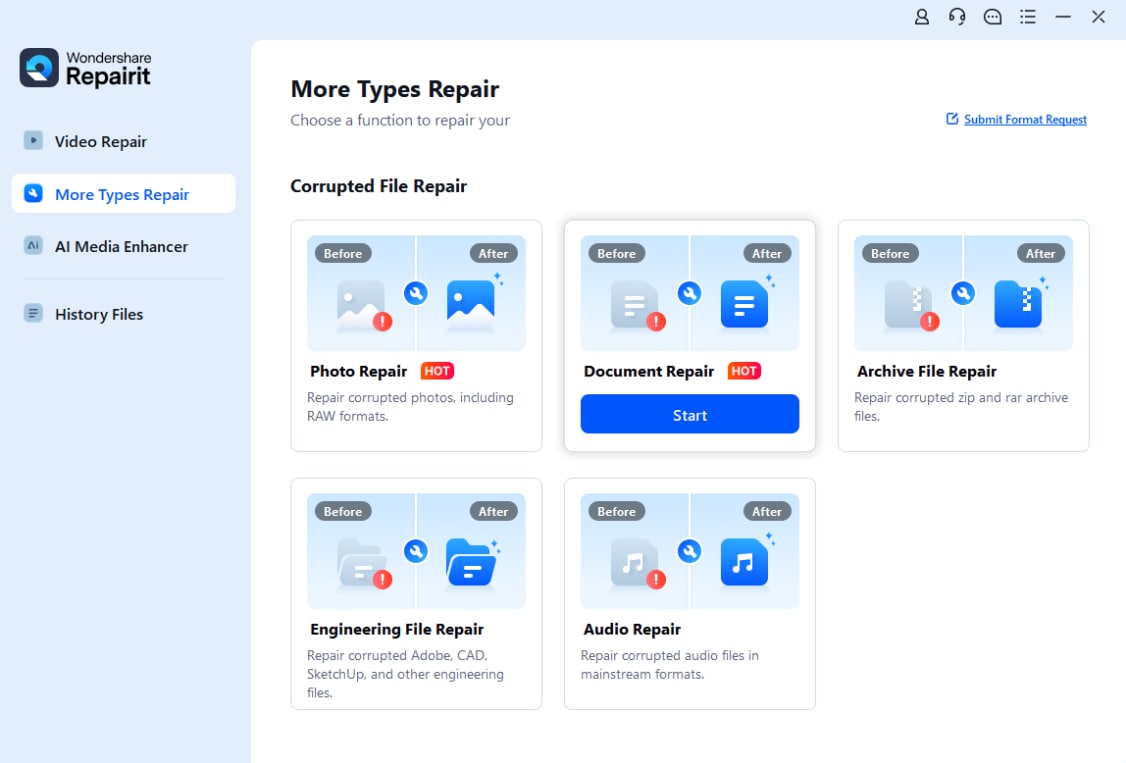
Fortunately, file repair software has become incredibly effective, and Wondershare Repairit is a prime example of such a tool. Using it is extremely straightforward, and the app can repair countless file types, including images, videos, documents, and audio. The guide below will focus on repairing Adobe files.
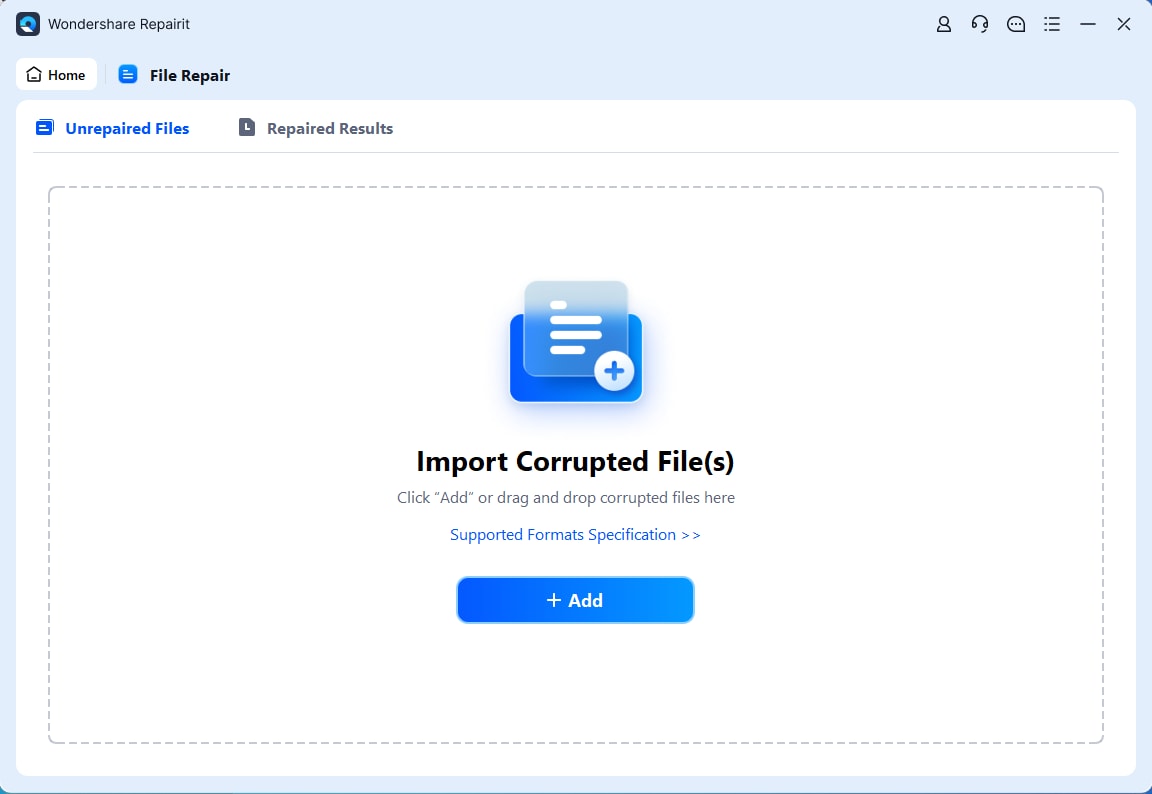
Step 1: Download and Launch Wondershare Repairit, click More Types Repair, and select Adobe Repair.
Step 2: Hit the Add button to upload corrupted Adobe files.
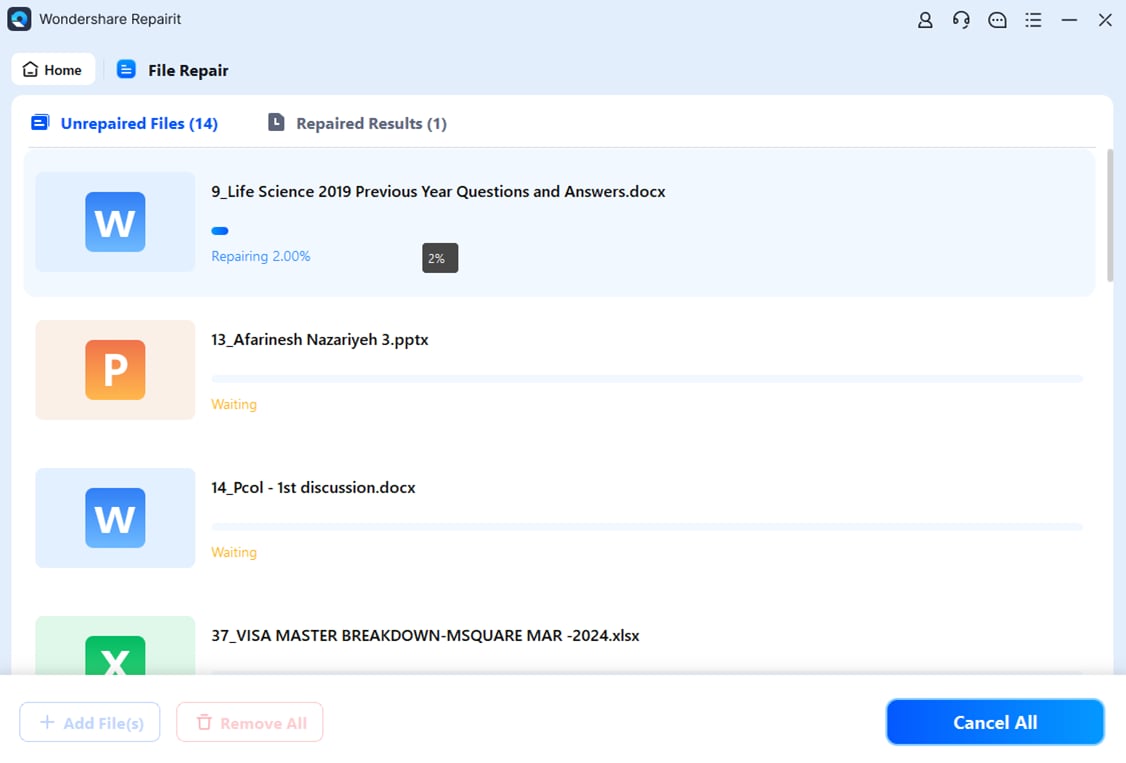
Step 3: Hit Repair to initiate the process and watch as the app repairs each file.
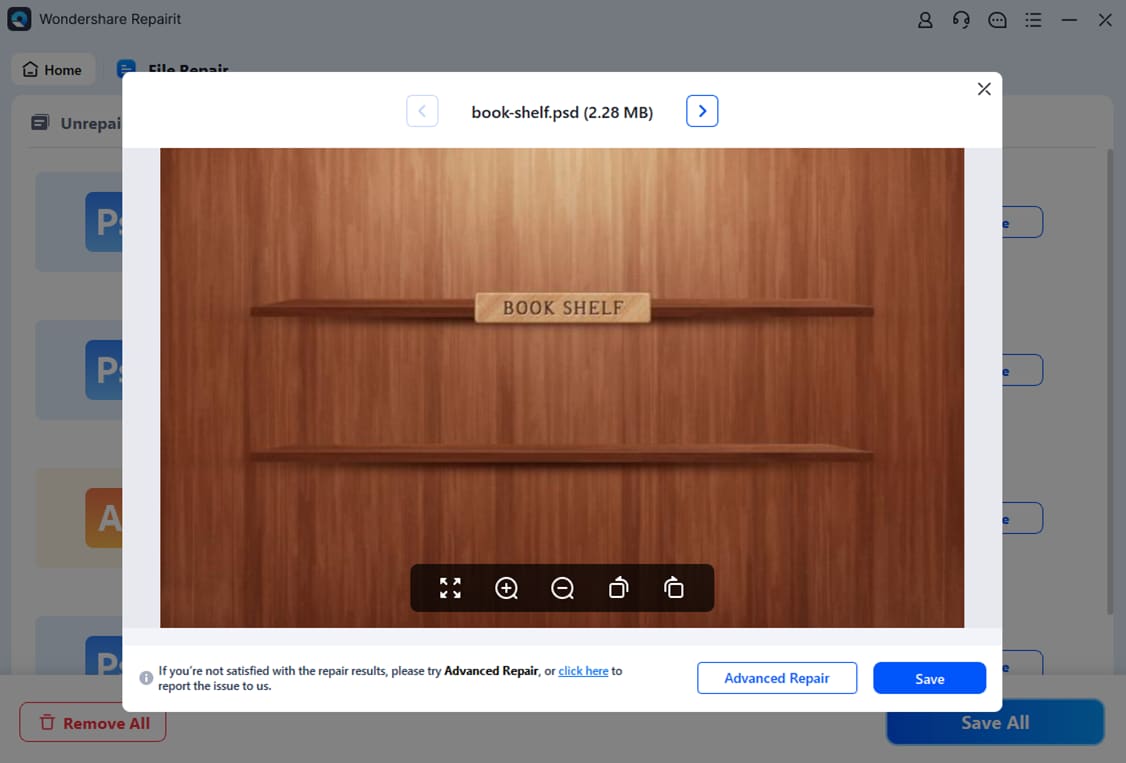
Step 4: You can preview and save your precious Adobe files once the process completes.
Conclusion
While color is a vital element in photography and image editing, it’s not always the best option, as grayscale color mode can also achieve the desired effect, cause a particular feeling, or send a powerful message. It has numerous purposes in the cinematography, architecture, and printing industries, and many designers use it by removing colors with multiple editing tools.
Adobe Illustrator is among those tools, as it lets photo-editing enthusiasts convert colored files to grayscale, and we’ve included the app’s three best methods for doing so. If things go wrong and your editing techniques and attempts ruin or corrupt your artwork, apps like Wondershare Repairit work wonders in fixing such pictures and files.
