

Have you ever wanted to learn how to make music? Whether you've been an enthusiastic music listener or played an instrument your whole life. You've probably wondered what it would be like to make your music at some time. Fortunately, learning to compose music has always been more complex than it is now. With little more than a computer and some internet tools, you can get started — and go a long way — in your musical adventure. In this comprehensive guide, we'll go over everything you need to know to start making your own music.

In this article
-
- Laptop or desktop computer
- Headphones
- Microphones
- Filters for Pop
- Instruments of Music
- Amplifiers
- Surface of Command
- Monitors for the Studio
- DAW stands for Digital Audio Workstation.
- Instruments Virtual
- Mixer for recording
- Audio Input/Output
- Mounting a Studio Rac
- Conditioner of Power
- Power Supply Uninterruptible
- External Storage Devices
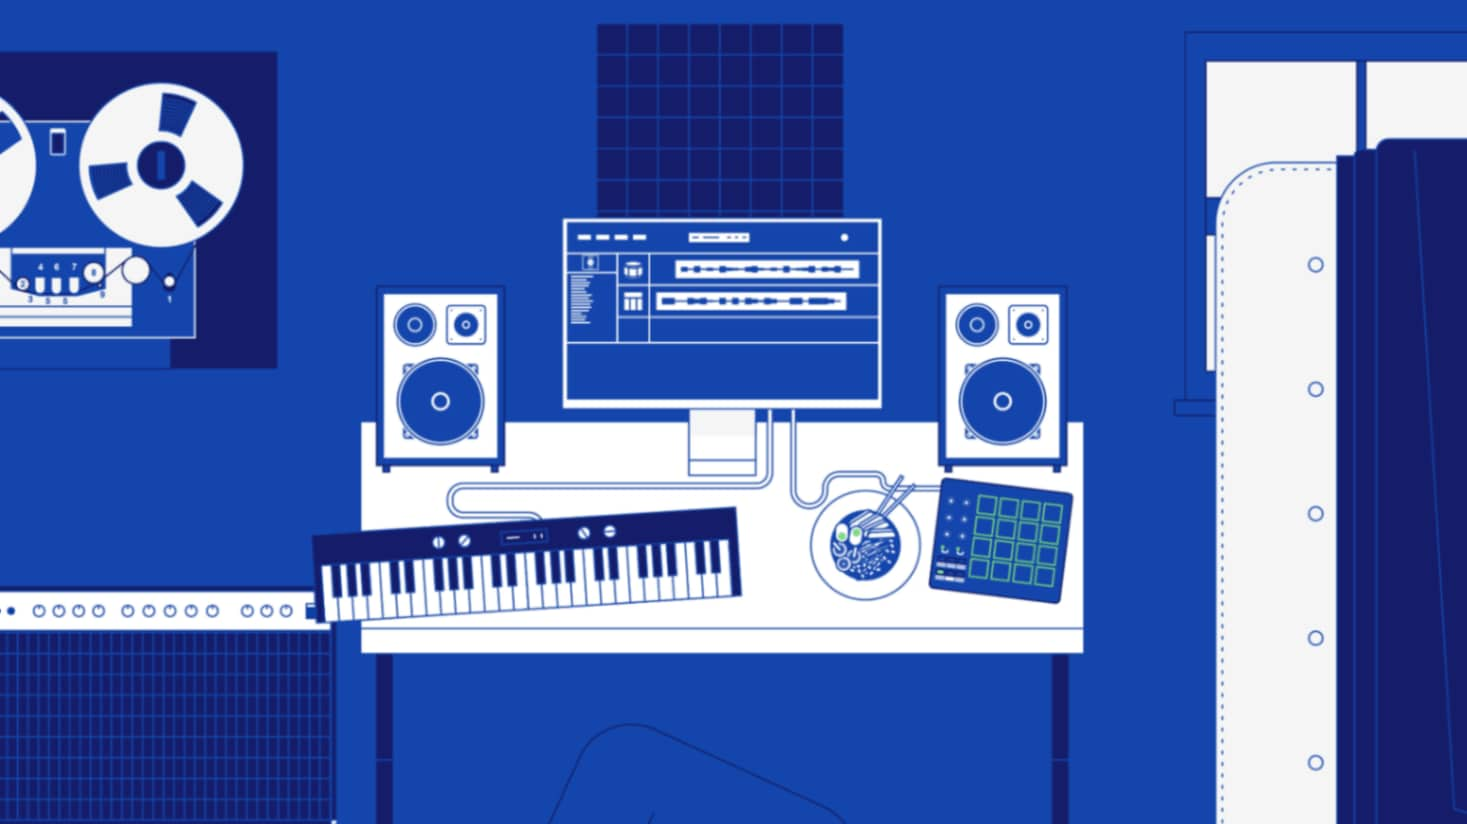
Step 1: Build Your Home Recording Setup
Making your home recording studio is an exciting adventure, and guess what? It's a lot easier than you think. Forget about the most expensive microphone or a massive mixer crammed with knobs and sliders. You need a dash of patience, a sprinkle of research, and the correct gear to make your musical aspirations a reality. So, without further ado, here's your behind-the-scenes pass to the important sound recording gear:
Laptop or desktop computer
Your computer is the beating heart of your studio. Whether you're a Mac or a PC user, be sure it's fast and stable. Consider using a lot of RAM for virtual instruments, as more power equals more fantastic musical magic.

Headphones
These are your studio assistants, assisting you with recording and mixing. To avoid sound leaking, choose long-lasting, closed-back headphones. For a more realistic audio experience, mixing masters will prefer open-back headphones.
Microphones
Quality does not have to be expensive. Condensers (bright and sensitive), ribbons (smooth and dark), and dynamics (durable and punchy) are the three types of microphones. Each has a unique superpower, so pick wisely.
Filters for Pop
These heroes protect your recordings against annoying popping sounds ('P,' 'K,' 'T') created by enthusiastic vocalists. They're required for a professional voice touch.
Instruments of Music
Drums, guitars, bass, and other instruments! Some instruments are electronic and can be plugged directly into your interface. For the rest, trustworthy microphones come in handy.
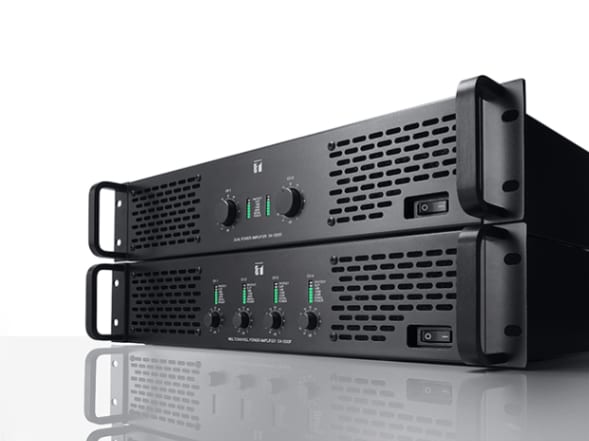
Amplifiers
These amplifiers function similarly to a musical megaphone for instruments like guitars and keyboards. They'll ensure your tunes can withstand even the most potent drum pounding.
Surface of Command
Control surfaces are your pass to hands-on experimentation. They add a tactile touch to your music-making, from MIDI keyboards to faders and knobs.
Monitors for the Studio
Those are your studio speakers! A decent pair is essential for any studio, ensuring your music sounds as excellent outside as it does inside.
DAW stands for Digital Audio Workstation.
The beating core of your virtual studio, where musical magic genuinely happens. There is no 'best' DAW, only the one that best meets your needs.
Instruments Virtual
These virtual marvels enable you to make any sound imaginable, from handclaps to symphony orchestras.
Mixer for recording
These are optional but valuable tools for shaping, amplifying, and processing audio signals. Perfect for live situations and performances.
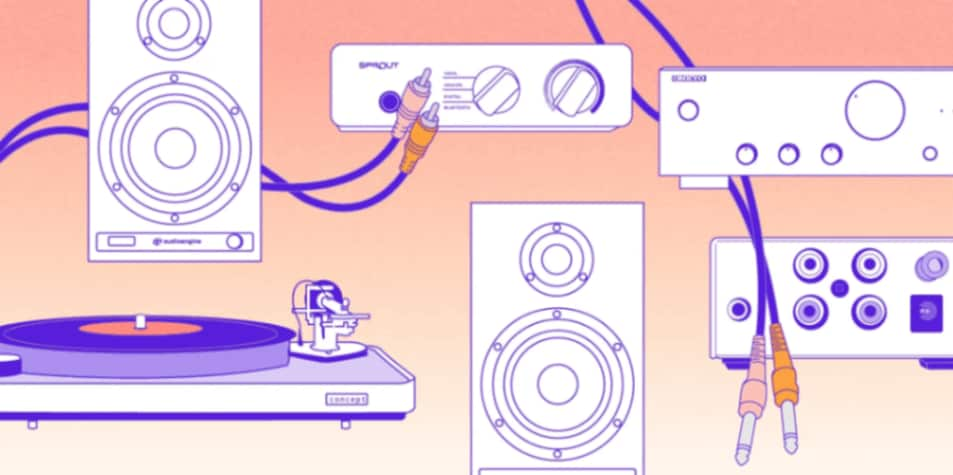
Audio Input/Output
The connection between your instruments, microphone, and computer. They are necessary for any studio setup since they convert analog to digital and vice versa.
Mounting a Studio Rac
A stylish housing for your equipment that keeps things organized as your studio expands.
Conditioner of Power
These wizards clean up your power, ensuring peak performance and reducing audio buzz.
Power Supply Uninterruptible
A power outage saver, required for larger studios and ideal for live streamers and podcasters.
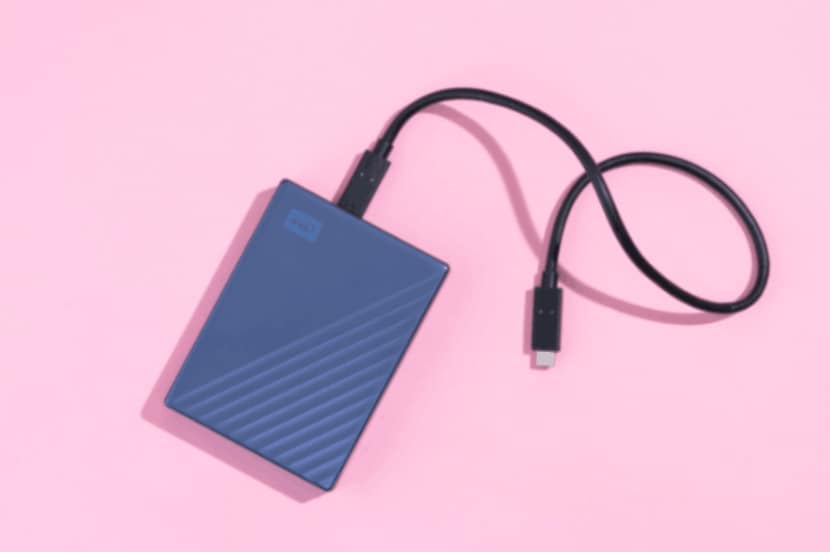
External Storage Devices
Store audio files on an external hard drive to keep your PC working smoothly. Remember to back up your musical treasures!
Step 2: Use A Digital Audio Workstation
Begin by getting your equipment ready, making sure you have a high-performance computer with enough RAM. Start your favorite Digital Audio Workstation (DAW). Mac users can use the inbuilt GarageBand or easily available alternatives such as Audacity or the professional-grade ProTools.
The key is to choose software that meets your goals. It is easy to use rather than a sophisticated one that may be difficult to understand. Explore prominent DAWs used by podcasters and music producers in home and business studios by visiting our list of top recording software.
Step 3: Plan What You Want To Record
It's essential to plan meticulously when preparing for the recording process, considering that song recording typically spans several days. This entails recording individual tracks before eventually integrating them into a unified audio file that includes music, effects, and vocals.
When recording their tracks, many artists and music producers use an organized method, grouping various elements in a precise order:
- Harmony of the Base Track
- Rhythm
- Harmony
- Melody/Vocals
- Fills/Background vocals
These first parts serve as the foundation for later ones, which explains why vocals are usually recorded last. However, the particular order may change depending on the song's composition and outcome. Some songs may have only one instrument, such as a guitar backed by vocals. While others may include a full complement of instruments, ranging from drums to extra voices.
The main goal is to separate these aspects during recording to ensure that each component is recorded clearly. Also, check they are in tune, and in harmony with the others. ls are typically recorded last. However, the particular order may change depending on the song's composition and outcome.
Some songs may have only one instrument, such as a guitar backed by vocals. While others may include a full complement of instruments, ranging from drums to extra voices. The main goal is to separate these aspects during recording to ensure each component is recorded in tune and harmonized with the others.
Step 4: Set All Your Equipments
Gather all the necessary instruments, cables, and supporting equipment, such as amps, for appropriate connectivity with your recorder before your song recording day. Connect the instruments to a professional audio interface and mixer rather than directly to your computer to ensure higher audio quality.
Conduct tests, change the volume levels of each audio channel, and create a short recording before recording. This is to ensure that your sound sources fit your intended criteria. This reduces the amount of editing required during post-production.
Step 5: Make Your Base Track/Guide
Now that you're ready to record, the first step is to provide the groundwork for your song: the beat. However, for your beat or rhythmic instruments to be highly accurate, you'll need to follow a basic track. It will guide your drums and other instruments.
For your basic track, you can record (or even download) a simple metronome. Or utilize a pre-recorded drum loop as long as it follows your desired tempo.
Step 6: Make a Recording of the Rhythm Section
It's time to get started on the actual recording! Choose your favorite rhythmic instruments, such as drums, bass, or acoustic guitar. Press the record button and play while wearing headphones to hear the background track. These headphones should not be used to shut out all extraneous noise to monitor your performance.
Make as many different rhythm tracks as you need, taking care not to overwrite anything. If you make a mistake, you can edit it out and replace it with a later recording during post-production. However, aiming for a clean song recording is usually the best method, so give it your all!
Step 7: Start To Record The Harmonies
Harmony in your music can involve one or more instruments, usually recorded independently with different microphones as individual tracks. These tracks, when combined, form your background music.
To maximize recording efficiency and limit costs, settling on the instruments and chord progressions ahead of time is critical. Especially if you're hiring a recording studio. Minor changes can, however, be made during recording based on your or your composer's artistic decisions.
Step 8: Record Your Melodies
The emphasis switches to capturing the melody after recording the background music or harmony section. The melody is the primary element in harmonized music, often handled by lead guitars and vocals. Once the lead sections have been recorded, you can enrich the composition by adding supporting melodies.
Matching these additions to your artistic idea for the song is critical. The recording separates tracks for rhythm, harmony, and melody. It is the ability to exclude specific elements from the final mix if they do not fit the desired outcome.
Step 9: Integrate The Colors and Effects
Your music should sound decent at this stage, but you should add some final touches like background vocals, piano & percussion fills, or other sound effects. Record everything you believe your song requires before moving on to the next exciting step: mixing.
Step 10: Clean The Track You Create
Compared to live performances, the advantage of recording a song is that you may choose the best songs to use. Later, adjust their loudness so that no one track overpowers the other.
However, before loading your tracks for mixing, you should organize and finalize them. Make folders to segregate your rhythm, harmony, melody, and effects tracks. You may even number each track and eliminate songs that don't work or automatically add value to your music. If you have duplicate tracks, you can compare them and keep the best ones.
Remove unwanted noises and sounds, such as amp hisses, breathing, or dead air. When it comes time to combine, the idea is to reduce confusion and trouble.
Step 11: Mixing
The process of blending different sounds to create a 2-channel audio file that can be played back on an audio system is known as mixing. Your computer has software to process, control, and blend individual instruments or vocal tracks. You'll also require an interface and audio playback equipment, such as studio monitors or headphones.
Your goal is to select decisions that support the "feel" of the music and create a mix. And, that will sound fantastic on every listening system. From vehicles to earbuds to home hi-fi speakers it should be pleasing to the ears.

Your DAW includes software and everything you need to get started mixing. You can upgrade some of your plug-ins or add external processors called "outboard gear" to your mix for a range of sounds.
The following are the necessary mixing tools:
Faders: Faders regulate the output level of any single signal or collection of signals.
Pan Pot: A pan pot (short for panoramic potentiometer) regulates the balance of your audio from left to right.
Equalizers: Equalizers and filters, which are frequency-based processors, change the low, mid, and high frequencies.
Dynamics Processors: Dynamics processors, like compressors, limiters, and gates, change various signal sections' amplitude (volume or level).
Time-based Effects: Time-based effects entail replaying copies of your signal after a certain period has passed. Delays, reverbs, chorus, flanger, and phaser are common examples.
Distortion: Distortion, often known as saturation, is a sound design effect that can be employed aggressively or softly to thicken and add body to sounds.
Step 12: Finally, Export The Song
It's time to export your music when your tracks sound well together. However, if you intend to burn them to a CD, you must first master them.
Mastering is challenging with the assistance of a mastering engineer. So it may be best to outsource the work if you have gained sufficient knowledge on how to execute mastering techniques. Like maximizing loudness, balancing frequencies, and stereo widening using software tools.
Use A Trusted Solution In Case Of Any Audio File Issue
Audio compression can occasionally cause problems with the quality of your audio files, rendering them useless for your intended uses. In such cases, you may require a quick and effective solution to address these issues. Wondershare Repairit is a valuable program that might help you.
Wondershare Repairit Audio Repair
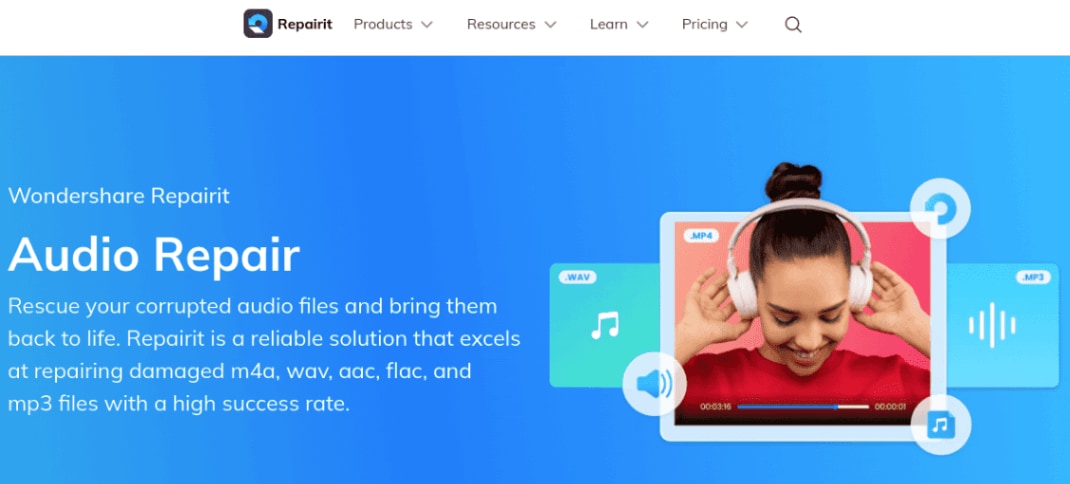
Repairit for Wondershare Audio Repair is a powerful audio repair and improvement software. It gives an easy way to repair and restore broken audio files to their original state. The program is simple to use, making it suitable for novices. This tool's primary features include:
Fix audio issues like audio clipping, audio humming, audio rumbling, etc. Support 5 common audio formats: MP3, M4A, WAV, AAC, FLAC.

Conclusion
Making your music at home is a thrilling and gratifying adventure that allows you to express your creativity. With the correct tools and effort, anyone can create high-quality music from the comfort of their own home studio. However, you may find difficulties along the road, such as broken audio files, which can be annoying. This is when Wondershare Repairit Audio Repair comes in handy. Its simple interface and powerful audio restoration capabilities make it an essential tool for artists and producers. You can repair and enhance broken audio files using Repairit, ensuring that your musical works sound immaculate and professional.
Don't allow damaged audio files to hinder your creative process; rely on Wondershare Repairit Audio Repair to restore your music to its former glory.
