

FL Studio is a well-known digital audio workstation (DAW) that music producers all over the world use. It has many features for making, arranging, recording, editing, mixing, and mastering music. Its easy-to-use interface and powerful tools make it popular with both beginners and professionals. However, the high cost of FL Studio can be a problem for many users, leading them to look for cracked versions of the software.
Many people search for cracked versions of FL Studio to avoid paying for it. These cracked versions are often available for both Windows and Mac. It gives users access to all the features of FL Studio without needing to buy a license. While this might seem like a good idea, it comes with serious risks and consequences.
This guide will explore the common methods of FL Studio cracking, focusing on both Windows and Mac platforms. We'll also discuss the risks and consequences of using cracked software and provide tips on how to use FL Studio crack without any risks.
In this article
Part 1: Overview of FL Studio
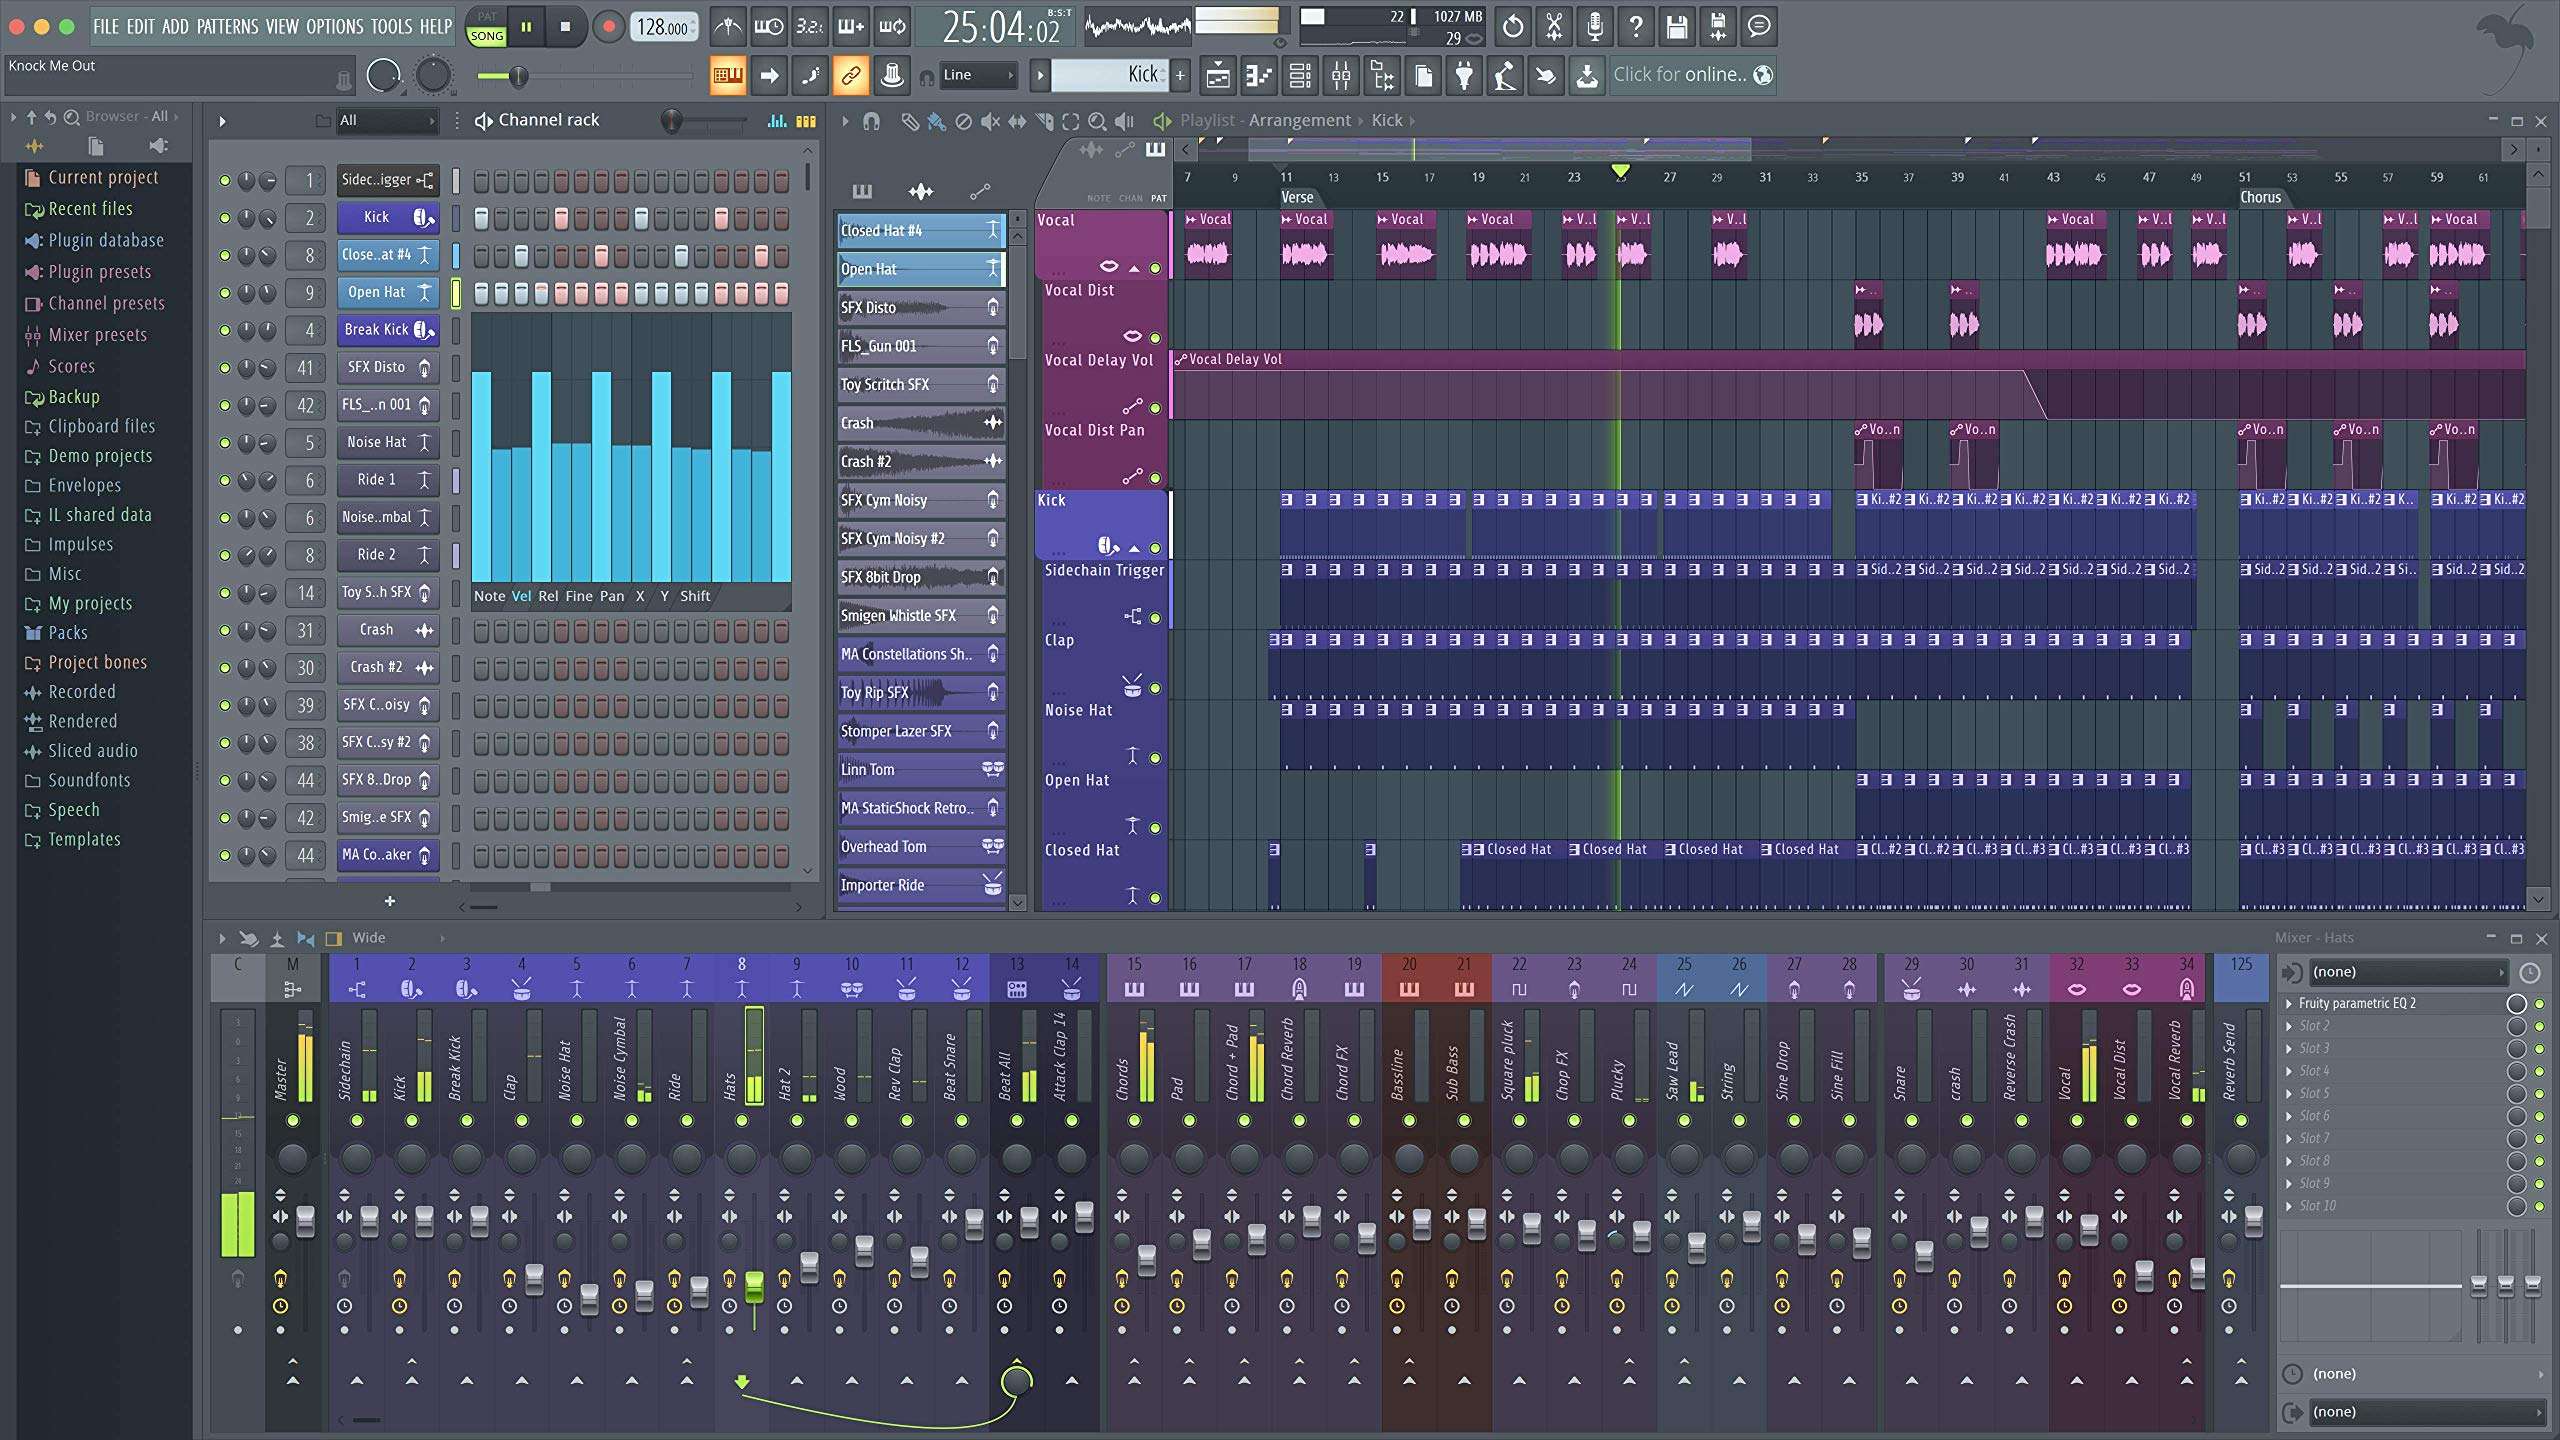
FL Studio, developed by Image-Line, is a powerful DAW that offers a wide range of features for music production. It includes tools for composing, arranging, recording, editing, mixing, and mastering music. FL Studio is well-loved because it's easy to use and flexible. This makes it a favorite for both beginners and experienced music producers.
The software is available in different editions, each offering various features and plugins. While FL Studio is a paid software, Image-Line provides free lifetime updates to its users.
Part 2: Why Are Users Looking for FL Studio Crack Windows and Mac?
Many music producers and enthusiasts are on the lookout for FL Studio crack versions for both Windows and Mac.
Here are a few top reasons:
- Cost: The high price of FL Studio can be a barrier for many users, especially beginners who may not have the budget for professional software.
- Access to Full Features: Cracked versions often provide access to all features and plugins. This can be appealing to users who want the full experience without paying.
- Trial Limitations: The trial version of FL Studio has limitations that some users want to bypass. Such as saving projects or using certain plugins.
- Convenience: Some users prefer the convenience of not having to deal with licenses and activation processes. Because it’s time-consuming and sometimes frustrating.
- Curiosity: Some users might be curious to explore the full capabilities of FL Studio before committing to a purchase.
- Lack of Awareness: Not all users are aware of the legal and ethical implications of using cracked software.
- Peer Influence: Suggestions from friends or online groups can make people want to find cracked versions. Especially if they see others using them without apparent issues.
These reasons highlight why some users turn to cracked versions of FL Studio for both Windows and Mac.
Part 3: Common Methods of FL Studio Cracking
Cracking FL Studio on Windows and Mac is something many users do to skip the software's licensing system. They use things like keygens, patches, or special installers to get all the features without paying.
Even though it might look like a quick fix, it's really important to know the risks and problems that come with using cracked software.
FL Studio Crack
General methods used to crack FL Studio software include keygens, patches, and modified installers. These tools bypass the software's licensing system, allowing users to access the full version without paying.
Cracked FL Studio for Mac
Users obtain and use the cracked FL studio Mac by downloading modified installers or using keygens specifically designed for macOS. These methods often involve disabling security features on the Mac to install the cracked software.
FL Studio Crack for Windows
Specific techniques for cracking FL Studio on Windows include using keygens, patches, and modified installers. Users may also find pre-cracked versions of the software available for download on various websites.
Pros and Cons: Using FL Studio Crack
Even though saving money and getting all the features sounds nice, the dangers and problems of using cracked software are much worse. It's always smarter to buy a real copy of FL Studio for a safe and steady experience.
Repair Corrupted Audio Files
 Security Verified. Over 7,302,189 people have downloaded it.
Part 4: Risks and Consequences of Using Cracked FL Studio
Using cracked versions of FL Studio might seem like a quick fix, but it comes with serious risks and consequences. From legal troubles to security threats, the downsides can far outweigh the benefits. Here are some key risks and consequences to consider before using cracked FL Studio software.
- Legal Issues: Using cracked software is illegal and can lead to legal consequences.
- Security Risks: Cracked software often contains malware or viruses that can harm your computer.
- Lack of Updates: Cracked versions do not receive updates, leaving users with outdated software.
- No Support: Users of cracked software do not have access to customer support or official resources.
- Unstable Performance: Cracked software can be unstable and prone to crashes, affecting your workflow.
Part 5: Use Repairit Audio Repair to Fix Corrupt Audio Files
If you encounter corrupt audio files while using FL Studio, Repairit can be a lifesaver. Corrupt files can disrupt your music projects and make it hard to work on them. Repairit Audio Repair is a tool designed to fix these issues easily. By using this tool, you can ensure your audio files are repaired and ready to use, so your projects stay on track.
Repairit Audio Repair works on various audio file problems. Whether the file is not playing correctly, has missing parts, or any other issue, this tool can help fix it. You don't need to be a tech expert to use it—Repairit Audio Repair is user-friendly and effective. This means you can focus on creating music without worrying about technical glitches.
In addition to repairing corrupt files, Repairit Audio Repair helps maintain the quality of your work. By ensuring your audio files are intact and playable, your FL Studio projects can continue smoothly. This tool makes it easier to handle unexpected problems, so you can keep making great music without interruptions.

-
Repair damaged audios with all levels of corruption, such as audio not working, clipping audio, humming audio, rumbling audio, sibilant audio, out-of-sync audio, etc.
-
Repair audios of diverse formats, including MP3, M4A, FLAC, AAC, WAV, etc.
-
Repair damaged or corrupted audios from mutiple devices: portable voice recorder, recording software, shooting apparatus, SD cards, phones, hard drives, USB flash drives, etc.
-
Support Windows 11/10/8/7/Vista, Windows Server 2003/2008/2012/2016/2019/2022, and macOS 10.12~macOS 13.
Steps to Use Repairit Audio Repair:
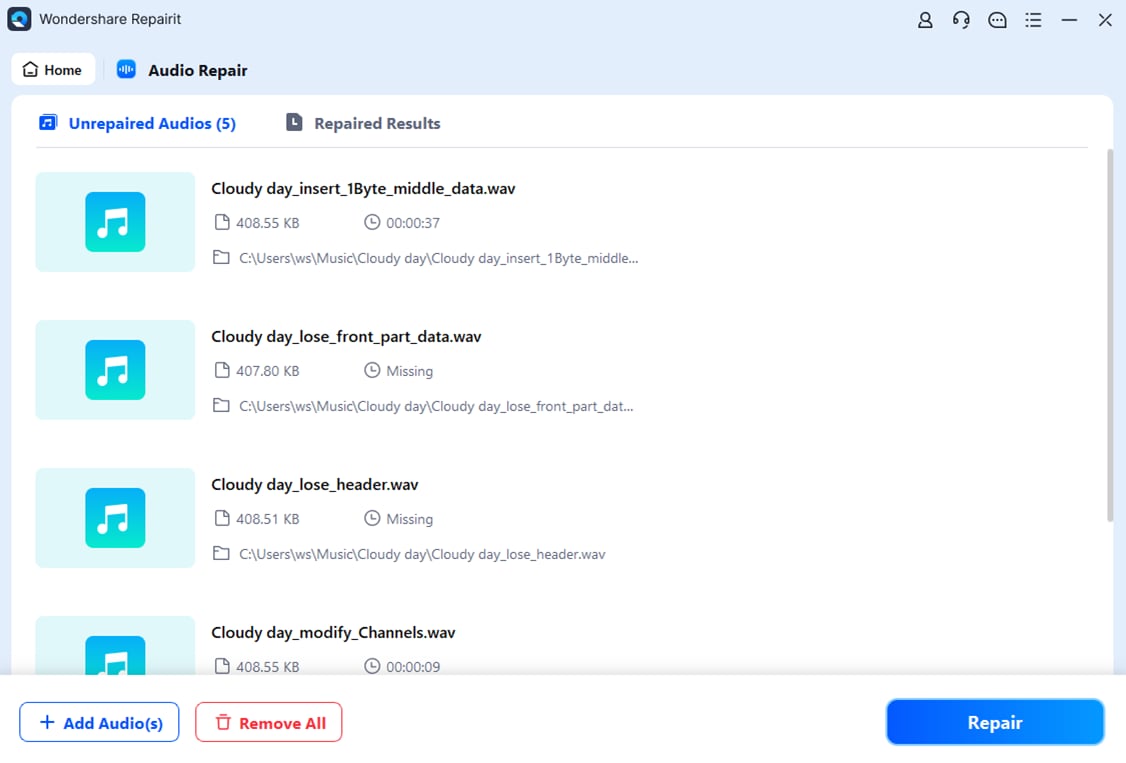
Step 1. Launch the software. Click on the "+Add" button to upload the corrupted audio files you want to repair.

Step 2. Click the "Repair" button to begin the repair process.
Step 3. After the repair is complete, preview the repaired audio files to ensure they are fixed. If everything looks good, save the files to your desired location.
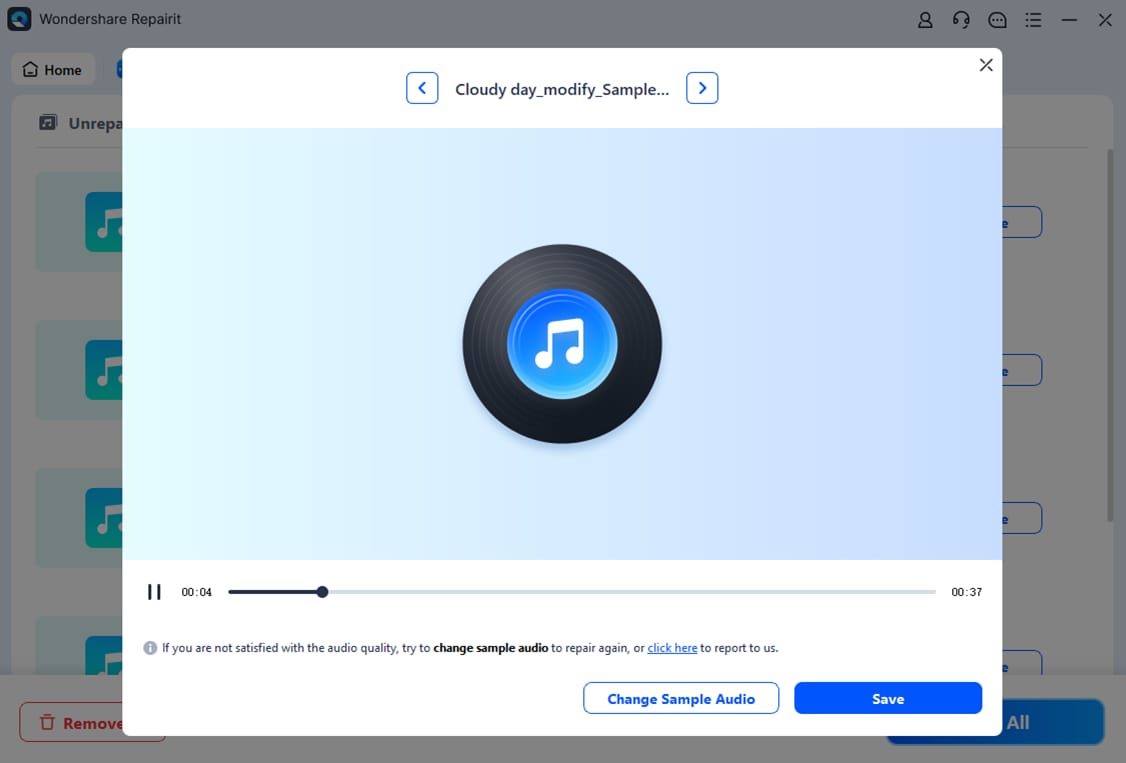
These steps will help you fix your corrupt audio files and keep your FL Studio projects running smoothly.
Part 6: Tips to Use FL Studio Crack without Any Risks
While using cracked software is not recommended, if you choose to do so, here are some tips to minimize risks:
- Use Reliable Sources: Download cracked software from reputable sources to reduce the risk of malware.
- Use Antivirus Software: Always have antivirus software installed and updated to protect your computer.
- Backup Your Data: Regularly backup your projects and important files to avoid data loss.
- Stay Offline: Use cracked software offline to reduce the risk of detection and legal issues.
Conclusion
FL Studio is a powerful tool for music production, but its cost can be a barrier for some users. While cracked versions of FL Studio are available, they come with significant risks and consequences. It's important to weigh these factors carefully and consider the legal and ethical implications of using cracked software.
Ultimately, investing in a legitimate copy of FL Studio ensures you have access to updates, support, and a stable, secure software experience.
FAQ
-
Is it safe to use a cracked version of FL Studio?
No, using a cracked version of FL Studio is not safe. It can expose your computer to various risks like malware and viruses, which can harm your system. Additionally, you could face legal troubles since using cracked software is illegal. It's always better to use legitimate software to ensure your computer's security and compliance with the law. -
Can I get updates for a cracked version of FL Studio?
Unfortunately, no. Cracked versions of FL Studio do not receive official updates from Image-Line. This means that you will miss out on important updates that include new features, security patches, and performance improvements. Using an outdated version can also lead to compatibility issues with other software and hardware. -
What are the alternatives to using a cracked version of FL Studio?
There are several alternatives to using a cracked version of FL Studio. You can start by using the trial version of FL Studio, which allows you to explore many of its features for free. Another option is to purchase a legitimate copy of FL Studio, which comes with free lifetime updates. If budget is a concern, consider other free or affordable DAWs available in the market, such as Audacity, Cakewalk by BandLab, or LMMS. These alternatives provide good functionality and can be a great starting point for music production.
