

Currently, strong images that grab instant attention can be immediately weakened by distracting backgrounds. Unwanted objects, cluttered scenes, or inconsistent colors often draw attention away from the main subject. The only workaround is to delete the background JPG, which keeps the focus where it belongs.
This decision also supports greater visual freedom and usability, generating JPGs that can be easily placed on websites. Start removing the backgrounds that hold your visuals back with the top-rated backdrop removers discussed below. For complete transparency, you’re even provided with simple tips to consider during the background removal process.
Table of Contents
Part 1. What is JPG Background Remover & Why You Need It
A background remover JPG is an asset that automatically separates the main subject in a JPG image. Once the subject is extracted from its background, the output is a version with a transparent or new background. These tools work by analyzing pixel patterns to detect the foreground, then running an image-segmentation model to create a mask around the subject.

In simple words, you upload a JPG, the system detects the subject, generates a pixel-level foreground mask, and removes the background. After removal, you can export the result as a PNG for transparency or place the cutout on a solid-color background.
Why You Need a JPG Background Remover
- It makes products or key objects stand out without distractions, improving clarity and visual focus.
- Such removers cut the background in seconds and even process hundreds of JPGs in bulk.
- Any single cut-out JPG subject can be dropped onto different backgrounds for social media.
- Clean backdrops give your catalog and feed a coherent look, strengthening your brand visibility.
- Plain backgrounds often compress more effectively than busy scenes, resulting in faster page loads.
Part 2. Remove JPG Backgrounds in Simple Steps: A Complete Guide
To navigate how to remove background from JPG, explore the section below and understand the working of some top removers:
1. Repairit Online - AI Photo Eraser
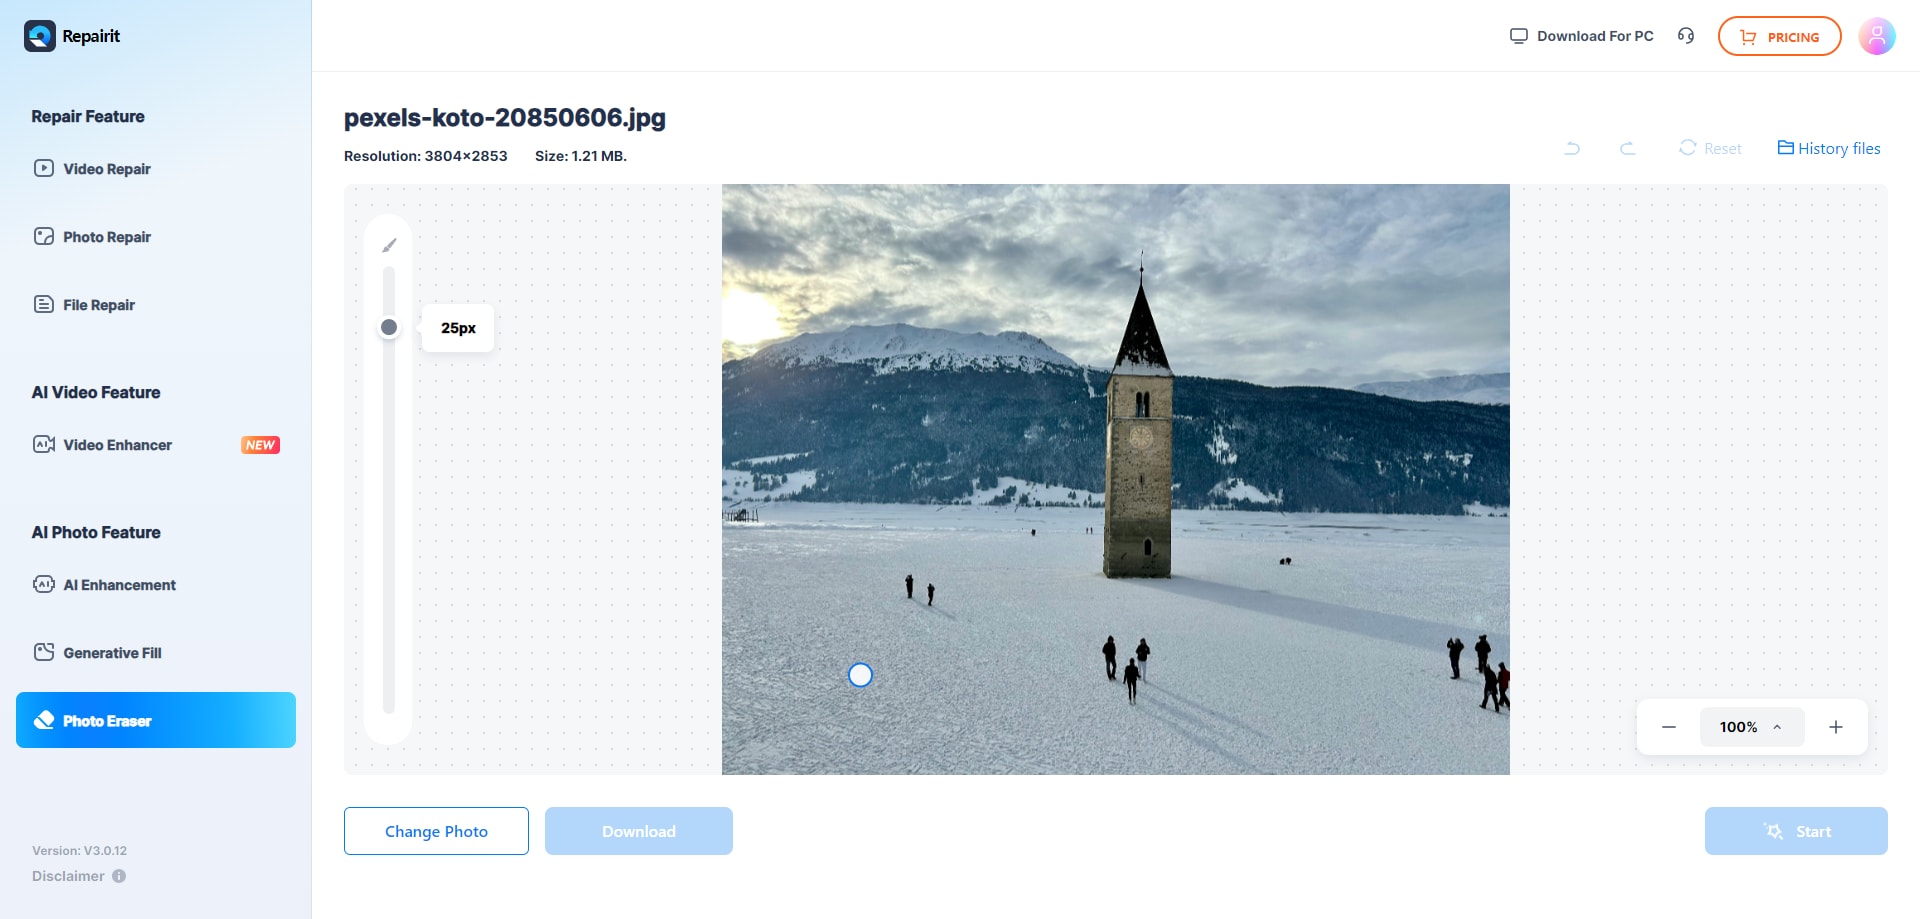
This tool uses AI models to detect unwanted elements, including cluttered backgrounds, and reconstruct images to appear natural. It supports removing strangers, trash cans, or patterns from fabrics in a few clicks without any manual cloning. After erasing, the platform auto-fills the removed area by matching nearby textures, colors, and lighting. Not only that, but the output preserves the original image resolution for print or web-ready use.
Essentially, it offers an adjustable brush (up to around 160px), with up to 500% zoom and undo/redo for precise edge refinement. This brush further helps users paint over small or complex objects, such as wires or text, while keeping edges smooth. In portraits, you can quickly remove background stains, wall wrinkles, and other distractions, even in ID photos. The valuable History section keeps all previously generated clutter-free images safe for future reference.
Key Features

-
Broad Format Support: This remover supports many common formats, such as JPG or PNG, to erase backgrounds or other elements precisely.
-
Facilitates Device Compatibility: It works online in the browser, plus in the app, including a desktop version, allowing removal wherever and whenever needed.
-
Preview Files Before Saving: Review JPGs beforehand so you can re-edit if the fill looks incorrect or is not entirely removed.
In-Depth Manual to Remove Background Using Repairit
With the clear workflow provided, you can remove the background from a JPG for free to achieve a visual ready for any project:
Step 1. Access the Photo Eraser Tool & Add Your JPG
First, open the main Photo Eraser page and click the “Add Photo” button to upload your JPG for background removal.

Step 2. Use Brush to Highlight the Area & Start Removal
After this, mark the area or object you want to erase, adjusting the brush size through the slider. Once done, proceed to the “Start” button to remove all highlighted elements from your picture.
Use Cases for Repairit Photo Eraser
- Removed dust, fingerprints, and labels, helping listings meet marketplace standards and appear more premium.
- Erases intrusive phones, signs, or random objects blocking the view, making event photos more focused.
- For Instagram-worthy images, it eliminates extra tableware or background clutter to match the feed.
- You can eradicate accidental text overlays, date stamps, or your own logo when reusing assets in a different context.
2. Remove.bg
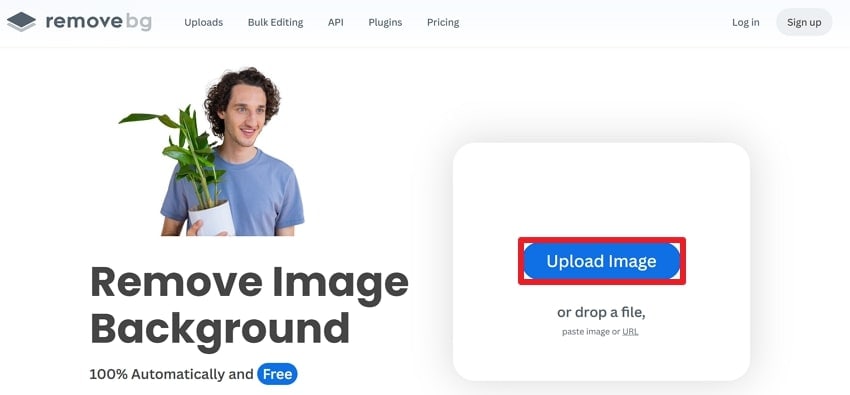
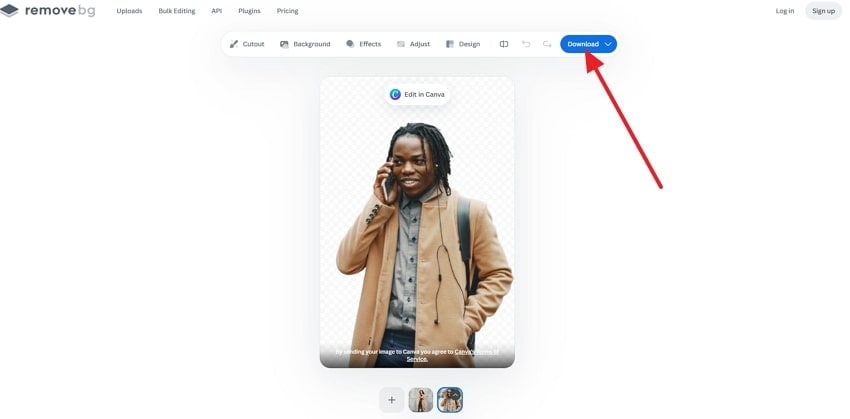
For the delete background JPG task, the platform produces ready-to-use JPGs with alpha transparency within seconds. Its Background section offers numerous backdrop options, including scenario-based ones, solid colors, and AI custom. More impressively, you can apply an effect by adjusting the amount of blur or opacity as per your choice.
Guidelines to Remove Background Using Remove.bg
Step 1. Enter the main workspace for Remove.bg and click the “Upload Image” button to add your picture.
Step 2. Once the background is automatically removed, press the “Download” button and save your transparent JPG.
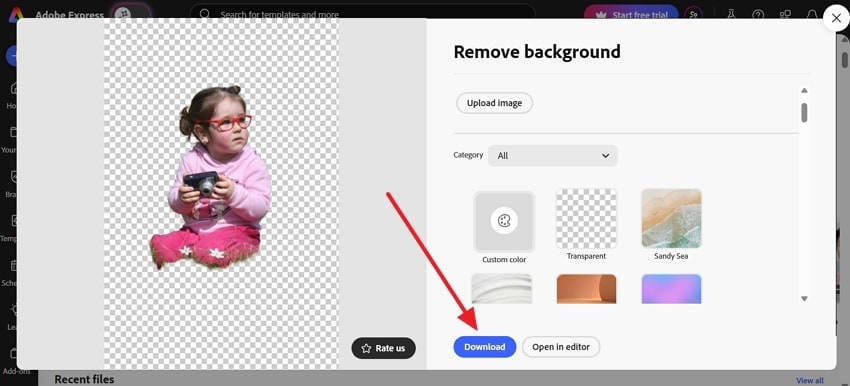
3. Adobe Express
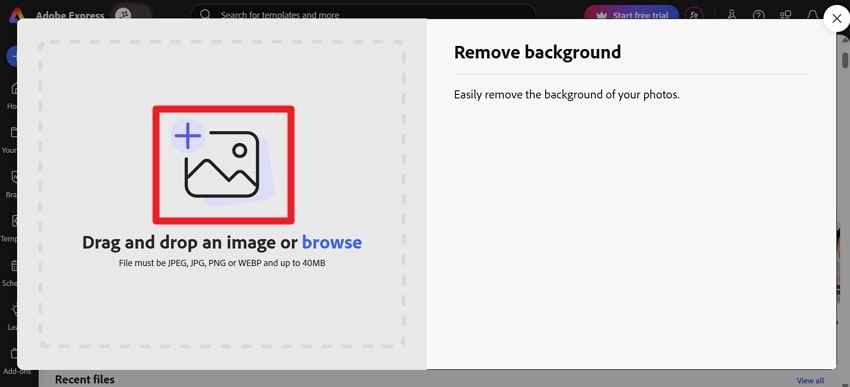
It automatically detects the main subject and removes the background in roughly a second, without manual lasso selection. This background remover JPG offers a diverse category of backgrounds, including Bokeh, gradient, color, and transparent. After removal, when you open the image in the editor, you’re presented with further customization options.
Tutorial to Remove Background with Adobe Express
Step 1. Browse the platform, access the Remove Background tool, and click the “Upload Image” button to proceed.
Step 2. Once the JPG is uploaded, the platform removes the background and offers additional background options. Proceed and press the “Download” button to save your backdrop-removed image to your device.
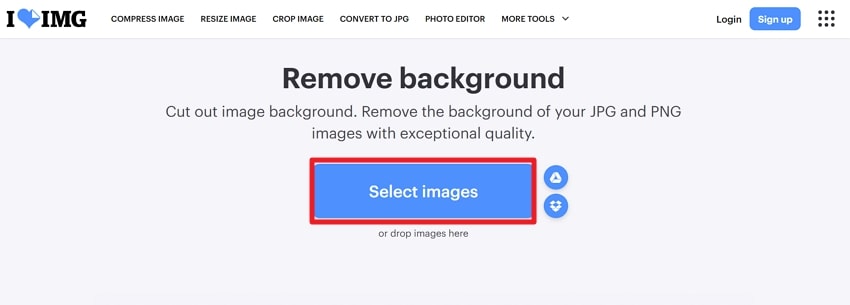
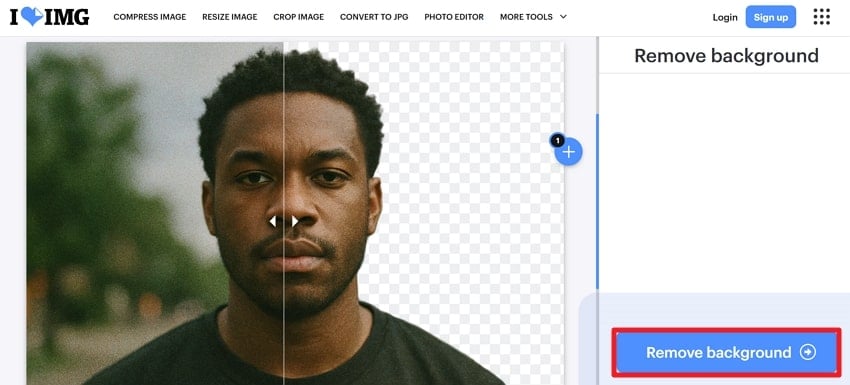
4. iLoveIMG
Another platform that automatically detects the subject and removes the background with one click, ideal for profile images. It supports both PNG and JPG image formats, with the result saved as a clean cutout in the exact resolution. Once the "remove background from JPG free" task completes, the Remove Background option automatically downloads the final image.
Stepwise Manual to Erase Background with iLoveIMG
Step 1. At first, search for the Remove Background feature of iLoveIMG, and press the “Select Image” button.
Step 2. After removing the backdrop, compare your results and click the “Remove Background” button for an automated download.
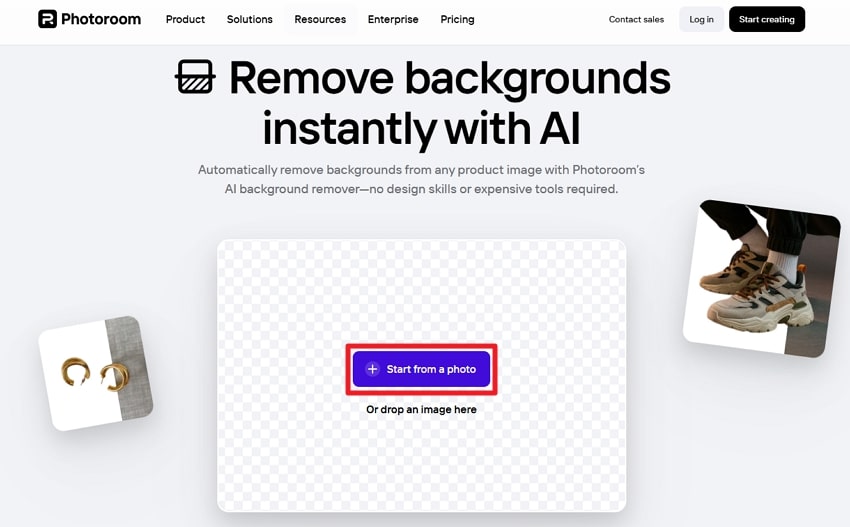
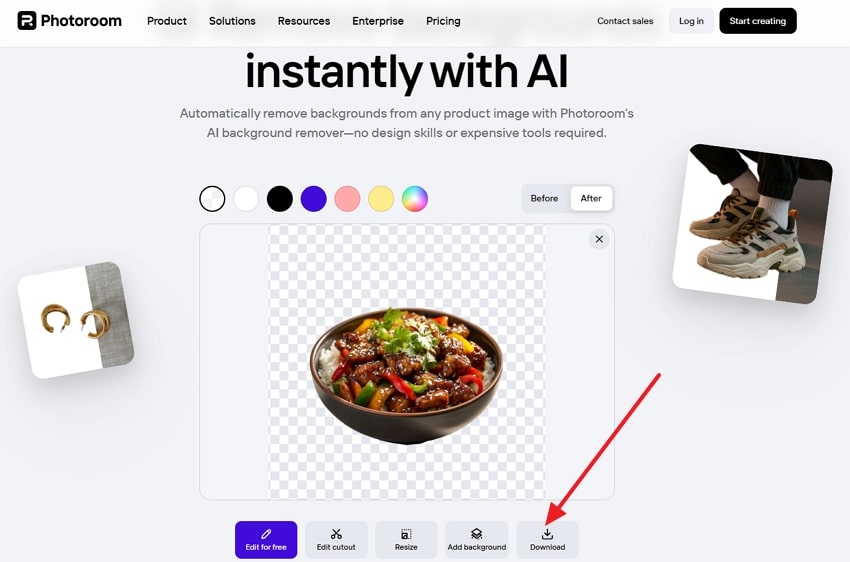
5. Photoroom
To remove the background from a JPG, Photoroom offers the option to resize your image after its background is erased. You can further edit the cutout in its editor by adjusting outline, shadows, and reflections accordingly. Not only this, but users are provided with multiple background options such as solid colors, images, or AI backgrounds.
Instructions to Eliminate Backdrop Using Photoroom
Step 1. Locate the Photoroom Background Removal page and click the “Start from a Photo” button to upload your JPG file.
Step 2. After this, review your before/after results and click the “Download” button to save it on your device.
The provided comparison of background remover JPG tools will help you determine how different removers stack up against each other:
| Background Removers | Main Focus | Output and Formats | Scale and Automation | Ease of Use |
| Repairit AI Photo Eraser | Object, watermark, and background cleanup | JPG with filled backgrounds or PNG with transparency | Online tool with batch support; no public API | Effortless brush control plus one-click erase |
| Remove.bg | General AI background removal | Transparent PNG exports; JPG with flattened backgrounds | Bulk processing with API and CLI available | Very simple one-click use on the web and apps |
| Adobe Express | Background removal inside the Express editor | Transparent PNG for design use | Per-image processing; no true bulk removal | Easy three-step browser flow |
| iLoveIMG | Simple web-based background remover | Transparent PNG; JPG with solid backgrounds | Basic processing; no advanced bulk or API | Extremely simple, guided interface |
| Photoroom | E-commerce and product imagery | PNG, JPEG, and WEBP marketplace-ready outputs | Batch editing and API on paid plans | Simple single-upload flow with advanced editor tools |
Reviewing the comparison above clearly makes Repairit Photo Eraser a winner, due to its precise, AI-driven capabilities. Its AI-assisted detection and markup ability deliver professional edits in minutes, making it notable for any project.
Part 3. Background Remover JPG: Simple Tips for Perfect Transparency
Simply, learning how to remove background from JPG isn’t enough; pairing it with valuable tips generates more perfect transparency:
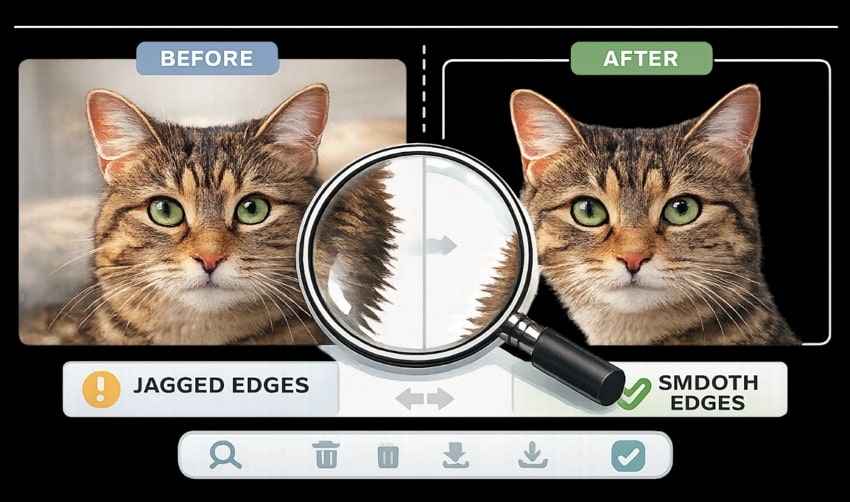
- Consider the Right Remover: A reliable tool can detect edges accurately and remove backgrounds without leaving rough or jagged borders. Try to use a tool that supports high-resolution images and preserves image quality even after background removal.
- Work with High Quality Images: The better the quality of your original JPG, the cleaner the background removal will be. Low-resolution images may result in blurred edges or overall loss of detail, so start with a sharp photo whenever possible.
- Zoom In for Precision: Even the best backdrop remover can struggle with fine details, which is why it is important to zoom in for analysis. It allows you to manually refine corners around hair, intricate patterns, and small elements, guaranteeing seamless transparency.
- Preview and Make Possible Adjustments: Remember to preview your edited image before downloading or sharing it on social media. This helps identify any residual fragments or rough corners that may require correction, ensuring perfect transparency every time.
- Save the Final Image in the Right Format: After background removal, save the file as PNG or JPG if you prefer layering over a solid background. Whether you choose JPG or PNG, using the correct format ensures your edits display correctly across platforms.
Conclusion
In summary, to make a substantial visual impact, removing distracting backgrounds plays a key role in achieving that. In fact, the ability to delete background JPG guarantees that your images remain focused, whether displayed on websites or social media. Though there are many online removers for this task, Repairit’s Photo Eraser generates ready-to-use visuals with AI precision.
FAQs
-
Q1. Can I reuse an image after deleting its background?
Indeed, once the background is removed, the image becomes versatile and can be placed on different backdrops. Not only this, but you can even integrate that PNG/JPG into designs, or use it for social media, e-commerce, or presentations. -
Q2. Can I delete the background JPG on my phone?
The majority of background remover JPG online tools allow you eradicate backdrops directly from your phone’s browser. You don’t need to install a heavy program; simply browse the tool and upload your picture. Following this, the platform will automatically remove the subject from the background, all from your phone. -
Q3. Are online tools safe for deleting background JPGs?
Professional, reputable tools like Repairit use secure servers and do not store your images permanently after removal. Eventually, you can remove elements or the background from your pictures safely, without compromising data privacy.
