

Have you ever taken a photo only to realize that someone’s eyes were closed, spoiling an otherwise perfect shot? Want to fix eyes closed in the picture? Capturing the perfect photograph can be difficult, and one common issue that might develop is closed eyelids in the photograph. Closed eyes might detract from an otherwise lovely moment, resulting in a less-than-ideal image. But don't worry; there are practical ways how to fix closed eyes in photos. This post will look at numerous ways and strategies for fixing closed eyelids, providing you with the skills you need to save those priceless memories.

⚡ Quick Fix: Best Ways to Fix Closed Eyes
- AI Auto-Fix (Easiest): Use Luminar AI or PortraitPro to open eyes instantly with one click.
- Pro Manual Edit: Use Adobe Photoshop to clone open eyes from another photo for the best realism.
- Mobile Solution: For a quick fix on your phone, use Relumi (Repairit App), which uses AI technology to enhance portraits and facial details effortlessly.
- File Recovery: If your photo file is corrupted or cannot be opened, use Wondershare Repairit to restore your precious memories first.
In this article
Preventative Measures
Actually, you can totally avoid closed eyes in the photo by taking the following precautions. Let's take a look first!
| Aspects | Preventative Measures |
| 🎨Enough Illumination | Make sure the area where the shot is being taken has adequate illumination. A well-lit environment can help you naturally keep your eyes open. |
| 💻Expand Your Vision | Open your eyes slightly wider than usual just before the shot. This can help reduce the chances of accidentally blinking or closing your eyes. |
| 😉Consciously Blink | Practice blinking purposefully a few times before the photo to refresh your eyes. This can help lessen the urge to blink excessively when the camera snaps. |
| ✨Relax Face Muscles | Tension in your facial muscles can cause your eyes to close. Relax your face and keep your eyelids loose and open. |
| 🌝Avoid Direct Sunlight | When taking outdoor photos, avoid facing the sun directly to make it easier to keep your eyes open. |
| 📷Change Camera Settings | If you are taking the photo yourself, properly adjust the camera settings and make sure the camera is not overexposed. Set the shutter speed to a high value to decrease the possibility of catching a moment with your eyes closed. |
| 📸Use Burst Mode |
Use the burst mode on your camera or smartphone if it has one. Burst mode takes numerous images rapidly, boosting the chances of capturing a shot with all eyes open. |
| 🙎♀️Give A Verbal Cue |
Give a verbal cue before snapping the photo if you're the photographer. People can be reminded to keep their eyes open by saying, "Keep your eyes open" or "Ready, steady, eyes open." |
| 🎞Take Multiple Photos | Take several shots in a row to increase the chances of getting one where everyone's eyes are open. |
Method 1: Manual Correction using Photo Editing Software
Tool 1: Adobe Photoshop
How to fix closed eyes in Photoshop? Open your computer and load the photo you want to restore and one with an open person's eyes. This person's skin tone and eye colour should be similar to the subject in your photo, and the head should be at around the same angle.
Step 1: Launch Photoshop. Choose "File" from the menu and then "Open." Locate and open the image you wish to repair in the display box.
Step 2: Choose "File" from the menu and then "Open." Navigate to and open the image with your eyes wide open.
Step 3: Click the "Pen" tool from the menu and draw a path around one of the eyes. Include the eye as well as the skin folds above and below it. Make a selection by right-clicking on the path. Choose "Edit" from the menu, then "Copy."
Step 4: Return to the image you wish to repair. Choose "Edit" from the menu, then "Paste." To place the eyes over those in the image, use the "Move" tool and the "Scale" feature in the "Edit" menu.

Step 5: From the toolbar, select the "Smudge" tool. Make the brush small and select a faded tip. Blend the edge of the pasted-in eye with the skin below in the other layer using the tool. Repeat with the opposite eye, then save your work.
Tool 2: GIMP
Step 1: Load the image with closed eyes into GIMP.

Step 2: Go to Layer > New Layer to add a new layer. This allows you to work on a different layer without affecting the original image.
Step 3: Use the toolbox's "Free Select" tool (it resembles a lasso) to carefully select the wide eyes in another image region or from a different shot with a similar pose.
Step 4: After making your selection, go to Edit > Copy or press Ctrl+C to copy the specified area.
Step 5: Return to the closed eyes layer and use Edit > Paste or Ctrl+V to paste the copied open eyes onto the picture.
Step 6: Align the pasted eyes with the closed eyes by positioning and scaling them. To change the size and position, use the Move tool (shortcut: M) and the Scale tool (shortcut: Shift+T).
Step 7: Change the layer blending mode from "Overlay" to "Screen" in the Layers menu to blend the pasted eyes with the image. To obtain the desired effect, experiment with different blending modes.
Tool 3: Corel PaintShop Pro
Here's a step-by-step tutorial for fixing closed eyelids using Corel PaintShop Pro:
Step 1: Launch Corel PaintShop Pro and open the snapshot.
Step 2: Zoom in on the closed eyes area to work more precisely.
Step 3: The "Eye Dropper" tool can be used via the toolbar or by hitting "I" on your keyboard.
Step 4: To sample the eye colour, click on the part of the photo with open eyes, preferably near the closed eyes.

Step 5: Choose the "Brush" tool from the toolbar or press the "B" key on your keyboard.
Step 6: Match the brush size to the size of the closed eyelids. You can do this by using the "[" and "]" keys on your keyboard or by clicking on the brush size option in the toolbar.
Step 7: Select a hue that complements the skin tone around the eyes. You can use the colour picker tool or choose a colour from the color palette.
Step 8: Carefully paint over the closed eyes using the brush tool and the sampled eye colour. Follow the form and curves of the eyes as closely as possible.
Step 9: Change the brush tool's opacity or blending mode as appropriate to obtain a more realistic effect.
Step 10: After you've painted over the closed eyes, you can fine-tune the look by blending the painted parts with the surrounding skin with additional editing tools like the "Smudge" or "Blur" tool.
Method 2: Automatic Eye-Opening Tools
Tool 1: Luminar AI

Step 1: Launch Luminar AI and open the photo.
Step 2: Use the "AI Enhance" or "Accent AI" option to improve overall image quality and clarity.
Step 3: Choose from the "Portrait" and "Face AI" tools.
Step 4: Find the closed eyes in the shot and utilize the tool's eye enlargement or opening option.
Step 5: Use the sliders or settings to open the closed eyelids organically.
Step 6: Adjust the edits and save the altered image.
Tool 2: PortraitPro

Step 1: Open PortraitPro and select the photo to be edited.
Step 2: Navigate to the "Eyes" tab or tool.
Step 3: Locate the closed eyes and open them with the tool's eye-opening feature or slider.
Step 4: If necessary, adjust the degree or severity of the eye-opening effect.
Step 5: Optionally, apply other PortraitPro tools or features to improve the entire portrait.
Step 6: Save the altered photo after previewing the changes.
Tool 3: Snapseed

Step 1: Open Snapseed and import the image.
Step 2: From the toolbar, select the "Selective" tool.
Step 3: Tap on each closed eye independently with the instrument.
Step 4: Adjust the eyes' brightness, contrast, or structure to appear more open and natural.
Step 5: Do the same for the opposite closed eye.
Step 6: If desired, use additional editing tools or filters to improve the photo.
Step 7: Save or export your altered image.
Method comparison
To help you understand the differences between manual correction and automatic eye-opening tools, the following table compares the two methods in terms of editing precision, required skills, and user experience. Choose the method that best suits your needs:
| Comparison | Manual Correction | Automatic Eye-Opening Tools |
| Tools | Adobe Photoshop, GIMP, Corel PaintShop Pro | Luminar AI, PortraitPro, Snapseed |
| Control Level | High – Allows precise adjustments like cloning, painting, and blending | Medium – Limited adjustability due to reliance on AI |
| Skill Requirement | Requires advanced photo editing skills | Beginner-friendly – Minimal skills needed |
| Time Required | Longer – Involves detailed manual work | Shorter – Quick processing with AI |
| Realism | High – Can achieve highly realistic and personalized results | Medium – May sometimes appear less natural or artificial |
| Flexibility | Fully customizable, suitable for complex edits | Limited flexibility; dependent on AI algorithm capabilities |
| Ideal Users | Professionals or those comfortable with advanced editing software | Beginners or casual users looking for fast, hassle-free solutions |
Tips for Natural and Realistic Results
Consider the following strategies to create natural and realistic results while utilizing eye-opening tools or editing software:
- Avoid excessive exaggeration in favour of a more natural appearance.
- Pay attention to symmetry, making sure both eyes are consistent.
- Preserve the subject's original ocular qualities, such as color and texture.
- Blend the modified parts with the remainder of the image.
- Consider lighting and shadows to retain a natural image.
- Take a step back and assess the adjustments on a regular basis to ensure they are consistent with the overall picture.
- Exercise caution to avoid an overly processed or manufactured outcome.
Bonus Tip: Use Wondershare Repairit If Your Photos Are Corrupted
If your photos get damaged accidentally, Repairit Photo Repair can rescue the situation. It's free and very convenient to use. Just open the Repairit Online Photo Repair website and then follow the steps below.
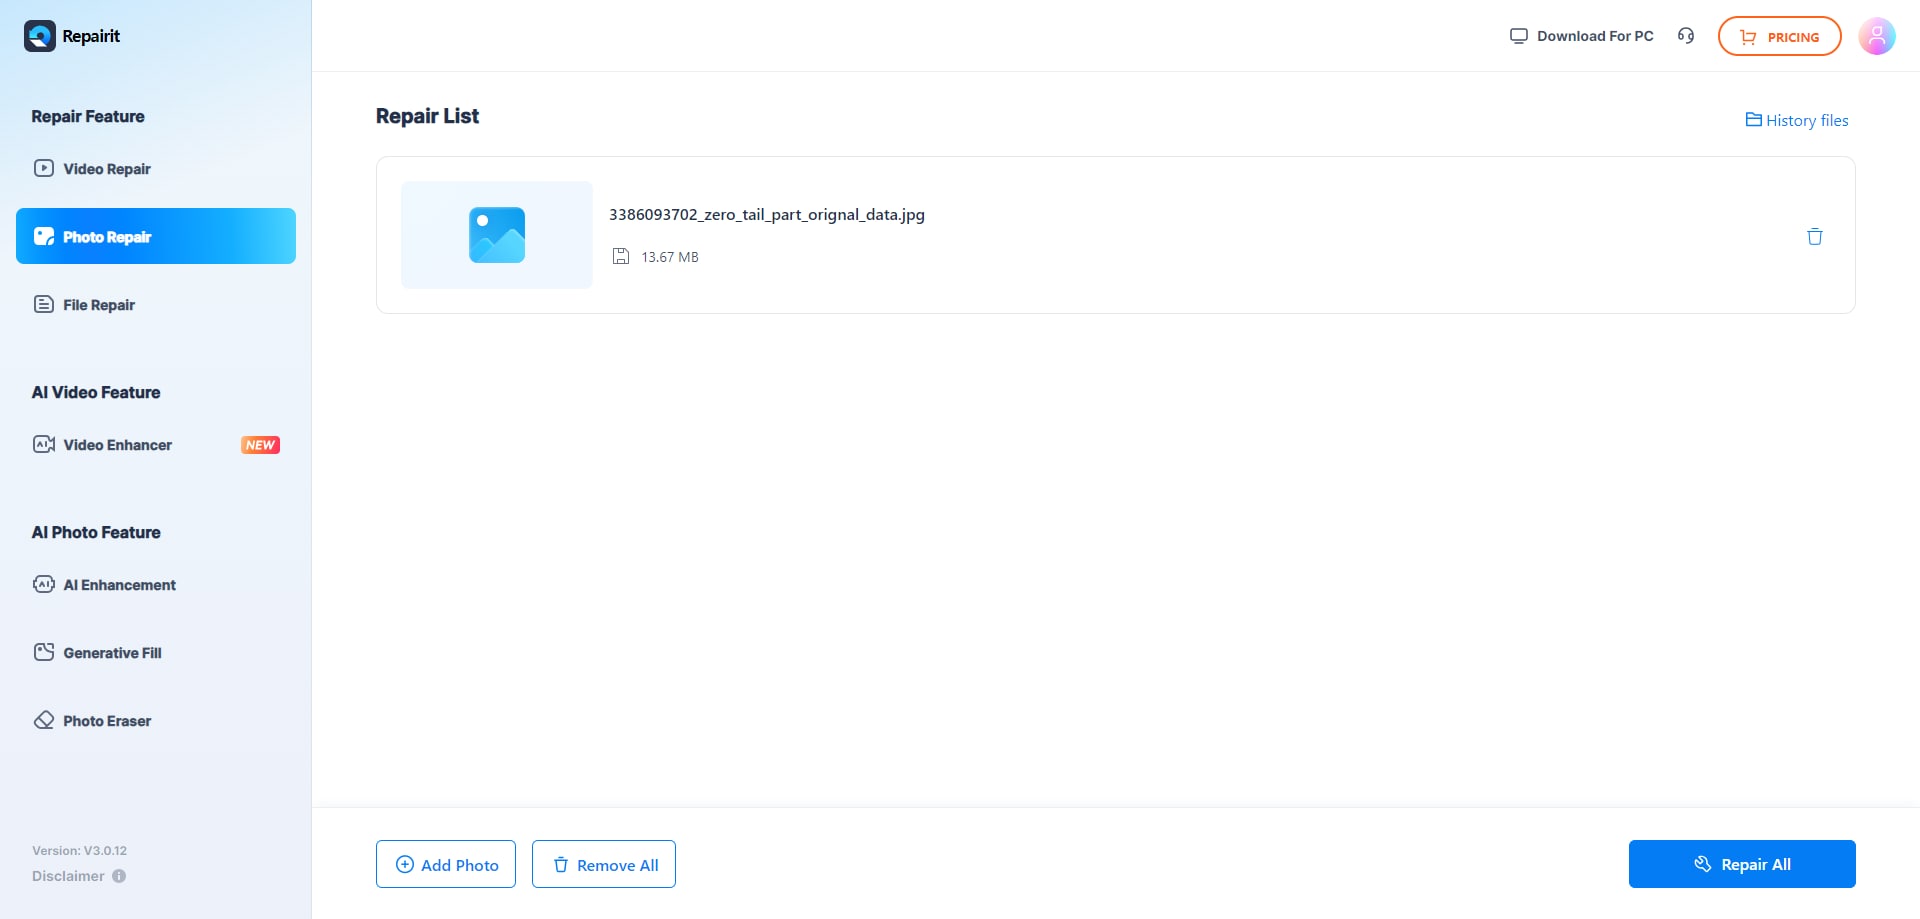
Step 1: Upload A Photo
Drag your damaged photographs into the photo repair functional area or upload them by clicking the "+Add" button to begin.

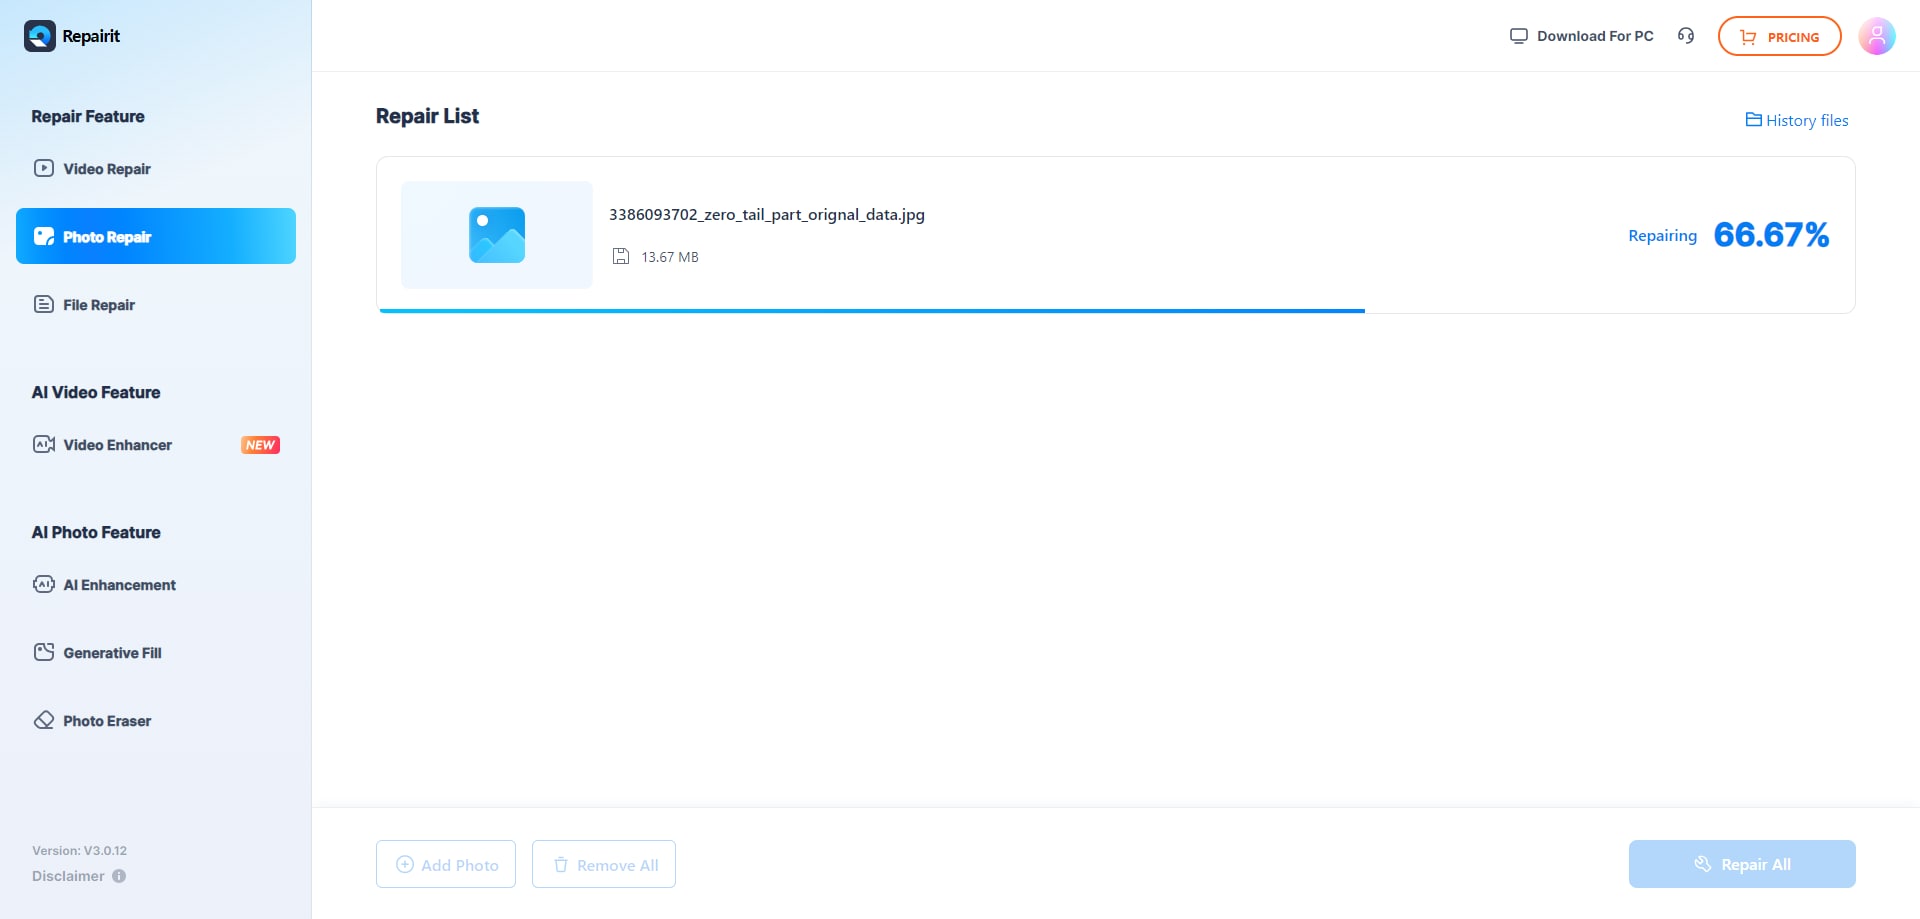
Step 2: Start the Repair Process
After you upload the corrupted photos, the interface will display all of the photo's metadata. Wait for the process to complete before clicking the "Repair" button in the lower right corner.
Advanced Repair is required if severely damaged photos cannot be fixed. It's simple to grasp. Then click on "Upload Sample Photo." The sample image was captured using the same camera and format as the erroneous images.
After 1-2 minutes, click "Repair" to begin the advanced photo repair process.
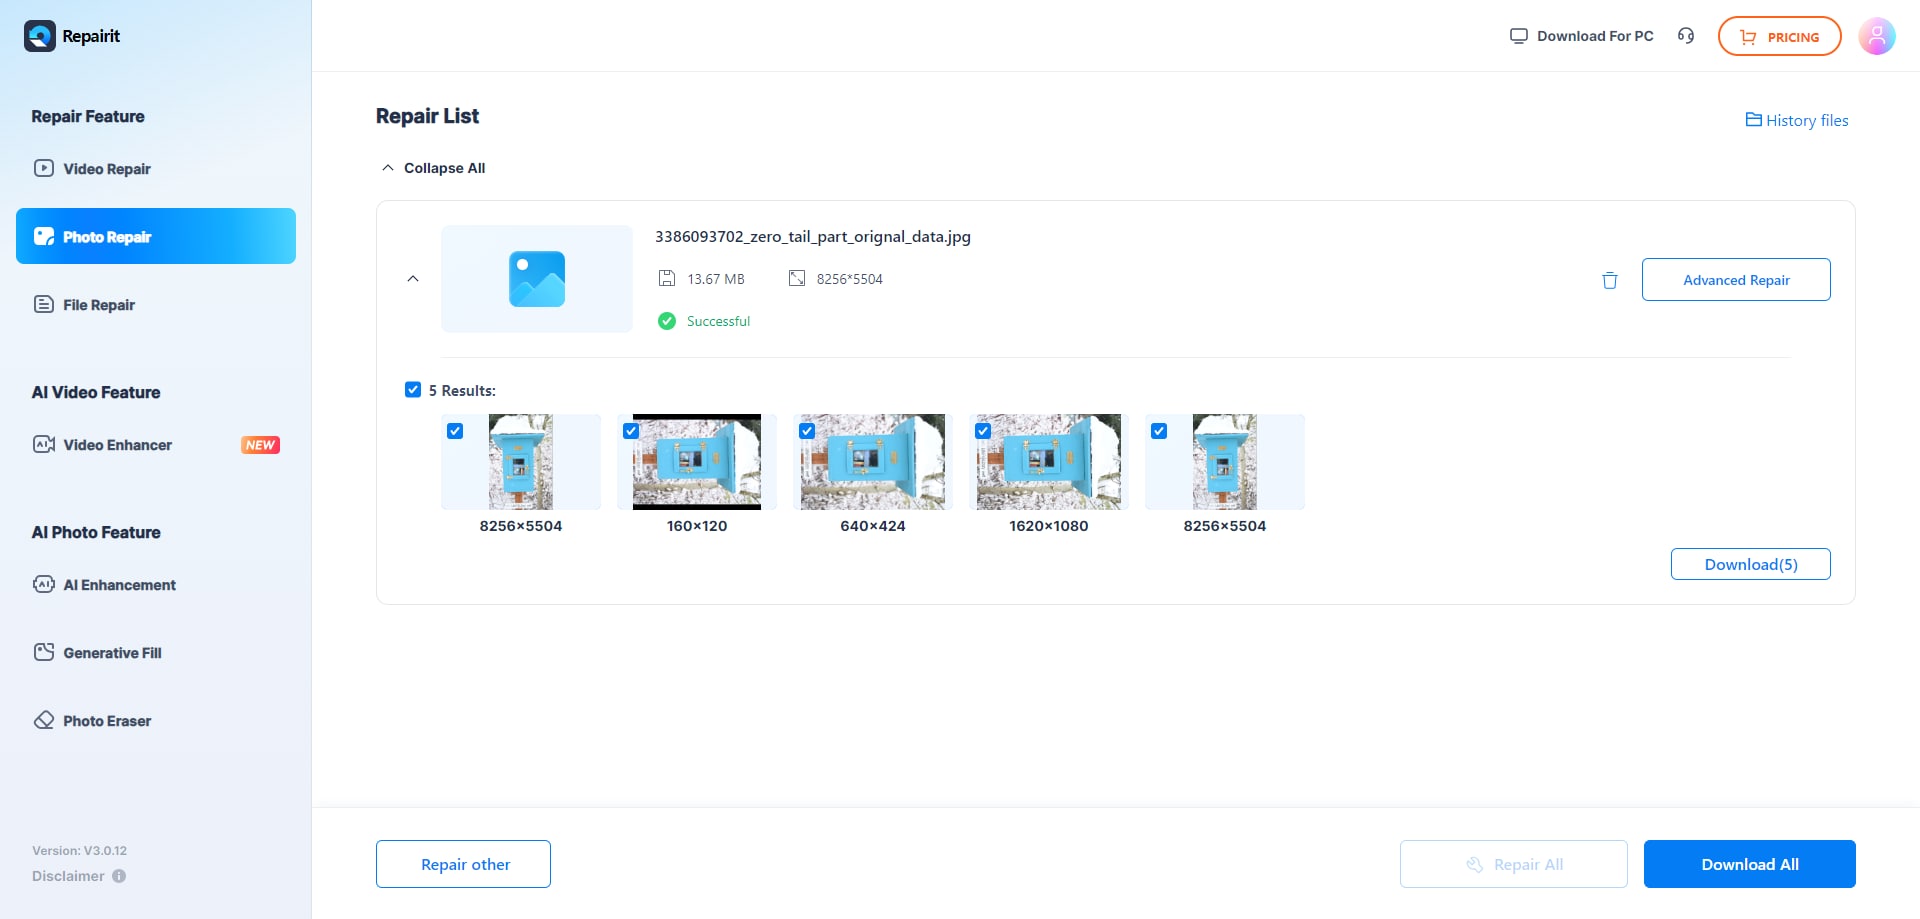
Step 3: View And Save The Image.
Following the completion of the Quick Repair or Advanced Repair process. You can look through the photos and select which ones to save to your local computer.
To preview videos, click the "play" button, then the "download" icon. By clicking "Download All" at the same time, you can save the repaired photographs.
Step 4: Improve The Repaired Image's Resolution
It may also assist you in enlarging the patched photos before downloading them with the new "AI Image Upscaler" tool. Examine your rectified photo, then select the process option "2x", "4x", or "8x", and then click the "Process" button.
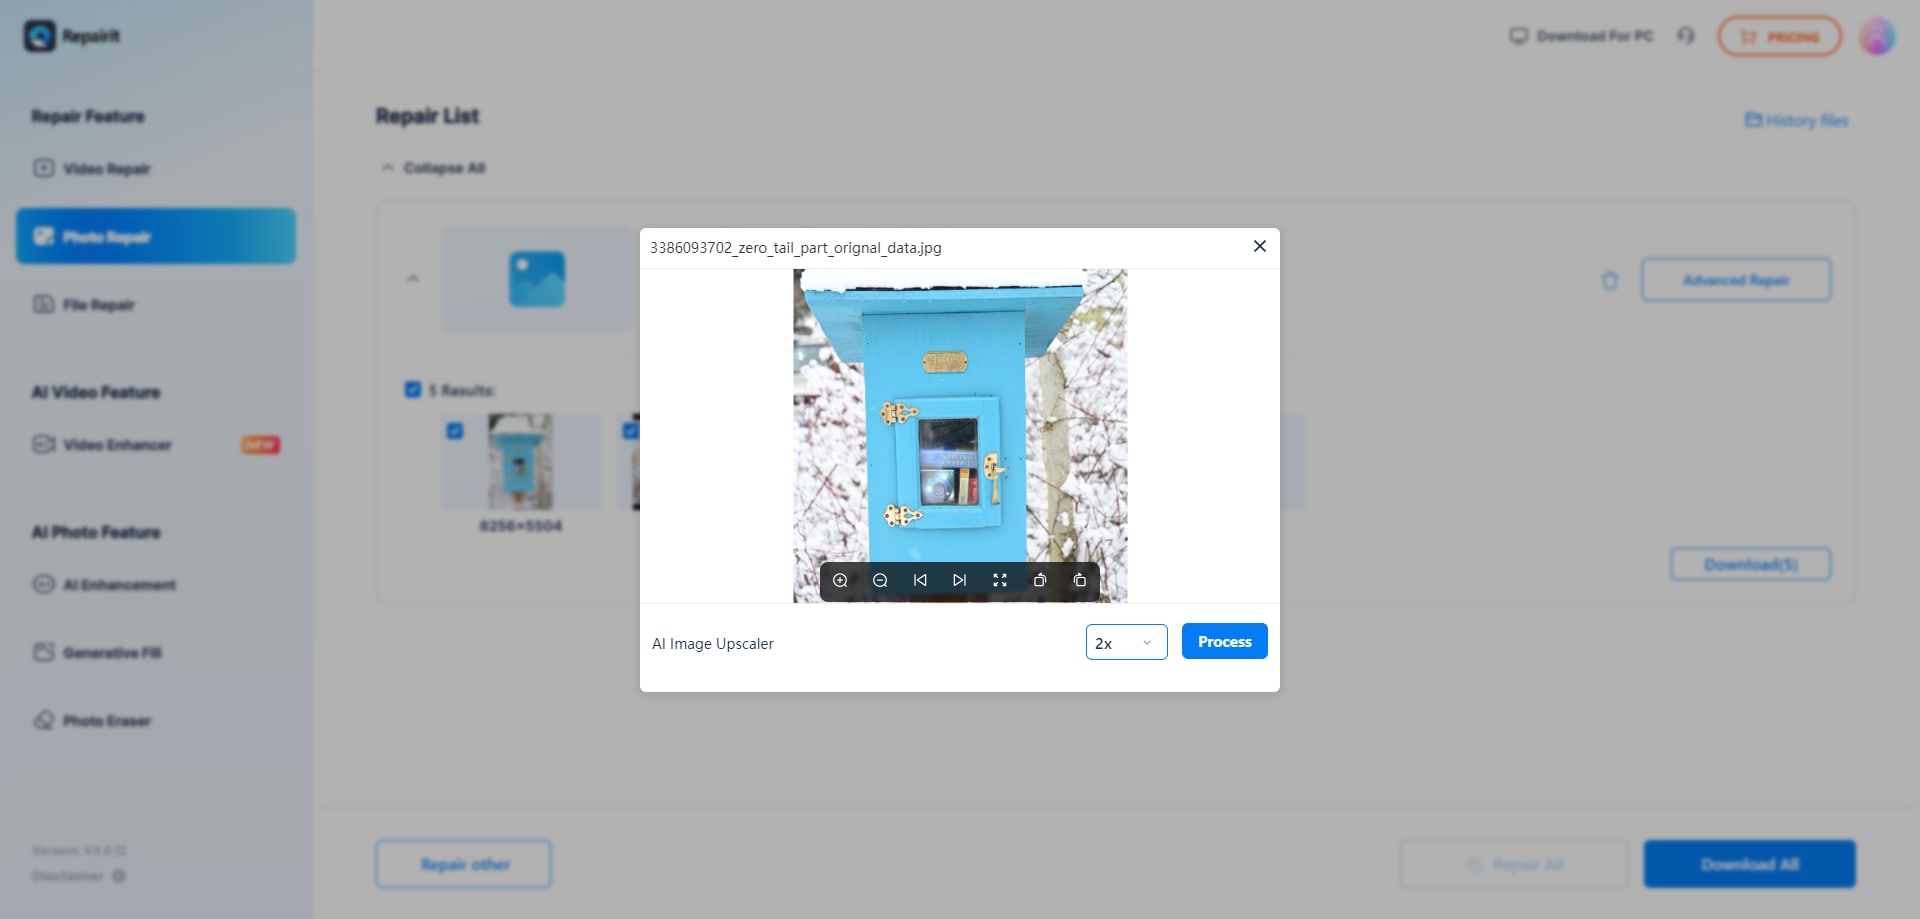
Repairit will begin upscaling image using AI technology.
Step 5: Save The AI Upscaled Image.
After completing the AI photo upscale procedure, navigate to the results and select the upscaled and corrected images. Then click "Download All" to save them to your computer.
This video can help you fix your corrupted photos with a step-by-step guide.
Attention:
If you your corrupted photo is more than 300MB, you can try the Desktop version of Repairit Photo Repair with advance repair.
Repair Your Damaged Photo Now
 Security Verified. Over 7,302,189 people have downloaded it.
Conclusion
Fixing closed eyes in a picture can be difficult, but with the appropriate approaches, these shots can be salvaged and made to look more natural. Various photo editing software and programs provide capabilities intended expressly for this purpose. You can open closed eyes, replace them with open eyes from another photo, or even design realistic-looking eyes from scratch using these tools.
In more complex circumstances, where the photo is corrupted or damaged, a specialist online photo repair application, such as Wondershare Repairit, can be a convenient and effective option. With its simple interface, you can effortlessly upload your images, and Repairit will automatically evaluate and repair them. Don't let closed eyes or damaged photos ruin your precious memories—try these methods and tools to bring your pictures back to life today!
FAQ
-
Can I fix closed eyes in a group photo?
Yes, fixing closed eyes in a group photo is possible using photo editing software like Adobe Photoshop or GIMP. For best results, identify an image where the subject's eyes are open, and use techniques like layering and blending to seamlessly replace the closed eyes with open ones. -
Are there free tools available to fix closed eyes in photos?
Absolutely! Free tools like GIMP or Snapseed can help you fix closed eyes. While they may lack some advanced features of paid tools like Photoshop, they are beginner-friendly and effective for basic edits. -
How do automatic tools compare to manual editing for fixing closed eyes?
Automatic tools like Luminar AI or PortraitPro offer quick and user-friendly solutions, but the results might appear less natural in complex edits. Manual editing, on the other hand, provides precise control, allowing for highly realistic outcomes but requires more time and advanced skills.
