Want to remove white eye from photo? White eyes in pictures may be a vexing issue that detracts from the overall quality of your images. Is also known as red-eye or reflection glare. However, various procedures and tools are available to correct this problem and restore the natural appearance of the eyes in post-processing. This comprehensive article attempts to give you efficient ways to resolve white eyes in photographs.

This post covers a variety of options for dealing with white eye difficulties. From altering white balance and utilizing corrective red-eye tools to selectively decreasing highlights and using cloning or healing procedures. These suggestions can help you achieve aesthetically appealing and natural-looking outcomes whether you are a novice or an expert photo editor.
In this article
What Can Cause White Eyes In Photos?
White eyes in pictures can arise due to light reflection off the retina at the rear of the eye. It can also be called the “red eye”. This behavior will likely occur when employing a camera flash in low-light circumstances. When the flash is very close to the camera lens, light enters the eye and reflects the blood vessels. This gives the image a white look. Individuals with lighter eye colors, such as blue or green, are more affected.
Many cameras include red-eye reduction functions that seek to reduce this effect by releasing a pre-flash. It causes the pupils to contract, minimizing the reflection. Using indirect or diffused lighting, avoiding direct flash, or enhancing ambient illumination can aid the prevention of white dots in eyes in photos.
Try Wondershare Online Photo Repair To Fix Any Issue Free
Wondershare Repairit - online image restoration has developed a photo repair solution that is both competitive and user-friendly. Using its easy interface, you can rapidly convert damaged photographs to format and restore data. Because Wondershare Repairit understands that photographs are a vital part of your life because they contain precious memories, it aids in the restoration of unopenable images. Let's see how to remove white eye in photos using Wondershare Repairit online tool.

Step 1: Upload damaged images
First, drag your damaged photographs into the photo repair functional area or upload them by clicking the "+Add" button.
When you have finished uploading photos, the interface will display all the information about each snap.

Step 2: Start the repair process.
After 1-2 minutes, click "Repair" to begin the photo repair technique.

Step 3: Preview and save your photos
After completing the Quick Repair or Advanced Repair process, you may see the images and select which ones to transfer to your local computer.
To preview images, click the "preview" and the "download" icon to save them. Click "Download All" to save all restored pictures at the same time.

Attention:
The Repairit - Online Photo Repair supports to repair 300 files each month, and each file is no more than 300MB. If you have more photo repair needs, you can also try the deskop version of Wondershare Repairit to fix white eyes photos, the desktop version has no limit to the size and number of the repairable files.

Wondershare Repairit - Photo Repair
Security Verified. Over 7,302,189 people have downloaded it.
-
Repair damaged photos with all levels of corruption, such as grainy photos, dark photos, pixelated photos, faded photos, etc.
-
Repair images of diverse formats, such as JPG, JPEG, PNG, CR3, CR2, NEF, NRW, etc.
-
Repair critically damaged or corrupted photos available on SD cards, phones, cameras, USB flash drives, and more.
-
Repairit has a quick and advanced repairing mode. You can use either depending on the level of corruption the photos has undergone.
-
The "AI Image Upscaler" feature can enlarge the repaired photos to 2X, 4X, and 8X.
-
Intelligently restore old/scatched photo and colorize black and white photos with various AI effects.
-
No limit to the number and size of the repairable photos compared with the online version of Repairit.
-
Support Windows 11/10/8/7/Vista, Windows Server 2003/2008/2012/2016/2019/2022, and macOS 10.12~macOS 14.
Tips To Avoid The White Eye Issue Or Reflection Glare In Photos
TIP 1: Shade Your Lens
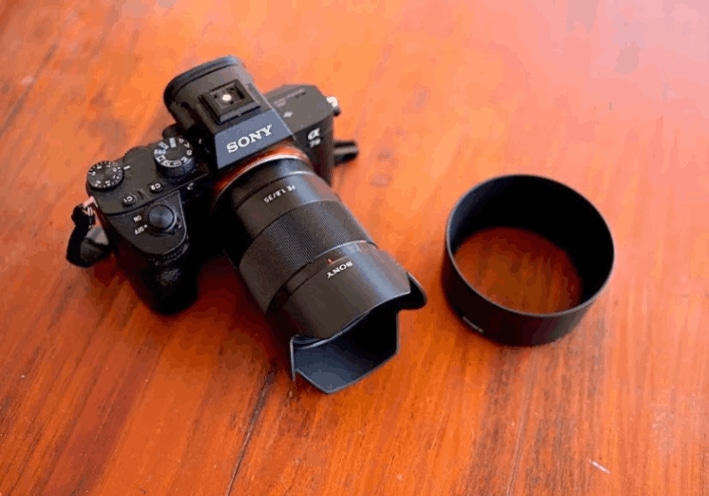
Shading your lens is an efficient approach to reducing the white eye or reflected glare in images. This may be accomplished using a lens hood or casting a shadow over the lens region with your palm. By preventing direct light from entering the lens, you reduce the possibility of reflections rebounding back and producing white eyes. This approach is very beneficial when photographing outside in direct sunshine or when the frame has strong light sources.

TIP 2: Change The Camera Position
Changing the location of your camera is another way to avoid white eyes. Consider angling the camera to the side instead of shooting straight on with the flash immediately in front of the lens. Moving the flash off-axis from the lens considerably reduces the likelihood of direct light striking the eyes and producing reflections. Experiment with different angles and placements to discover the ideal configuration for reducing the risk of the white eye.

TIP 3: Set Exposure For Highlights
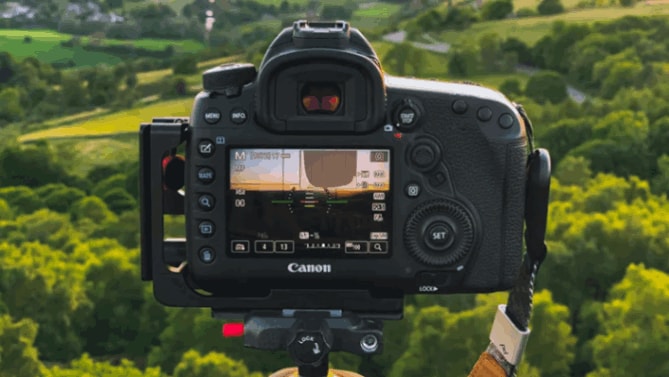
Consider tweaking the exposure settings on your camera to favor highlights while setting it up. Overexposed portions in a photograph might lead to white eye reflections. You may regulate highlights and eliminate reflections by slightly underexposing the image or setting the exposure compensation to the negative side. Check the histogram to ensure that the brightest sections of the image are not clipped. This might lead to white eye problems.

TIP 4: Use A Polarizing Filter
Using a polarizing filter on the lens of your camera may reduce reflections and glare in your images. A polarizing filter minimizes the quantity of dispersed light entering the lens, resulting in clearer and less reflective pictures. This is especially useful when photographing outside, where reflections from water, glass, or other glossy surfaces are widespread. You may carefully decrease glare and reflections by adjusting the filter to the appropriate position, lowering the risk of the white eye.

Last But Not Least
Finally, resolving the white eye problem in pictures is critical for improving your shots' overall quality and natural appearance. You may easily treat white eye issues and restore the compelling beauty of the eyes in your images. You just need to follow the strategies and ideas given in this article.
How to get rid of white eyes in pictures? You should try Wondershare Repairit in just a few clicks to simplify the procedure and save time. Compared to Photoshop, Repairit is a dependable solution to fix white eyes in photos because of its user-friendly layout and robust capabilities. It has extensive red-eye corrective capabilities that let you carefully minimize highlights, clone or repair afflicted regions, and easily modify white balance. Repairit may drastically expedite your editing routine and offer amazing results.
Further Reading:
Red Eyes in Photos? Let's Fix It
How to Remove Glare From Photo Online?
5 Photo Repair Software to Repair JPG/JPEG in Windows 10/11
FAQ
-
Q: Can I Fix The White Eye Problem On My Camera?
Ans: When taking images, most cameras contain red-eye reduction functions that can assist to fix white eye photos online. However, these characteristics may not resolve the problem. Post-processing procedures are frequently required to create a more satisfying outcome. -
Q: Which Program Is Best For Removing White Spots From Photos?
Ans: Popular picture editing software, such as Wondershare Repairit, or even smartphone applications, have capabilities for correcting red-eye or white-eye issues. Experiment with several applications to discover the one that best matches your editing needs and process.
-
Q: Can The White Eye Phenomenon Be Avoided Entirely?
Ans: While you may not be able to avoid the white eye effect, you may take precautions while photographing. You can do things like utilizing diffused lighting, bouncing the flash, or extending the distance between the flash and the lens. These methods aid in the prevention of white eye problems. -
Q: Are There Any Special Editing Procedures For Treating White Eyes In Animal Photos?
Ans: Animal photographs can benefit from the same editing techniques described above. However, because animals' eyes vary in form and size, more exact editing may be required to correct the white eye effect. This helps in retaining the natural appearance of the eyes. -
Q: Is Using Manual Or Automated Techniques To Cure White Eyes Preferable?
Ans: The strategy you use is determined by the severity of the white eye problem and your level of experience with photo editing. Although automated tools are quick and handy, human editing gives you greater control over the outcome. In difficult instances, a mix of both may produce the greatest results.


 ChatGPT
 Perplexity
 Google AI Mode
 Grok
Grok

