

Correcting the flaws in images enhances the overall quality of an image, making it appear more polished and appealing. One such issue, the red-eye effect, occurs when a camera flash reflects off the retina to create an unnatural red eye. So, fixing this issue is essential to retain the authenticity of pictures to show the subject’s natural appearance. This is crucial for personal memories and professional photography.
As you eliminate this optical flaw, images are more suitable for sharing on social media or printing. Furthermore, polished photos align with presentation standards to boost their value. By reading this article, you can gain an understanding of the red eye photos and the benefits of using advanced editing tools available to fix this issue.
In this article
Part 1. What Are the Major Reasons Behind Red Eye Photos?
Moving on, as we understand the benefits of removing such unnecessary effects on your images, let us dive into the major reasons behind them. This section will give you an idea of why your eyes appear red in pictures to give you a head start and help you avoid them further.
- Dark Rooms or Dim Lighting: In dark environments, the pupils expand to gather more light. A sudden flash illuminates the blood vessels in the eye, creating the red effect.
- Proximity to Camera Lens: When the subject's eyes are aligned too close to the lens, light bounces back more directly. This is common in compact cameras or smartphones with built-in flashes.
- Lack of Anti-Red Eye Features: Some older cameras or smartphones lack pre-flash or features to fix red eyes. Without these, the effect becomes more noticeable, especially in portraits.
- Camera Flash and Retinal Reflection: When the flash is too close to the camera lens, it reflects off the retina. This happens when pupils are dilated because of flashes in dim rooms.
- Angle of Light Entry: The angle at which the flash enters the eye impacts how the light reflects. A direct flash often increases the chances of the red-eye effect.
Part 2. Top 3 Red Eye Removers Online
Apart from finding out the reasons, we should also be aware of some of the red eye remover online tools. This section will help you remove the unnecessary effects on the go without downloading additional software to your device.
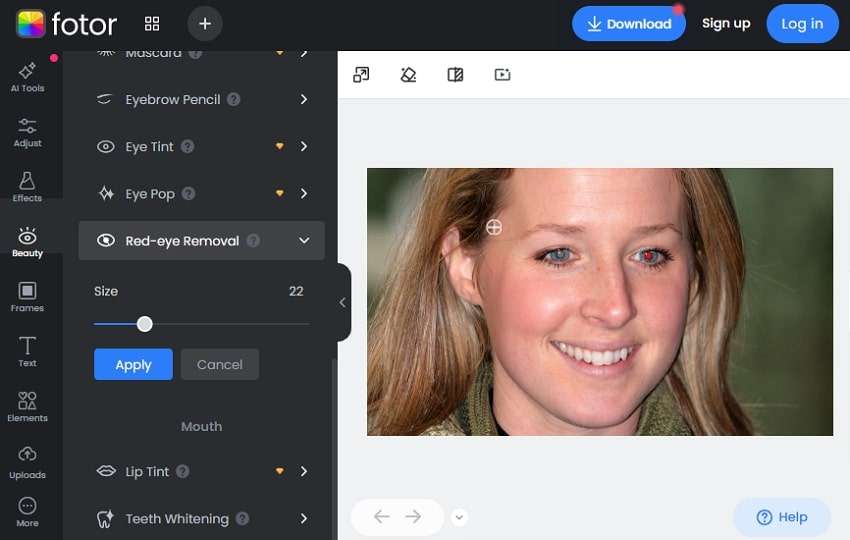
1. Fotor
With Fotor, you can enhance your ability to remove red eyes in a single click. When the red eye is removed, the eyeball size in the images can be adjusted for accuracy. Moreover, it provides additional features of Eye Pop to make your eyes more attractive in pictures. You can also use the Eye Tint tool to edit the shades of your iris further.
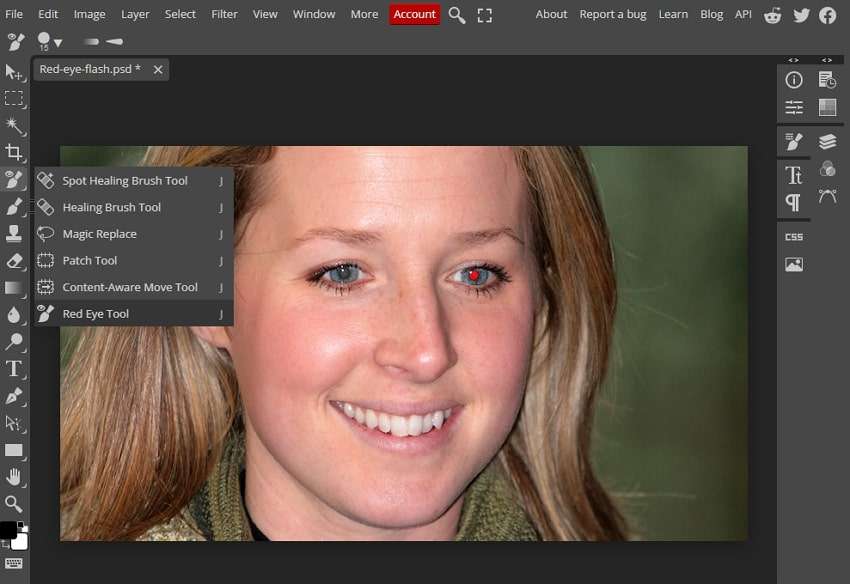
2. Photopea
Photopea is an online tool that offers its edit-out red eye feature to replace the spot with the original iris color. This tool ensures that it is accurate without lowering the quality of the image. You can further utilize the Eyedropper tool to change the color of your eyes and make them pop in pictures. Moreover, you get the ability to apply different filters to the pictures to get an enhanced final result.
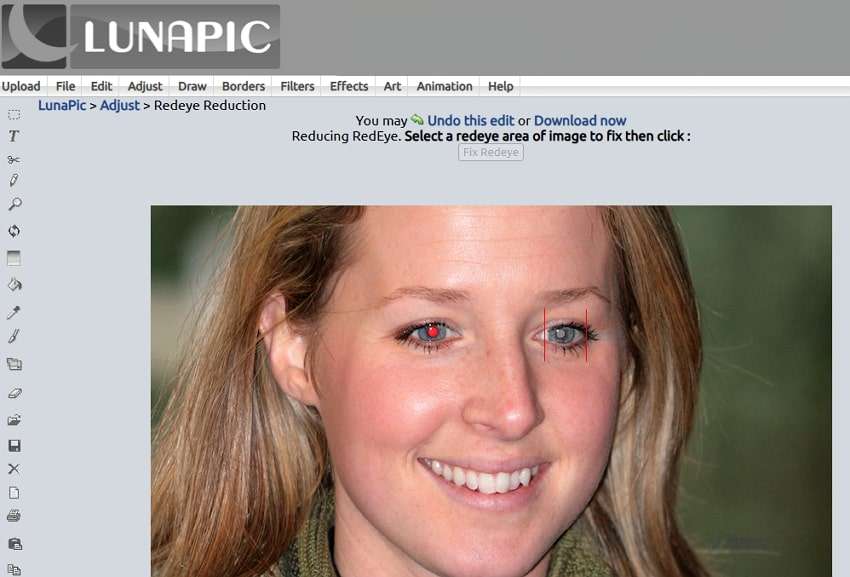
3. LunaPic
Using LunaPic, you can lighten the red-eye photos to enhance them with professional-looking results. Simply drawing boxes around the red spots on the eyes in the pictures can lighten their red effects. You can continue tightening it until you meet your desired expectations. Moreover, with the Paint Tool, you can add more shades to the pictures to make them eye-catching.
Part 3. Best Tools to Edit Out Red Eye from Pictures
In addition to the above discussion of online tools, here are a few of the software and mobile apps you can opt for instead of them. These tools will help you fix red eyes on the go or without depending on stable internet connections.
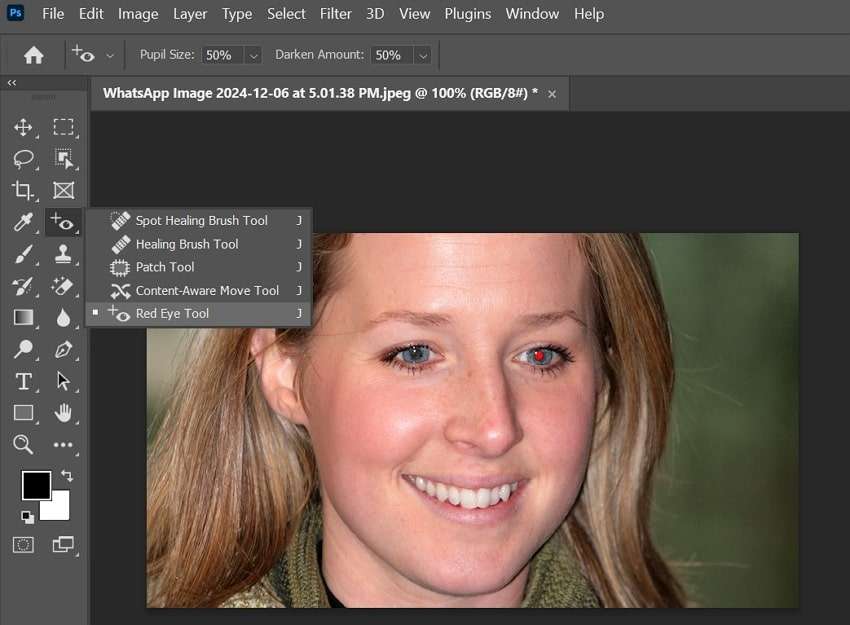
1.Adobe Photoshop [Windows | Mac]
Adobe Photoshop is one of the most comprehensive photo editors that uses photo red eye remover to give you professional results. After selecting the tool and clicking the affected area, you can adjust the eye color to a natural black or brown tone. Its precision ensures professional-quality edits, making it ideal for photographers and designers alike.
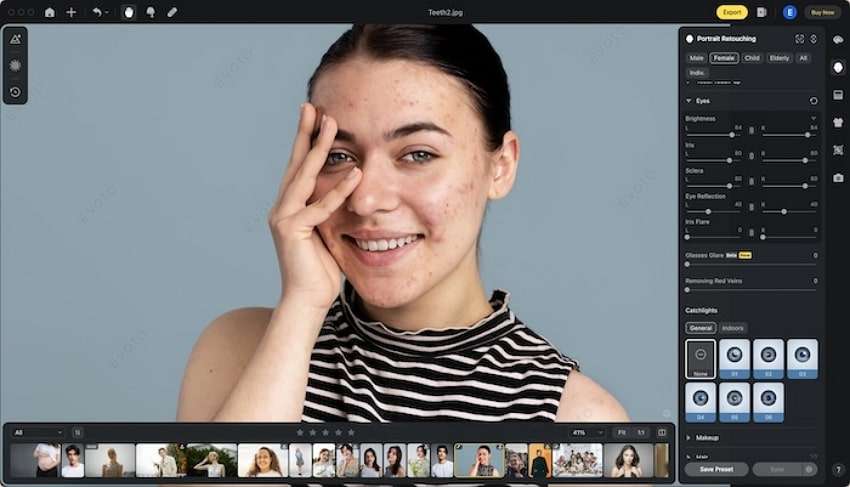
2. Evoto [Windows | Mac]
Evoto’s AI-driven technology automatically detects and adjusts the affected areas, fixing red eyes to their natural appearance. This feature makes it a user-friendly and efficient choice for enhancing portraits and group photos. Evoto also provides an advanced red-eye removal tool that ensures quick and seamless correction for red-eye spots caused by flash photography.
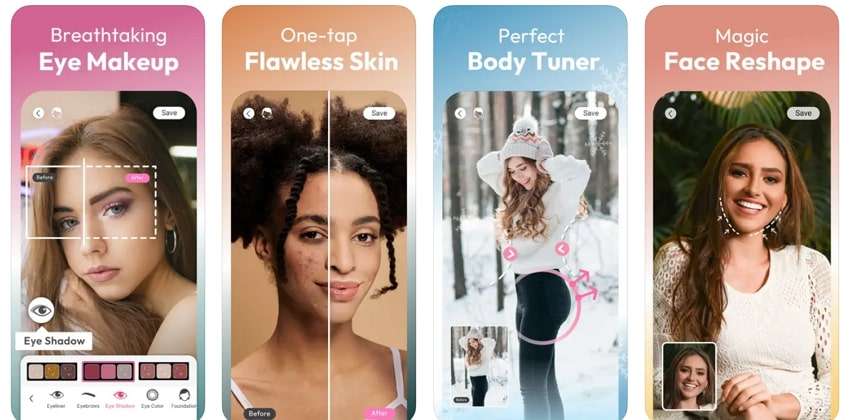
3. YouCam Makeup [iOS | Android]
YouCam Makeup offers a quick and free red eye remover to enhance your photos effortlessly. It uses its integrated AI technology to detect and correct red-eye spots. Unlike most tools, you do not have to manually select the red spots, as it simply enhances the image on its own. This is an ideal choice for anyone looking to edit photos on the go with minimal effort to restore the natural look of images.
4. PhotoDirector [iOS | Android]
PhotoDirector features an effective ability to remove red eyes that helps users correct flash-induced eye glare quickly and naturally. The app's AI-driven editing ensures precise adjustments while maintaining the overall quality of your photos. Its simplicity makes it a great choice for both casual users and hobbyist photographers.

Part 4. The Most Superior Solution to Fix Damaged or Corrupted Photographs in Ultra-HD Quality
We have explored effective ways to fix red-eye photos using various online tools and software. While fixing the red-eye issues, your pictures may suffer from other forms of damage, such as corruption or pixelation. In such cases, Repairit stands out as a superior solution for restoring your photos to pristine quality.
The tool offers an AI-powered photo repair solution that is perfect for fixing corrupted images of various formats like JPEG or PNG. Alongside that, it enhances the resolution of repaired photos by up to 8x and allows you to bring back the finer details of your cherished memories. Thus, Repairit is an all-in-one tool to fix red-eye or photodamage issues.
Key Features of Repairit Photo Repair
- Thumbnail Extraction: Beyond repair, users can extract thumbnails from any image, including corrupted or damaged photographs.
- Scratch Removal: It automatically removes scratches from old or damaged photos and enhances colors with vibrant, sharp results.
- Batch Capability: You can repair multiple photos simultaneously and save time when dealing with large photo collections or numerous corrupted images.
- Unopenable Photo Repair: This AI-powered tool has the ability to fix images that won't open or display properly without losing their quality.

-
Repair damaged photos with all levels of corruption, such as grainy photos, dark photos, pixelated photos, faded photos, etc.
-
Repair images of diverse formats, such as JPG, JPEG, PNG, CR3, CR2, NEF, NRW, etc.
-
Repair critically damaged or corrupted photos available on SD cards, phones, cameras, USB flash drives, and more.
-
Repairit has a quick and advanced repairing mode. You can use either depending on the level of corruption the photos has undergone.
-
The "AI Image Upscaler" feature can enlarge the repaired photos to 2X, 4X, and 8X.
-
Intelligently restore old/scratched photos and colorize black and white photos with various AI effects.
-
No limit to the number and size of the repairable photos compared with the online version of Repairit.
-
Support Windows 11/10/8/7/Vista, Windows Server 2003/2008/2012/2016/2019/2022, and macOS 10.12~macOS 13.
Simple Step-by-Step Manual to Use Repairit to Fix Damaged Photographs
After exploring its advanced features and capabilities, you need to learn how to fix your damaged photos. So, navigate to the below section and discover how this advanced tool will fix images effortlessly.
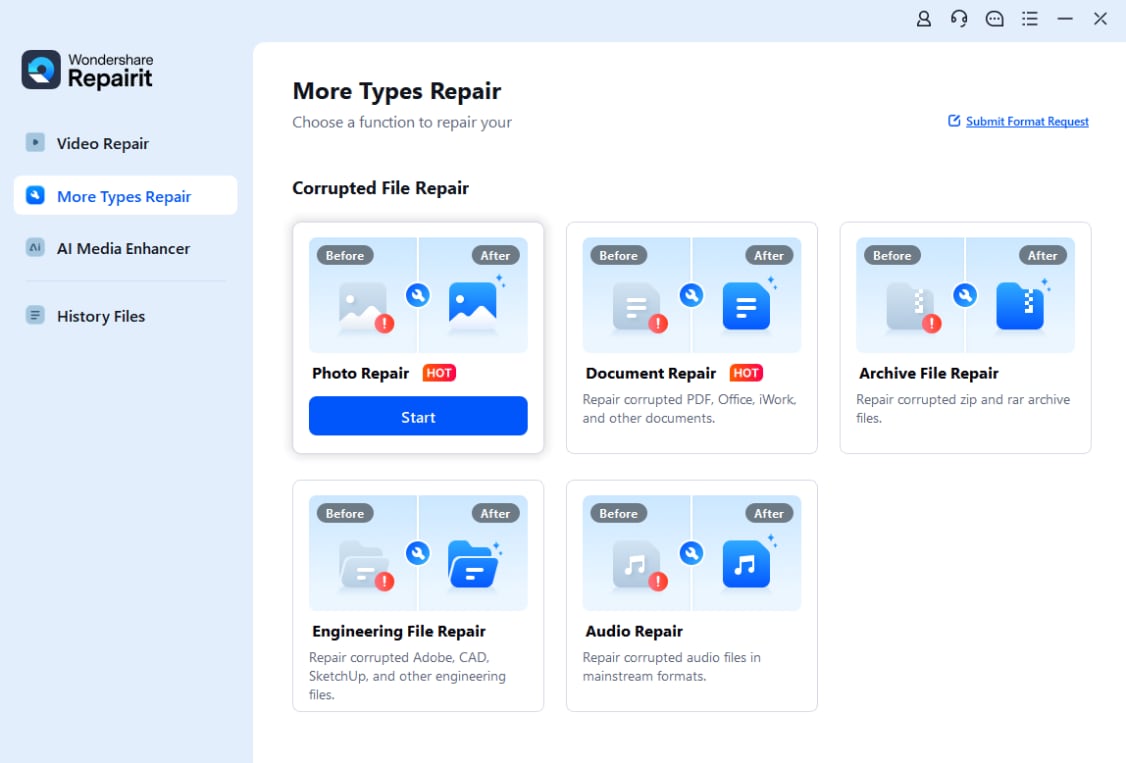
Step 1. Open the Software to Start the Image Repair Process
Choose the “More Types Repair” tab to explore additional repair options. On the subsequent screen, locate and click the “Photo Repair” feature specifically designed for repairing damaged photos.
Step 2. Import the Damaged or Corrupted Photographs
Once the Photo Repair tool opens in a new window, click the “+Add” button to import your damaged photos.

Step 3. Repair the Corrupted/Damaged Photos
Hit the “Repair” button to repair the corrupted photos.

Step 4. Preview and Save the Repaired Images
Upon completing the process, you can review the output and ensure that all the photos are repaired according to your preferences. Afterward, click the “Save All” button or press the “Save” button within a small popup. This step ensures that the corrected photo is safely stored on your device.

Repair Corrupted Red Eye Photo Files Now
 Security Verified. Over 7,302,189 people have downloaded it.
Conclusion
In conclusion, this article highlighted the best tools and methods to fix red-eye photos effectively, ensuring your images look flawless. Besides these versatile tools, we also looked at an advanced tool, Repairit, to restore corrupted files that may have been damaged during editing or transfer. All in all, with the right tools, you can effortlessly transform your photos into polished, professional-quality memories.
FAQ
-
Q1. How do you prevent red eyes in photos?
You can avoid using direct flash and increase ambient lighting. Moreover, red-eye reduction modes are available in most cameras. -
Q2. Do AI tools handle red-eye better than manual editing?
AI tools are faster and more precise for most users, but professionals may still prefer manual adjustments for complex corrections. -
Q3. Can red-eye removal tools fix pet eye issues?
Some advanced tools have specific settings to address the "pet eye" issue, often appearing as green or yellow reflections in animals.
