

"Best way to remove banding? I managed to capture this passable picture, however the shutter generated some wavy vertical lines."
If you’re facing a similar issue, don’t worry! Banding is a common problem in photos, but there are effective ways to remove banding in Photoshop. Plus, in this guide, we’ll walk you through the steps to quickly remove banding in Photoshop and make your photos look smooth and professional. Let's go now!
In this article
Part 1. What is Image Banding and How to Identify?
Image banding is when you see stripes or bands of color instead of smooth transitions in your photo. This often happens in areas with subtle color changes, like the sky or a studio backdrop. It makes the image look less natural and can be distracting.
How to Identify Image Banding?
- Look for Smooth Gradients: Check areas of your image that should have smooth color transitions, such as skies or backgrounds. If you see distinct lines or blocks of color, that’s banding.
- Check on Different Devices: Display the image on various screens, like your computer, laptop, or phone. If banding only appears on one device, it might be a screen issue, not the image itself.
- Zoom In: Sometimes, banding is easier to spot when you zoom in. Look closely at areas with gradients to see if the colors transition smoothly or if there are visible bands.
- Edit with Caution: Banding can become more apparent during editing. If you notice banding after making adjustments, it might be due to the edits.
- Test with Solid Colors: Create an image with a solid background and apply a gradient in your editing software. If banding appears, it’s likely a display or software issue.
Part 2. How to Remove Banding Photoshop?
If you've noticed those unsightly bands of color in your photos, Photoshop has tools to help you fix them. Banding often happens in areas with smooth gradients, and several factors, including the bit depth of your image, can cause it.
The first step is to work in 16-bit instead of 8-bit. If you're moving from Lightroom to Photoshop, go to Edit and Preferences and change the Bit Depth to 16-bit.

The reason 16-bit is better for reducing banding is the number of colors it can display:
- 8-bit = 16.8 million colors
- 16-bit = 281 trillion colors
The difference is huge. With 16-bit, you have more room to adjust exposure and color without creating banding. While banding can still happen, it takes more extreme adjustments to appear, especially if you're making minor changes.
After identifying and choosing 16-bit for banding, it is now time to try the manual fixes below:
1. Zoom Photo
Zoom in your photo to 100% over the banding. You'll probably see it become a much smoother transition as the banding disappears or decreases. Viewing the image at 100% shows you how it looks, not the compressed thumbnail Photoshop displays. When you zoom back out, the banding will reappear because Photoshop compresses the image for viewing purposes.

2. Flatten the Photo
Banding won't fully disappear until you flatten your image. To do this, right-click the bottom layer and choose "Flatten" to merge all layers. Photoshop will automatically smooth out the banding, making it blend more realistically. Then, you can save the image as a finished JPEG.

3. Add a Gaussian Blur and Mask Off
Adding a Gaussian Blur and masking off areas can sometimes help reduce banding, although the results vary. It might improve some types of banding but worsen others, depending on what caused the banding initially. Despite this, it's often worth trying because it can make a noticeable difference in many cases. Experimenting with Gaussian Blur can help you find the right balance and improve the overall quality of your image.

4. Add a Texture Overlay
Adding a fine art texture hides banding and other background issues and enhances your image with a beautiful, artistic finish. This approach can make a problematic photo into a stunning piece of art. The added texture creates depth and interest, giving your image a unique and polished look.

5. Add Noise in Photoshop
Adding noise in Photoshop can help reduce banding and improve the overall look of your image. Here's how to do it:
Step 1: Go to Layer and New Layer. Change the Mode to "Overlay" and check the box that says "Fill with Overlay-neutral color (50% gray)." After that, click "OK."

Step 2: Go to Filter and Noise, then Add Noise. Choose Gaussian and Monochromatic. Adjust the amount based on your image size. Usually, 2-3% works well.

6. Adding a Spatter Filter in Photoshop
If you need to work with an 8-bit image and can't switch to 16-bit, there’s still a method you can use to reduce banding. Follow these steps to improve your image:
Step 1. Create a duplicate layer of your image. Then go to Layer and New Layer.

Step 2. Move this new layer to the top. You might see that this already reduces some of the banding.
Step 3. Go to Filter and Filter Gallery then Spatter.
Step 4. Set the Spray Radius up high, around 25, and keep the Smoothness at 1.

Step 5. Add a layer mask to this layer and invert it. Using a white brush on the layer mask, paint the spatter effect over the banding, being careful not to cover your main subjects.
Part 3. How to Remove Banding without Photoshop?
If you think manual fixes to remove banding in Photoshop are too time-consuming and hassle, there’s another option you can choose. This is by using a professional tool that can instantly remove the banding in your photos.
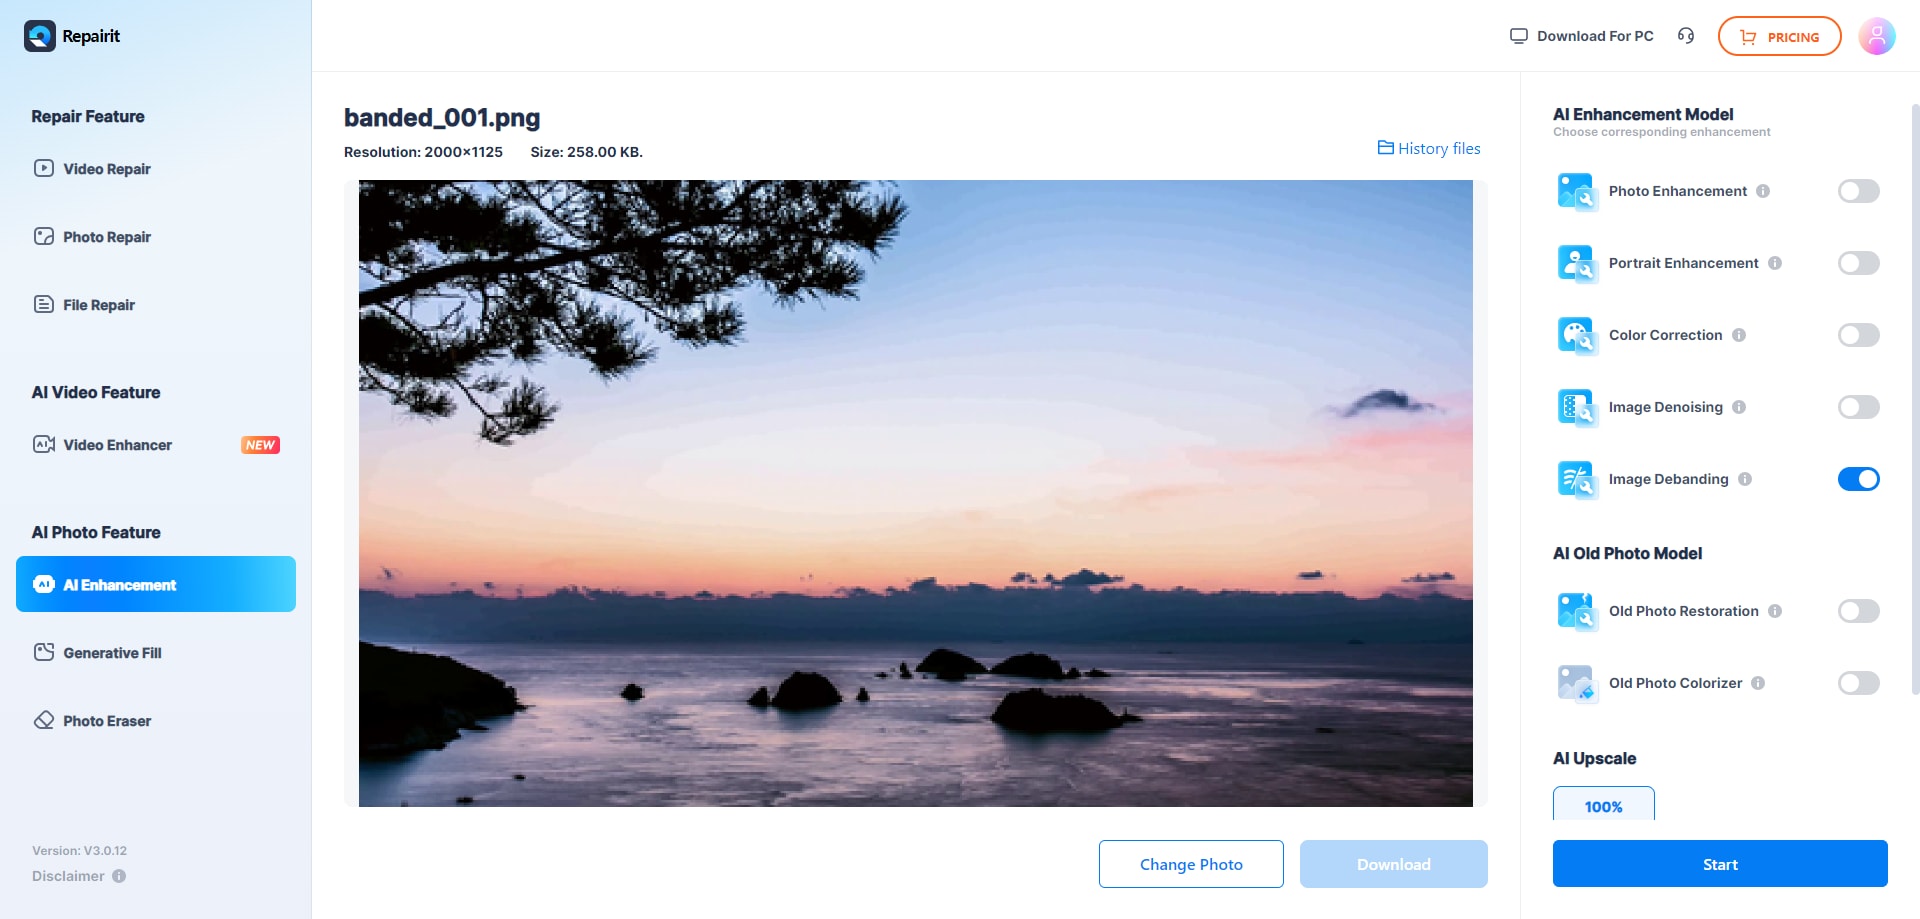
Repairit AI Image Debanding is the best tool to remove debanding instantly. It can easily identify the false contour and visual problem even more noticeable in ultra-high definition within your photos. What you will like here is it is online based, so you just need to upload or drag the images that need to be deband. Lastly, it supports multiple formats like JPG, JPEG, PNG, BMP, and WEBP.
Here's how to use Repairit AI Image Debanding online:
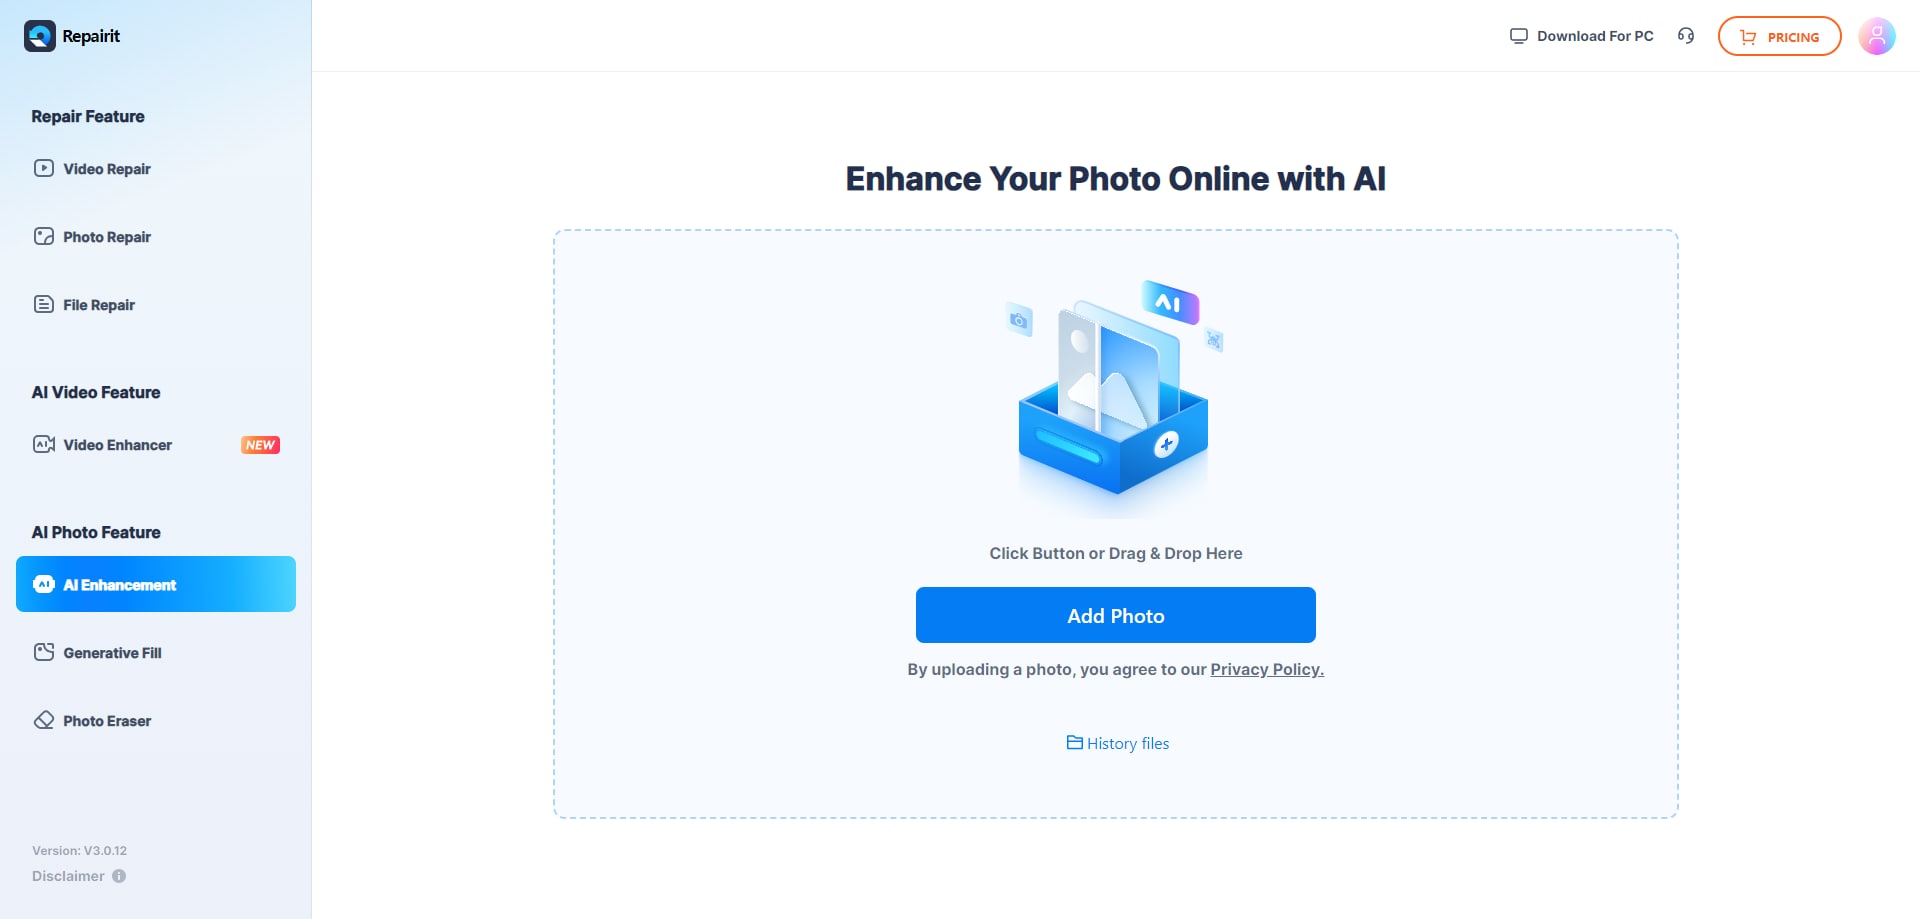
Step 1. Click the “Add Photo” button to upload the photo for debanding.
Step 2. After uploading the image, use the “Image Debanding” under the AI Enhancement Model. Click the “Start” button to start the process of debanding your images.
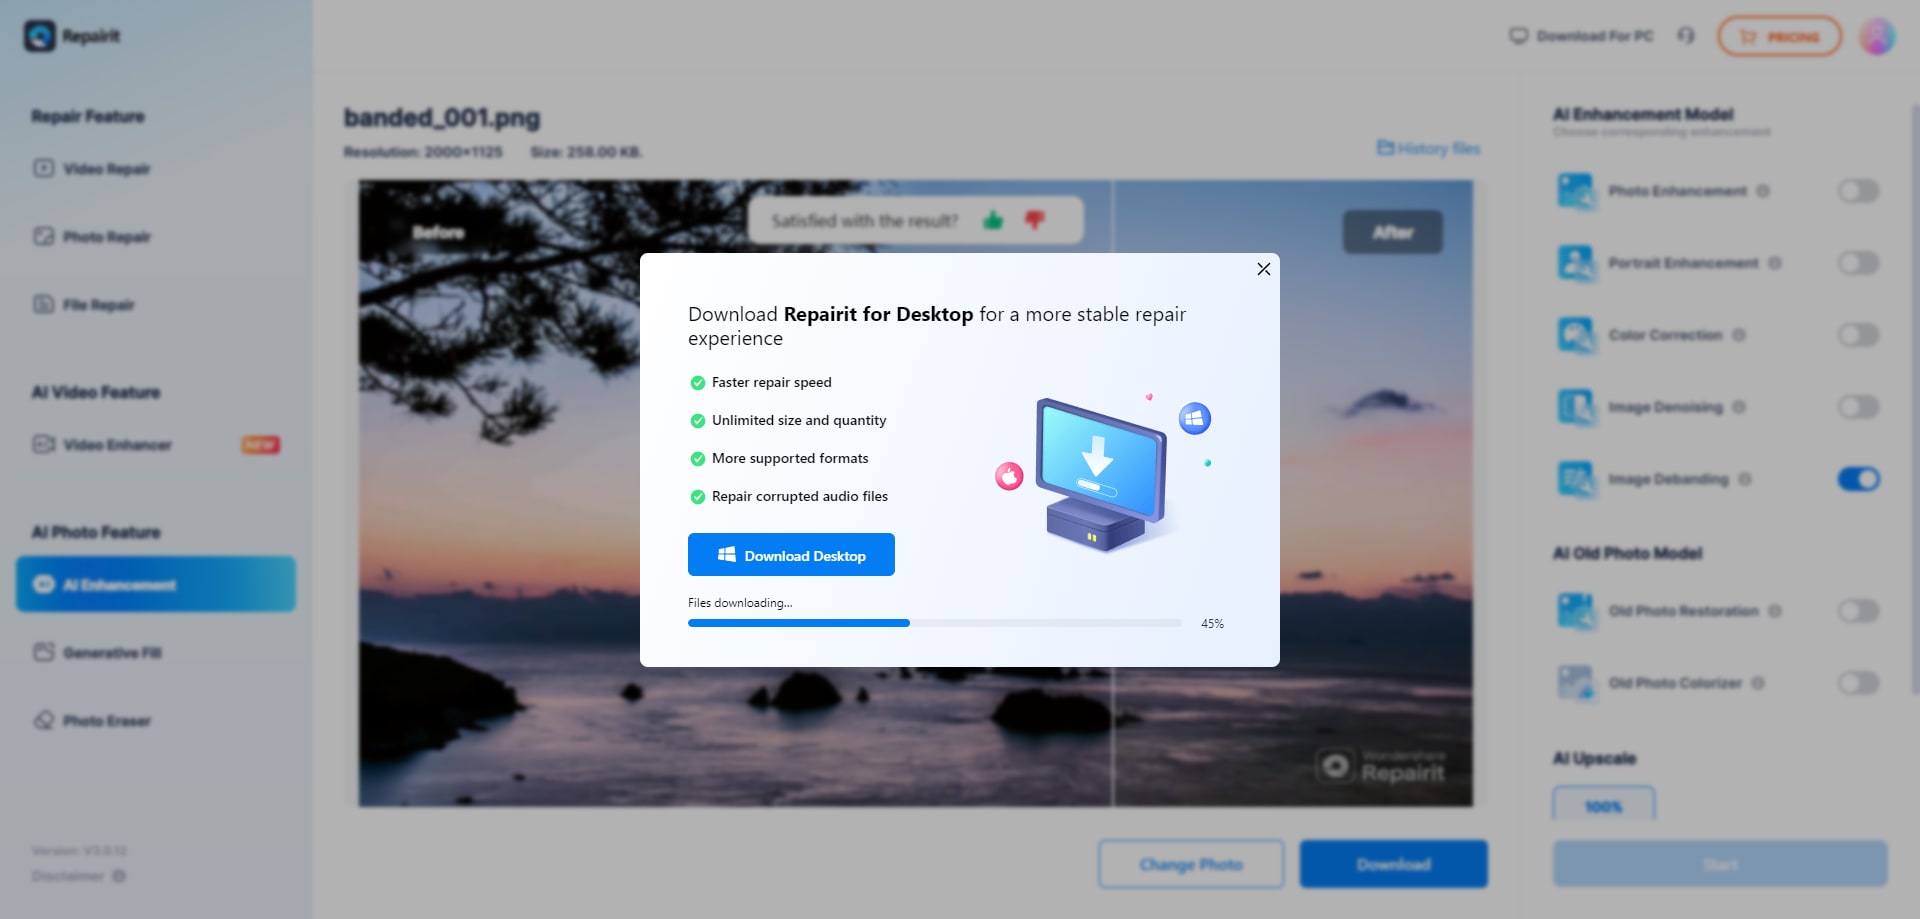
Step 3. You can see a preview of your photographs' before and after results after the debanding procedure is complete. If you are satisfied with the debanded photos Download it to your desktop.
Remove Banding with Repairit Image Debanding Now
 Security Verified. Over 7,302,189 people have downloaded it.
Conclusion
Removing banding in Photoshop is tricky, but if you have patience, you can succeed. But an online tool is also good for you if you don't want to do it manually. It depends on what you want and what will satisfy you in removing banding within your photos. Enjoy the process of perfecting your pictures!
FAQ
-
What causes banding in images?
Banding is often caused by limited bit depth in images, excessive compression, or extreme adjustments during editing. It appears as visible stripes or steps in areas with smooth gradients. -
Can banding be fixed in all images?
While banding can be reduced or eliminated in most images, the fix's effectiveness depends on the banding's severity and the method used. Some extreme cases may still show slight banding even after applying fixes. -
Is it better to prevent banding or fix it after it occurs?
It's always better to prevent banding by using higher bit depths (like 16-bit), avoiding excessive compression, and making gradual adjustments during editing. However, if banding does occur, there are effective ways to fix it in post-processing.
