Do you often struggle with low-resolution images that look pixelated or blurry when you try to make them bigger? Whether you're working on social media posts, printing photos, or creating presentations, having high-quality, crisp images is crucial for making a good impression.
Want to learn how to upscale image in Photoshop without losing quality? You're in the right
place!
In this Photoshop upscale image guide, we'll walk you through three simple methods to upscale images in Photoshop, plus introduce you to an even better alternative that makes image upscaling a breeze.
In this article
Part 1: What Does Image Upscale Mean?
Image upscaling, also known as image enlargement or resolution enhancement, is the process of increasing an image's size while maintaining its quality. When you upscale an image in Photoshop or other editing tools, you're essentially adding more pixels to make the image larger without making it look blurry or pixelated.
Think of it like stretching a small rubber band – if you do it carefully and with the right technique, it maintains its shape and functionality.
Similarly, when you upscale an image using the right method, it maintains its clarity and sharpness even at a larger size.
Part 2: How To Upscale Image In Photoshop?
Method 1: Update Image Size
The Image Size feature in Photoshop is perfect when you need a quick and simple way to upscale images. This method works best for images that only need minor size adjustments (up to 150% of original size) and aren't too complex in detail.
When to use this method:
- For simple photographs without many fine details
- When you need a quick resize without advanced processing
- For images that don't require dramatic size increases
- When working with web graphics or social media posts
Steps to upscale image in Photoshop using Image Size:
Step 1: Open your image in Photoshop. Go to Image > Image Size (or press Alt + Ctrl + I).

Step 2: Check "Resample" and select ""Preserve Details 2.0"" from the dropdown. Enter your desired dimensions (width/height). Make sure "Constrain Proportions" is checked to maintain the aspect ratio. Click "OK" to apply the changes
Method 2: Use Content-Aware Scale
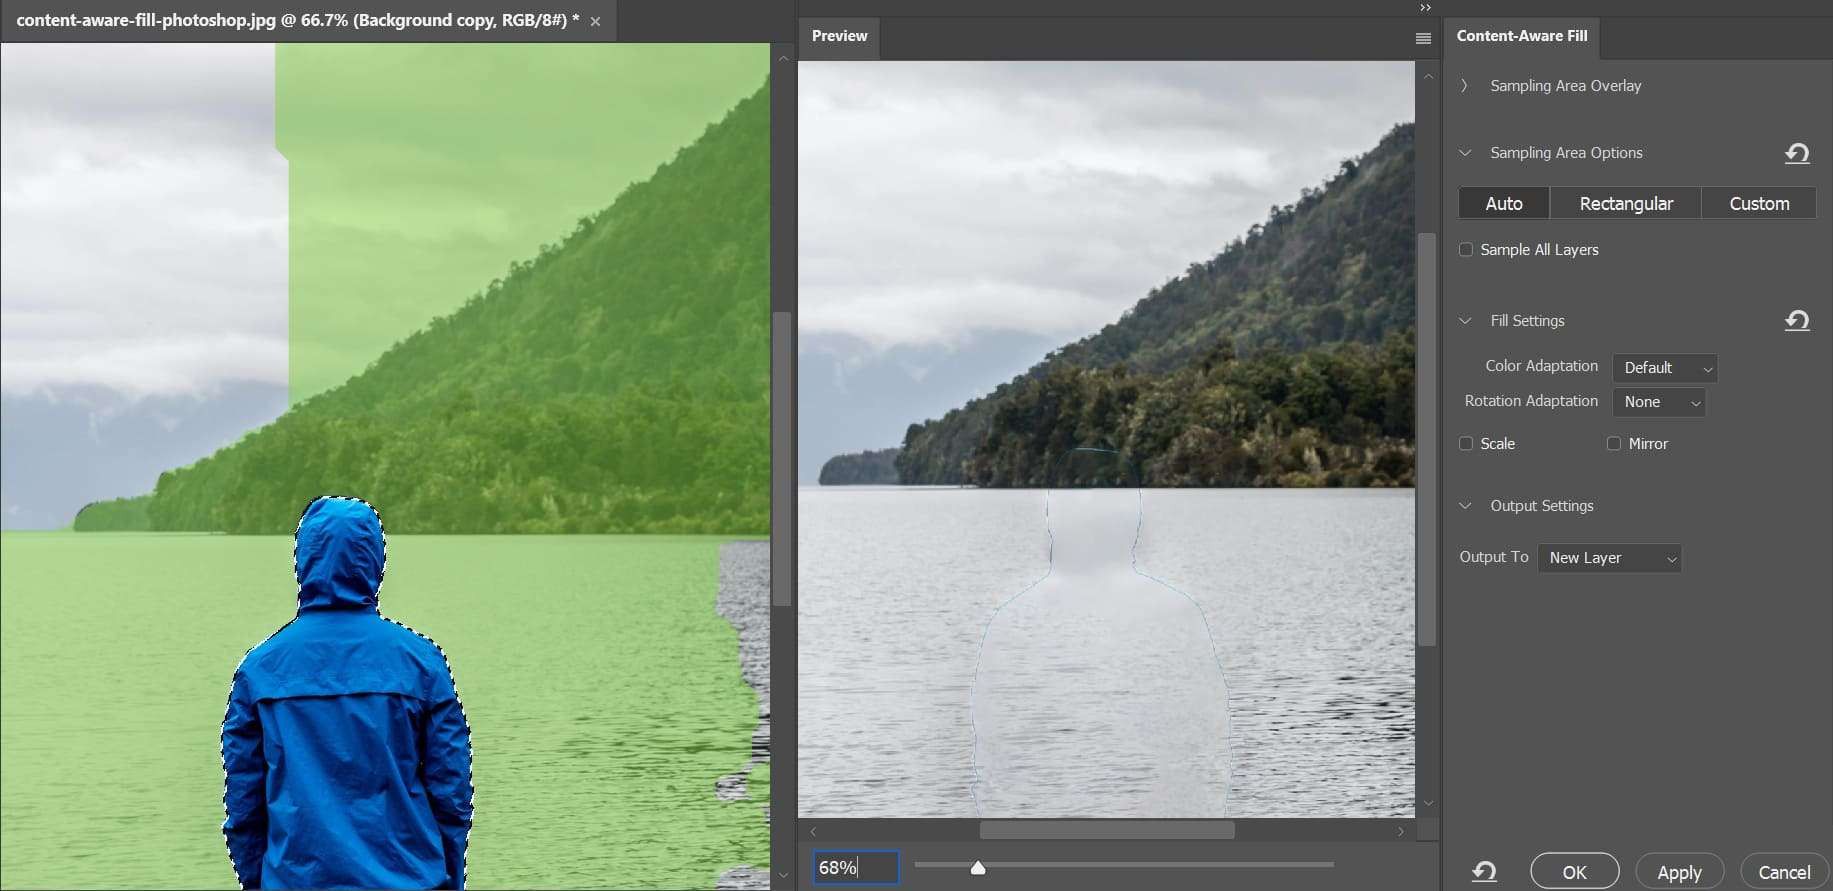
Content-Aware Scale is ideal when you need to upscale specific parts of an image while protecting important elements. This Adobe upscale image technique is perfect for landscapes, architectural photos, or any image where certain areas need more attention than others.
When to use this method:
- For images with varying content importance
- When certain areas need protection during scaling
- For selective enlargement of background elements
- When working with complex compositions
Steps to upscale photo in Photoshop using Content-Aware Scale:
Step 1: Open your image and duplicate the layer (Ctrl + J). Go to Edit > Content-Aware Scale

Step 2: Hold Shift while dragging the handles to maintain proportions. Use the "Protect" option to preserve specific areas. Press Enter to apply the scaling. Fine-tune with opacity adjustments if needed
Method 3: Use Super Resolution
Super Resolution is Adobe's newest and most advanced way to upscale an image in Photoshop. It uses AI technology to intelligently add pixels while maintaining sharpness and detail. This method can double your image size while keeping impressive quality.
When to use this method:
- For significant size increases (up to 400%)
- When working with important photographs
- For professional printing needs
- When maximum quality is essential
Steps to upscale image adobe Super Resolution:
Step 1: Open Camera Raw filter (Filter > Camera Raw Filter). Right-click on the image preview. Select "Enhance”.

Step 2: Choose Super Resolution option. Preview the result. Click "Enhance" to apply. Save your upscaled image
Part 3: Easily Enhance Images Without Any Hassle: Try Repairit AI Photo Enhancer Today!
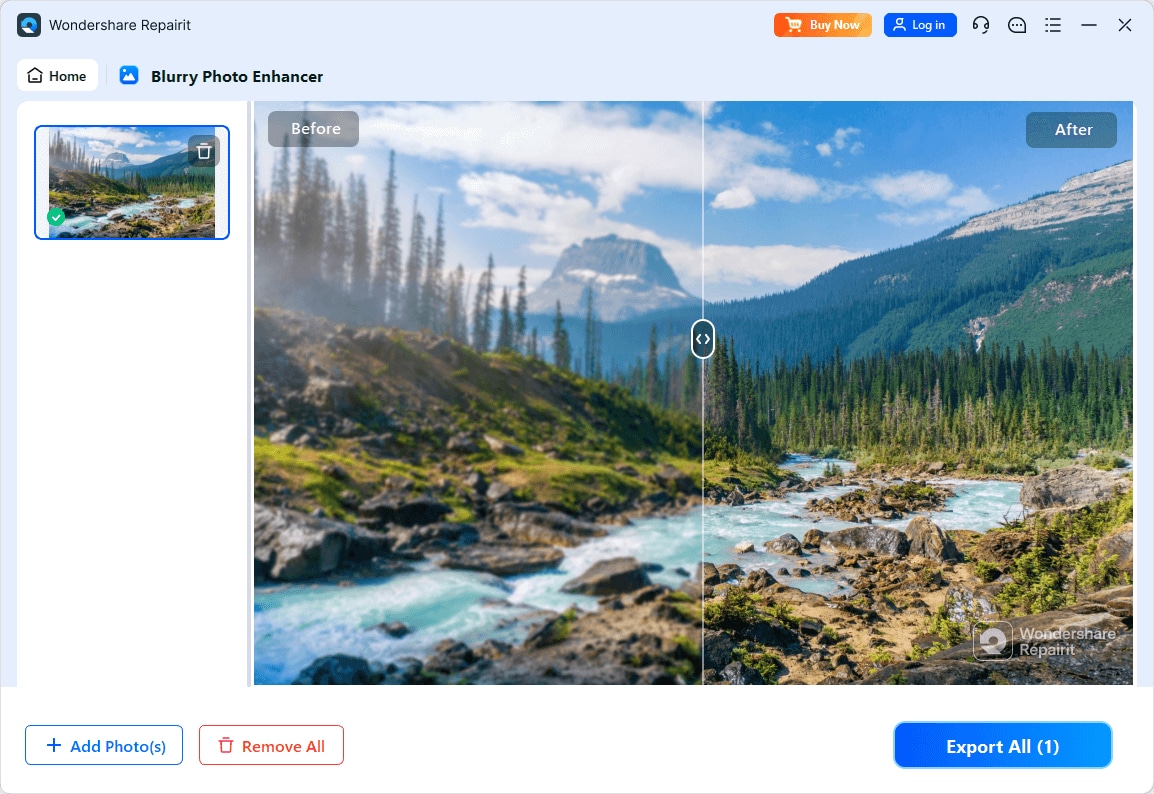
While Photoshop offers several ways to upscale images, Repairit AI Photo Enhancer provides a more powerful and user-friendly alternative.
Here's why it's better than Photoshop:
- Smarter AI Technology: Repairit uses advanced artificial intelligence specifically trained for image upscaling, delivering superior results compared to Photoshop's traditional algorithms.
- Easier to Use: No need to learn complex tools or settings. Repairit's interface is designed for both beginners and professionals.
- Faster Processing: What takes minutes in Photoshop can be done in seconds with Repairit, saving you valuable time.
- Better Detail Preservation: The AI engine maintains and even enhances fine details during upscaling, something Photoshop often struggles with.
- More Flexible Scaling: Upscale images up to 8x their original size while maintaining quality – far beyond Photoshop's capabilities.
- Automatic Enhancement: Besides upscaling, Repairit automatically improves color, sharpness, and removes noise.
Steps to use Repairit AI Photo Enhancer:
Step 1: Install Repairit Photo Enhancer on your PC. Launch the program and click "Add".

Step 2: Select your upscaling preferences. Click "Start Enhancing" and wait a few seconds.

Step 3: Preview and download your enhanced image.

Upscale Your Image In Photoshop Now

Part 4: Pro Tips to Upscale Image in Photoshop Without Losing Quality
Here are some pro tips to upscale an image in Photoshop without losing quality:
- Use Image Size vs. Resize Image: Go to Image > Image Size to maintain aspect ratio and avoid distortion.
- Bicubic Smoother: Choose Bicubic Smoother as the resampling method for best results.
- Upscale in Steps: Increase resolution in small increments (10-20%) to minimize quality loss.
- Use Preserve Details 2.0: Enable Preserve Details 2.0 in the Image Size dialog box for enhanced sharpness.
- Sharpen After Upscaling: Apply the Smart Sharpen filter (Filter > Sharpen > Smart Sharpen) to compensate for lost sharpness.
- Avoid Over-Resampling: Don't over-upscale; 2-3 times original size is usually the limit.
- Save as PSD or TIFF: Preserve layers and quality by saving as PSD or TIFF instead of JPEG.
Bonus Tip:
Use AI-Powered Upscaling Tools: Explore Photoshop's AI-powered upscaling tools, such as Enhance > Super Resolution, for impressive results.
Conclusion
Upscaling images doesn't have to be complicated or time-consuming. While Photoshop offers three reliable methods – Image Size, Content-Aware Scale, and Super Resolution – each suited for different scenarios, modern AI-powered tools like Repairit provide an even more efficient solution.
Remember that the best method for upscaling your images depends on your specific needs, the type of image you're working with, and the final size you want to achieve. Whether you choose Photoshop's traditional tools or opt for the advanced capabilities of Repairit, you now have the knowledge to make your images bigger without sacrificing quality.
FAQ
-
Q: Can I upscale an image in Photoshop without losing quality?
Yes, you can upscale images in Photoshop while maintaining quality by using the Super Resolution feature or the Preserve Details 2.0 resampling option. However, the amount of quality preservation depends on the original image size and the degree of upscaling needed. -
Q: What's the best method to upscale photos for printing?
For printing, the Super Resolution method in Photoshop typically provides the best results as it uses AI to intelligently add pixels. Alternatively, Repairit AI Photo Enhancer can deliver even better results with its advanced AI algorithms specifically designed for photo enhancement. -
Q: How much can I safely upscale an image in Photoshop?
Using Photoshop's Super Resolution, you can safely upscale images up to 400% of their original size. For traditional methods like Image Size, it's best to stay within 150% to maintain quality. For larger increases, consider using specialized tools like Repairit AI Photo Enhancer.


 ChatGPT
 Perplexity
 Google AI Mode
 Grok
Grok

