

Aren’t there some moments when you feel that pictures just do not seem to fit in your website or documents? Probably, you have ever been in a situation where you needed to change the height and width of a picture so it could fit perfectly into what you want to do.
Knowing how to change picture width and height could, therefore, come in handy, whether in a professional project at work or in the enhancement of personal photos.
Images, in the present digital age, have become very important for communication purposes, marketing, and even self-expression. Not all images come in an ideal size or dimension for our purposes. This is where the ability to change image height and width comes very in handy.
In this article
Part 1: Is It Possible To Change Width And Height Of Image?
Absolutely! Changing the width and height of an image is not only possible but also a common practice in various fields, including web design, graphic design, and digital photography. With the right tools and techniques, you can easily adjust height and width of image to meet your specific requirements.
Whether you need to change picture height and width for a website, social media post, or print material, there are multiple methods available to help you achieve the perfect dimensions.
Part 2: How To Change Width And Height Of Image?
When it comes to resizing images, there are several methods you can employ, ranging from professional software to online tools and even built-in operating system features. In this article, we'll explore three simple yet effective methods to change the height and width of an image.
Let's dive into each of these techniques:
Method 1: Use Adobe Photoshop to change image height and width
Adobe Photoshop is a powerful and versatile tool that offers extensive capabilities for image manipulation, including the ability to change width and height of image with precision.
Here's how you can use the Photoshop’s image width and height changer features:
Step 1: Open your image in Adobe Photoshop by selecting File > Open and choosing the image you want to resize. Once your image is open, go to Image > Image Size in the top menu.
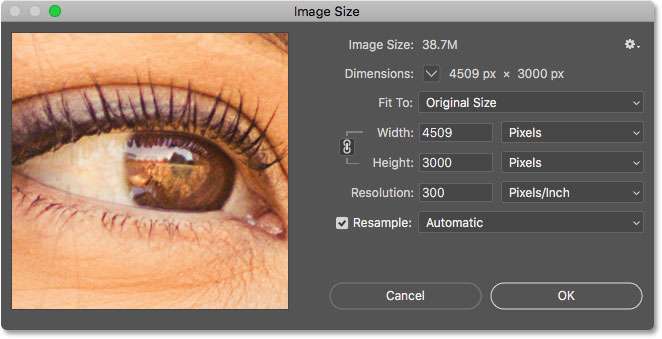
Step 2: In the Image Size dialog box, you'll see the current dimensions of your image. To change picture width and height, you have two options:
- Fill in the Width and Height fields.
- Adjust the percentage in the Scale fields.
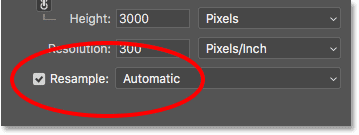
Step 3: Choose the appropriate resampling method from the dropdown menu. For most purposes, “Automatic” or “Bicubic Sharper” work well when reducing image size, while “Bicubic Smoother” is better for enlarging images. Click "OK" to apply the changes and resize width and height of image.
Step 4: Save your resized image by going to File > Save As and choosing your desired format and location.
Using Photoshop to change image height and width gives you precise control over the dimensions and quality of your image. It's particularly useful for professional projects where image quality is paramount.
Method 2: Use Img2Go to Change Width and Height of Image Online
If you don't have access to professional software or prefer a quick online solution, Img2Go is an excellent option to change picture width and height. This user-friendly web-based tool allows you to adjust height and width of image without the need for any downloads or installations.
Here's how to use Img2Go:
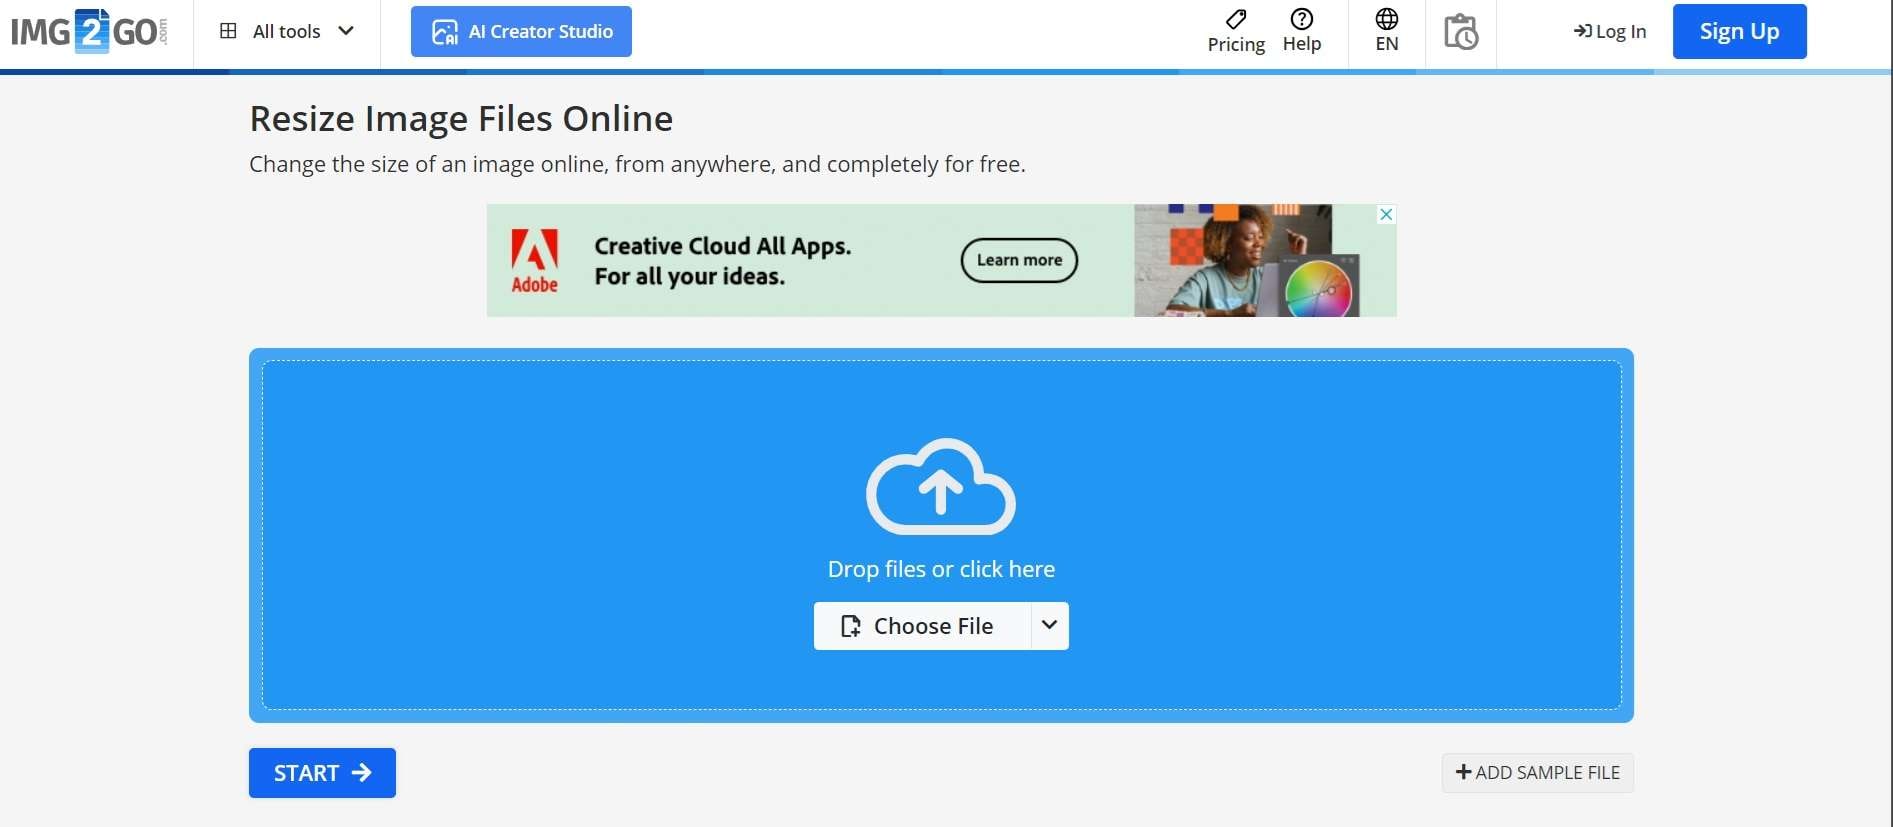
Step 1: Visit the Img2Go website using your web browser. Click on the “Choose File” button to upload the image you want to resize.
Step 2: Once your image is uploaded, you'll see various options to change image height and width:
- Enter custom dimensions in pixels, percentages, or other units.
- Choose from preset sizes like social media profile pictures or cover photos.
- Select a target file size if you need to reduce the image's file size.
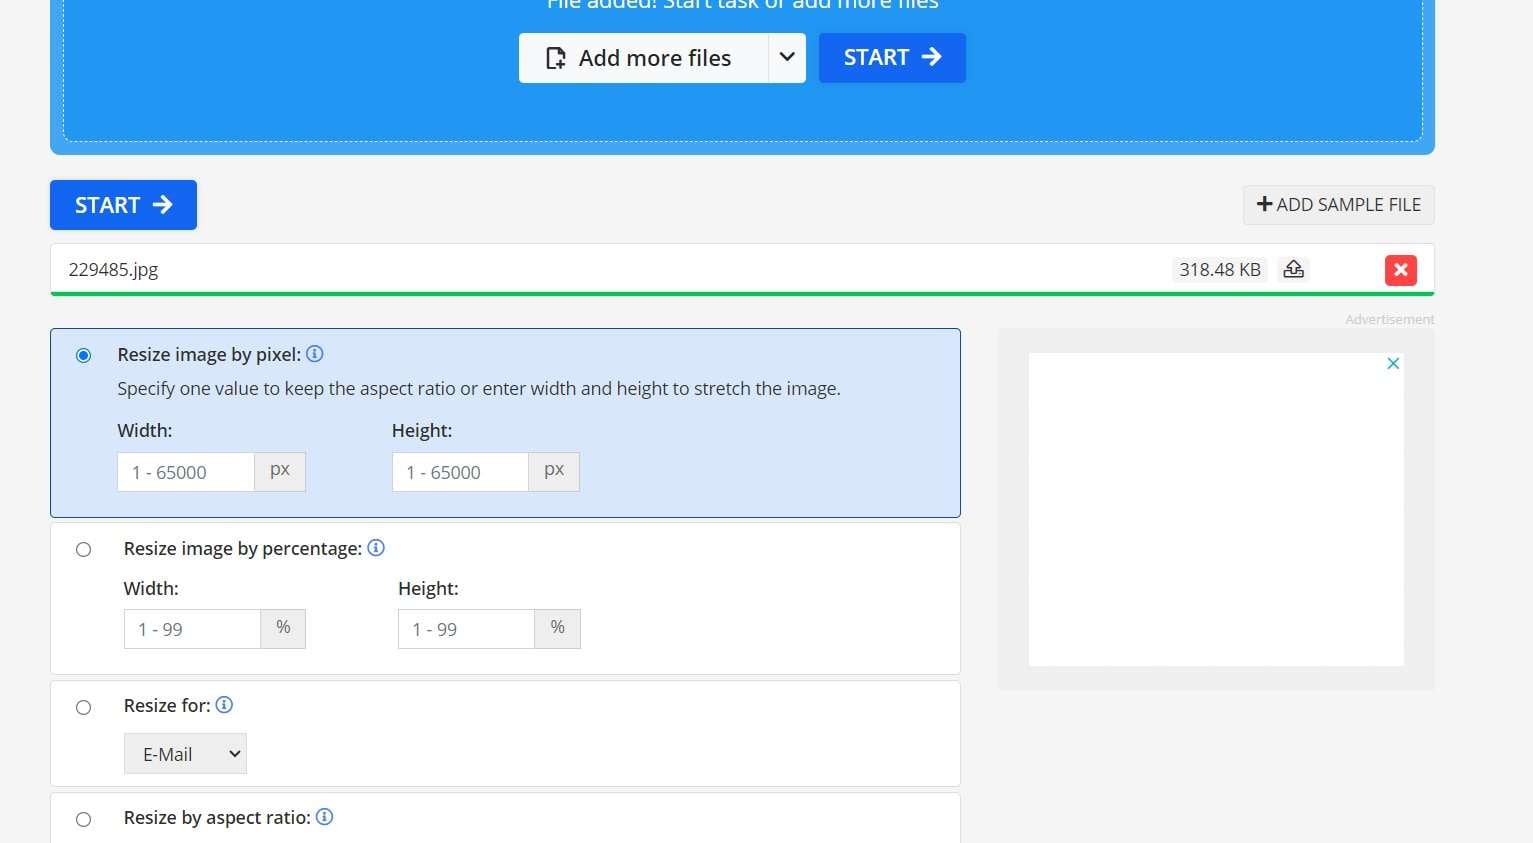
Step 3: Adjust additional settings such as image quality, output format, and whether to maintain the aspect ratio. Click on the “Start” button to begin the resizing process. Once the process is complete, click on the “Download” button to save your resized image.
Img2Go is an excellent choice for those who need to quickly change width and height of image without installing any software. It's particularly useful for casual users or when you're working on a computer without access to your usual tools.
Method 3: Use Counting Characters to Change Picture Height and Width
For those who prefer a simple, no-frills approach to image resizing, the Counting Characters website offers a straightforward tool to change picture width and height.
Here's how to use this method:
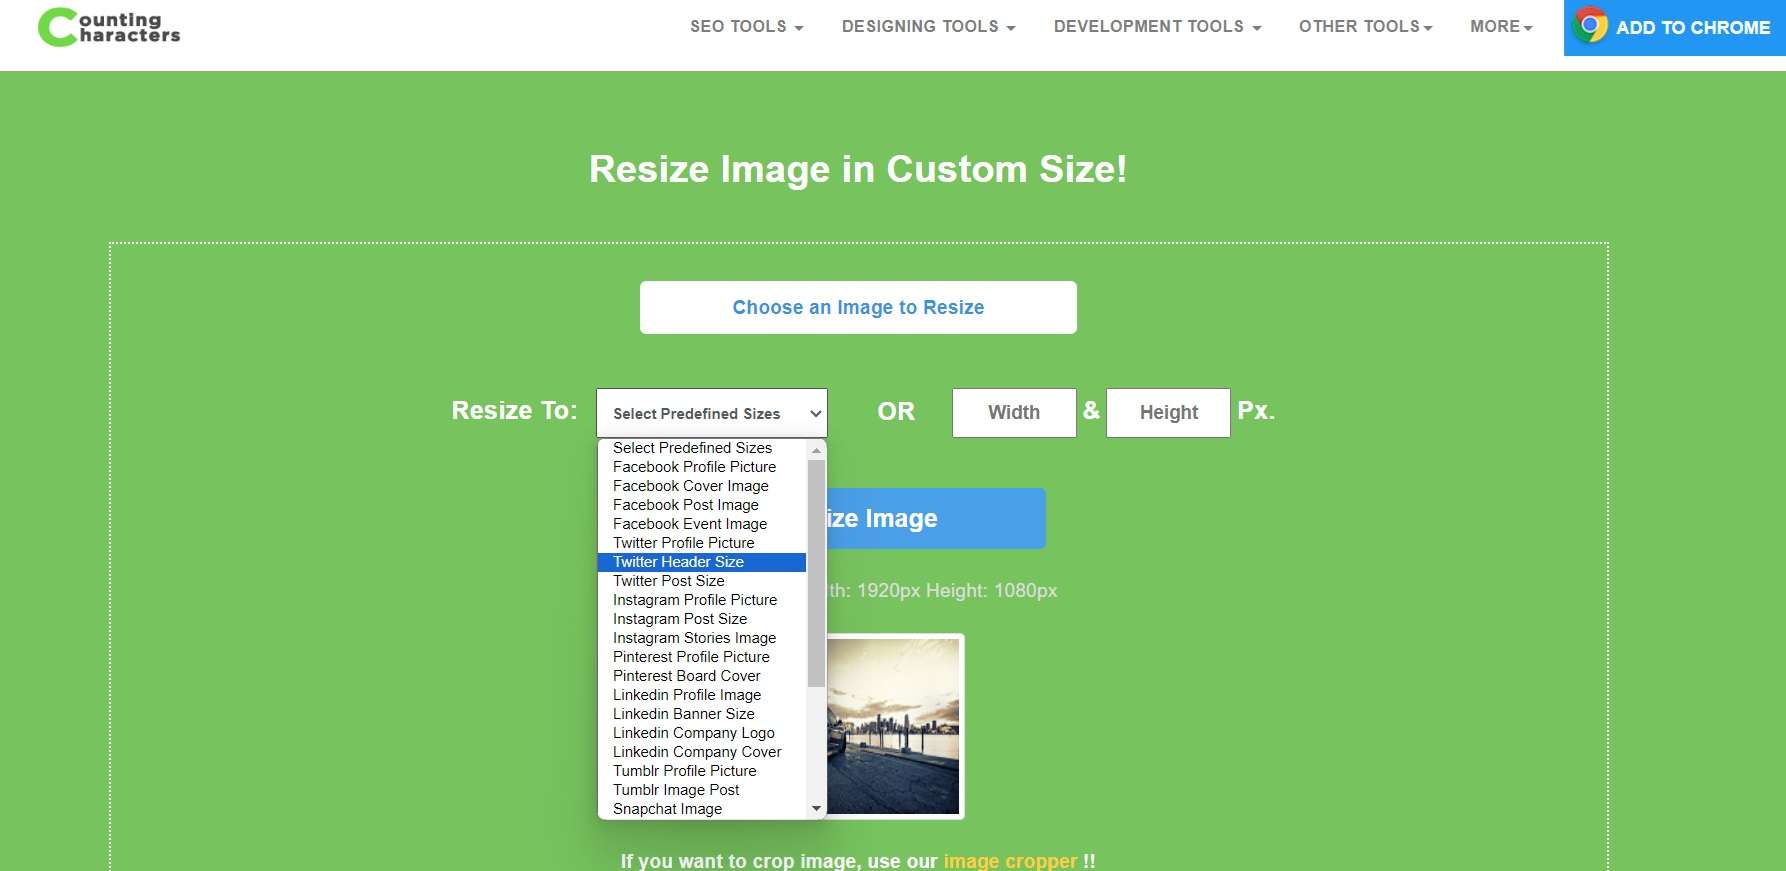
Step 1: Go to the Counting Characters Image Resizer page. Click on the “Choose an Image to Resize” button to select and upload the image you want to resize.
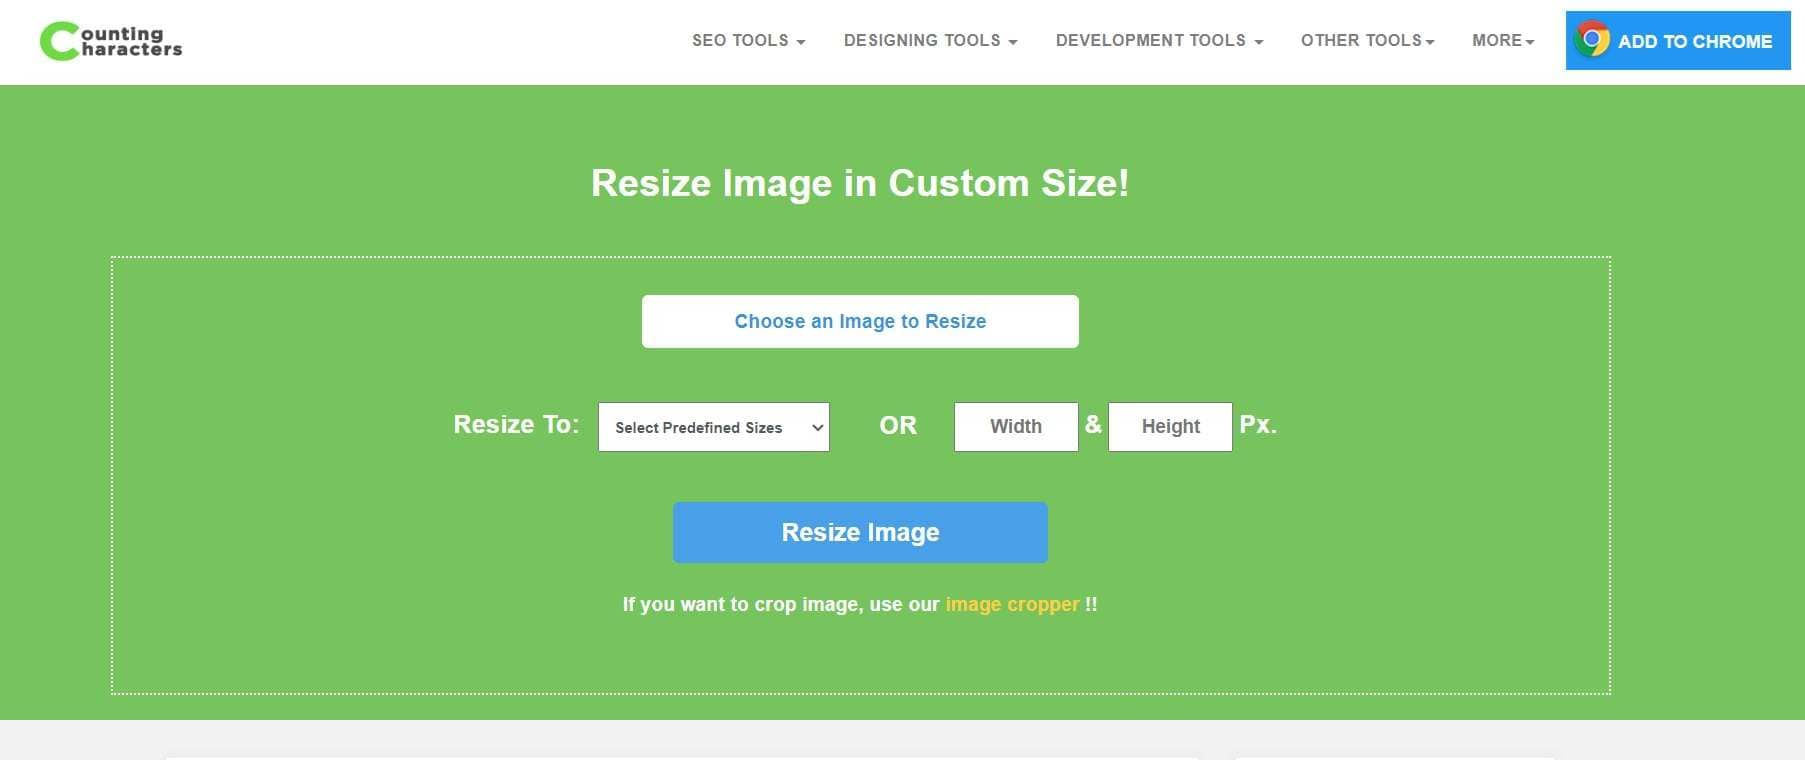
Step 2: Once your image is uploaded, you'll see options to adjust height and width of image. Use the drop-down menu to set your preferences. Click on the “Resize Image” button to process your image
Step 3: Once the resizing is complete, click on the “Download” button to save your resized image.
This method is ideal for those who need a quick and simple way to change image height and width without any complex features or settings.
Part 3: How to Enhance Image Quality: A Step-By-Step Guide
While changing the width and height of an image is crucial, sometimes this process can lead to a loss in image quality, especially when enlarging images. This is where AI-powered tools like Repairit AI Photo Enhancer can be incredibly helpful. Let's explore why you might need such a tool and how to use it effectively.
Why Use Repairit AI Photo Enhancer?
When you change picture width and height, particularly when increasing the dimensions, you may encounter issues such as pixelation, blurriness, or loss of detail. This is where Repairit AI Photo Enhancer comes in handy. It uses advanced artificial intelligence algorithms to:
- Improve resolution when you resize width and height of image
- Restore lost details after changing image height and width
- Reduce noise and artifacts that may appear when you adjust height and width of image
- Sharpen and clarify images that have become blurry due to resizing
Repairit is especially useful in scenarios where:
- You need to enlarge a small image for printing
- You're working with old, low-resolution photos
- You've resized an image multiple times and lost quality
- You want to create high-quality thumbnails from larger images
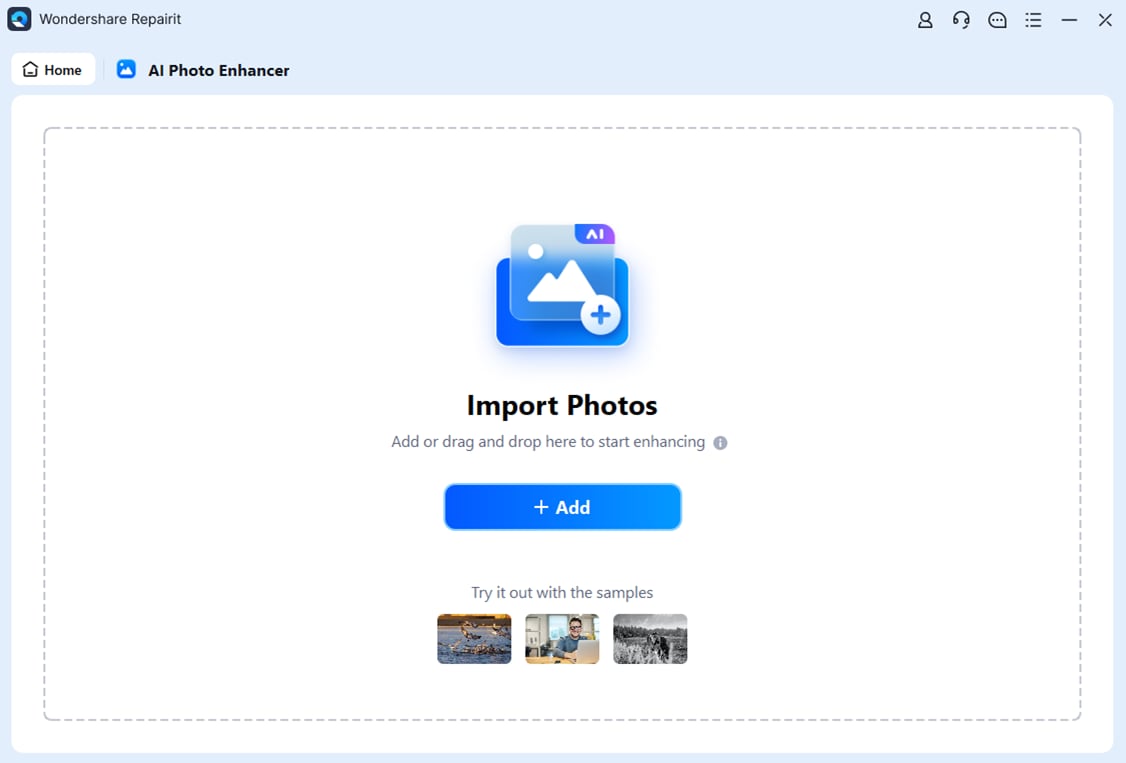
How to Use Repairit AI Photo Enhancer:
Step 1: Upload your resized image by clicking “Add+” or dragging and dropping the file.
Step 2: Choose the enhancement options you need (e.g., General Model, Portrait Enhancer, and Old Photo Restoration). Click “Start Enhancing” and wait for the AI to process your image.
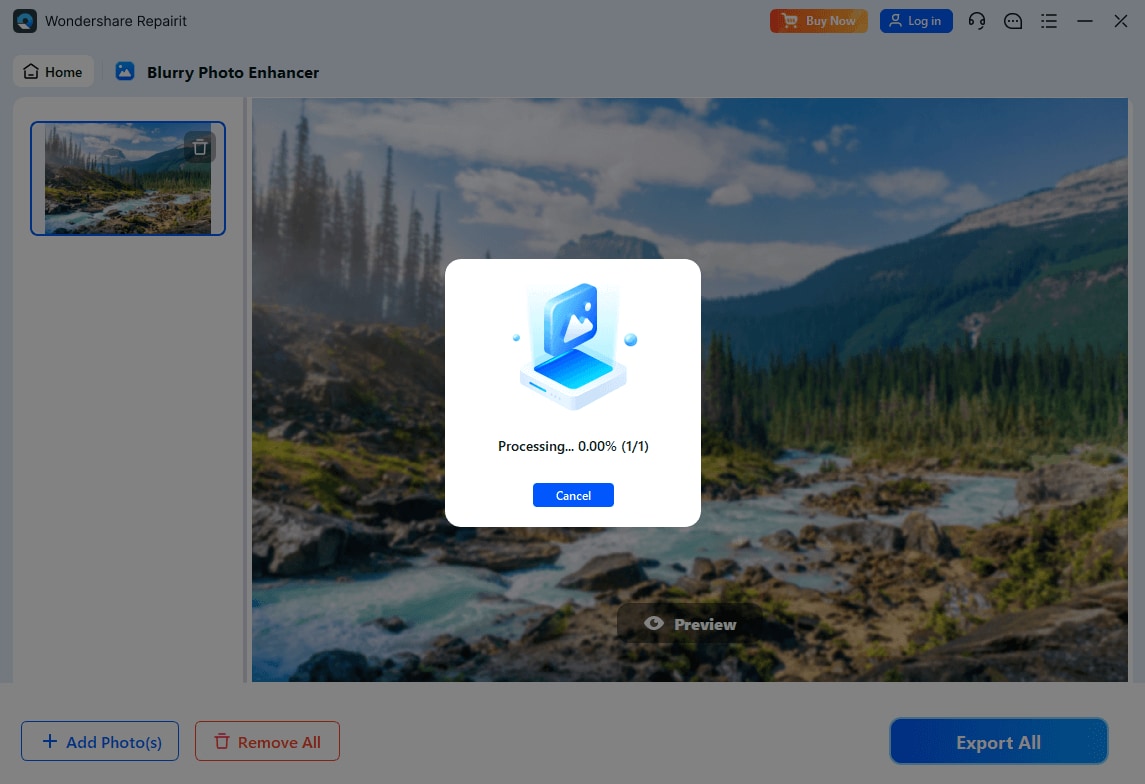
Step 3: Preview the results and make any additional adjustments if needed. Save your enhanced image.

By using Repairit after you change width and height of image, you can ensure that your resized images maintain high quality and visual appeal.
Enhance Your Resized Image Now
 Security Verified. Over 7,302,189 people have downloaded it.
Part 4: Benefits of Resizing Images
Understanding how to change picture height and width is valuable for various reasons. Here are six key benefits of being able to resize images:
- Improved Website Performance: Large images can slow down your website. By resizing images to appropriate dimensions, you can significantly improve page load times, enhancing user experience and potentially boosting your search engine rankings.
- Optimized Storage Space: When you change image height and width to smaller dimensions, you reduce file sizes. This helps conserve storage space on your devices and in the cloud, allowing you to store more images or other files.
- Better Social Media Sharing: Different social media platforms have specific image size requirements. Knowing how to adjust height and width of image ensures your visuals look perfect across all platforms, increasing engagement and shareability.
- Enhanced Email Marketing: Large images in emails can trigger spam filters or cause loading issues. By resizing images appropriately, you can create more effective and deliverable email campaigns.
- Flexibility in Design: The ability to resize width and height of image gives you more flexibility in design projects. You can easily adjust images to fit various layouts, whether for websites, presentations, or graphic designs.
Conclusion
Learning how to adjust the size of images is a crucial skill in the modern digital age. Tools such as Repairit AI Photo Enhancer can be very helpful in making sure your resized images stay sharp and clear. By knowing the advantages of resizing images and using the correct methods, you can make your visual content suitable for different platforms and uses, ultimately enhancing your online presence and communication.
FAQ
-
Can I change picture width and height without losing quality?
Yes, you can maintain quality when you change image height and width by using appropriate resizing methods and tools. For best results, avoid enlarging images beyond their original dimensions and use AI-enhanced tools for upscaling when necessary. -
How do I resize an image without changing its aspect ratio?
To resize width and height of image while maintaining its aspect ratio, ensure that the "Constrain Proportions" or "Keep aspect ratio" option is selected in your chosen resizing tool. This will automatically adjust one dimension when you change the other. -
What's the best format to save images after resizing?
The best format depends on your specific needs. JPEG is great for photographs and complex images with many colors. PNG is ideal for images with transparency or text. WebP offers good compression and quality but may not be supported by all platforms.
