
What is the best website or app on PC to resize photos for Instagram? I would like to preferably be able to do multiple images at once. Free preferred of course but I don't mind spending a little for this sort of thing. - kjm5000
Many people resize photos and see blurry details, jagged edges, or cropped subjects. This usually happens when image pixels, resolution settings, and aspect ratios are changed without proper understanding. Users then notice their sharp photos look soft or stretched on websites, social feeds, and printed materials.
Incorrect attempts to resize pixel dimensions can also waste storage space and bandwidth while still delivering disappointing visual quality. Thankfully, adjusting pixels correctly is straightforward once you know which settings matter. This guide explains practical steps, so every resized image looks clean, detailed, and framed.
Table of Contents
Part 1. From Blurry to Brilliant: The Magic of Pixel Resizing Tools
The right pixel size is important because it controls how clear and professional your picture will appear across the web and in printed media. Correct dimensions prevent images from appearing blurry, which can frustrate visitors. Matching image size to its display container helps maintain sharpness while preserving fast loading speeds.
On social media, using platform‑specific pixel sizes avoids awkward cropping and visible pixelation. Properly sized visuals occupy more screen space and appear cleaner in feeds. For printing, enough pixels at roughly 300 DPI maintain crisp output without jagged edges. This is where users need a reliable photo pixel resizer for perfect pictures.
Common Issues With Wrong Pixel Dimensions
Having discussed the importance of proper pixel size, let’s explore the common issues that arise when dimensions are incorrect.
- Blurry Photos: When an image is enlarged too much, available pixels do not cover the new space properly. The program fills gaps with guessed values, and edges lose sharpness quickly.
- Pixelated Edges: Huge enlargements show individual pixels as square blocks along curves and lines. Text and icons lose smooth outlines, which reduces readability on screens.
- Heavy Compression: Oversized uploads trigger strong compression on many platforms to reduce data usage. The result shows visible artifacts, muted colors, and rough gradient transitions.
- Bad Cropping: Incorrect aspect ratios cause automatic cropping around the main subject on social feeds. Important faces or logos shift away from the center or disappear partly from view.
- Weak Print Quality: Low pixel counts cannot support larger print sizes without visible roughness and grain. Fine lines and small text lose clarity, especially on posters and big prints.
Part 2. Try 5 Picture Resizer Pixel Tools: Quick Adjustments for Any Image
Once you know the common issues with wrong pixels, you might need a solution to fix them. Now, we’ll explore the top 5 tools to resize image pixels for perfect photos.
1. ResizePixel
This is a free online image resizer that changes width and height in pixels easily. ResizePixel preserves aspect ratio to make photos stay correctly proportioned without visible distortion. It also helps reduce file size for messaging and social media sharing. The platform supports popular formats like JPG, PNG, and more for easy editing. Now, follow the steps below to resize pixels with this tool:
Step 1. First, enter the main interface and press the “Upload Image” button to upload the desired photo.
Step 2. Next, select the “Fixed Aspect Ratio” box and enter the desired width or height in pixels. Press the “Resize” button to initiate the process.
Step 3. After the image is resized, click the “Download Image” button to download the resized picture.
2. PI7 Image Tool
This browser-based photo pixel changer focuses on practical resizing needs instead of generic editing. It resizes image width and height in pixels while respecting the aspect ratio. The tool also helps users compress and remove image backgrounds in a single interface. Batch support resizes up to 10 images in a single run. Follow the steps below to resize the pixels in an image with PI7 Image Tool:
Step 1. Once you reach the main interface, press the “Select Images” button to upload the image.
Step 2. Afterwards, enter the desired pixels and specify the target size of the image. Choose the image format and press the “Resize Image” button to start processing.
Step 3. Next, enter the new name of the image and click the “Download” button to download the resized image.
3. Adobe Express
This free Express image resizer by Adobe quickly adjusts photo dimensions for web or print. Users upload JPG or PNG files and pick preset or custom sizes. The tool also lets you crop images and match major social platforms. After resizing, you can keep editing with filters, text, and design elements. Go through the steps below to resize image pixels with Adobe Express:
Step 1. On the main interface, click the “Upload Image” button to upload the image.
Step 2. Next, use the “Aspect Ratio” option to choose dimensions for different social media platforms or a custom width in pixels. Afterwards, press the “Download” button to download the resized image.
4. iLoveIMG
iLoveIMG is an easy-to-use picture resizer pixels tool that lets you set exact width and height in pixels. It can resize many images together, ideal for galleries or bulk uploads. You can load files from your device, Google Drive, or Dropbox via drag-and-drop. iLoveIMG supports importing JPG, PNG, SVG, and GIF image files for resizing. Next, adhere to the steps below to resize the image pixels with iLoveIMG:
Step 1. First, enter the main interface and press the “Select Images” button or drag and drop the image to upload.
Step 2. Next, choose the “Maintain Aspect Ratio” option and enter the targeted pixels. Afterwards, press the “Resize Image” button in the bottom right corner.
Step 3. Lastly, press the “Download Resized Images” to download the final product.
5. Counting Characters Image Resizer
This online photo pixel resizer adjusts JPG and PNG images to exact pixel dimensions. You can choose predefined sizes or set custom height and width for uploads. The tool aims to preserve visible quality by handling pixel changes carefully during resizing. It also emphasizes privacy by deleting uploaded images after processing completes. Now, go through the steps below to change pixel size with this tool:
Step 1. First, press the “Choose an Image to Resize” button to upload the image. Next, choose “Predefined Sizes” or enter custom width and height pixels before clicking the “Resize Image” button.
Step 2. Once the image is resized, press the “Download Resized Image” button to download the final output.
Pro Tip. Rescue Blurry Resized Photos with Repairit Photo Enhance
Sometimes, after using a resize pixel tool, photos can appear blurry and lose important details. This is where Repairit Photo Enhancer comes in to restore sharpness and make every pixel look clean and professional. It works with all images to keep them crisp and professional for web or print. The tool quickly enhances visuals without altering the original photo features or colors.
Moreover, it detects blurred areas and intelligently reconstructs image details without losing original features. It makes images visually appealing, sharp, and ready for any purpose. Resizing images no longer causes frustration due to loss of clarity or pixelation. Repairit also supports batch enhancement, allowing multiple resized images to be restored at once for faster, more efficient workflows.
Key Features

-
Preserves Details: It keeps important parts of the picture clear and reduces the usual detail loss after resizing.
-
Automatic Quality Improvement: This tool uses AI to improve overall image clarity and sharpness during resize.
-
Color Correction: Repairit automatically adjusts colors to make photos look balanced, vibrant, and professional.
Ultimate Guide to Rescue Blurry Resized Photos With Repairit Photo Enhancer
Having explored the key features, follow the steps below to enhance images after using a photo pixel resizer:
Step 1. Navigate to AI Photo Enhancement in Repairit
To start off, open Repairit and navigate to "AI Media Enhancer” to select the appropriate option within the “AI Photo Enhancer” section.

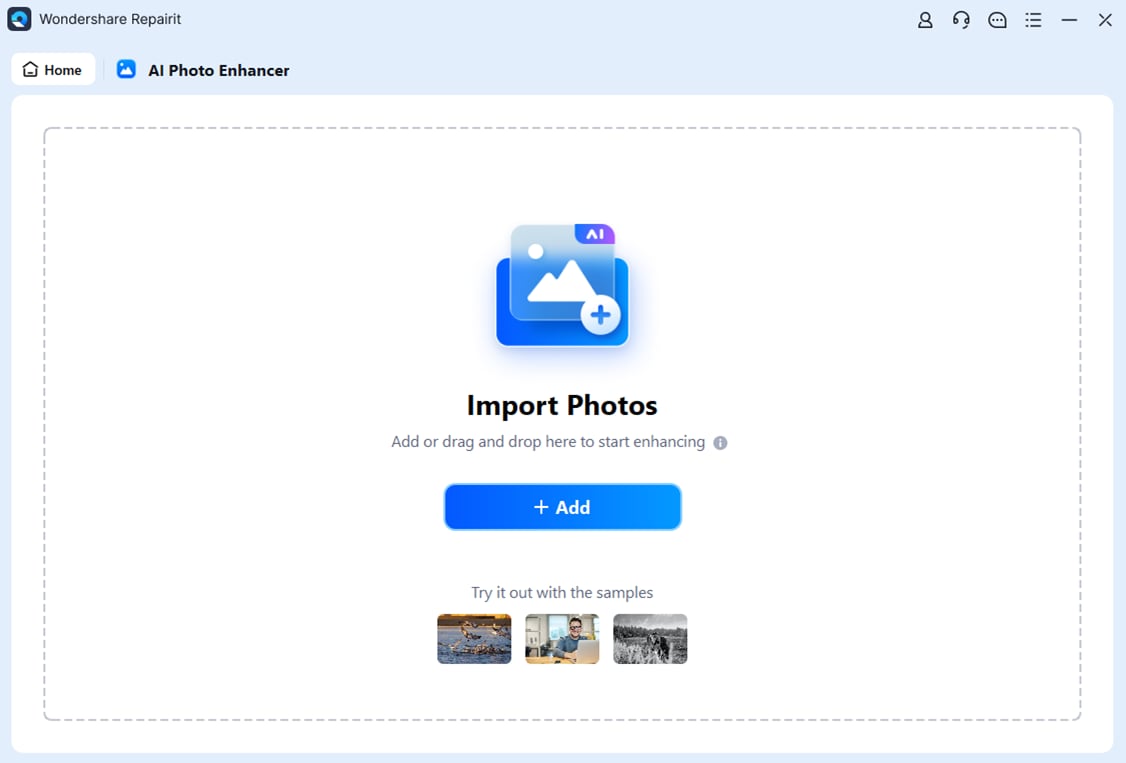
Step 2. Add Image for Photo Enhancement
Navigating further, click the “+Add” button to import the image for photo enhancement.
Step 3. Export Final Image Repairit
On choosing the “Preview" button, the AI tool automatically starts processing. View the enhanced results using the slider and click “Export All” to successfully save the results.

Enhance Your Resized Photo
 Security Verified. Over 7,302,189 people have downloaded it.
Conclusion
In conclusion, getting the right pixel size no longer has to feel confusing or risky. With the tools covered in this guide, you can resize pixel dimensions of photos for web and print while keeping them sharp and correctly framed. If a picture still turns out soft after resizing, Repairit Photo Enhancer offers a simple way to recover fine details and make every image look polished again.
Frequently Asked Questions
-
1. Which file format is better after resizing, JPG or PNG?
For everyday photos, JPG is often the practical pick, balancing quality and size after you resize image pixels. PNG works better for logos, flat graphics, or transparency where sharp edges matter most. -
2. How often can I resize the same image without visible quality loss?
Saving the same JPG repeatedly slowly introduces compression artifacts, even if they are subtle at first. Keeping one clean master file and exporting new, resized versions as needed avoids that gradual decline in quality. -
3. When should I resize pixels instead of cropping an image?
If you already like the framing and just need a smaller or larger file, resizing pixels is usually the gentler choice. Cropping is useful when extra background distracts from the subject, or when a platform requires a specific shape.
