
At present, clarity isn’t just a matter of aesthetic preference, but it's a marker of quality and credibility. No one wants their audience squinting at low-resolution graphics when vibrant images could have a better impact. This is precisely why the ability to fix pixelated images has become a valuable asset for professionals and casual users alike.
To convey professionalism in your work, continue reading the following guide, which comprises the top 6 best options to fix pixelation. You’re even sorted with hidden reasons for why images become pixelated at first, to solve your problem accordingly.
Table of Contents
Part 1. Hidden Reasons Why Images Become Pixelated
When you notice a vivid picture turning blurry or jagged, it usually indicates the result of specific preventable factors. For this, understanding the given underlying reasons is the first step towards fixing pixelated pictures effectively:
Originals with Low Resolution: There are some images that are captured at a low resolution and contain fewer pixels, meaning fewer details overall. When trying to enlarge such photos, the limited pixels are stretched over a larger space, displaying visible squares and jagged edges.
Due to Over-Compression: Image formats like JPEG use compression to shrink file size, and with each round of compression, it removes textures. If a photo is compressed repeatedly or when compression settings are too aggressive, the results are often a blurry-looking photo.
Resizing an Image Without Scaling: Without proper interpolation or resampling, the software is forced to guess what extra pixels should look like. This guesswork might lead to strange halos around objects, ruining the overall image integrity.
Poor Quality Downloads or Transfers: Whenever images are sent via messaging apps or downloaded from a website, they are automatically compressed to save bandwidth and storage. This hidden compression drastically reduces resolution, and when you attempt to edit these images, pixelation becomes obvious.
Utilizing the Wrong File Formats: Some file formats, such as GIF or low-quality JPEG, are not suitable for repeated edits or saving high-detail visuals. When you edit, re-save, or export an image multiple times in the wrong format, the pixelation slowly steps in.
Part 2. How to Fix Pixelated Images Using Online Tools - 6 Best Options
For tasks like how to make a picture less pixelated, head to the section and discover online solutions that don’t require any technical assistance:
Tabular Comparison of All Platforms for an Overview
With so many online options claiming to fix pixelated photos, explore the provided comparison among them to simplify your decision:
| Platforms | Batch Processing | Output Resolution | Online/Desktop Access | Additional Features | Processing Speed |
| Repairit | Unlimited | Highly Enhanced (AI-enhanced) | Online/Desktop/App |
Fix Motion Blur Preview Denoise images AI video enhancer AI photo repair |
Super-fast |
| Pixelcut | Yes (bulk Pro) | High (AI upscaled) | Online |
Background removal Retouch |
Fast |
| Picsart | Yes | High (AI depixelized) | Online/App |
Batch Depixelation AI-powered image clarity |
Instant |
| AI Ease | Yes | High (AI-enhanced) | Online |
Sharpen Video upscaling |
Very fast |
| Pixlr | Yes (bulk with credits) | High, Super Sharp/AI | Online/App |
Effects Adjust colors and contrast |
Fast |
| YouCam Online Editor | Up to 50 images | Up to 4K with Face Enhancement | Online/App |
Face beautify One-tap edit |
Fast (With fewer images) |
After comparing all the major platforms side by side, Repairit consistently stands out due to its advanced AI enhancement capabilities. Even though every tool on the list offers some level of image restoration, Repairit combines batch processing, faster processing, and improved results altogether.
1. Repairit AI Photo & Portrait Enhancement Online
A platform like Repairit Online offers a sophisticated, AI-driven solution to improve your pixelated or low-quality images online. It optimizes color balance, sharpens details, and uncovers hidden elements to enhance the quality of each image. Besides pixelation, you’re allowed to upload your lens blur images to restore clarity without compromising on quality. It's an online solution to remove any unwanted noise and grains in your photos for better visualization.
Key Features
- Batch Enhancing Feature: It enables users to upload multiple pixelated images at a time, for an on-the-go fix and enhancement process.
- Review Images Before Downloading: You are allowed to preview your sharpened pictures, that are undergone enhancement to remove pixelation.
- Improves Motion Blur Images: For every dynamic moment, you can refer to Repairit and get blur patterns and lost details fixed instantly.
Complete Step-by-Step Guide to Enhance Pixelated Image via Repairit
Pixelation doesn’t have to be permanent; simply follow the tutorial for a solution and fix pixelated photos within minutes:
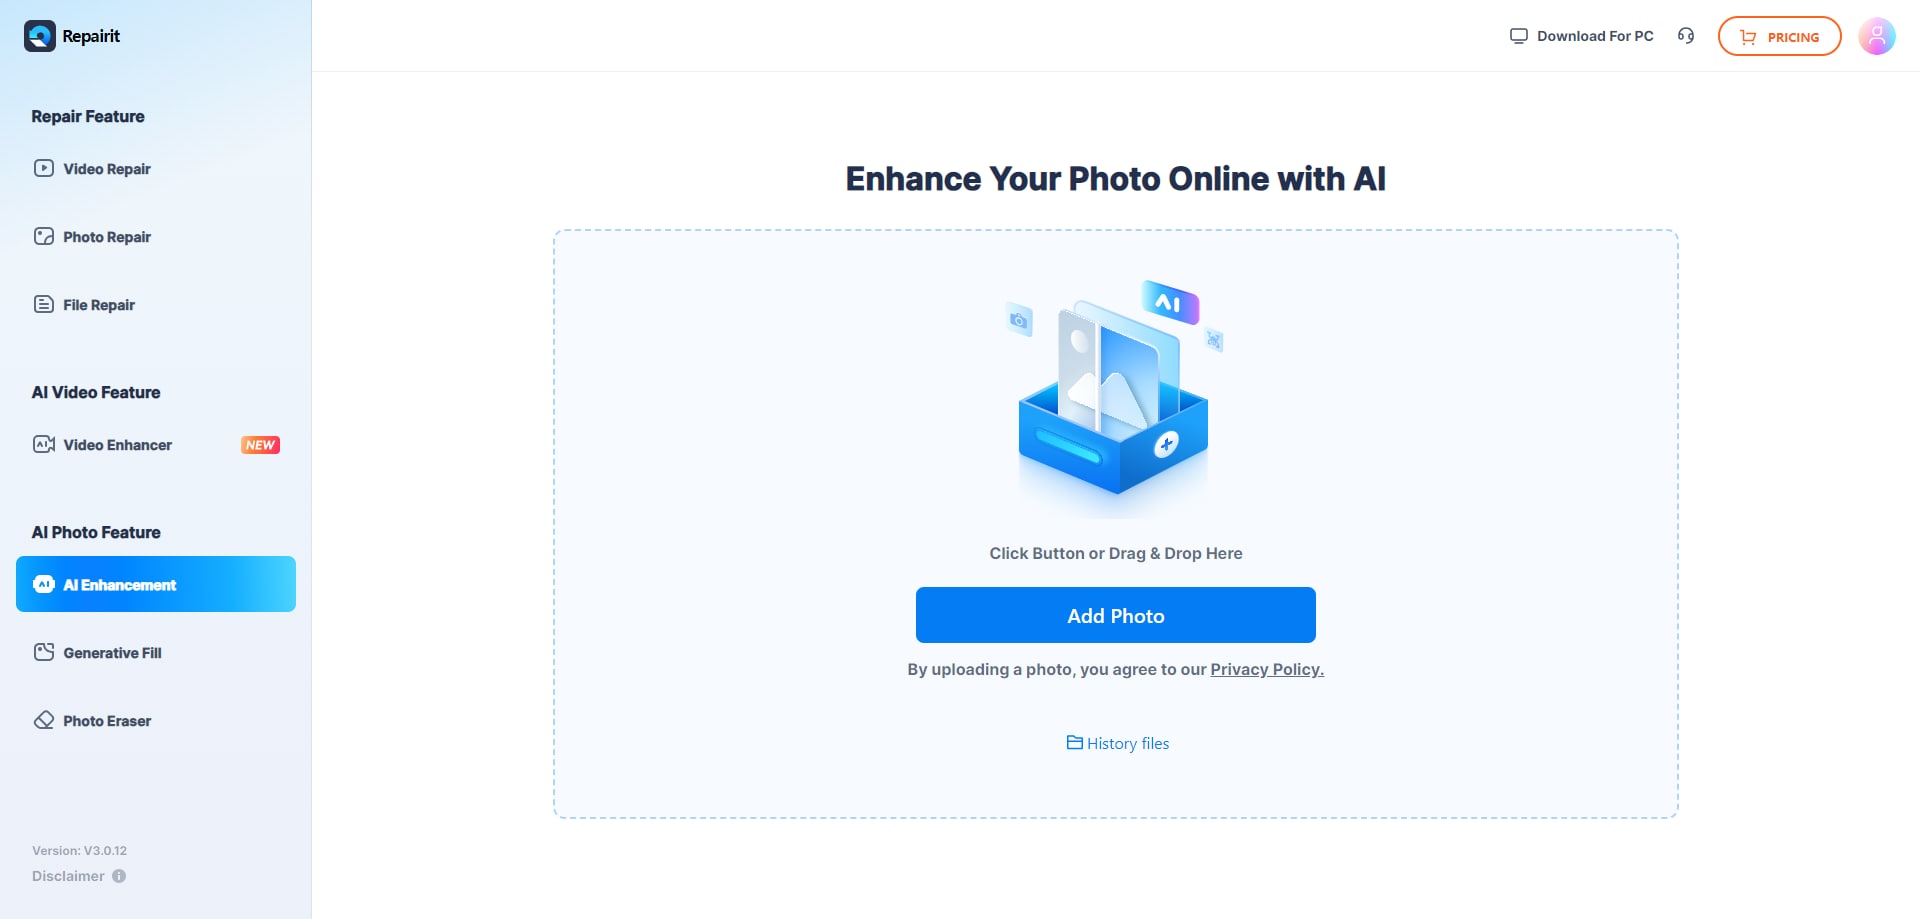
Step 1. Access the AI Enhancement and Add Pixelated Photos
First, press the “AI Enhancement” tab and click the “Add Photo” button to insert all the pixelated photos at once.
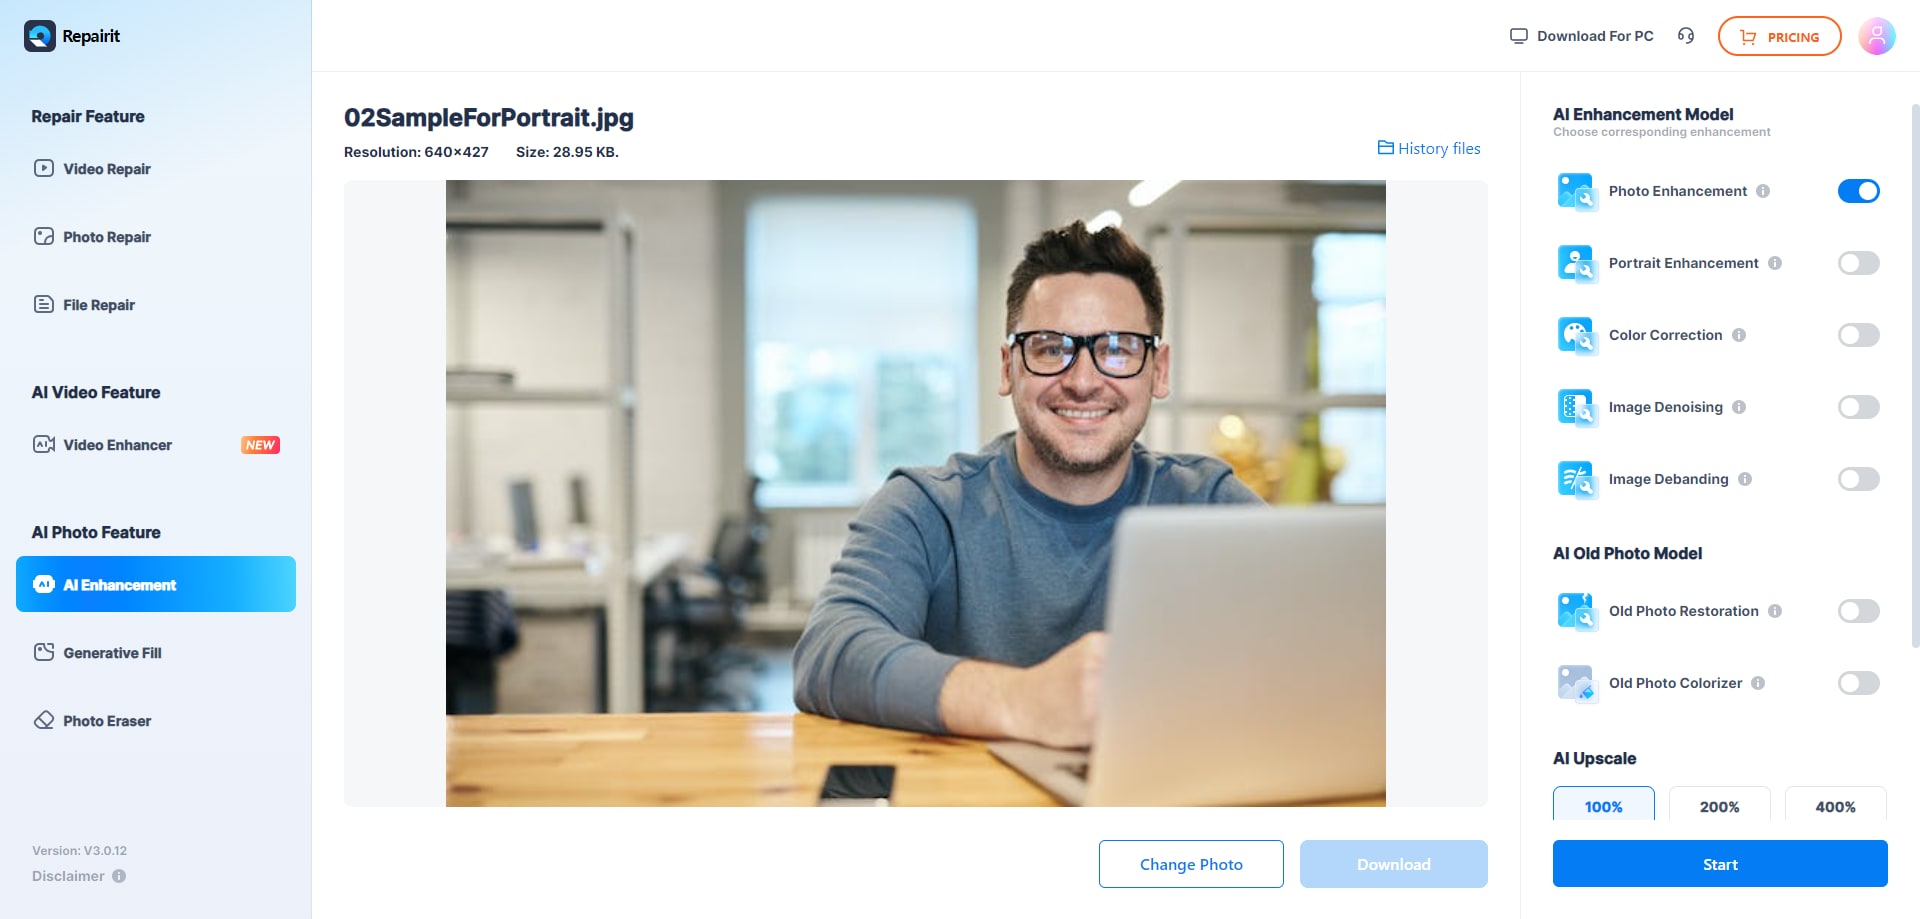
Step 2. Specify AI Model and Initiate the Enhancement Process
Next, choose the “AI Enhancement Model” for “Photo Enhancement” and then press the “Start” button to begin.
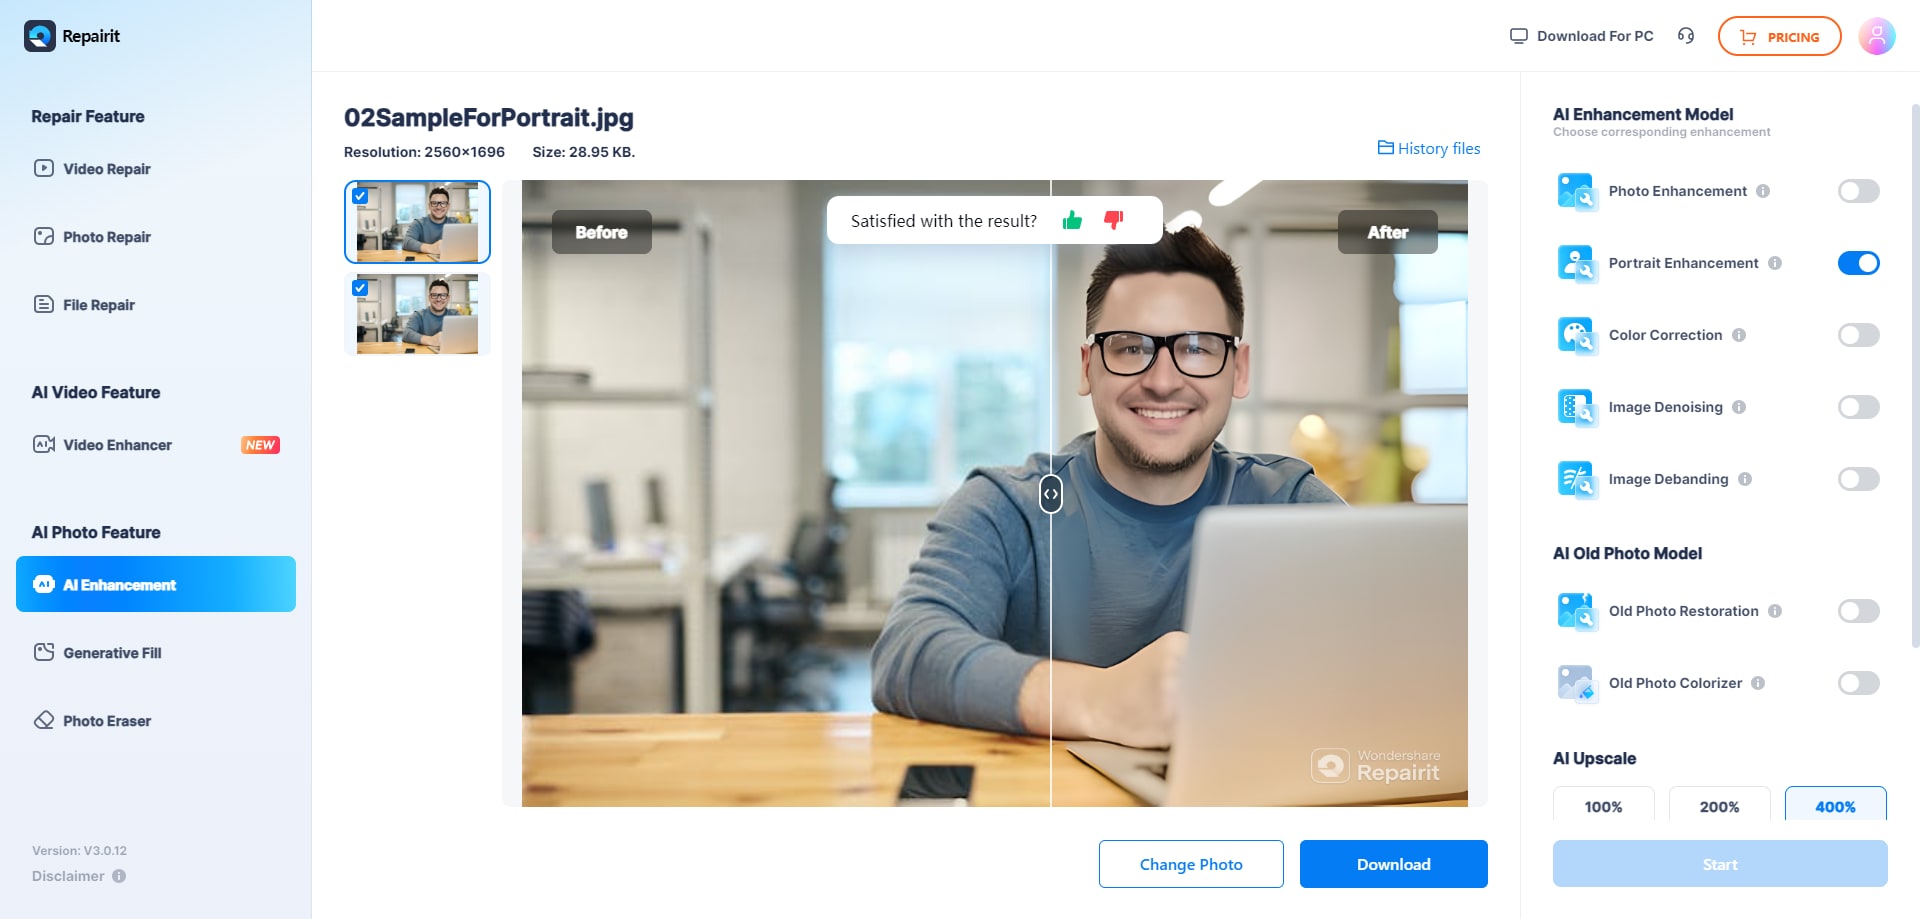
Step 3. Preview and Download the Enhanced Portrait
Once done enhancing, you’ll receive a Processed Successful message to preview and download your image afterward.
Fix Pixelated Images Without Limitation
 Security Verified. Over 7,302,189 people have downloaded it.
2. Pixelcut
To fix a pixelated image online for free, this platform offers 3 Upscale models, including Fast Upscale, Creative Upscale, and Topaz Labs Image Upscale. Besides this, you’re facilitated with 2 upscaling options, 2x and 4x, that can be used as per need. Once you’re satisfied with removing pixelation, the platform allows you to compare before and after results for analysis. To add professionalism, follow this tutorial and get your images unpixelated:
Step 1. After entering the Pixelcut workspace, press the "Upload Image" button to browse a pixelated photo from your local device.
Step 2. Expand the menu for Upscale, choose the “Fast Upscale” option, and “2x” from the quality options. Click the “Upscale” button to unpixelate the image, and press the “Download” button once the process is complete.
3. Picsart
Picsart offers users a simple click solution to fix pixelated photos through straightforward uploading. It allows users to drop, paste, or enter the URL of their images and instantly reveals a clear picture. Users can compare their results to see what difference the tool has made in their pixelated portraits. More importantly, you can download your improved image without any further steps. Follow these instructions for Picsart and eliminate pixelation from images:
Instructions. To initiate, click the “Browse Files” button to upload your pixelated image and press the “Download” button after comparing the results.
4. AI Ease
Those who need to fix pixelated images in bulk can utilize AI Ease's Photo Enhancement feature. For better results over facial details, you’re provided with the Face Enhancement option. Besides photo enhancement, users can even remove pixelation or blurriness from their videos while online. Plus, you can compare the results of the enhancement before deciding to download it. Dive into the tutorial and unpixelate images for clarity through AI Ease:
Step 1. Upon entering AI Ease, press the “Unpixelate Image with AI” button and later the “Upload" button to add an image. Now, toggle the Enable Face Enhancement option and hit the “Enhance” button to initiate enhancement.
Step 2. As soon as the process completes, press the “Download” button to keep the changes secure.
5. Pixlr
It's another platform that assists users in fixing pixelated pictures with a Super Sharp function. This AI-driven platform analyzes your pixelated image and unblurs it automatically, making it super sharp. Through its Adjust feature, you can further modify details like Clarity, Grain, and Blurriness through a slider accordingly. For a better understanding, follow the provided tutorial and unpixelate the image through Pixlr:
Step 1. On Pixlr, press the “Open AI Super Sharp” button and then click the “Open Image” button to add a pixelated photo.
Step 2. Click the “Super Sharp” button to enhance the image, and later the “Apply” button to save the changes. Once done, press the “Save” button and download your upscaled photo in the format of your choice.
6. YouCam Online Editor
One more versatile editor to fix pixelated images, providing the option to add up to 50 images at a time. Additionally, you’re further facilitated with a Best Quality toggle that automatically delivers improved image quality. Plus, the Beauty Presets offer options such as Natural, Portrait, and Charming to further enhance facial features. Adhere to the instructions and get your picture enhanced with YouCam Online Editor:
Instructions. For un-pixelation, press the “Upload Photos (Max 50)” button to add a pixelated image to the tool. Next, compare your outcomes, then click “Apply” to save changes and download later.
Conclusion
In conclusion, pixelation no longer has to undermine the professionalism of your visuals because the right tools can reverse the damage online. Taking considerable steps to fix pixelated images through the discussed platforms serves as an investment in the quality of your work. Among all the solutions available, Repairit is marked as a notable choice due to its Photo Enhancement models and batch processing capabilities.
FAQs
-
Q1. Will fixing a pixelated image reduce its file size?
Generally, no, because image enhancement has the potential to increase the file size of an image, as the tool creates new pixels to enhance quality. The increased file size is attributed to the fact that more information is stored in the form of data, higher resolution, and color information. -
Q2. How do I prevent pixelation in future images?
The first step is to start with high-resolution photographs, ensuring that your images contain sufficient pixel data to edit or resize without noticeable loss. Remember not to compress or save the same file repeatedly, as the more times you save the file, the more detail is lost, and artifacts appear. -
Q3. Can pixelated text in an image be restored, too?
Even though text is not as easily constructible as photos, AI-based tools can remove edges and enhance reading capabilities. For best results, it is always advisable to save graphics in text form as vectors or high-resolution raster images to avoid pixelation initially. Even if some pixelation appears, use Repairit Online and fix pixelated photos under any condition.
