In this article
If finding a high-resolution photo takes you longer than finishing a project, then here’s some good news for you. You can save yourself a lot of time and trouble by using a 4K image upscaler. These tools take your image and make it up to 8x larger with no quality loss.
Here’s everything you need to know about upscaling an image to 4K.
What Does It Mean to Upscale an Image to 4K?
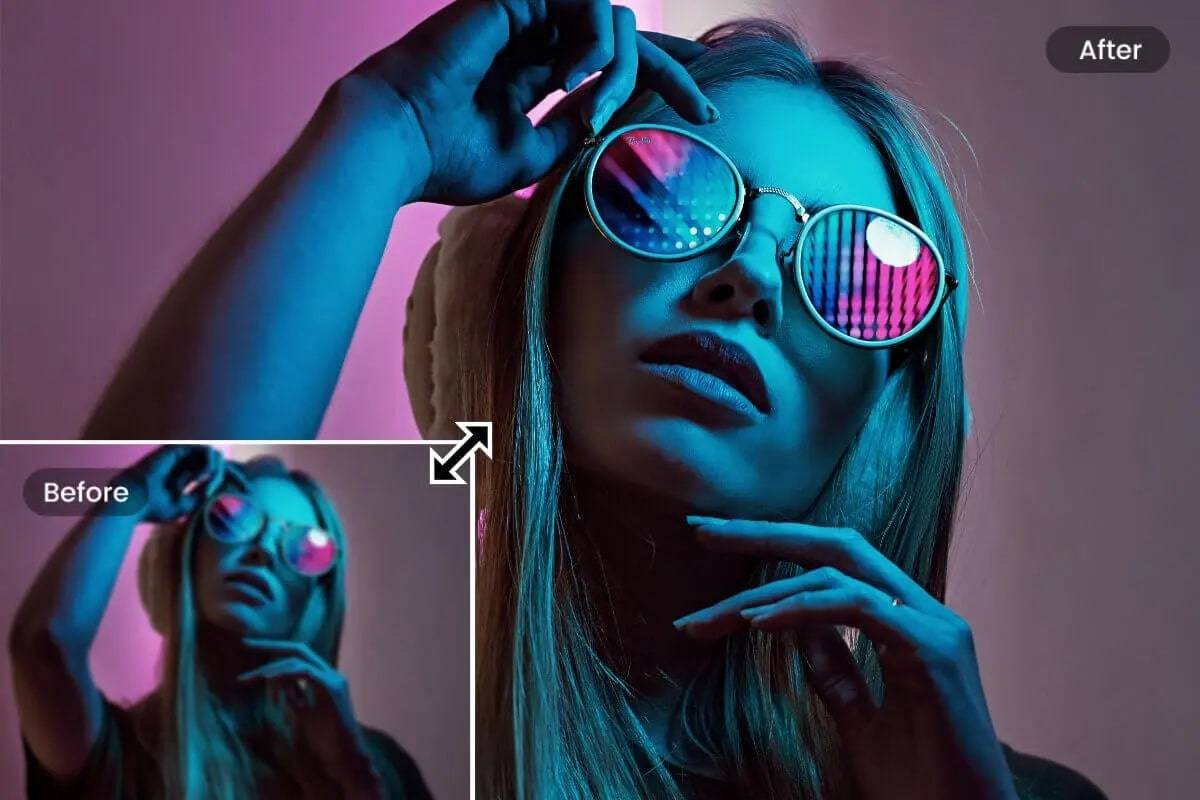
You can scale down an image using any basic photo editor. This simple trick should work for enlarging images, too, right? If you’ve ever needed a massive photo for printing, an online presentation, or a website, you’ve probably tried to scale up a low-res photo and failed.
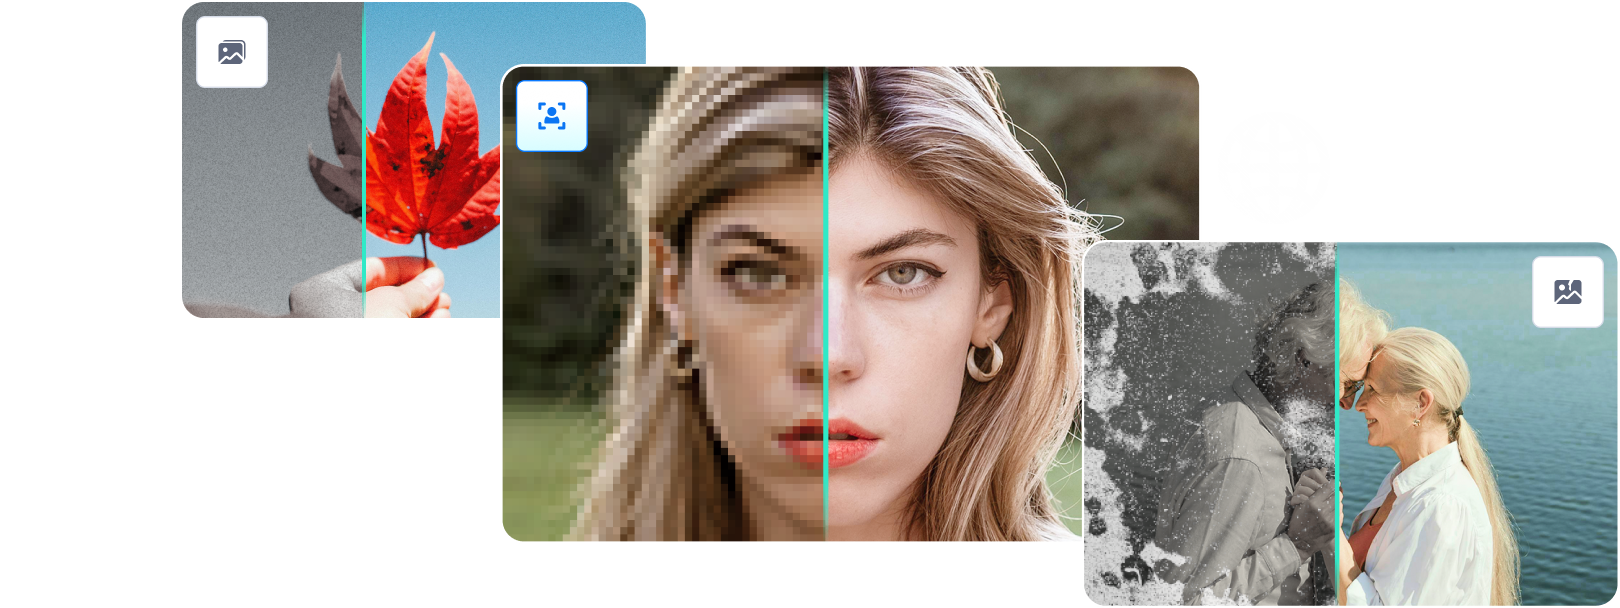
The photo ends up blurry because the number of pixels is too small.
To enlarge a small photo and not lose its quality, you must add extra pixels to make it sharp and detailed. The process of adding additional pixels is called image upscaling, and it’s best handled by AI tools. These tools can enlarge an image and enhance its quality.
Which Factors Affect Photo Quality?
There are many image-enlarging tools available on the market, some more powerful than others. They use a couple of different AI-based algorithms for this. Bilinear interpolation, nearest-neighbor interpolation, and edge-directed interpolations are the most effective.
To choose the best AI image enlarger for your needs, you need to understand what affects photo quality first. We’ve prepared a brief overview of the main factors:
1. Compression Format
The default format for unedited photographs is called RAW. Typically, this is also the highest-quality version of a photograph. Since RAW requires a lot of space, photographs usually convert into JPG, PNG, and other smaller formats – which inevitably means quality loss.
2. Dot Pitch
To put it in simple terms, the lesser the doth pitch, the sharper the image.
3. Image Resolution
The quality of a digital image depends on image resolution, which is the number of pixels (PPI) or dots (DPI) displayed per inch of an image. Higher resolution ensures top quality.
Why You Should Upscale an Image to 4K?
Now you want to know – do you really need to go to all that trouble just for a couple of blurry pixels? Well, it depends. If you want to attract people’s attention and leave a lasting impression – which is why people use quality visuals in the first place – it’s a resounding yes.
Here’s how image enlargement affects the success of your project:
Reason 1: Improved Contrast and Color
While image enlargement doesn’t automatically enhance contrast and color, editing a photo is much easier at a larger scale, and the results are both detailed and vibrant.
Reason 2: Highlighting Details
What do you think looks more professional – a small-scale pixelated image or a high-res photo where details are crisp and clear? That’s right – the latter is more impressive.
Reason 3: Preparing Images for Printing
Print requires maximum quality because of the way people interact with physical images. Different types of lighting and angles can reveal imperfections and spoil the experience.
How To Upscale an Image to 4K Using Photoshop Lightroom?
If you’ve ever used Photoshop, you should be familiar with Lightroom. Adobe’s second most popular software for photo editing is perfect for professionals and enthusiasts alike. It simplifies the process, making it more intuitive and straightforward with less advanced features.
Lightroom is also useful for upscaling to 4K and enhancing image quality.
Thanks to its Super Resolution feature, Adobe users can quadruple the size of their photos following a small number of simple steps. Of course, you’d need to buy it first.
Here’s how to upscale an image to 4K using Adobe Photoshop Lightroom:
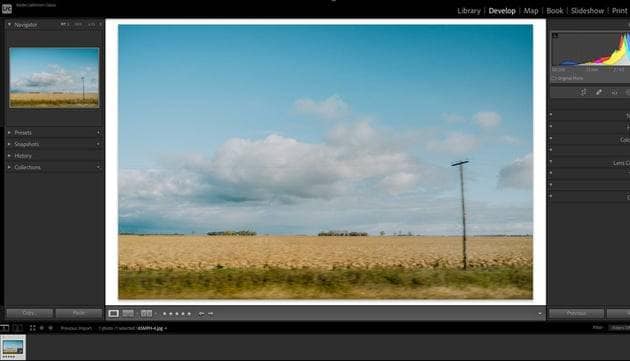
Step 1. Open the image you want to enlarge. Lightroom accepts various formats, including RAW, TIFF, and JPEG.
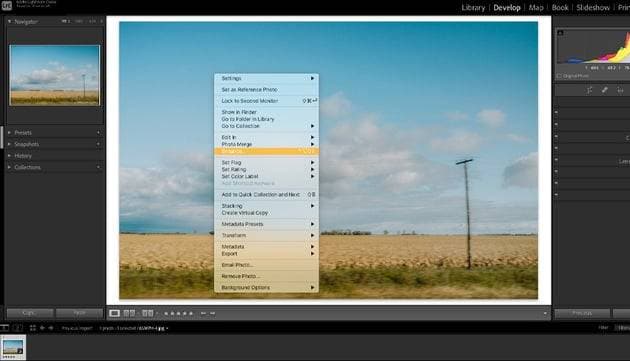
Step 2. Right-click for more options and select Enhance from the menu.
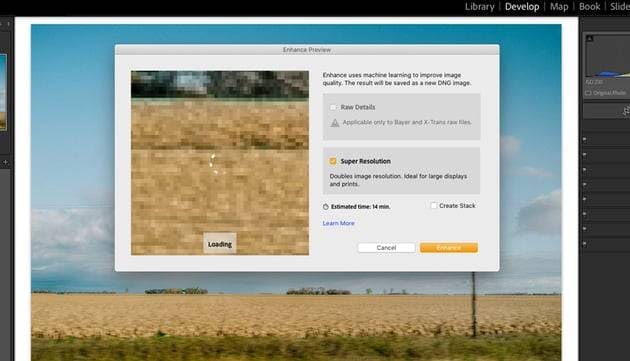
Step 3. After opening the Enhance box, select Super Resolution. Lightroom will allow you to preview the result before you eventually click Enhance to upscale the image.
How To Upscale an Image to 4K Using Pixelcut
A few years ago, Pixelcut made a name for itself by coming up with an easy solution for removing unwanted backgrounds from photos. Today, it is one of the best photo editors and graphic designer tools on the market, ideal for creating gorgeous social media photos.
Despite being primarily oriented towards social media, Pixelcut is still powerful enough to help you prep photos for use cases that require large scale and high resolution.
Pixelcut’s Image Upscaler relies on AI to smooth out any imperfections. It can enlarge photos up to 4 times, which is more than enough for achieving 4K quality. The only problem is – 4X enlargement is a premium feature, and you’ll have to pay for Pixelcut Pro to use it.
For what it’s worth, enlarging to 4K with Pixelcut couldn’t be easier:
Step 1. Upload the image you want to upscale to 4K. The file should be in JPG, PNG, or HEIC format.
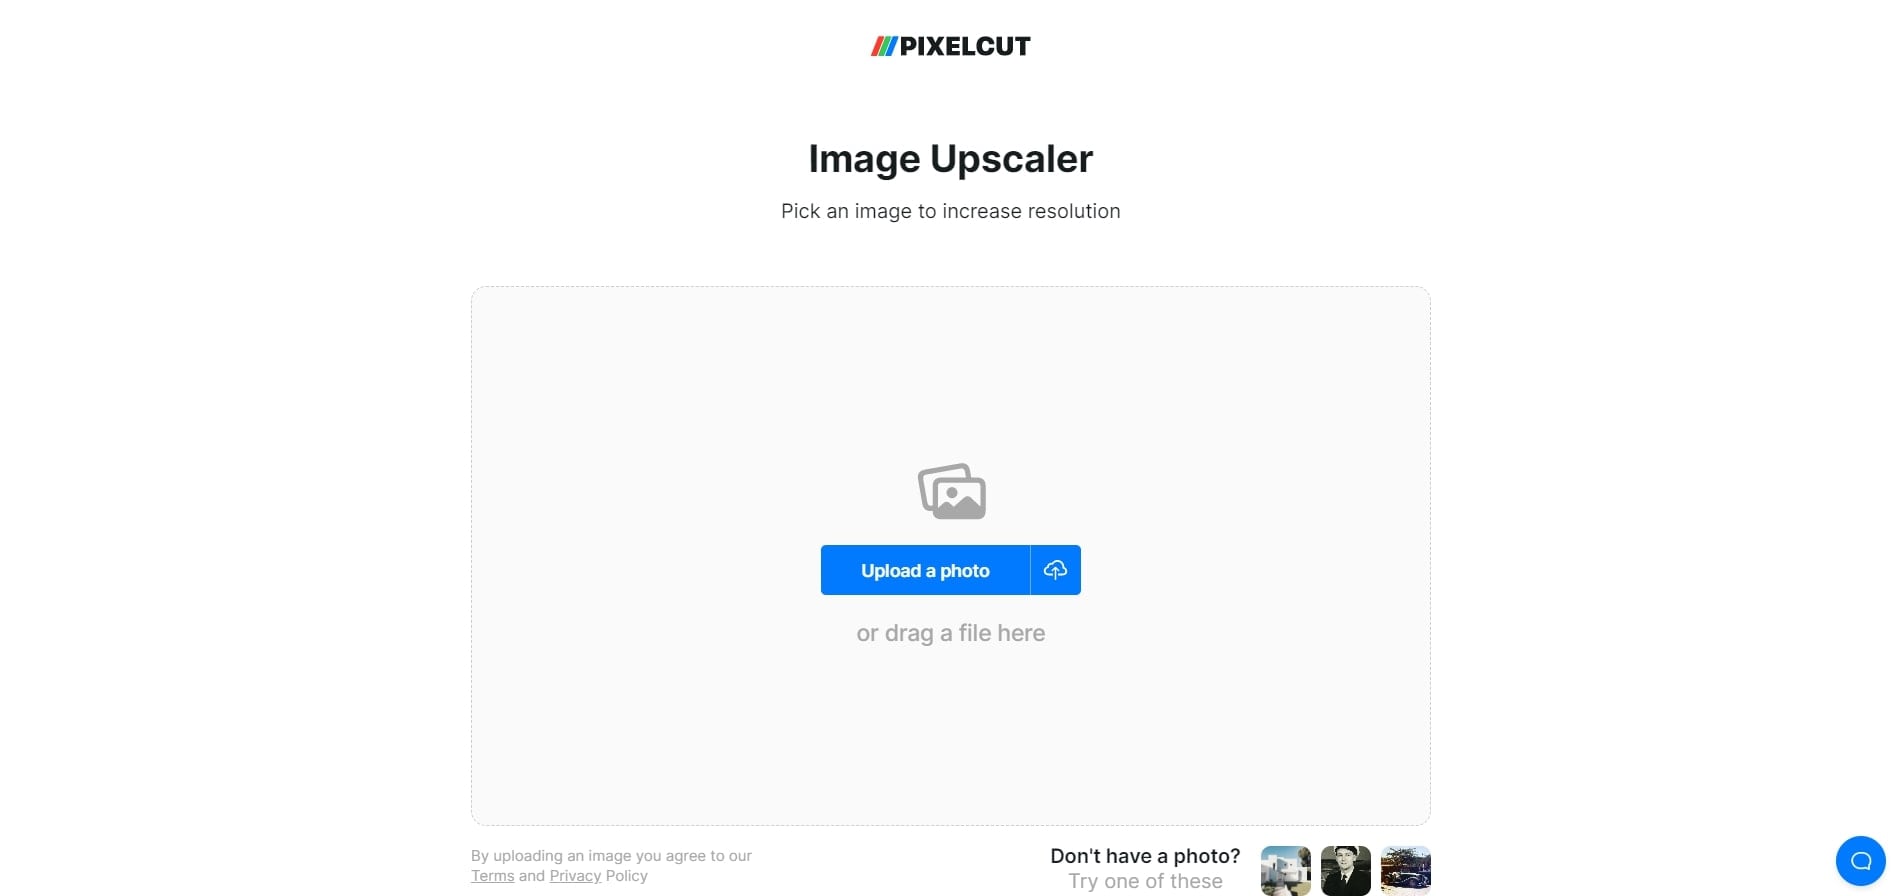
Step 2. Select how many times you want Pixelcut to enlarge your image.
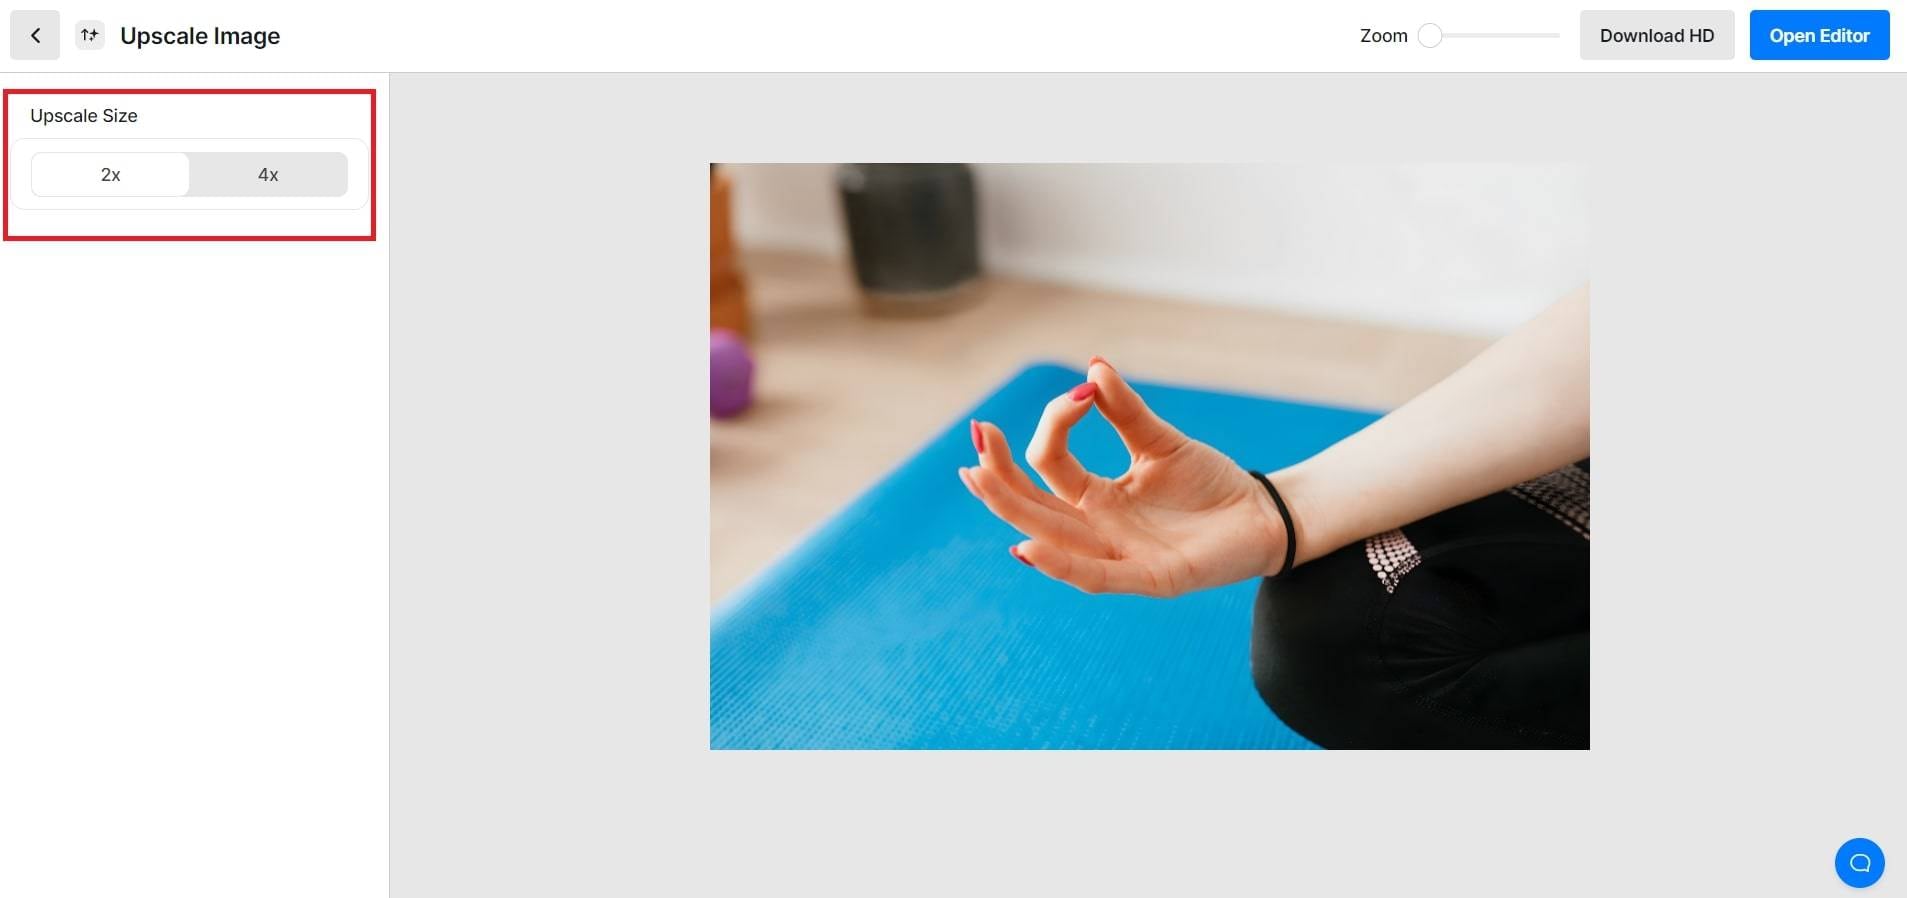
Step 3. Wait for the AI to finish upscaling the photo and then download it to your PC.
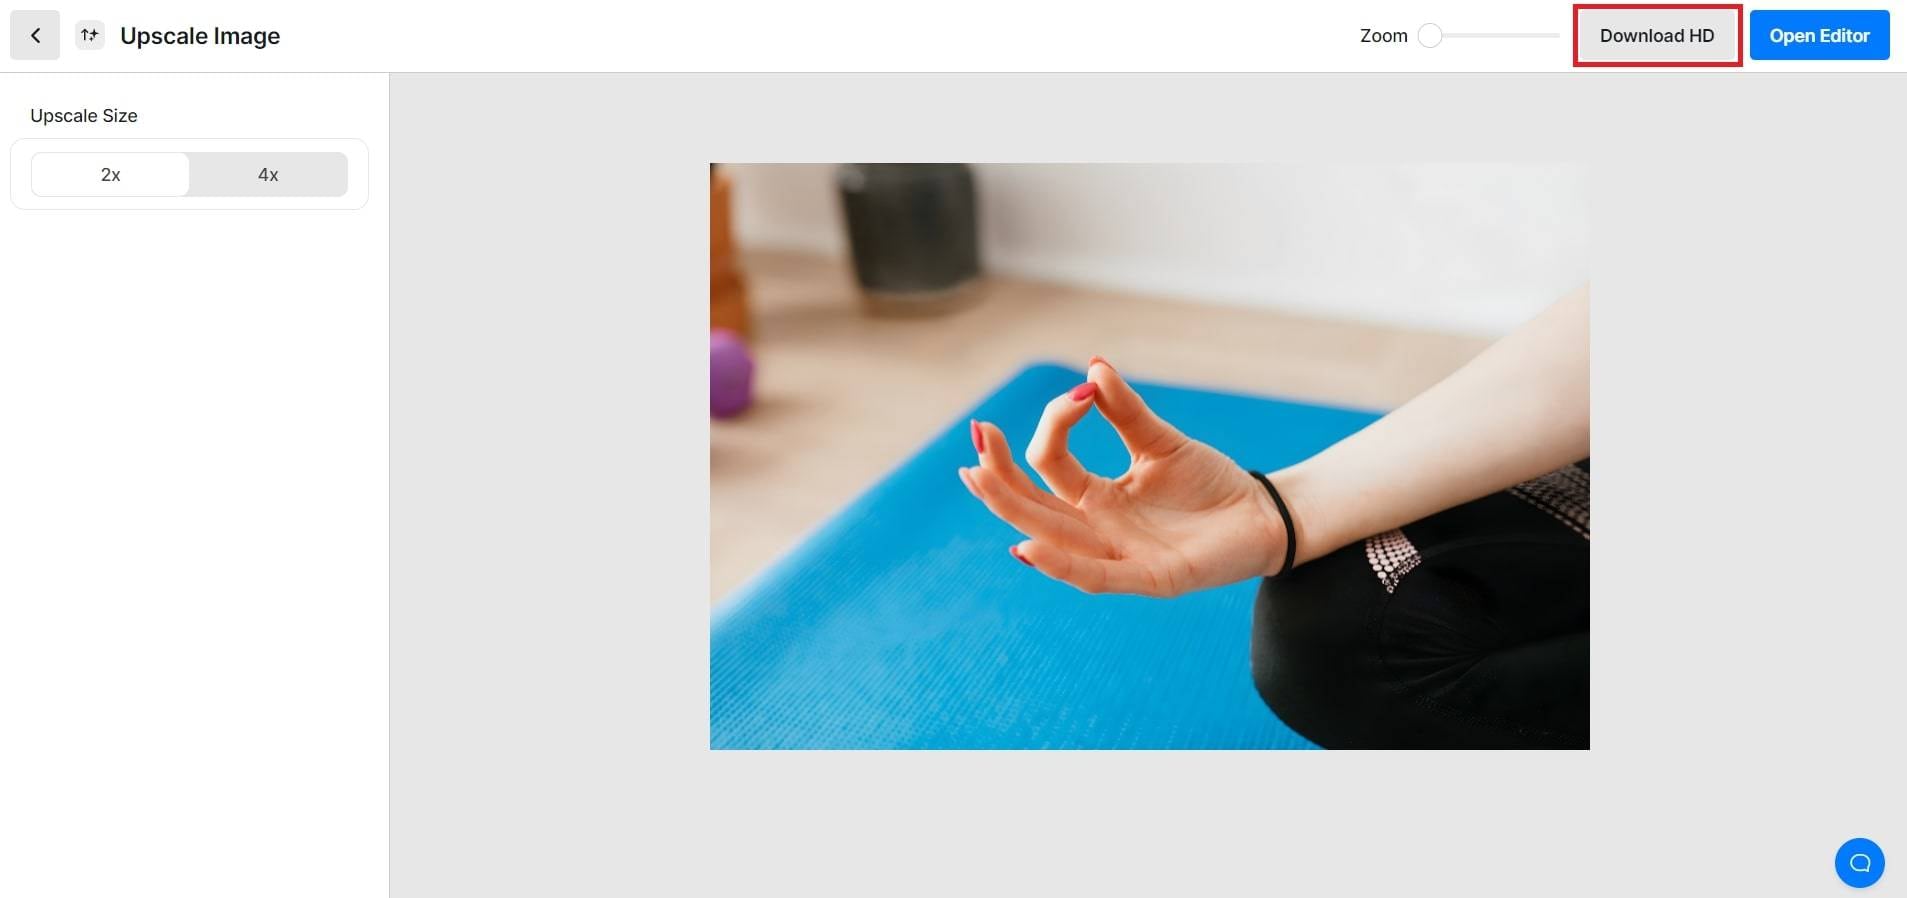
How To Upscale an Image to 4K With VanceAI
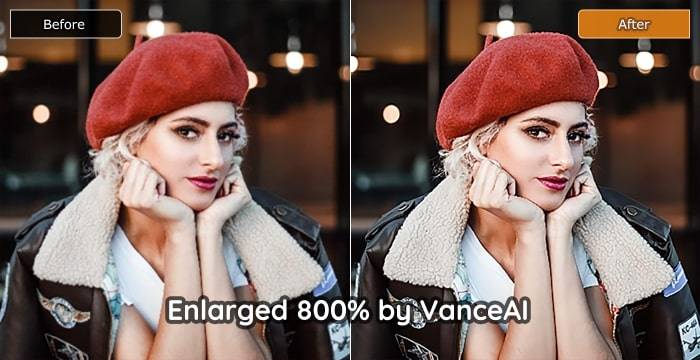
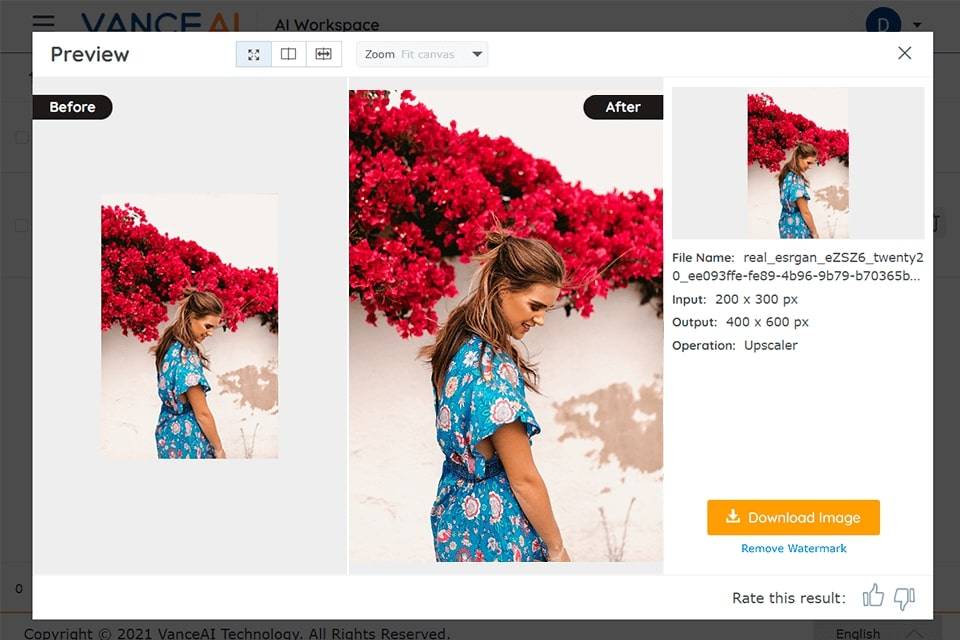
VanceAI is an excellent image upscaler that can make your images up to 8 times larger without losing quality. It’s a professional tool used by professional photographers, especially in the highly visual fields of outdoor marketing, eCommerce, car dealerships, and more.
Surprisingly still, VanceAI is also versatile and convenient for amateurs and one-off projects. It’s also a paid tool like the ones above, but you can enlarge a minimum of 50 or 100 images for as little as $5. There’s also a desktop version, which pays off more for long-term use.
If you’re interested in how it works, just follow the directions below:
Step 1. Upload the image you want to upscale and click on Upscale Image Now.
Step 2. Choose the desired scale (2x, 4x, 6x, or 8x) and hit the Start to Process button.
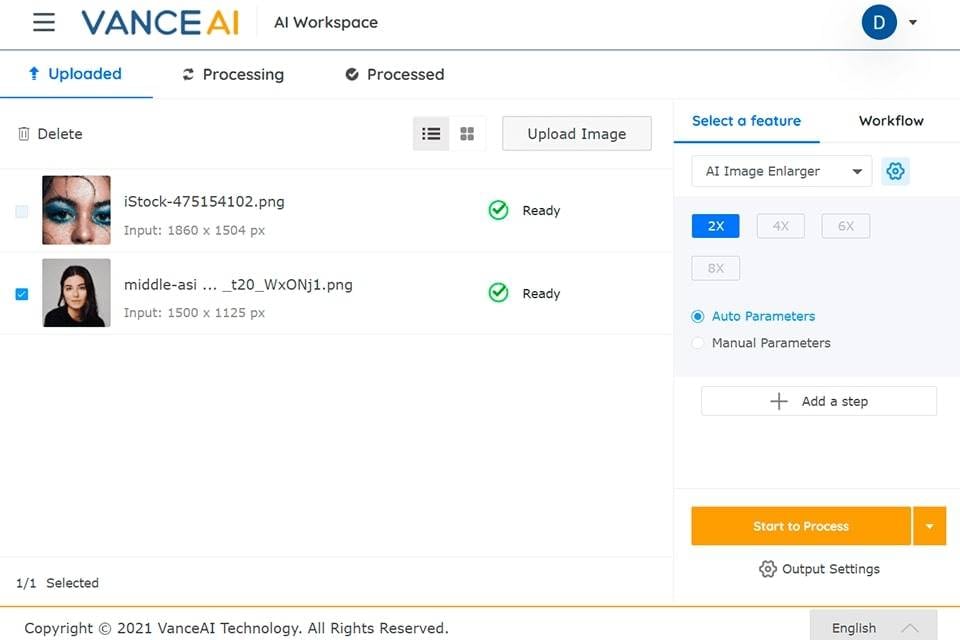
Step 3. When the AI is done upscaling your image, download the high-res version to your PC.
Bonus Tip: Using AI for Improving Image Colors With Online AI Photo Colorizer

Gorgeous, lifelike photography is everywhere around. Whether you’re creating a brand image for your business or developing a marketing campaign for a client – or you simply want an old family photograph framed in high res – AI can help you make it stand out.
And this is not just marketing talk. A couple of years ago, before Instagram and other image-centric social media blew up – you had to learn how to use a photo editor to create beautiful imagery. Thanks to AI, this is no longer the case.
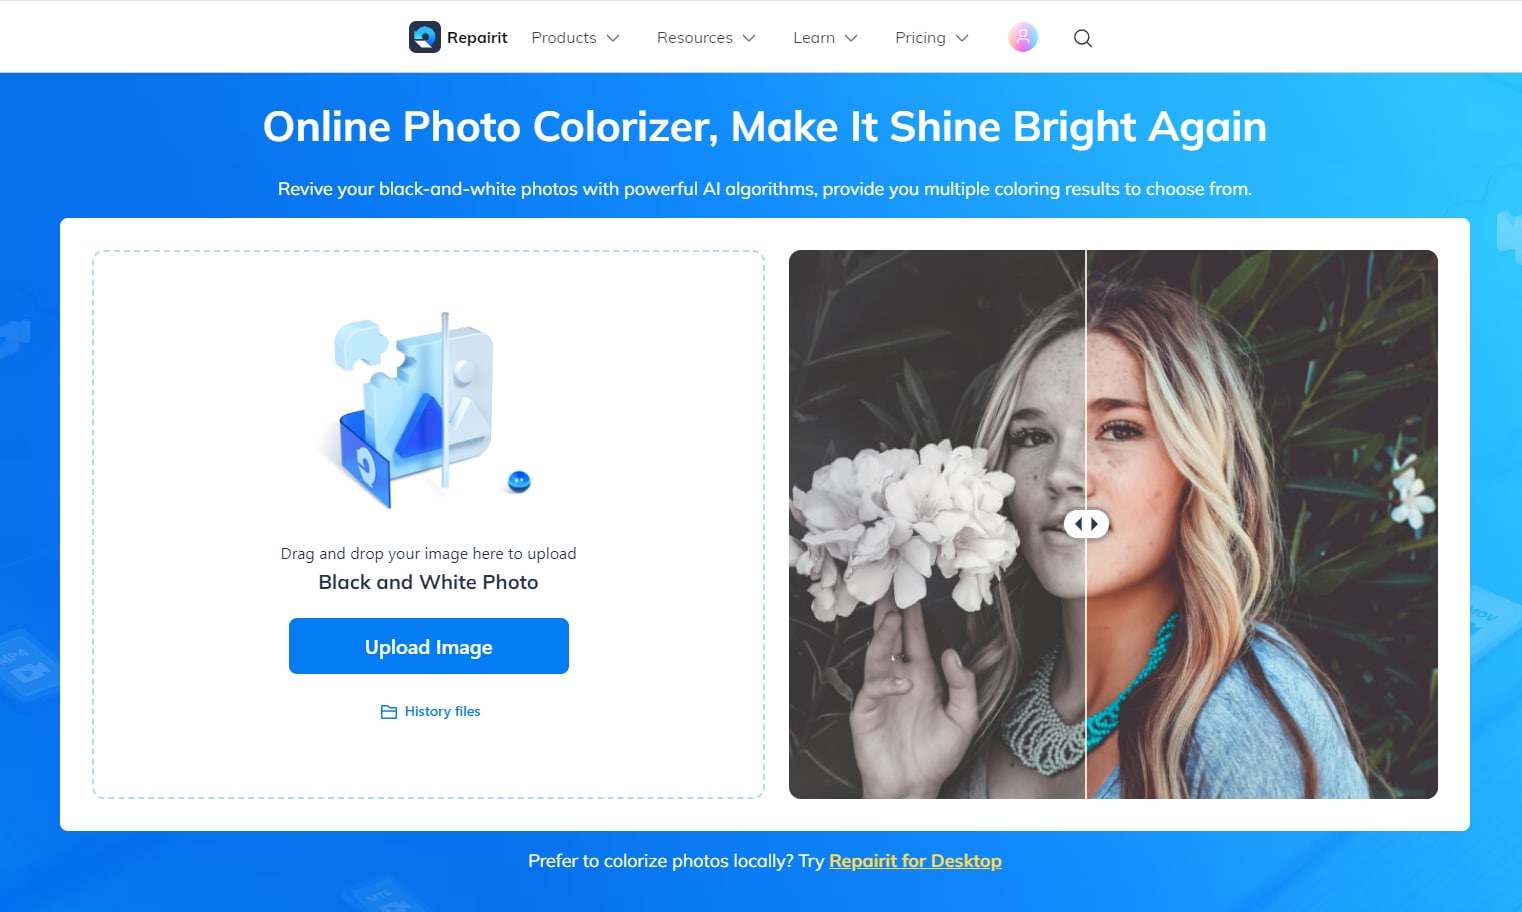
Here’s a great example:
AI tools can even colorize your old black-and-white photographs!
When creating online content, the pros use a trusty combination of image enlargement and photo colorization to bring back the old, charming family photographs to life. For this, two tools by Wondershare stand out among the rest – Old Photo Restoration and AI Photo Colorizer.
Colorizing the photos before you enlarge them to 4K is so easy:
Step 1. Go to AI Photo Colorizer’s official website.
Step 2. Upload the image in JPG, JPEG, PNG, BMP, or WEBP format.
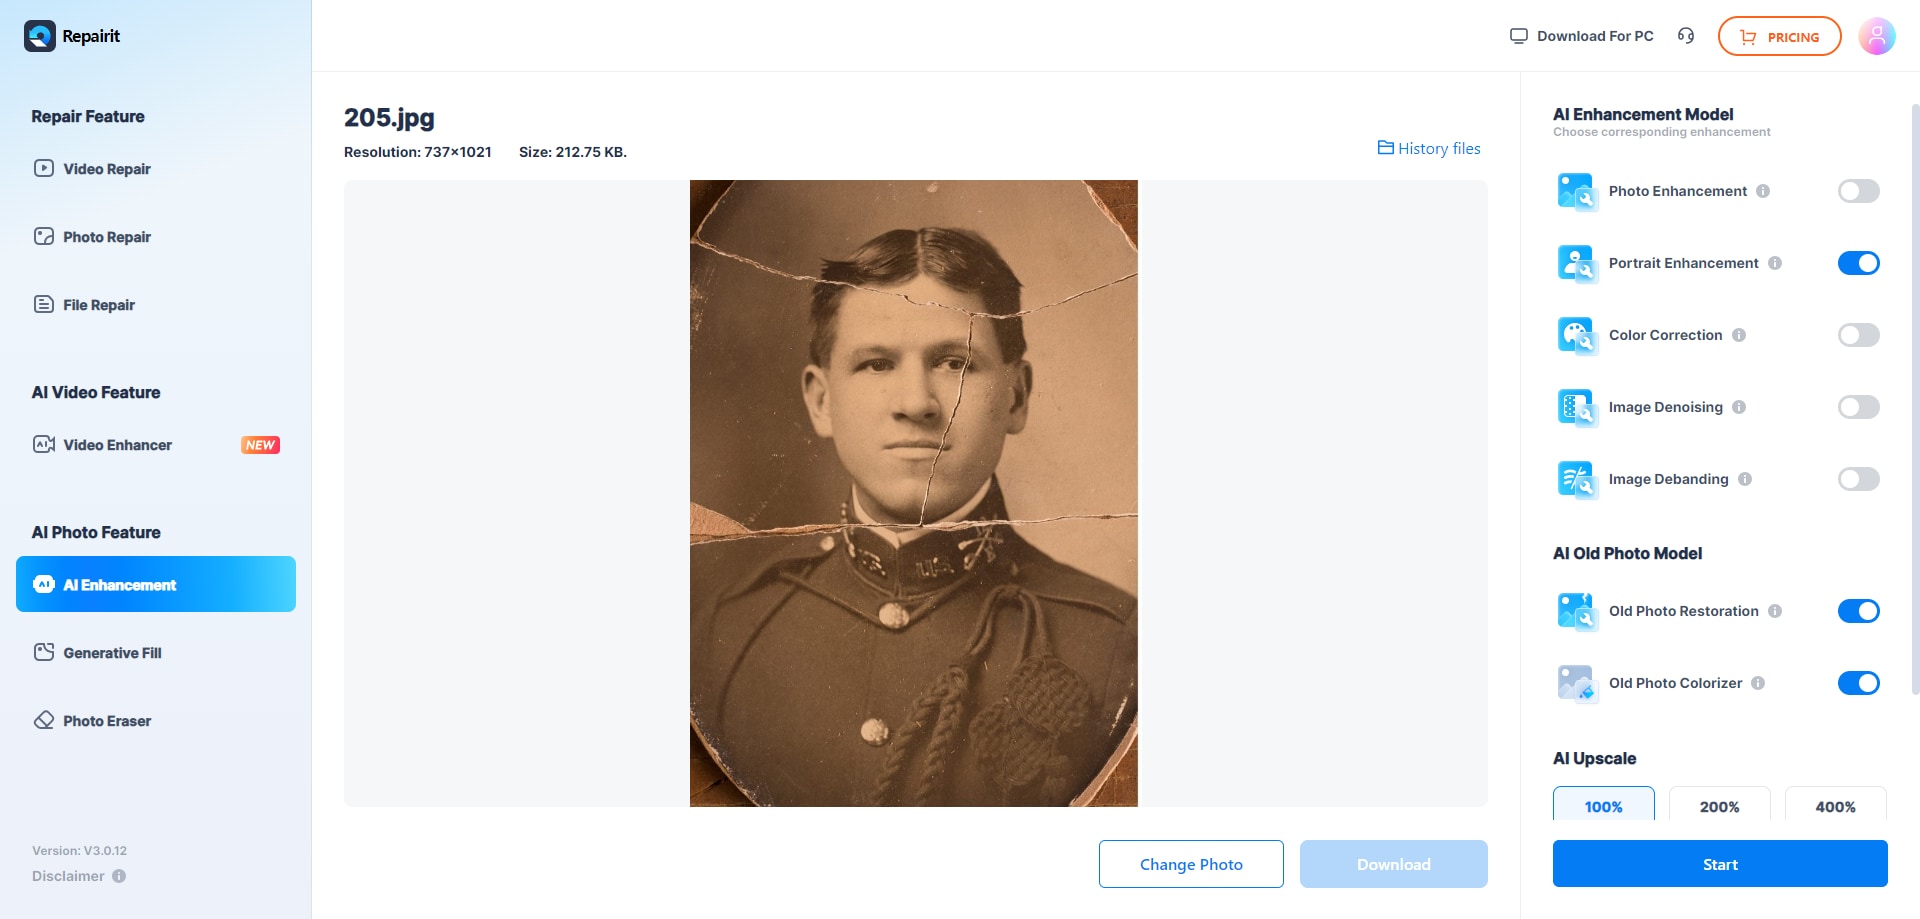
Step 3. Select the Old Photo Colorize model in "AI Old Photo Model" and click the Start button. AI Photo Colorizer can repair photo scratches and improve clarity in addition to colorizing the image.
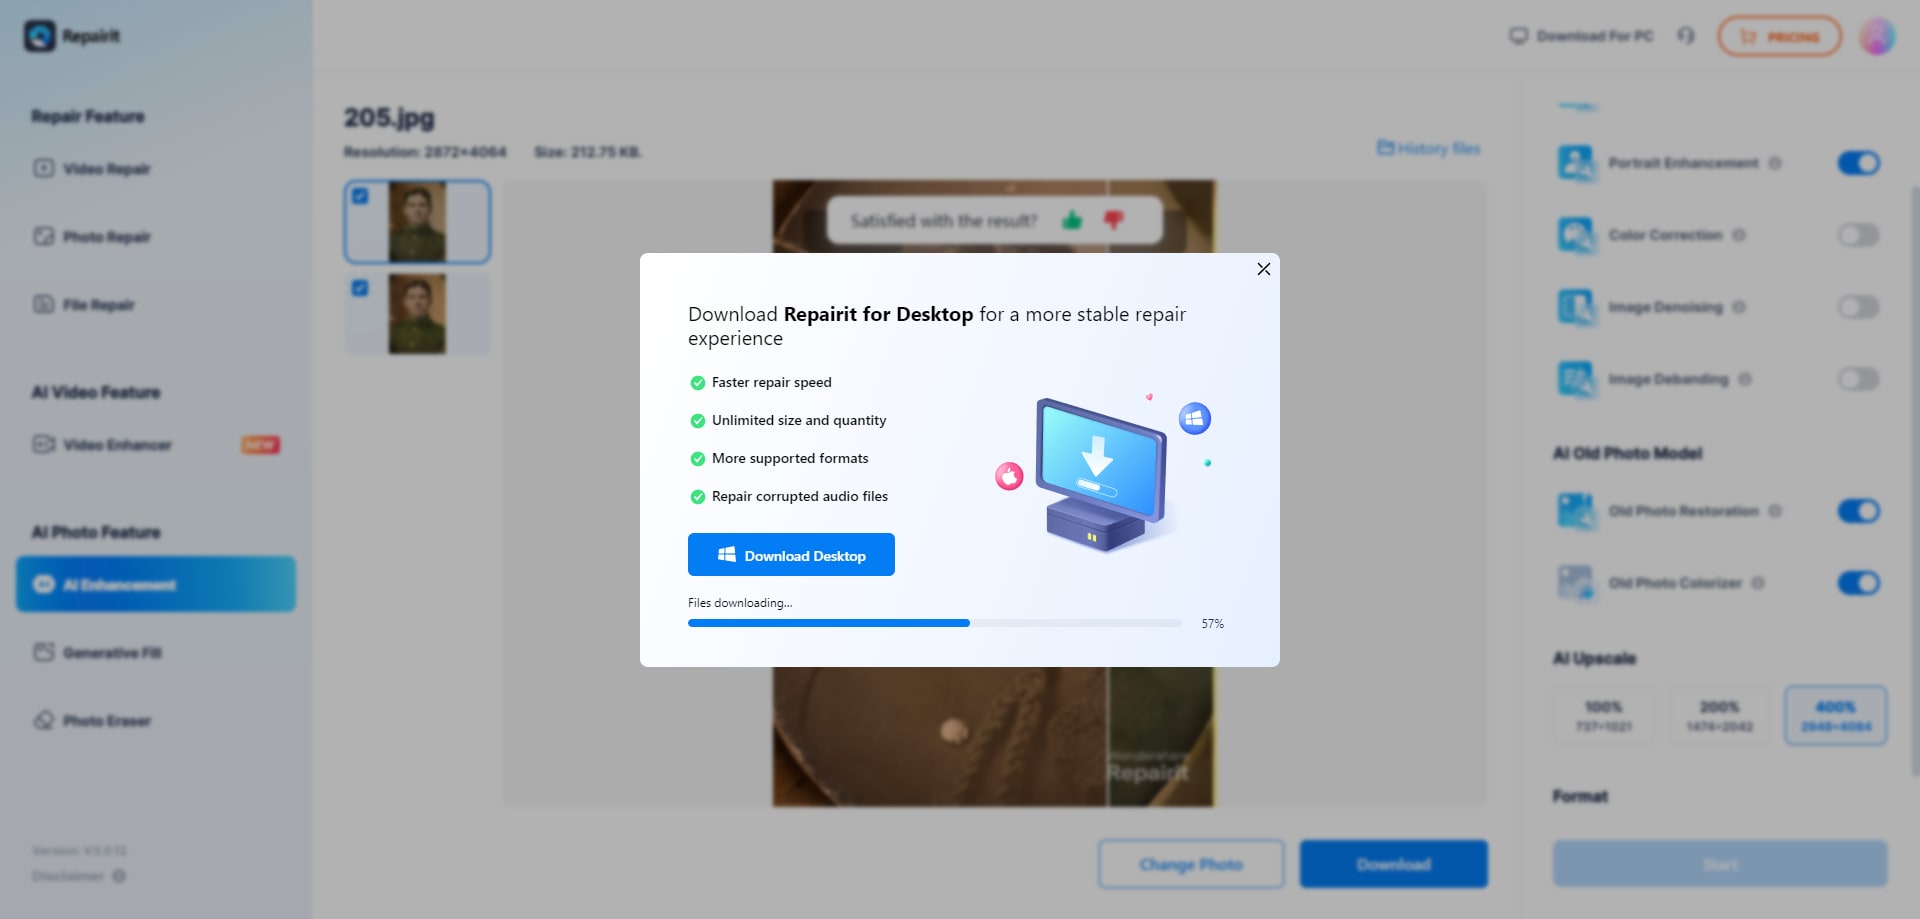
Step 4. After the colorization process completes, you will get a message "Processed Successfully". Now, you can preview and download the colored photographs.
Conclusion
Most people already have a dedicated photo editing tool, whether they need it for business or tweaking personal photos, as everyone loves giving their photos a touch of magic. Plus, AI makes photo editing, enlargement, and colorization a breeze.
However, if you’re new to the art of photo editing and you’re looking for a tool that’s tried and tested, look no further than VanceAI and AI Photo Colorizer.

 ChatGPT
 Perplexity
 Google AI Mode
 Grok
Grok

