

 TL;DR:
To safely delete an Outlook OST file, you must first close Microsoft Outlook, navigate to the designated storage directory via the Windows Run program, and manually delete the file.
● The exact file location varies by version, but Windows Vista through Windows 10 running Outlook 2007 to 2019 generally store OST files within the C:\Users\User Name\AppData\Local\Microsoft\Outlook folder.
● Deleting an OST file causes immediate data loss for that specific client, meaning you must convert your data to a PST format and restore it via the Outlook Import and Export wizard beforehand to protect your emails.
● Rather than deleting a corrupted file, you can attempt to restore it using Wondershare Repairit for Email, which requires Windows 7 to 11, Windows Server 2012 to 2019, or macOS X 10.11 to macOS 12.
Ask AI for a summary
 ChatGPT
 Perplexity
 Gemini
 Claude
 Grok
Grok
To keep the data safe, Outlook saves data in the form of OST files. Users who own an OST file may face issues of it getting corrupt or broken.
This article explains users on how to delete Outlook OST file if required.
In this article
What are the Primary Reasons to Delete an OST File?
Outlook OST files are quite significant for holding the data of a certain email client. The need to delete the Outlook OST file comes up over a set of specific reasons, which are shown as follows:
- Virus Infection: The first and the most basic reason for deleting an OST file can arise due to an issue caused by the virus or malware across the device. As it may have corrupted the OST file, you cannot access them across your device. Hence, the need to delete them from your device comes into notice.
- Bad Sector: There might be issues in the hard drive of your device, which potentially calls for deleting the Outlook OST file across it. Any bad sector in your hard drive can result in the loss of essential data.
- Abrupt Closure: Outlook sessions are continually running across your devices. The abrupt closure of your device may lead to problems across your Outlook email client and its operation. The act not only affects the applications but can also impact the files associated with it.
- Maximum Capacity: The file size of the OST file may have reached the maximum capacity across the device. You may need to delete OST file Outlook after transferring that to another file format to continue the processes of your email client.
Where are the OST Files Saved in Your Computer? (All Windows and Outlook Versions)
As you've gone through some potential reasons for deleting OST file Outlook for your device, you need to be aware of the locations where Outlook stores certain files on your Windows PC. The following table displays the specific file locations of the OST files that are saved on your computer, which are dissected according to the version of Windows OS and Outlook email client:
|
MS Outlook Version |
Windows OS Version |
Default OST File Location |
|
Outlook 2000 Outlook 2003 Outlook 2007 |
Windows XP |
C:\Documents and Settings\User\Name\Local Settings\Application Data\Microsoft Outlook |
|
Outlook 2007 |
Windows Vista Windows 7 Windows 8 Windows 10 |
C:\Users\User Name\AppData\Local\Microsoft\Outlook |
|
Outlook 2010 |
Windows XP |
My Documents\Outlook Files |
|
Outlook 2010 |
Windows Vista Windows 7 Windows 8 Windows 10 |
Documents\ Outlook File\ |
|
Outlook 2013 Outlook 2016 Outlook 2019 |
Windows Vista Windows 7 Windows 8 Windows 10 |
C:\Users\admin\AppData\Local\Microsoft\Outlook |
[Tutorial]How to Delete Your OST File from Computer?
Once you have made known the file locations of the OST file in your computer, it is time to understand the basic approach to how to delete the Outlook OST file from your computer. The following steps explain the complete process in detail:
Step 1: Open Run Program
Before starting the process, you need to close Microsoft Outlook from your computer. Proceed to the "Search" button of your PC and type in "Run" across the search bar. Turn on the Run program that appears on the list of results.

Step 2: Type in the Location of the OST File
As the window appears on the screen, you need to type in the specific location address of the Outlook OST file where it is present on your Windows PC. You can take help from the above table that contains the location of the Outlook OST File according to the version of your Windows and Microsoft Outlook.

Step 3: Delete OST File
Once you've entered, click "OK" to open a new screen that leads to the stated destination of your computer. You'll find the OST File there. Right-click on the file and select the "Delete" option in the drop-down menu. Confirm the process by clicking on "Yes" to get the file deleted from the computer.

How to Import Your Converted PST File to Outlook?
Once you are done converting your OST file into PST, you can now delete OST file Outlook at your convenience. To put the data back into your Outlook email client, you need to import the specific PST file across the account through appropriate means. This is how you can easily protect your Outlook data from getting lost in the process.
To understand how you can successfully import the converted PST file to Outlook, there are a set of steps that you need to follow without any change:
Step 1: Proceed to Import Option
Launch your Microsoft Outlook account on the computer and click on the "File" tab. Following this, you need to navigate to the option of "Open & Export" present on the left pane of the screen. Click on the "Import/Export" button to proceed with the process.

Step 2: Start the Import and Export Wizard
The Import and Export Wizard initiates on the screen. Select the option of “Import from another program or file” and click “Next” to proceed.

Step 3: Select PST File to Import
As the window converges to the “Import a File” window, click on the “Outlook Data File (.pst)” option and proceed by clicking “Next.”

Step 4: Browse PST File from the Computer
You need to browse the PST file that you have to import. Click on “Browse” to find the saved PST file on your computer. Select the appropriate option for duplicate content in the “Options” section and click “Next.”

Step 5: Select Folders and Import
For the next set of options, finalize the specific files and folders that you wish to import from the PST file. You can also check the option of “Include subfolders” and the “Import items into the same folder in:” option. Select the profile across the option where you want to import this and click "Finish" to import data from the PST file into Outlook successfully.

Bonus Tip: How to Repair Corrupt Outlook OST File?
Deleting an OST file from your Outlook email client means that you are not going to have any access to the data that is present across the specific file. This can be disastrous in terms of the professional life that you are in. To counter such problems, you need to think of other possibilities to avoid any potential data loss. If the Outlook OST file that you are going to delete is corrupted, it is perfect that you can have it repaired by a professional Outlook Repair tool.
Under such circumstances, it is perfect that you should fix your corrupt OST file with Wondershare Repairit for Email, which helps users restore the corrupted or deleted content across the specific OST file. The following are its main features:

-
Repair damaged PST & OST Files in Outlook in all Email corruption scenarios, such as hard disk crashes & bad sectors, virus attacks & tojan horse, outlook corruption & malfunctions, improper shutdown procedure, etc.
-
Restore Outlook emails deleted for a long time and extract the email messages, folders, calendars, etc. within seconds.
-
Restore Outlook Emails deleted for a long time with a very high success rate.
-
Repair emails in bathes without size limits and support to preview all of them before saving.
-
Compatible with Windows 7/8/8.1/10/11, Windows Server 2012/2016/2019, and MacOS X 10.11~ MacOS 12 (Monterey).
To understand how this can be used to fix the corrupt OST files, you need to go through the steps featured as follows:
Step 1: Download and launch Repairit for Email.
You need to launch Repairit for Email on your computer. Following this, click on the “+Select File” button on the “Home” tab of the platform to open the new window for locating the specific file.

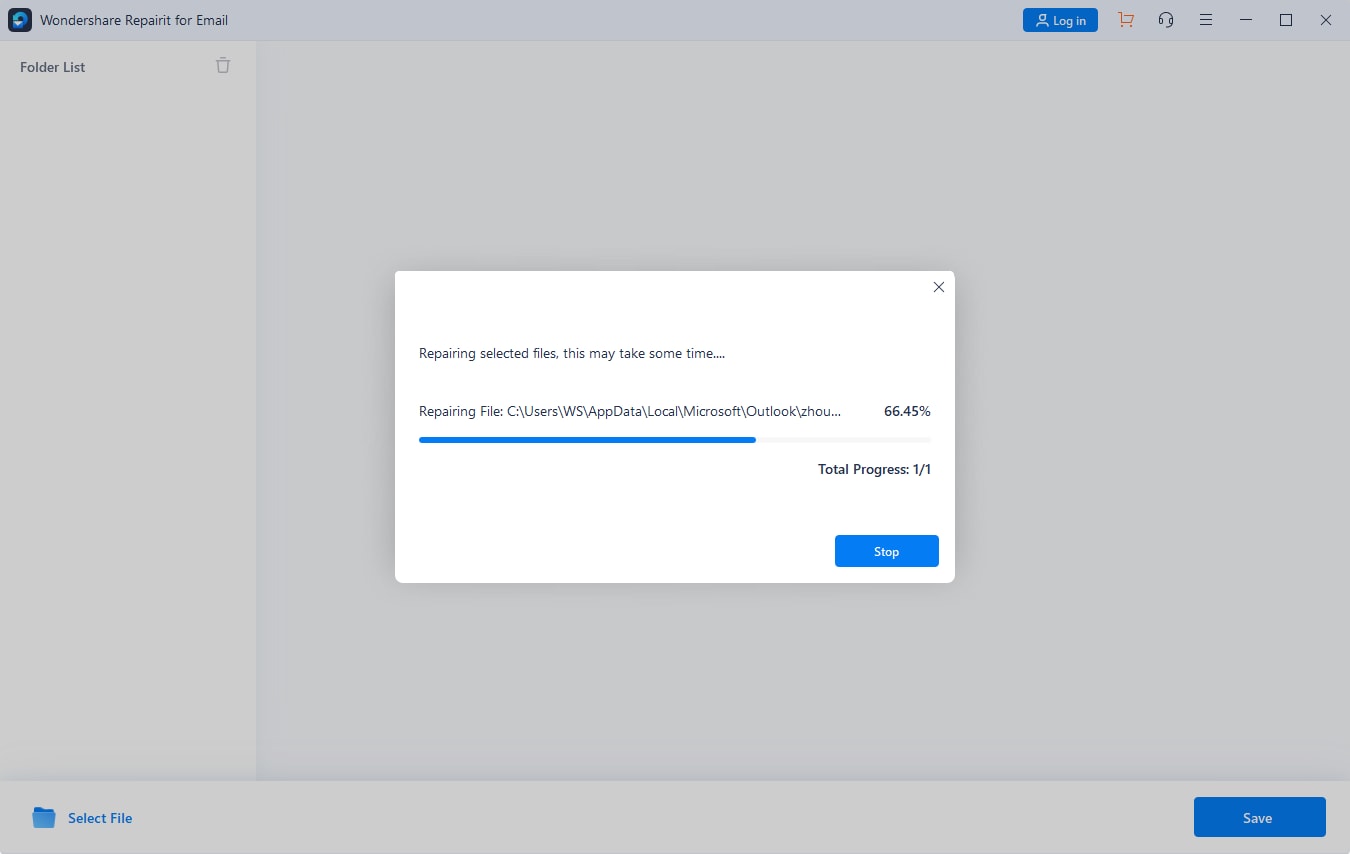
Step 2: Import OST file and start to repair.
Click on “Find” for an automatic search by the tool. Once done, click on “Repair” to start the file repairing process.
Step 3: Preview and save the repaired files.
After the data repairing process finishes, Repairit allows you to preview all the contents of the fixed file, then you can click the “Save” button to download it on your computer or Mac.

Conclusion
Are you clear about the process of deleting OST File Outlook? If you are facing issues of corrupted files or other potential reasons, you can go for the process. However, this article recognized the implications of doing that so and renounced some alternatives that the user can take before deleting OST File Outlook from their computer.