
 TL;DR:
If you are struggling with choppy video playback, freezing screens, or frustrating audio sync issues, use this quick triage blueprint to restore your viewing experience immediately:
● Deploy Professional Video Repair Software: Download Wondershare Repairit to rebuild corrupted metadata layers, missing video codecs, and broken headers across 20+ formats like MP4 and MOV from any device.
● Update System Graphics and Codecs: Open Device Manager on Windows to update your display adapters, or refresh your media player's baseline codec configuration to resolve choppy and lagging playback loops.
● Transcode Containers with VLC: Launch VLC Media Player, navigate to Convert/Save under the Media menu, and transcode your unsupported files into clean, globally compliant rendering profiles.
Ask AI for a summary
 ChatGPT
 Perplexity
 Gemini
 Claude
 Grok
Grok
Video playback errors can be frustrating, especially when you’re in the middle of watching your favorite content. From no video playback to more specific issues like YouTube playback errors, these glitches can disrupt your viewing experience.
In this article, let’s explore some causes behind choppy video playback and discuss error types. After determining which error caused issues with your video, you can move on to the solutions below to fix video errors and make your video as good as new.


Part 1. Common Causes That Lead to Video Playback Errors
Video playback errors occur when a digital video player encounters difficulties in processing a video file or stream, leading to interruptions or inability to play the content. These errors can arise from various issues including internet connectivity problems, outdated software, incompatible video formats, or server issues from the content provider's side. Understanding these Video errors is the first step in troubleshooting and resolving them to ensure a smooth viewing experience.
| Root Causes | Technical Impact & Behavior |
|---|---|
| Video Corruption | Damaged data sectors causing severe lagging, stuttering, or absolute loading failure. |
| Codec Mismatch | Missing decoder algorithms leading to system-specific YouTube or Twitter playback drops. |
| OS & Hardware | Outdated system frameworks or obsolete graphics drivers blocking GPU rendering resources. |
| Player Limits | Native media players lacking dynamic container support for advanced file wrappers. |
Part 2. Common Types of Video Playback Errors You May Encounter
Video playback errors can manifest in several ways. The most common include the following:
| Error Types | Visual & Technical Symptoms |
|---|---|
| Choppy Playback | Constant frame drops and broken rendering timelines. |
| Video Freezing | Active stream buffer locking onto a single frame or dropping into a black screen. |
| Artifacts & Quality | Blocky block pixelation, screen tearing lines, or sudden bitrate definition downgrades. |
| Audio Issues & Stops | Out-of-sync audio tracks, total sound muting, or complete file initialization blockages. |
Part 3. 7 Proven Methods to Fix Video Playback Errors Easily
7 Proven Methods Overview:
- Method 1: Fix Corrupted Videos With Professional Video Repair Software
- Method 2: Install the Latest Codecs
- Method 3: Update Graphics Drivers
- Method 4: Repair Videos Using VLC
- Method 5: Use a Windows Restore Point
- Method 6: Troubleshoot Videos on Windows
- Method 7: Update Your Windows OS
- Method 8: Use a Different Media Player
Once you detect video errors, try the solutions below for an easy fix.
Method 1: Fix Corrupted Videos With Professional Video Repair Software
One of the best ways to fix any video playback error is to use third-party software like Wondershare Repairit. This tool can fix almost any issue with your media, including format incompatibility, audio sync, and video quality.
Thus, if you need a universal solution, use Wondershare Repairit. The best part is that you can use the Advanced Repair feature to improve your video’s quality.

Wondershare Repairit - Video Repair
 Security Verified. Over 7,302,189 people have downloaded it.
-
Repair damaged videos with all levels of corruption, such as video not playing, video no sound, out-of-sync video or audio, playback errors, header corruption, flickering video, missing video codec, etc.
-
Repair full HD, 4K, and 8K videos and support 20+ popular formats, including MOV, MP4, M2TS, MDT, RSV, WMV, MPEG, DAT, etc.
-
Repair damaged or corrupted videos caused by video compression, system crash, video format change, etc.
-
Repair critically damaged or corrupted RAW/Log/HDR videos from professional cameras such as Blackmagic Design, RED Digital, and ARRI, etc.
-
Repairit has a quick and advanced scanning mode. You can use either depending on the level of corruption the video file has undergone.
-
No limit to the number and size of the repairable videos.
-
Repaired videos are more compatible with professional editing software such as DaVinci, Composer, Final Cut Pro, and Premiere Pro.
-
Support Windows 11/10/8/7/Vista, Windows Server 2003/2008/2012/2016/2019/2022, and macOS 10.12~macOS 15.
Download Wondershare Repairit on your cpmputer and follow the steps below to eliminate the video playback issue:
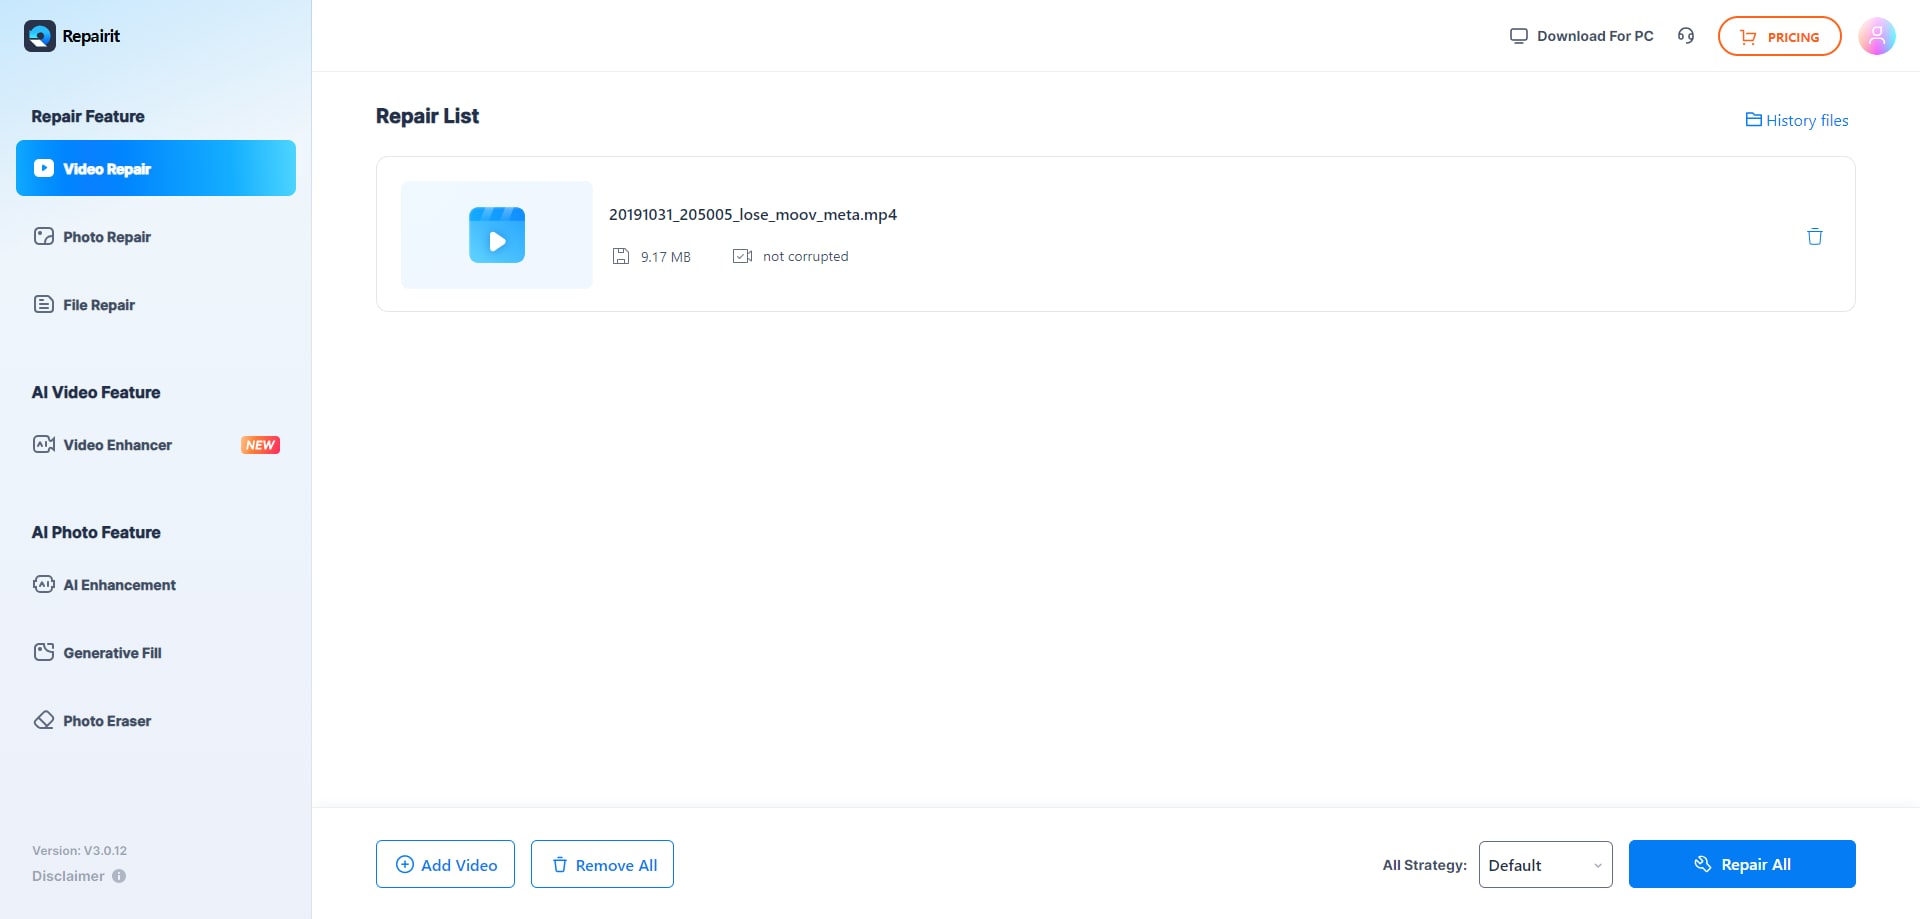
Step 1: Open the program and click Add. Choose the video you wish to repair. You can also drag and drop your files into the interface.

Step 2: Click Repair after adding the video.

Step 3: Preview your files once the program finishes the process.

Step 4: If you like the outcome, click Save and choose where to store your video.

Wondershare Repairit may be the perfect tool if you have multiple videos with the playback issue. It can fix them simultaneously to get all problems out of the way.
More Related Articles:
Method 2: Install the Latest Codecs
Codecs are software components that read your video’s content and synchronize video and audio elements. Moreover, they can help you control the video playback and get the best experience. If you use an outdated codec version, your video and audio quality may change, and you may experience more significant problems.
For instance, your videos may become choppy or even freeze. Installing or updating your codecs will depend on your media player. So, follow a tutorial that fits your player to get the latest codec version.
Method 3: Update Graphics Drivers
Graphics drivers can significantly impact your device’s performance. If you don’t update them regularly, you may experience issues with video playback and other performance factors.
Thus, update your drivers to improve their performance and fix your videos by following the guide below:
Step 1: Head to Device Manager.

Step 2: Find Display adapters and open the available options.

Step 3: Right-click your graphics driver and click Update driver.
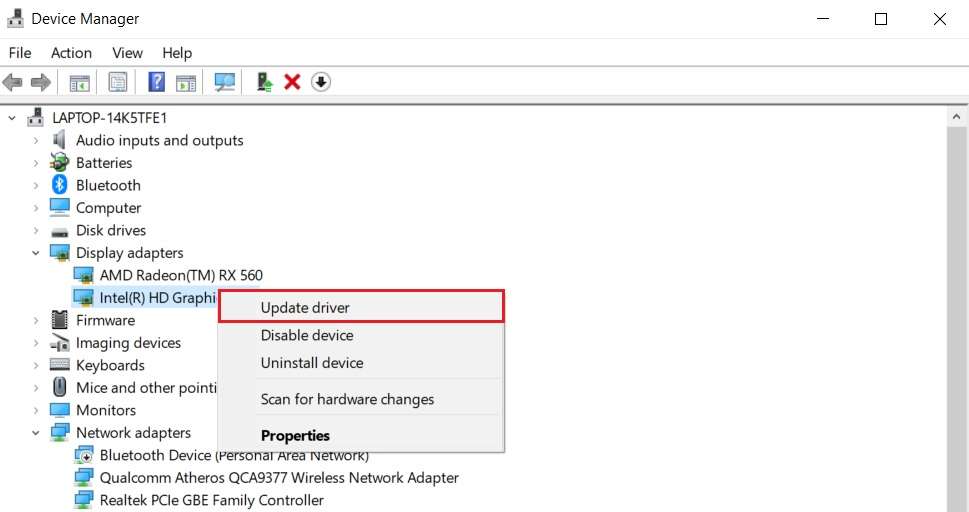
After that, restart your device to apply the changes.
Method 4: Repair Videos Using VLC
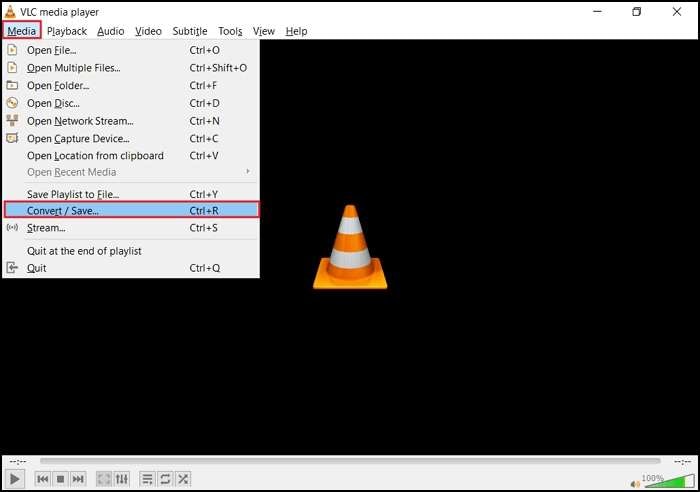
Although VLC is a media player, it can be a powerful tool if you are experiencing issues with video playback errors. This feature-packed program can solve corruption issues in just a few steps. Here’s how to do it:
Step 1: Open VLC and click Media.
Step 2: Select Convert/Save from the drop-down menu.
Step 1: Click Add in the dialog box and choose your video.
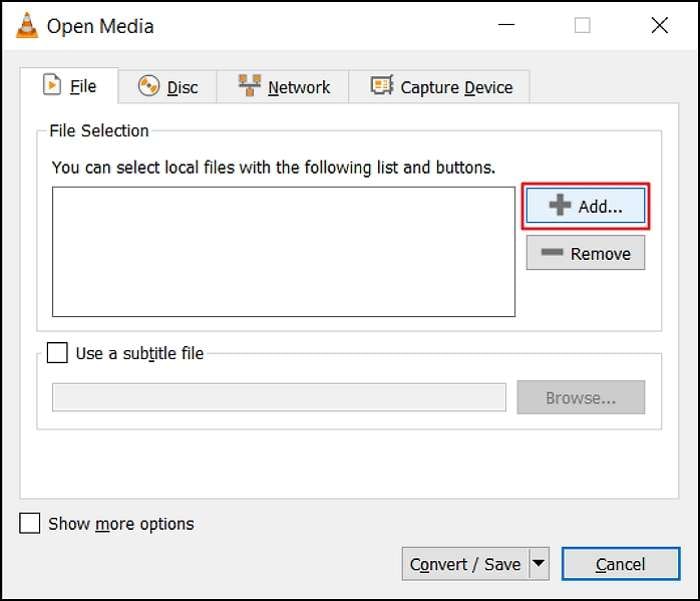
Step 2: Click the Convert/Save button.
Step 3: Head to the Profile section under Settings.
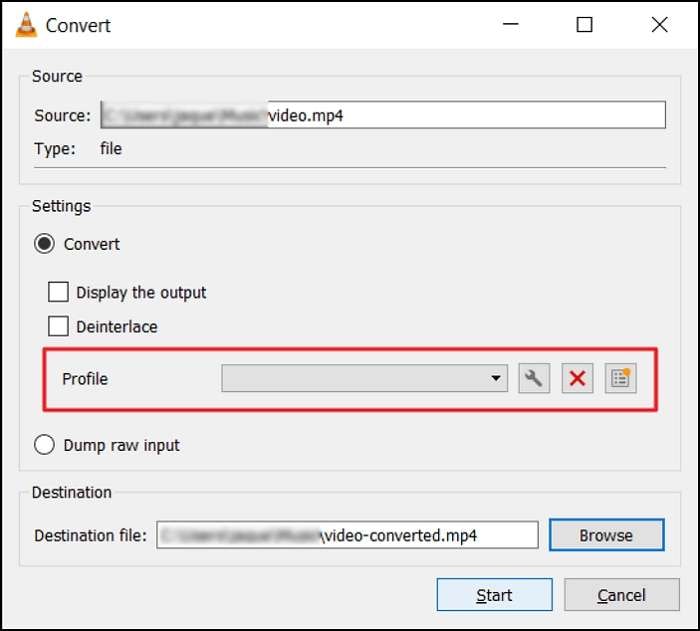
Step 4: Choose the input codec and click Start.
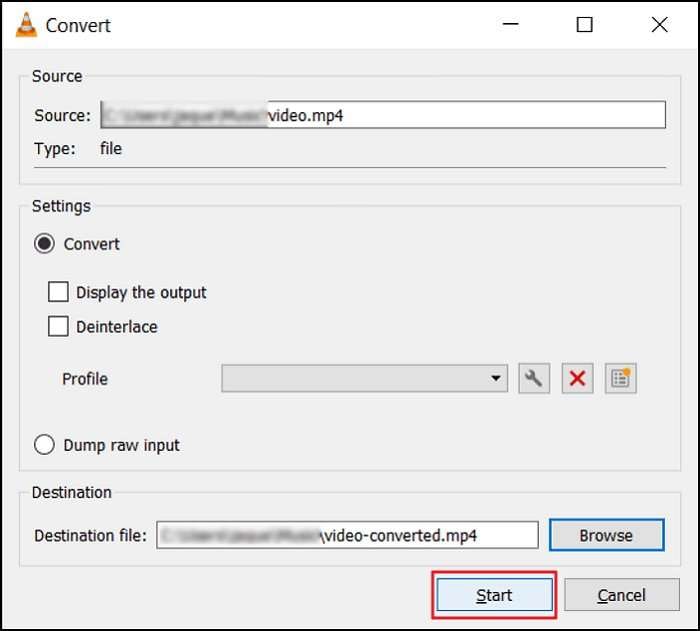
After that, VLC will start repairing your corrupted videos.
Method 5: Use a Windows Restore Point
If the playback issue appears after you have updated your operating system, you can restore the previous settings to make everything work again. You can do it with System Restore, a Windows utility storing backup copies of OS files and settings. Follow the guide below:
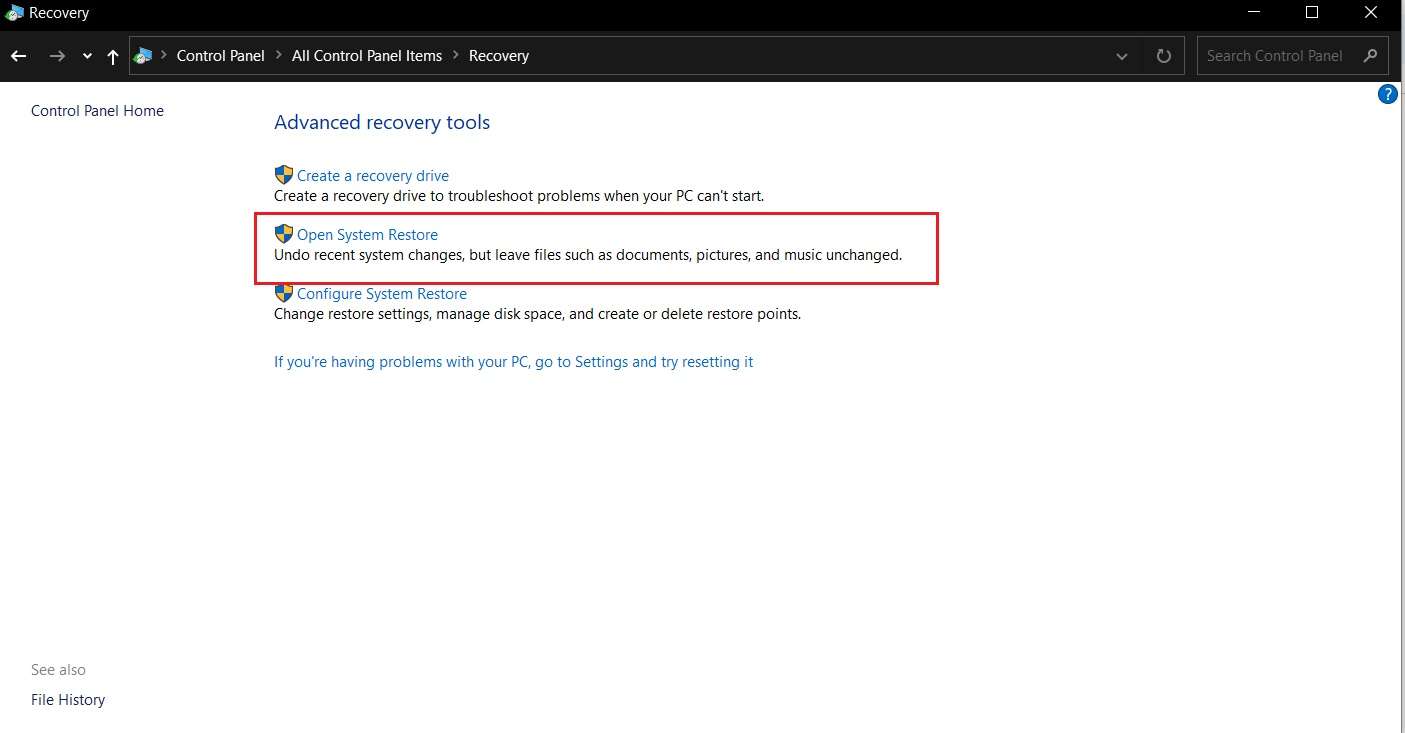
Step 1: Open the Control Panel.
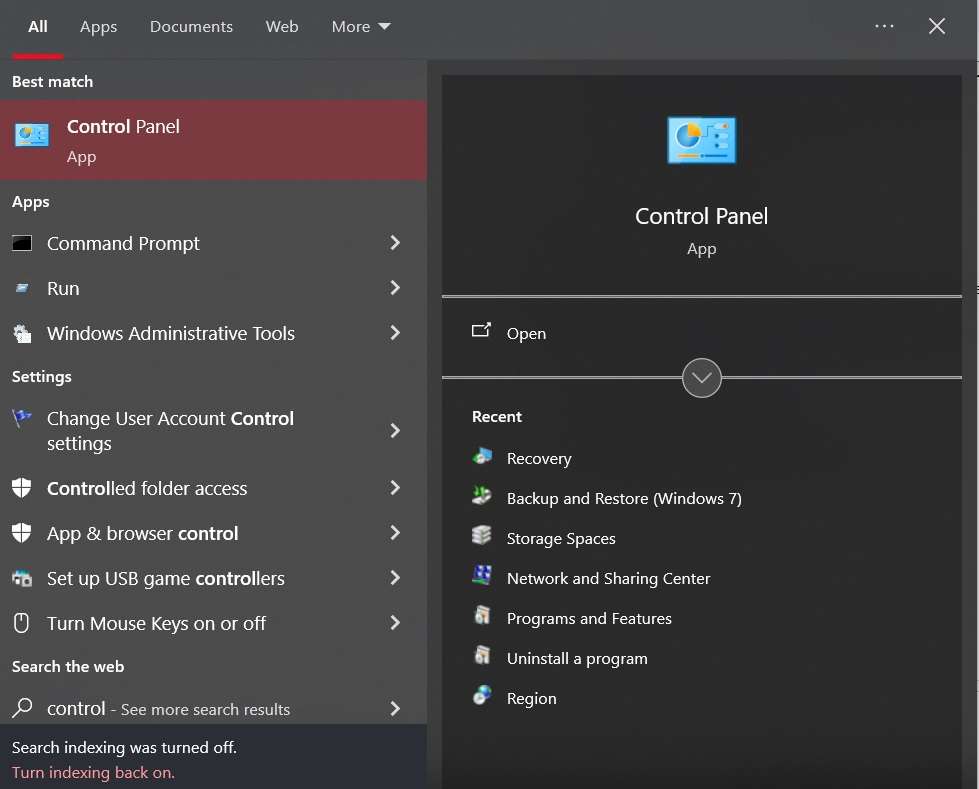
Step 2: Search for Recovery.
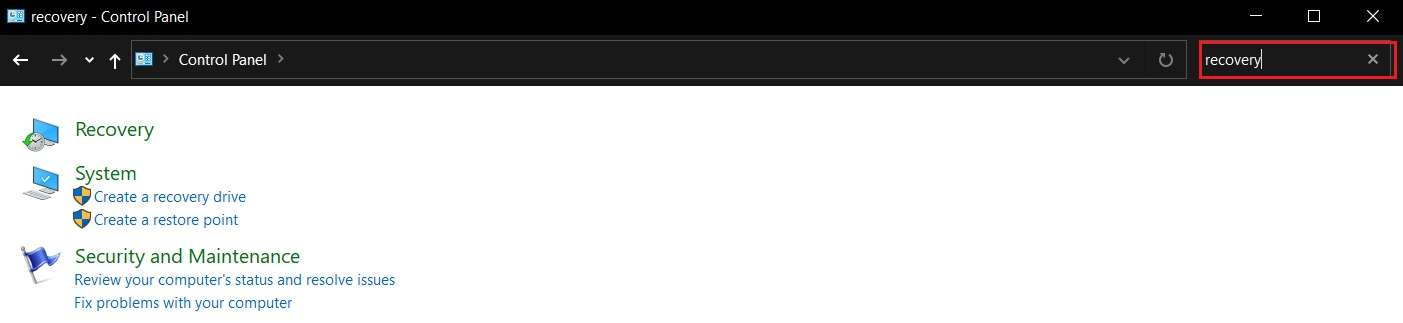
Step 3: Click Open System Restore and follow the on-screen instructions.
After completing these steps, restart your device.
Method 6: Troubleshoot Videos on Windows
Windows has a built-in tool that lets you troubleshoot hardware and software. You can run it to check if everything works correctly with your videos and audio files. Here’s how to run the Video Playback Troubleshooter:
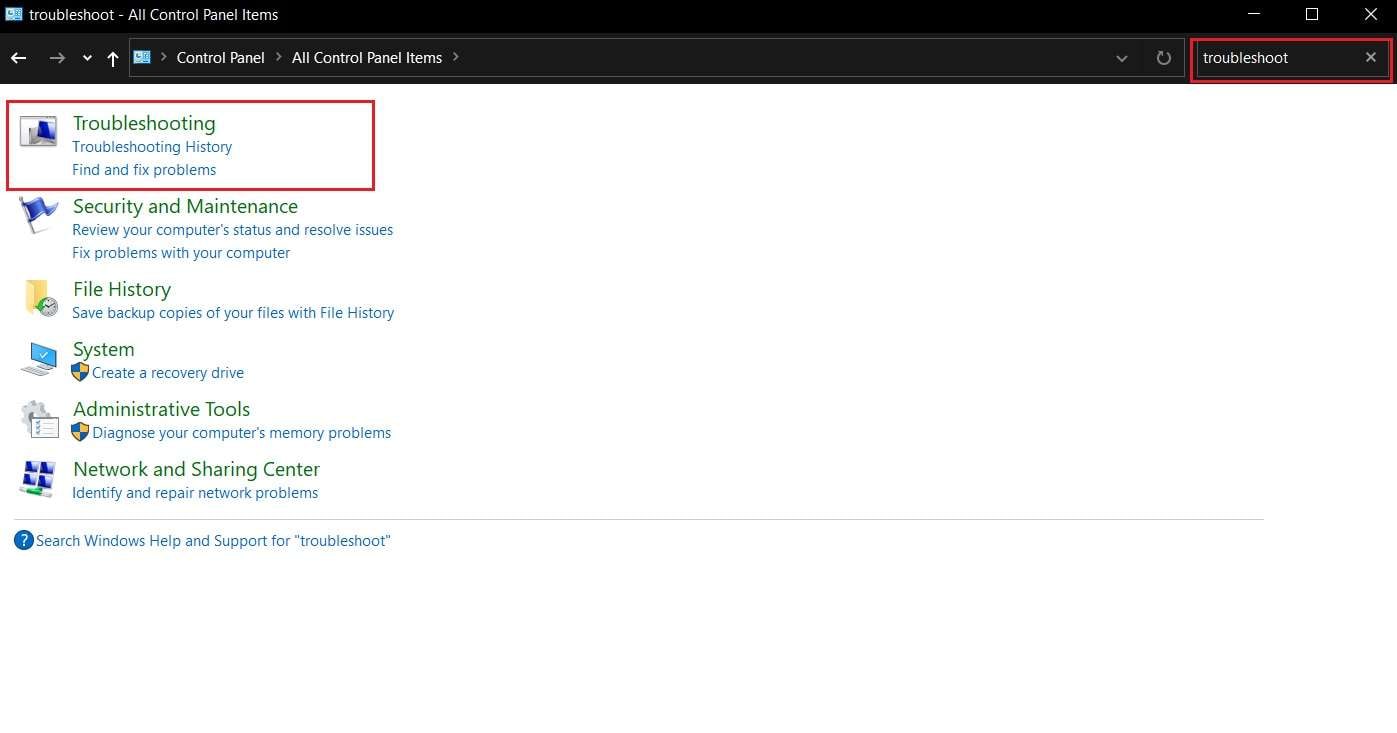
Step 1: Open the Control Panel.
Step 2: Search for Troubleshoot and click the Troubleshooting option.
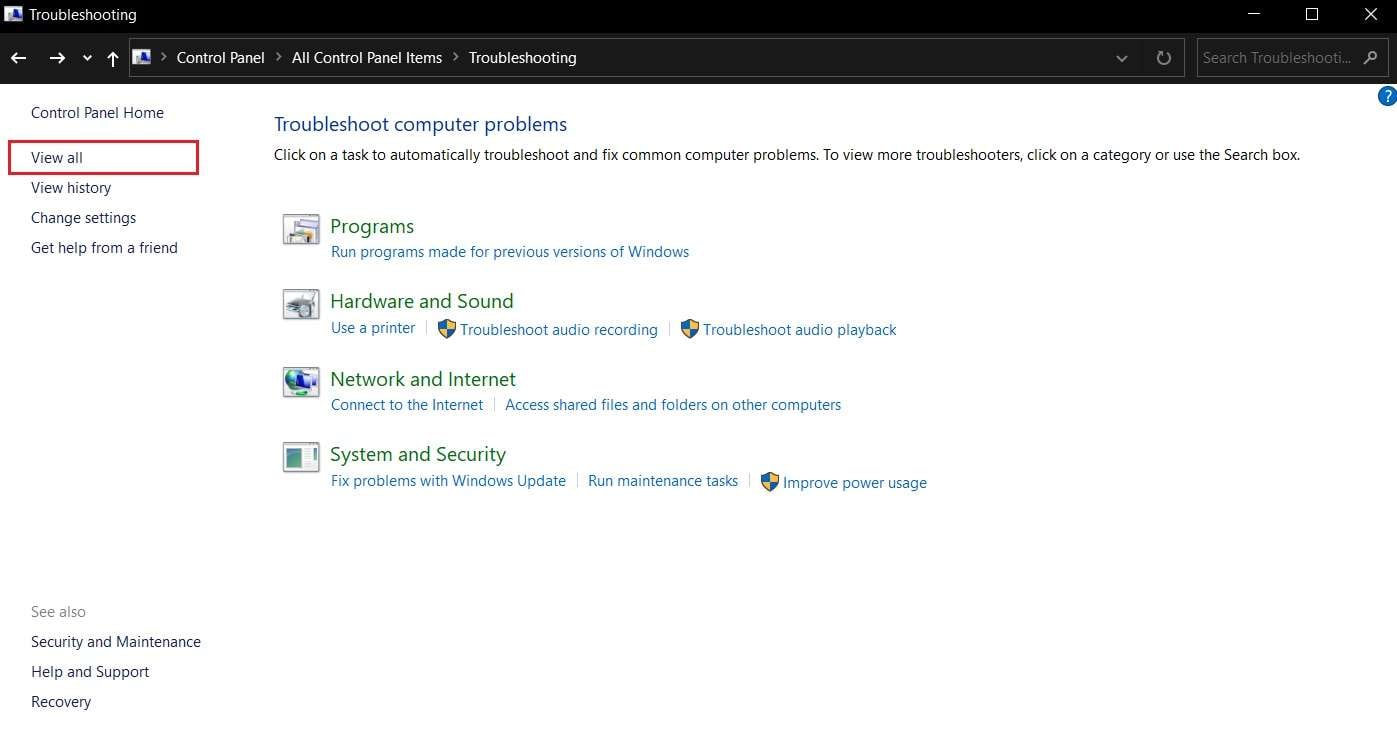
Step 3: Select View all in the left sidebar.
Step 4: Find Video Playback and click it.
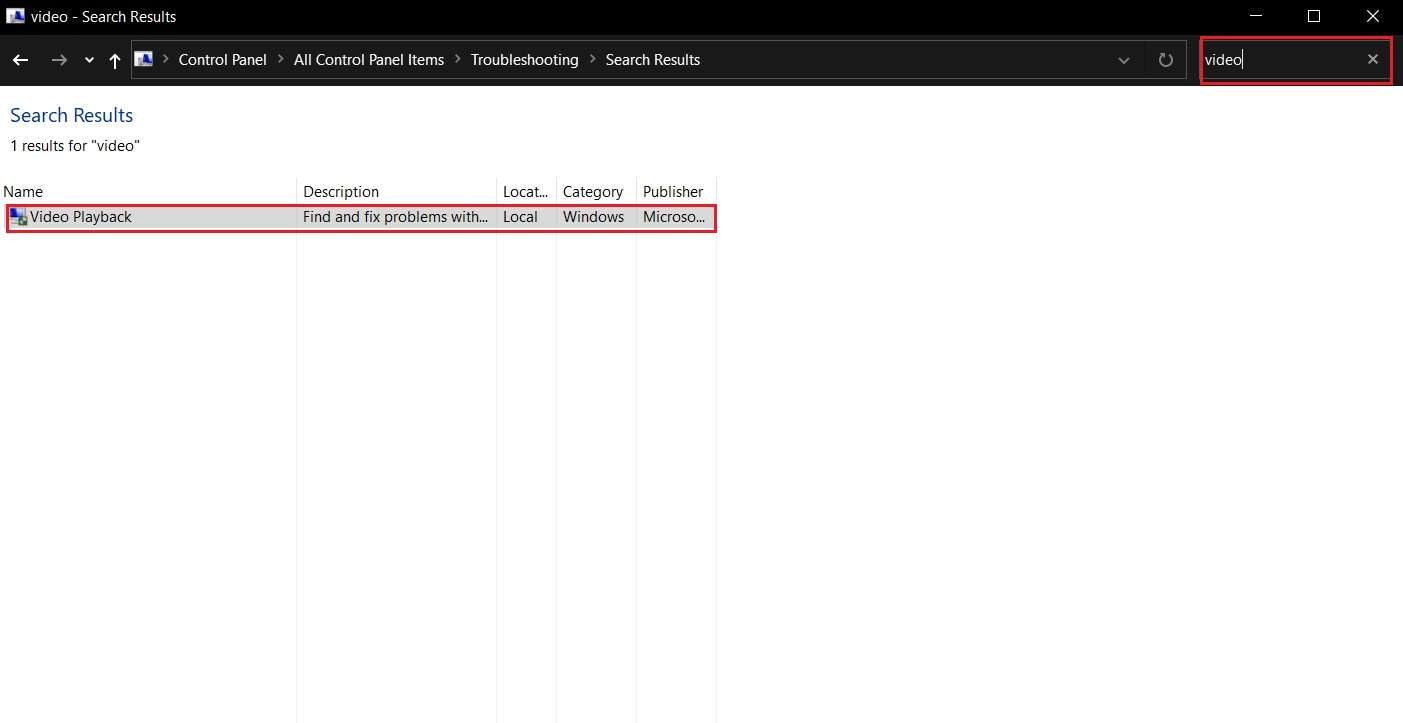
Step 5: Hit Next to continue.

Restart your PC once the program finishes scanning and troubleshooting video playback.
Method 7: Update Your Windows OS
An outdated Windows operating system can lead to numerous issues, including video playback. Therefore, update your Windows OS once you notice performance problems and playback errors on your computer. Here’s how to do it:
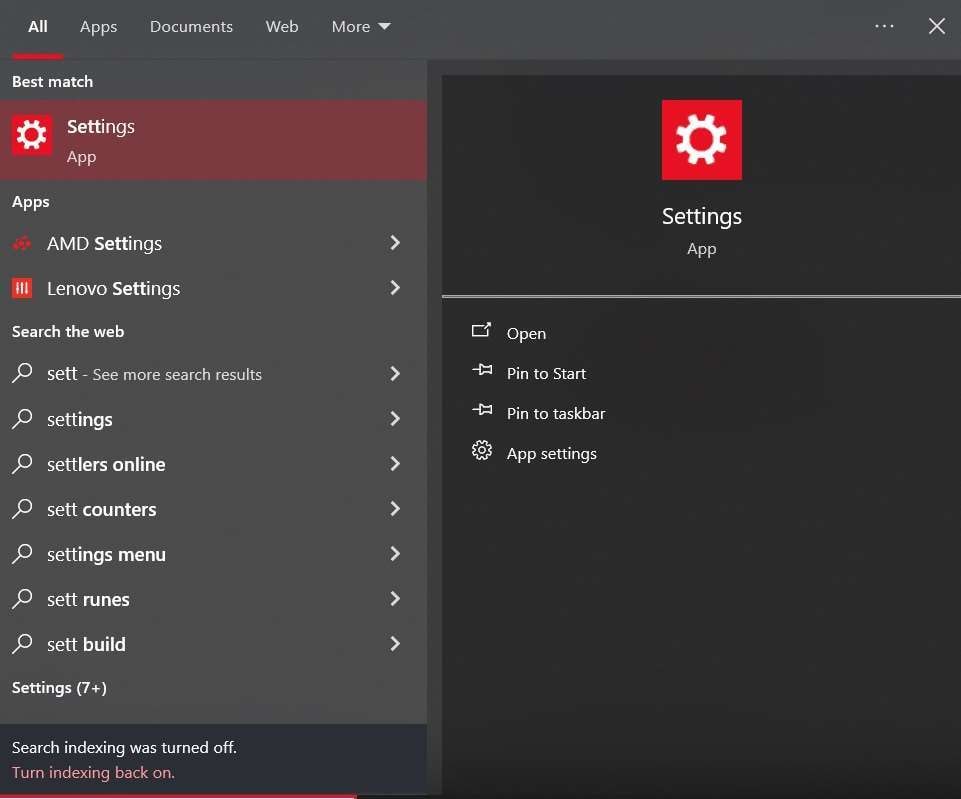
Step 1: Open Settings.
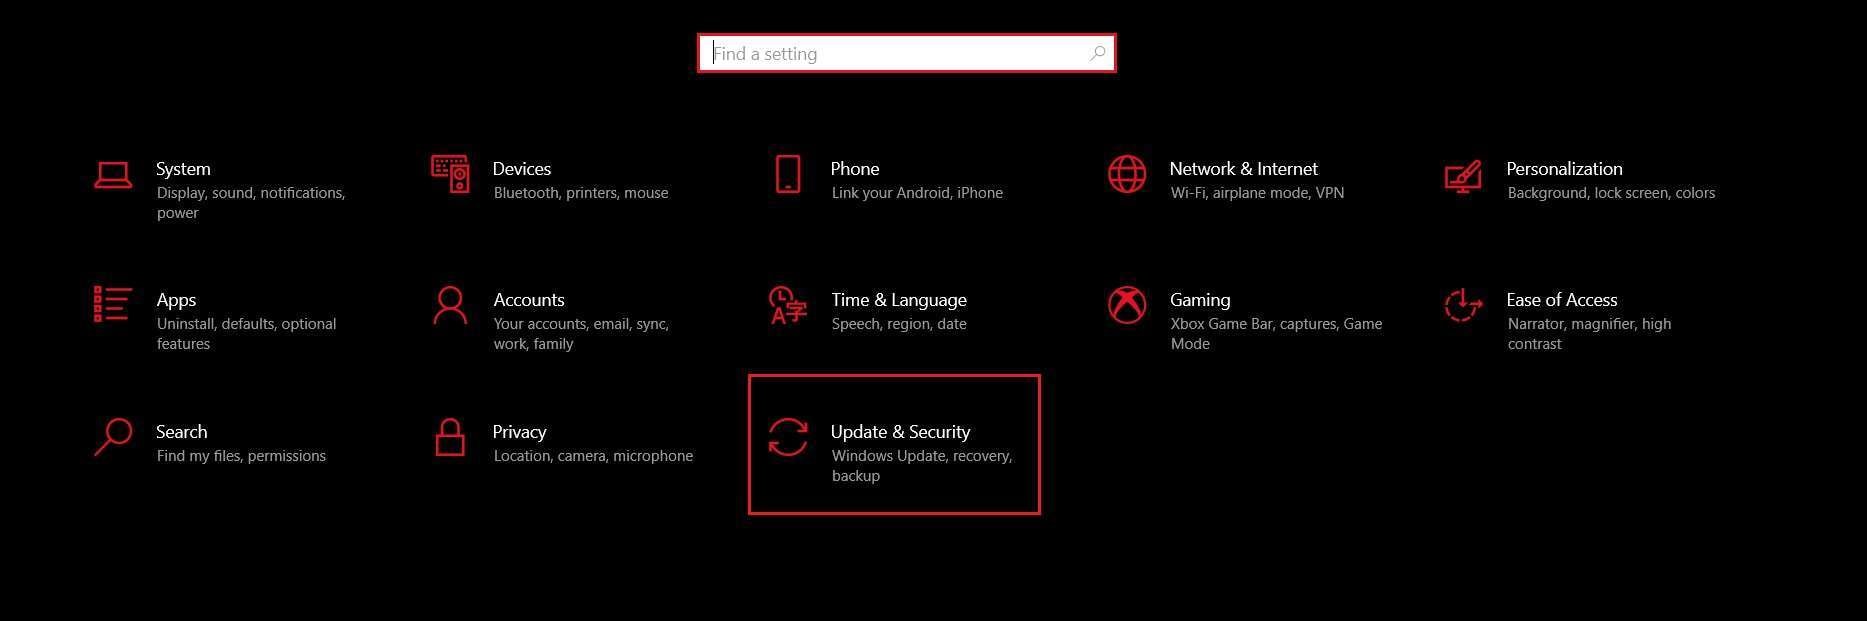
Step 2: Click Update & Security.
Step 3: Click Check for updates.
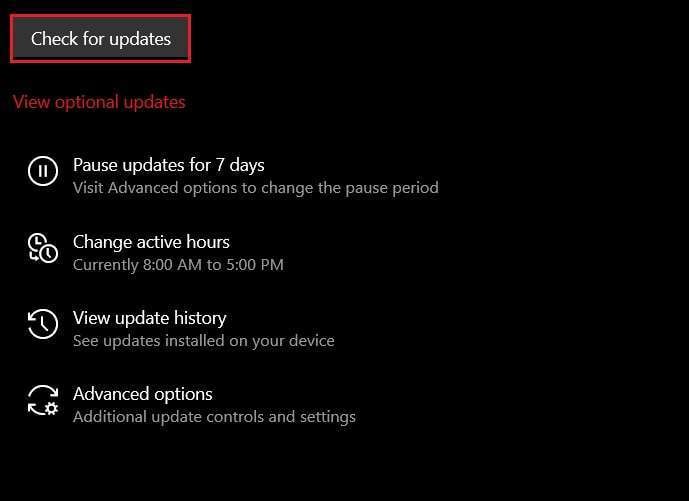
Step 4: Download an update if available.
This method should fix operating system errors leading to the video playback issue.
Method 8: Use a Different Media Player
Your media player may be causing the video playback error. That is the case when the application doesn’t support a particular video format. Instead of assuming something is happening with your video or computer, check the app and try another one.
You can try several applications to ensure they’re not the problem. If you still can’t play your video, it is time to go back to the methods above and fix the video playback issue.
Bonus Advice: How to Fix Corrupted Videos Online
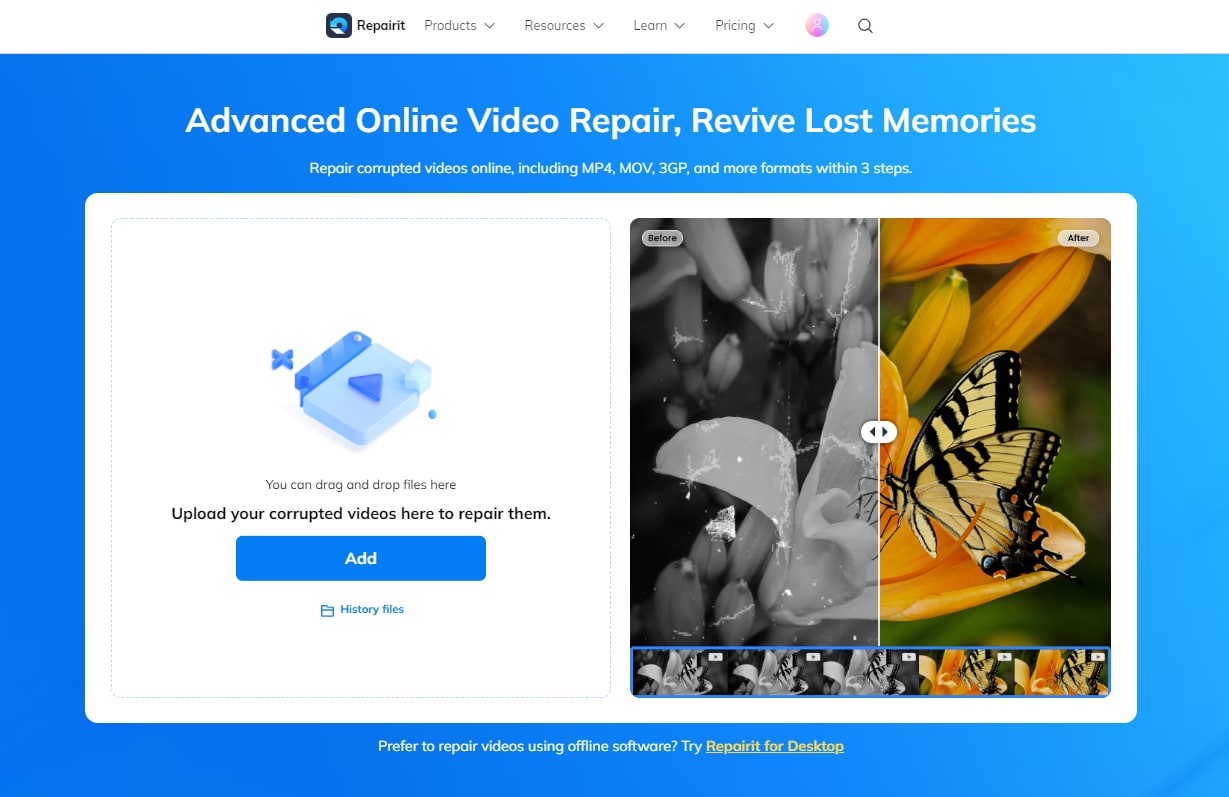
If you don’t want to download fancy software on your computer and are looking for a powerful, reliable online tool to fix issues with your videos, we’ve got you covered. Wondershare Repairit offers an online tool to resolve any problems with your media, but the corrpted video should be smaller than 3 GB. It can help you in any situation, including audio sync, freezing, videos not playing, or other errors.
The best part is that it’s intuitive and beginner-friendly. Whether you’ve never repaired videos or are savvy in the field, you can quickly fix any video type and restore it to its former glory.
To use this tool, follow the steps below:
Step 1: Head to Wondershare Repairit Online Video Repair.
Step 2: Click Add and upload your video. You can also drag and drop videos to the platform.
Step 3: Click Repair after adding the video.
Step 4: To preview your videos, click the Play icon next to them.
Step 5: If you like the outcome, click the Download icon and choose where to save your files.

The online version also offers batch repair so you can fix multiple videos simultaneously.
Conclusion
Being unable to play videos or having other video errors and playback issues can be annoying and frustrating. No matter what you do, the problem doesn’t go away.
You’ve come to the right place if you currently have a video with playback issues. The solutions above are the best to get your videos up and running again.
If you can’t identify the cause of your playback issue or want to fix several problems at once, you can use a trusted tool like Wondershare Repairit. It can fix all video troubles and even let you repair multiple videos simultaneously. It’s a universal solution for the best video experience.
People Also Ask
-
What causes videos not to play?
There are several reasons why videos may fail to play, such as file corruption, outdated software, incompatible video formats, or network issues. Identifying these issues is the first step in fixing playback errors. -
How can I fix YouTube playback errors on YouTube TV?
YouTube TV playback errors can occur due to server issues, internet connection problems, or device compatibility. To resolve this, ensure your internet connection is stable, restart the device, or check for software updates for both the YouTube TV app and your streaming device. -
How can I fix "Twitter videos not playing" issues?
Try refreshing the page, updating your app, or checking your internet speed. If the issue persists, clearing the browser cache or reinstalling the app can often help. If the downloaded video is corrupted, use Repairit to fix it.