
![How to Stabilize Videos in Adobe Premiere Pro [100% Working]](https://images.wondershare.com/repairit/article-trans-image/937/stabilizing-video-in-premiere pro-1.jpg)
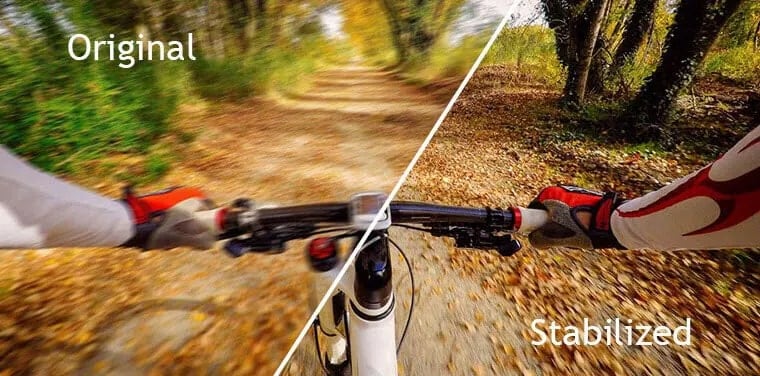
Shaky videos can ruin a great moment. But don’t worry, they’re easy to troubleshoot. If you're dealing with unstable clips, stabilizing video in Premiere Pro is a quick and powerful solution. From learning the basics to choosing the right settings, we’ll cover everything you need to know.
Let’s dive in and fix those shaky shots with this 100% working method using Adobe Premiere video stabilization.
Table of Contents
Part 1. Why Stabilizing Video in Premiere Pro Matters?
Shaky videos are hard to watch and don’t look good. That’s why learning how to stabilize footage in Premiere Pro is a great solution. Here's why it matters:
- For a better viewer experience. Smooth videos are easier to watch and more enjoyable. No one likes feeling dizzy from a wobbly clip.
- For a professional look. Using Adobe Premiere Pro stabilize video tools can make your videos look polished, even if they were shot with a handheld camera.
- To save time in reshoots. Instead of re-recording scenes, you can simply use Premiere Pro to stabilize footage features to fix the shake.
- To boost storytelling. Shaky footage can break the flow. Stabilizing video in Premiere Pro helps keep your audience focused on the story, not the motion.
You can’t miss:
How to Stabilize DaVinci Resolve Video: A Complete Guide
How to Stabilize GoPro Footage Like
Part 2. Adobe Premiere Pro Stabilize Video (Step-by-Step Guide)
Do you have a shaky video that needs to be smoother? Don’t worry. Adobe Premiere Pro has a built-in tool to help in just three easy steps. We’ll also share a few quick tips to help you get the best results.
But before starting editing, it’s important to know how to shoot better footage in the first place. Try to employ these essential tips:
- The best way to avoid shaky clips is to shoot smooth video from the start. Use a tripod, gimbal, or stabilizer if you have one. If not, try holding your camera steady and planning your shots well. This will make it easier to stabilize video in Premiere Pro later.
- Do not overexpose or underexpose your shots. Dark or too-bright videos are harder for the software to fix.
- Make sure your subject stands out. Flat scenes like water or plain walls don’t give Premiere enough to track when stabilizing.
Here are the clear instructions to stabilize a video in Premiere Pro:
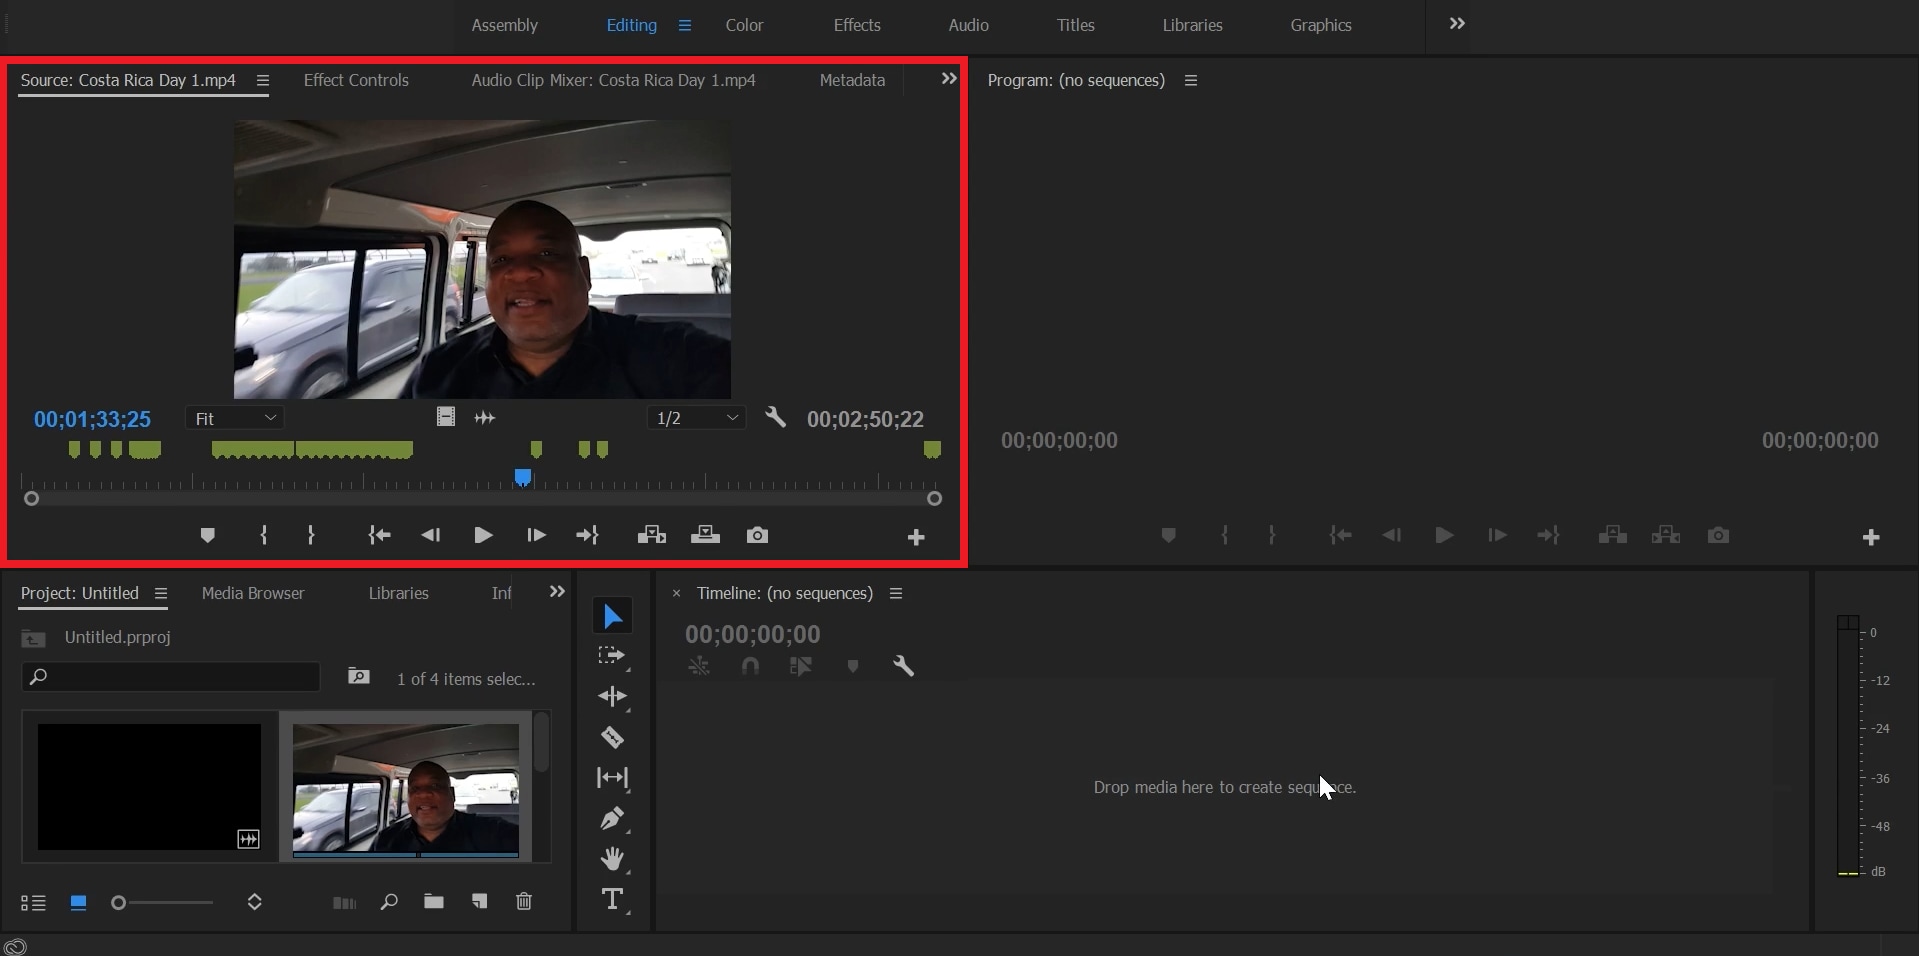
Step 1: First, open Premiere Pro and bring in the video you want to fix. The quickest way is to drag and drop the file into the project window. Then, drag it onto the timeline. If there’s no sequence yet, Premiere will create one for you.
Step 2: Seek the Effects panel and find Warp Stabilizer. It’s under Video Effects, then Distort. Drag this effect onto your clip. The premiere will begin analyzing your video and automatically try to fix the shakiness.
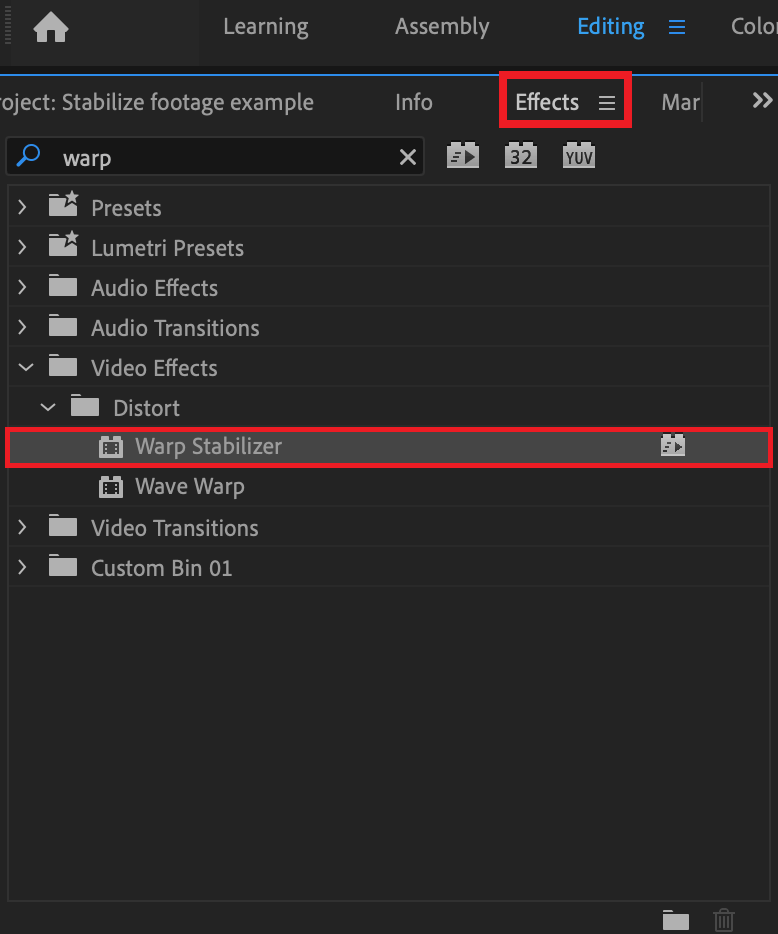
The Premiere Pro video stabilization might take a while, depending on your clip and computer speed. Once it’s done, your video will look smoother. If it still doesn’t look great, don’t worry. There’s more you can do.
Step 3: After applying Warp Stabilizer, you can tweak the settings to get better results.
- Smoothness: This controls how steady the video looks. Increase it for more stability, but don’t overdo it, or it may look weird.
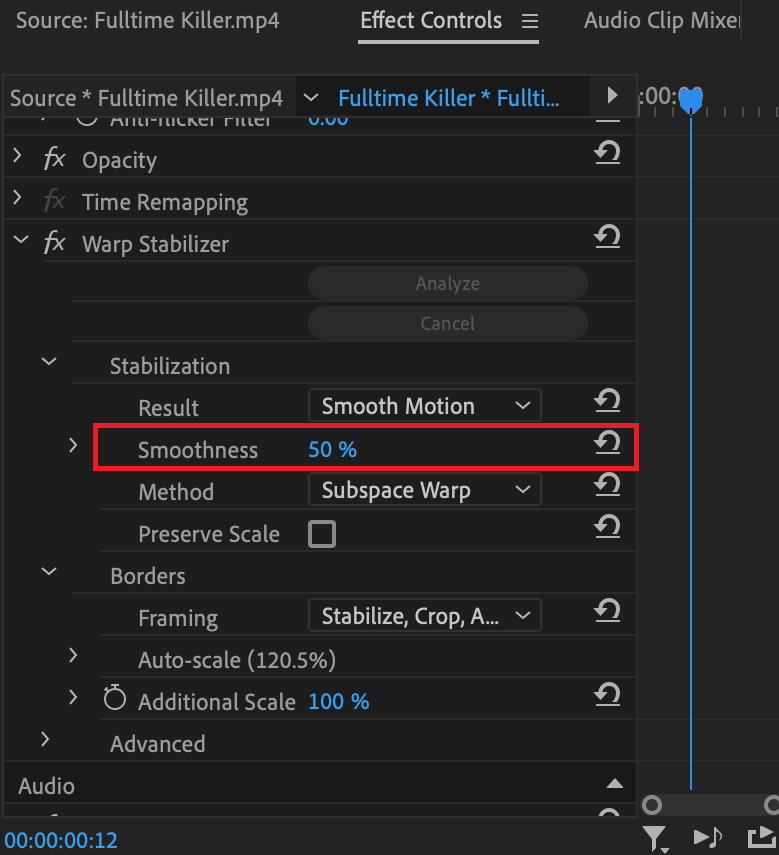
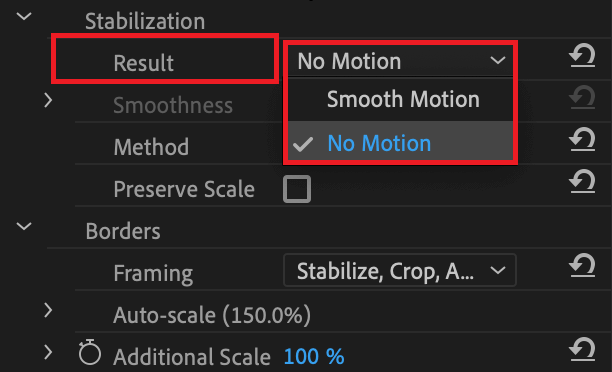
- Result: You can choose between Smooth Motion or No Motion. Try both and see what works best.
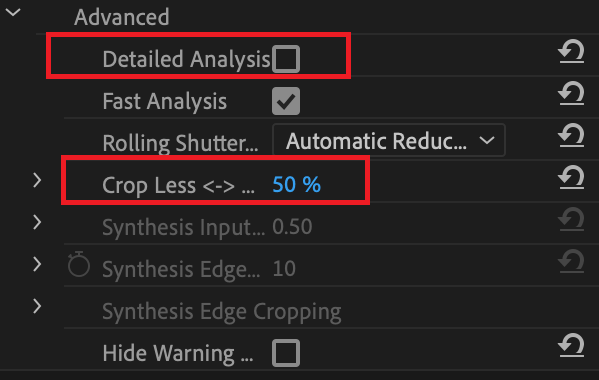
- Detailed Analysis: Turn this on if you need a deeper fix.
- Crop Less: Adjust how much the clip gets zoomed in to hide the shaky edges.
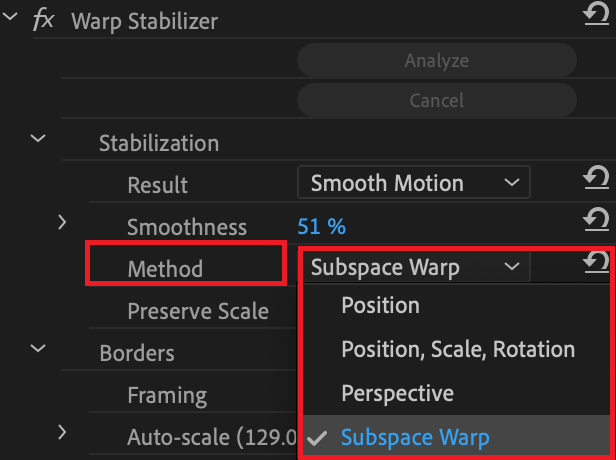
- Stabilization Method: Try different options like Position, Position, Scale, Rotation, Perspective, and Subspace Warp to see what fits your shot best.
When you find settings that work well, you can save them as a preset for future use.
That’s it! With these simple steps, you now know how to stabilize footage in Premiere Pro using the Warp Stabilizer effect. If you're working on a vlog, short film, or event video, Adobe Premiere Pro stabilize video tools can effectively eliminate shaky clips.
Part 3. What If Your Video File Is Damaged or Unstable?
But what if the steps above didn’t work? Sometimes, the problem isn’t just the camera shake; it’s the video file itself. If your footage won’t play smoothly or shows strange issues, it might be corrupted. Here are some common signs of damaged video files:
- Lag or freezing during playback
- Missing or flickering frames
- Audio and video out of sync
- Playback errors or blank screens
- Files that won’t open at all
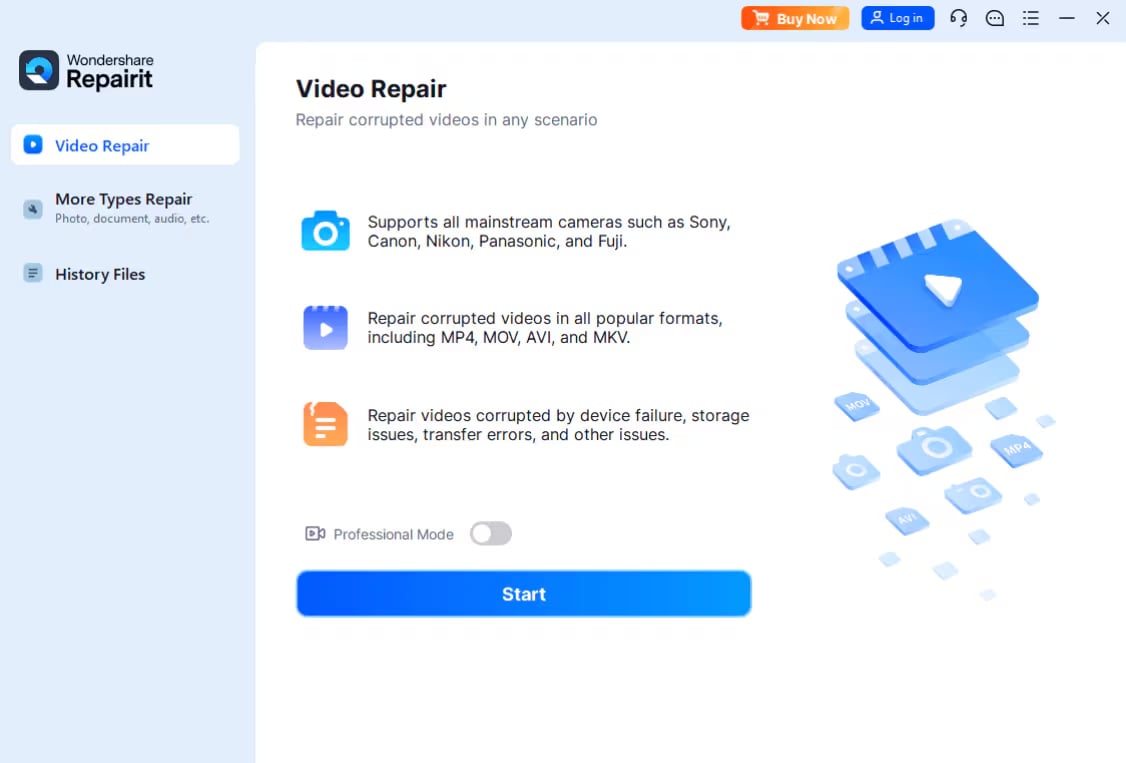
If you notice any of these problems, stabilizing alone won’t help. You’ll need to repair the file first before editing. A reliable tool you can use is Repairit Video Repair. It’s designed to fix broken, glitchy, or unplayable video files caused by system crashes, bad exports, or transfer errors. Just upload your damaged video, let the tool fix it, then save the repaired file—ready to use in Premiere Pro.
Key Features:
- Uses advanced AI to detect and fix shakiness, missing frames, or playback issues. Ideal for fixing videos that can’t be stabilized properly in Premiere Pro.
- Fix Premiere Pro videos in MP4, MOV, AVI, MKV, MXF, BRAW, R3D, MTS, and more.
- Best for 4K+, HDR/LOG footage, and corrupted RAW files.
- Keeps original resolution and color grading for seamless Premiere import.
- Works well with Premiere Pro, After Effects, Final Cut, and more.
- Restores corrupted motion sensor data to help Premiere stabilize footage properly.
Fix the damage first, then go back to stabilizing for the best results. Here are the steps:
Step 1: Run Repairit and hit the +Add option to add the corrupted Premiere video clips.
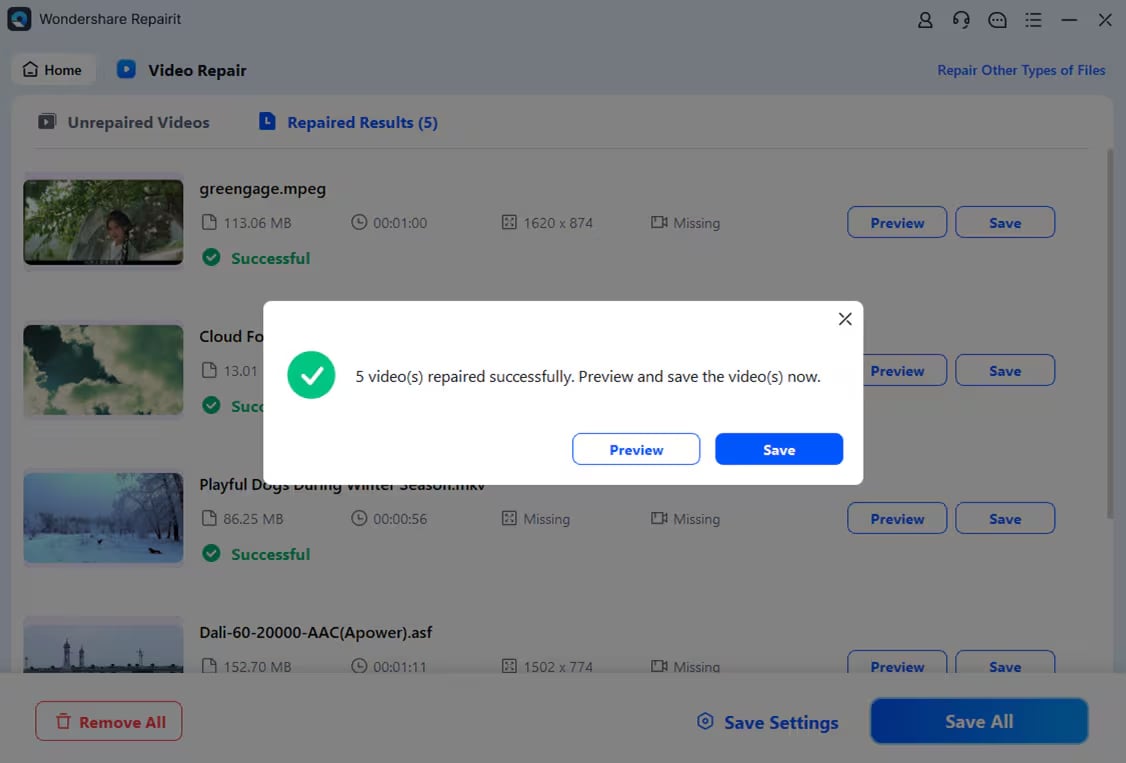
Step 2: Once corrupted Premiere video clips are added, you’ll notice their specified details: file name, path, size, duration, resolution, and device info. Hit Repair to begin the video repair.

Step 3: Tick Preview to verify if the repaired video clips have been fixed accordingly. If you're happy with it, click Save and pick a different folder (not the original one). Your fixed video is now ready to attach in your Adobe Premiere Pro timeline.
Fix Damaged or Unstable Video Files
 Security Verified. Over 7,302,189 people have downloaded it.
Conclusion
Stabilizing video in Adobe Premiere Pro is an easy and effective way to fix shaky clips and make your project look clean and professional. The Warp Stabilizer tool can smooth out most footage in just a few clicks. But if your video is too damaged or won’t play right, you’ll need more than just stabilization. In that case, a tool like Repairit Video Repair can fix broken files so they’re ready to edit smoothly in Premiere.
FAQs
-
Why is my Warp Stabilizer greyed out?
This usually happens if:The clip is nested inside a sequenceYou're applying it to a multi-layered or adjusted clipThe clip isn't selected properlyTry right-clicking the clip and choosing “Replace with After Effects Composition”, or apply the effect directly to a non-nested clip. -
Can I undo stabilization if I don't like the result?
Yes. Navigate to the Adobe Premiere pro Effect Controls panel and either disable or undo the Warp Stabilizer effect. -
Can I stabilize part of a clip only?
Yes. Use the razor tool to cut the shaky part, then employ Warp Stabilizer just to that section.
