
 TL;DR:
You can resolve choppy or stuttering playback in VLC Media Player by reconfiguring the application's internal hardware and caching settings or by repairing the source file if it is corrupted.
● Disable Hardware-accelerated decoding in the Input/Codecs preferences and increase both File caching and Network caching values to 1000 to allow VLC to buffer more frames for smoother playback.
● Optimize video processing by setting the Output driver to Automatic and configuring FFmpeg threads to 2, 3, or 4; if the issue stems from missing formats, manually install updated external codec packs like K-Lite or CCCP.
● Ensure your system meets the minimum 100MB free disk space requirement, and if the video file itself is damaged, use a recovery tool like Wondershare Repairit Desktop or Online to rebuild the corrupted file structure.
Ask AI for a summary
 ChatGPT
 Perplexity
 Gemini
 Claude
 Grok
Grok
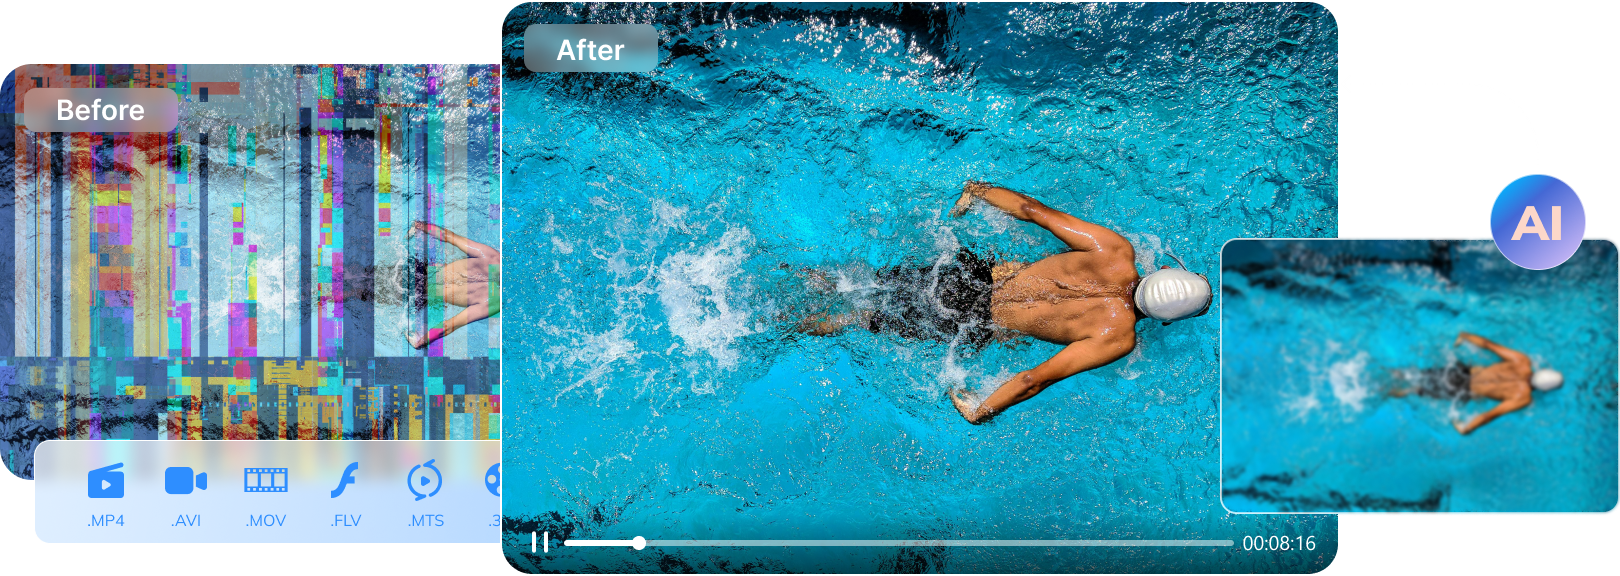
Have you tried playing one of your videos in VLC Media Player, and it’s choppy and jerky? You don’t have to worry – many users have reported similar problems. Fortunately, we’ve prepared a guide to help you fix the VLC choppy playback issue.
We’ll explain what causes the choppy playback in VLC and give you some troubleshooting tips. Moreover, we’ll give you instructions for the top seven ways to fix VLC and explain how to fix a corrupted video that causes choppiness while playing. With our guide, you’ll fix VLC choppy playback issue with ease.
What Are the Causes of VLC Choppy Playback
It can be frustrating to play a video in VLC Media Player, and it’s choppy. The choppy playback can happen for various reasons. Either the problem is with the video or with VLC. Whichever the problem is, it can easily be fixed.
These are the most common causes of VLC choppy playback:
- Corrupt videos – If your video gets corrupted, you’ll experience choppiness, freezing, stuttering, or even an inability to play the video in VLC.
- Outdated VLC – When VLC is outdated, it can show bugs and glitches, malfunction, and have playback issues.
- Improper VLC settings – Sometimes, incorrectly configured VLC player settings, such as hardware decoding, caching value, or output settings, can cause choppy playback.
- Codec issues – If your video codecs are wrong or missing, you’ll have issues with VLC choppy playback.
VLC Choppy Playback Troubleshooting Tips

Fixing the choppiness in videos in VLC Media Player depends on the issue behind it. However, before you start fixing issues with your video or VLC, you should check if any underlying problems are preventing normal playback in VLC. Check these troubleshooting tips before you start fixing VLC.
Tip 1: Check if Your Computer Has the Minimum Requirements
The first thing you should check is if your computer has the minimum system requirements to run VLC Media Player. If your computer doesn’t meet these requirements, you’ll experience many issues with VLC Media Player’s performance.
These are the minimum requirements for running VLC Media Player on your computer:
- CPU – Intel Pentium 2 @ 166 Mhz / AMD K-6 @ 166 Mhz
- RAM – 128MB
- GPU – Intel / AMD / NVIDIA 64MB
- OS – Windows 10 (32Bit, 64Bit) / Windows 8 (32Bit, 64Bit) / Windows 8.1 (32Bit, 64Bit) Windows 7 (32Bit, 64Bit) / Windows Vista / Windows XP
- Hard disk – 100MB
Tip 2: Check if You Have Enough Space
VLC Media Player might show issues if you don’t have enough free space on your hard drive. A full hard disk means your programs can’t use free space to perform certain actions. Check if you have enough free space to run VLC Media Player.
Tip 3: Check if Your CPU/RAM is overused
Another underlying reason for your VLC choppy playback could be overused CPU and RAM. If your CPU and RAM run overtime, your VLC performance could suffer, which can cause choppy playback in VLC Media Player.
To check if your CPU/RAM is overused, open Task Manager, and you’ll see the usage of CPU and RAM in percentages.
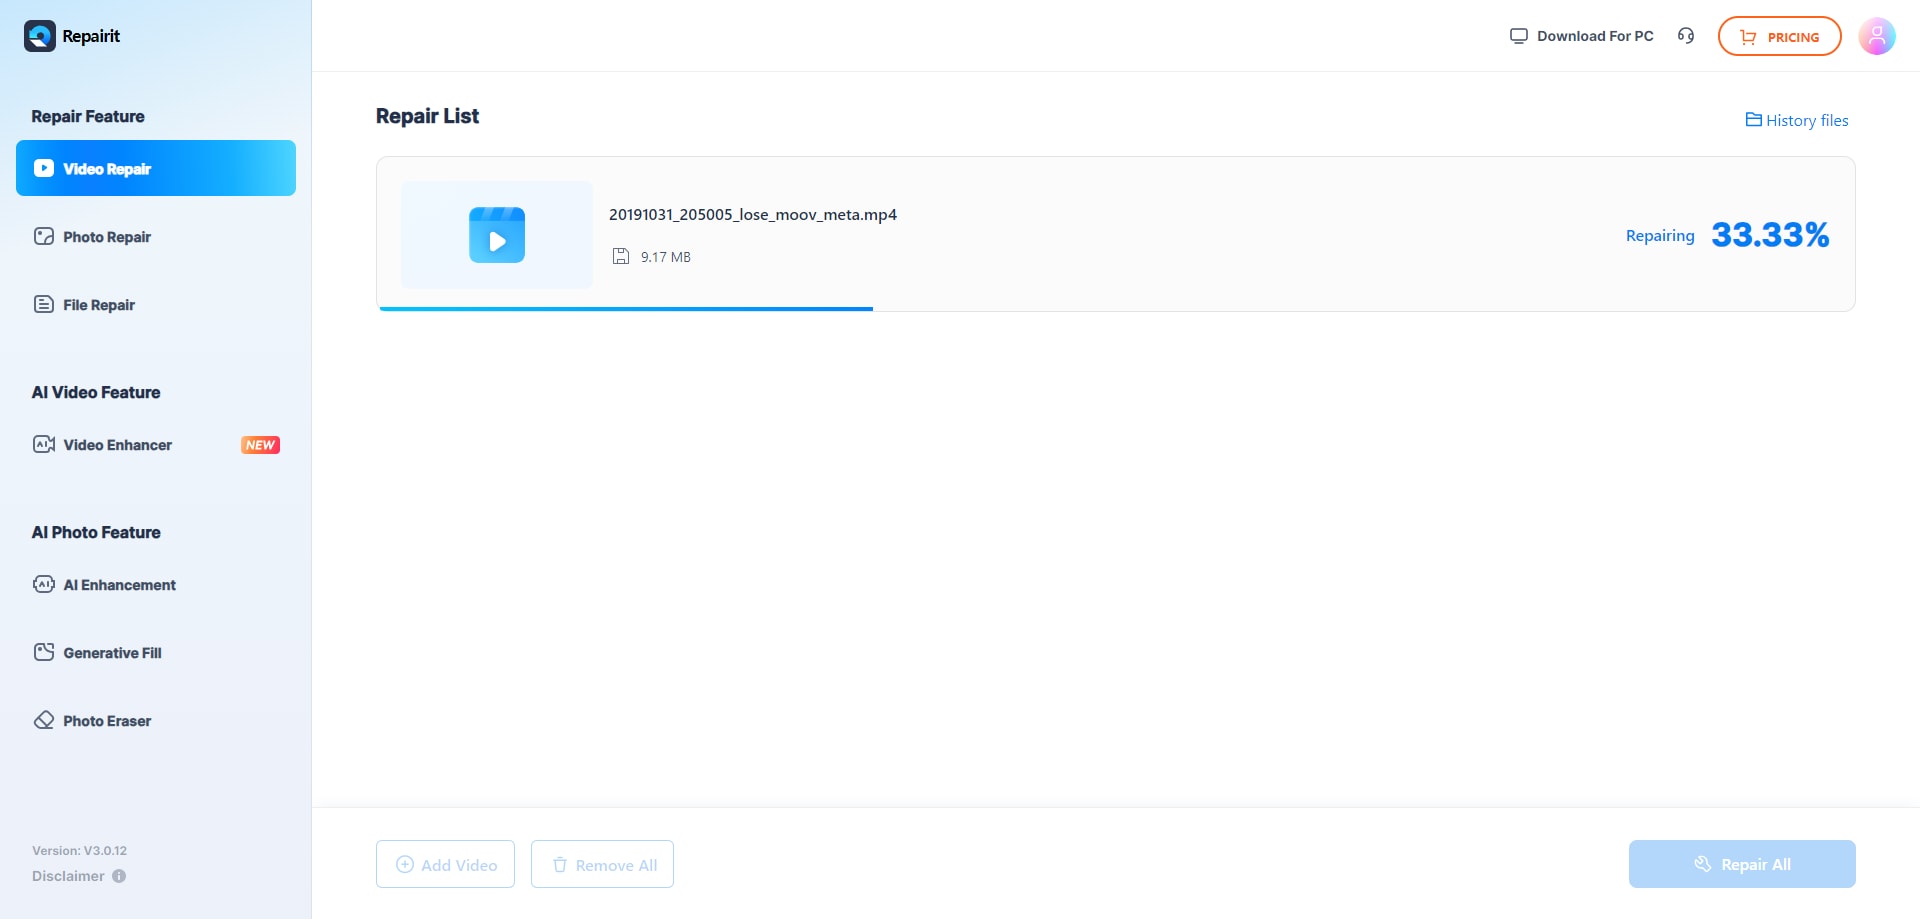
Fix Corrupted Videos With Repairit Desktop Video Repair
Before you start fixing VLC Media Player, the reason for your choppy playback could be a corrupted video. If your video is corrupted, you’ll experience many playback problems like stuttering, lagging, freezing, choppiness, etc. To fix a corrupted video, you can use a video repair tool like Wondershare Repairit.
Wondershare Repairit Desktop Video Repair is a powerful video repair tool that can help you repair a corrupted video in a few clicks. Follow these steps to repair corrupted videos with Wondershare Repairit to fix the VLC choppy playback issue:

Wondershare Repairit - Video Repair
Security Verified. Over 7,302,189 people have downloaded it.
-
Repair damaged videos with all levels of corruption, such as video not playing, video no sound, out-of-sync video or audio, playback errors, header corruption, flickering video, missing video codec, etc.
-
Repair full HD, 4K, and 8K videos and support 20 popular formats, including MOV, MP4, M2TS, INSV, M4V, WMV, MPEG, ASF, etc.
-
Repair damaged or corrupted videos caused by video compression, system crash, video format change, etc.
-
Repair critically damaged or corrupted videos available on SD cards, mobile phones, cameras, USB flash drives, etc.
-
Repairit has a quick and advanced scanning mode. You can use either depending on the level of corruption the video file has undergone.
-
No limit to the number and size of the repairable videos.
-
Support Windows 11/10/8/7/Vista, Windows Server 2003/2008/2012/2016/2019/2022, and macOS 10.12~macOS 15.
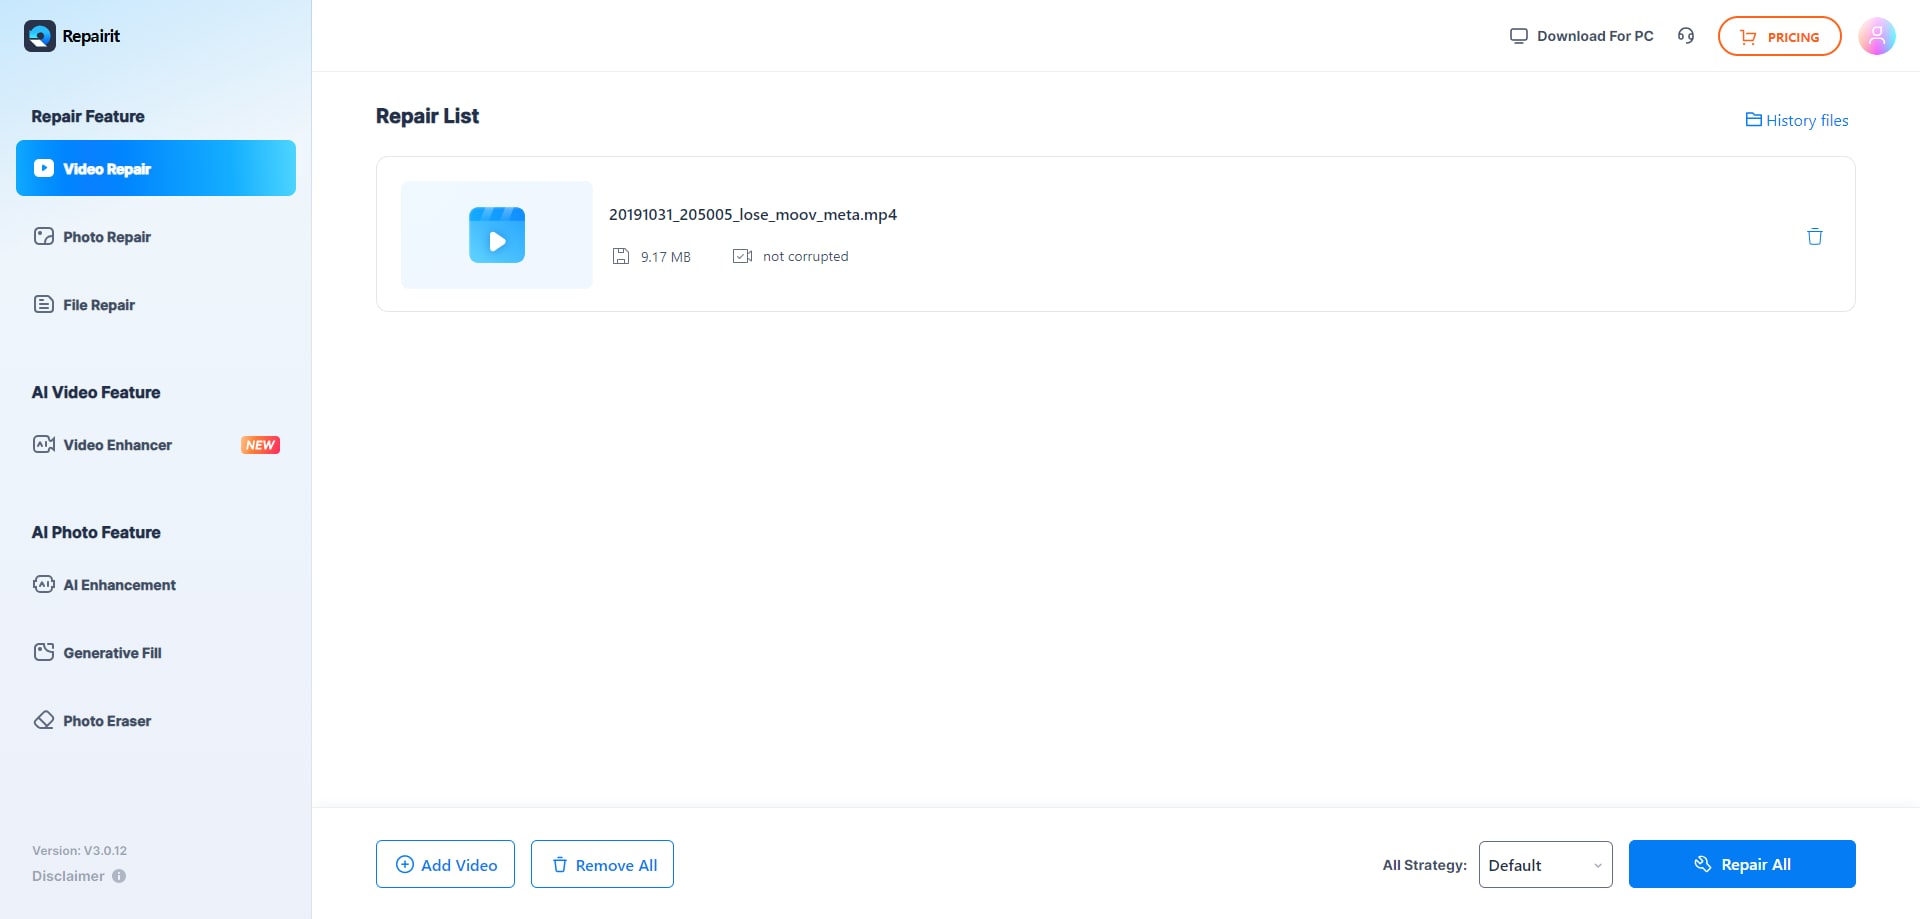
Step 1: Install and open Wondershare Repairit on your computer.
Step 2: Click on the Video Repair section, then select Add to upload your corrupted videos.

Step 3: You’ll see your corrupted videos displayed on the screen. To start the repair process, click Repair.

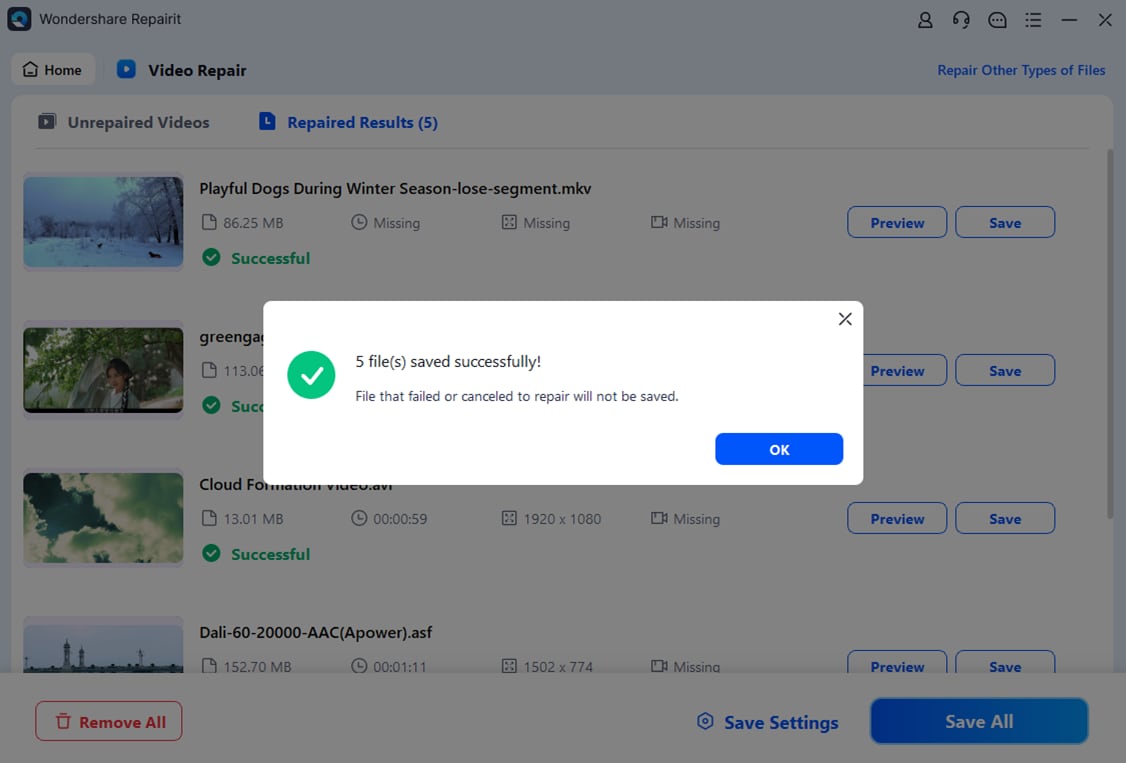
Step 4: Wait for the repair process to complete. Once it’s done repairing, you’ll be notified with a message. Press OK.

Step 5: Preview the repaired videos by clicking the Preview button. If you’re satisfied with the results, click Save. If not, select the Advanced Repair option.

Step 6: Select a different, safe location for your repaired videos.

Step 7: You’ll see a message that the repaired videos are saved. Click OK, and you’re done.
If your video isn’t corrupted, yet the playback is still choppy in VLC, then your media player is the problem. We’ve prepared the top seven ways to fix the VLC choppy playback issue.
Alternate Option 1: Update VLC
If your VLC Media Player is outdated, you’ll experience various performance issues, such as videos lagging, stuttering, freezing, etc. Moreover, you could also experience choppy playback due to the outdated VLC. Updating the VLC Media Player can solve the choppiness problem.
Follow these steps to update your VLC Media Player:
Step 1: Open VLC Media Player on your computer.
Step 2: Click on Help in the menu at the top of the screen and select Check for Updates.

Step 3: If an update is available, a message will pop up to notify you. The prompt will ask you if you want to update your VLC. Click Yes to proceed.

Step 4: Wait for the new update to install and play your video in VLC again.
Alternate Option 2: Reinstall VLC
If your VLC Media Player is corrupted, it can start malfunctioning. That can include choppy playback. Therefore, if you uninstall and reinstall your VLC Media Player, you can fix the problem of choppy playback. Moreover, since you’ll reinstall it, you’ll get the latest VLC version, which will solve any other issues you might have.
Follow these steps to reinstall VLC Media Player:
Step 1: Press the Windows key, search for Apps and Features, and open it.

Step 2: Scroll down to find VLC Media Player in the list of apps.
Step 3: Click on it and click Uninstall.

Step 4: Now, you can reinstall it. Go to their official website and download VLC Media Player.
Step 5: Once the VLC installation file is downloaded, double-click on it to launch it.
Step 6: Follow the prompts on the screen to finish installing VLC Media Player.
Alternate Option 3: Download the Latest Codecs
Media players require the correct codecs to play videos. If your codecs are outdated or incorrect, you’ll need to download the latest codec version. That will fix the issue of VLC choppy playback. Codecs are usually updated with the VLC Media Player update.
However, sometimes you’ll have to do it manually. You must find the correct codec pack and install it to fix choppy playback. Some of the most popular codec packs for VLC are K-Lite Codec Pack, Media Player Codec Pack, CCCP, etc. You can download them on their official websites.
Alternate Option 4: Disable Hardware Acceleration
Hardware acceleration is a feature that allows VLC Media Player to distribute the graphics tasks to your GPU. It helps VLC improve the visual output of the videos. However, it can sometimes cause choppy playback. You can fix the problem by disabling hardware acceleration.
Follow these steps to turn off hardware acceleration in VLC:
Step 1: Open VLC Media Player.
Step 2: In the top menu, select Tools, then Preferences.
Step 3: Go to the Input / Codecs section. Next to the Hardware-accelerated decoding, expand the drop-down menu and select Disable.

Step 4: Click Save to apply the changes, and try playing your video in VLC again.
Alternate Option 5: Configure Output Settings
Output drivers are used to manage various features and functions while VLC is playing videos. Different drivers are used for many different functions. If your video output settings are set incorrectly, your VLC won’t be able to play videos seamlessly and will cause choppy playback.
Follow these steps to configure video output settings to fix the VLC choppy playback issue:
Step 1: In VLC Media Player, click on the Tools section and select Preferences.

Step 2: This will open the Simple Preferences window. Go to the Video section.
Step 3: Expand the drop-down menu next to the Output option.

Step 4: Select the correct video output driver or set it to Automatic.
Step 5: Click Save to save the changes.
Alternate Option 6: Adjust Caching Value
Caching value or caching time is the time VLC waits before transmitting a frame. The higher the caching value, the smoother the video playback. If your caching time is set to 300ms, VLC will transmit 3–4 frames a second.
You can increase the caching value to fix choppy playback in VLC and create smoother playback. Follow these steps to adjust the caching value:
Step 1: Open VLC Media Player.
Step 2: Click on Tools, then select Preferences.
Step 3: Go to the Input / Codecs section and find Show settings. Check the box next to All.

Step 4: Set File caching and Network caching to 1000.

Step 5: Save the changes and play the video again.
Alternate Option 7: Configure FFmpeg Threads
FFmpeg threads are used to impact the quality and performance of VLC videos. If you configure them correctly, you can fix the issue of choppy performance in VLC Media Player. If you set the proper for FFmpeg threads, you’ll have smooth video playback.
Follow these steps to configure FFmpeg threads in VLC:
Step 1: In VLC Media Player, go to Tools, then select Preferences.
Step 2: Go to the Input / Codecs section and select All next to Show settings.
Step 3: In the left-side menu, expand Video codecs and select FFmpeg.

Step 4: Find Threads and set it to 2, 3, or 4.

Step 5: Click Save to apply the changes and play your video again.
Bonus Tip: How to Fix Corrupted Videos Online
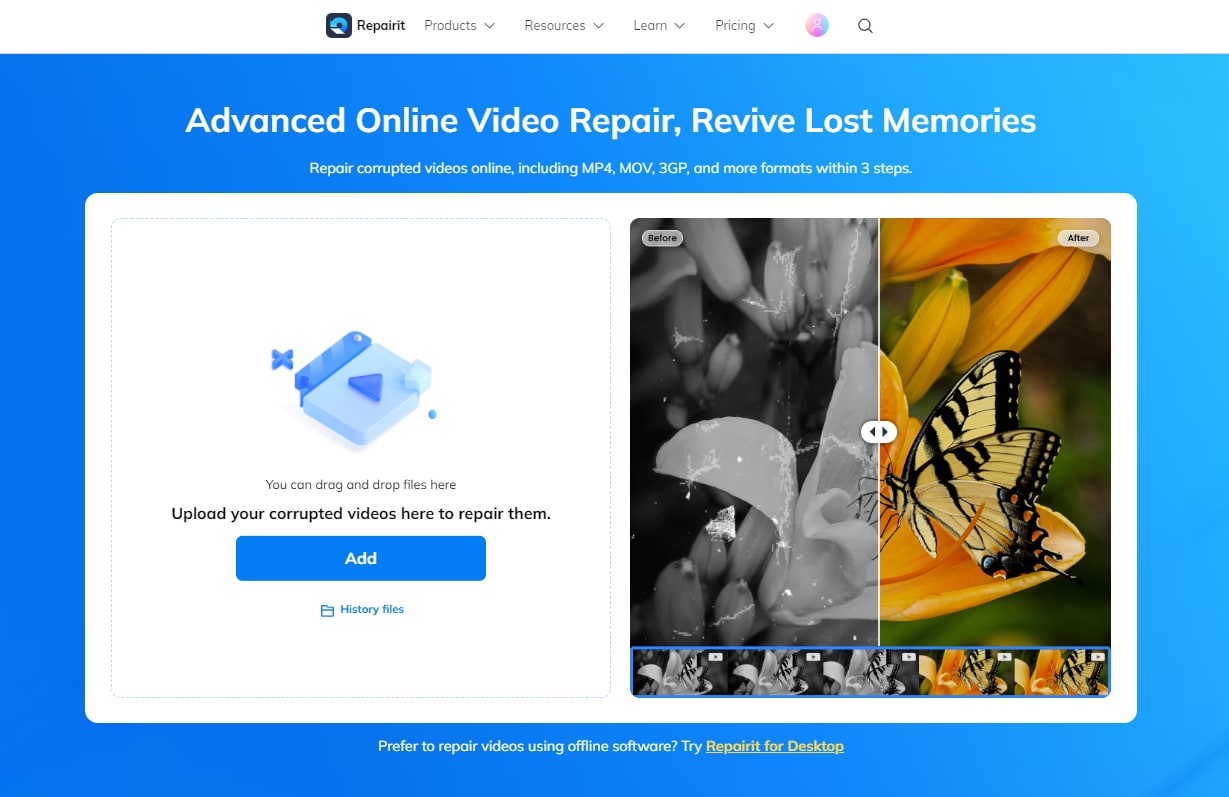
We’ve mentioned you should useRepairit Desktop Video Repair to fix your corrupted videos. However, Wondershare Repairit also offers an online version. You can use Repairit Video Repair Online to avoid downloading the program.
It allows you to fix any corrupted videos online and fix the VLC choppy playback. Follow these steps to fix a corrupted video with Wondershare Repairit Online:
Step 1: Go to the Wondershare Repairit Online Video Repair page. Click Add to upload your corrupt videos.
Step 2: All the videos you’ve uploaded will be listed on the screen with their specifications. Click Repair to start the reparation process.
Step 3: The program will start repairing videos one by one. You can monitor the repair process next to each video.
Step 4: Once the repair is done, preview the repaired videos. If satisfied, click Download All and wait for the videos to download so you can play them in VLC.

Conclusion
If your videos are choppy when you play them in VLC Media Player, it can be due to various reasons, such as a corrupted video, outdated VLC, improper VLC settings, codec issues, etc. However, before you start fixing the issue, check if your computer meets the minimum requirements, if you have enough space, and if your CPU/RAM is overused.
If they’re fine, you can start fixing video choppy playback issue. If the video is corrupted, you can use Wondershare Repairit Video Repair Desktop and Online to fix it. If VLC is the issue, you can update or reinstall it, download the latest codecs, disable hardware acceleration, configure output settings, adjust caching time, and configure FFmpeg threads.