
"A photo I took has weird color banding, is there a way to fix this quickly? The only way I can think of doing it is manually brushing over it but that seems excessive."
Hey there! If you’ve ever snapped a photo only to find strange, unsightly bands of color where there should be smooth gradients, good news! There are several effective and less labor-intensive ways to fix color banding. This article will explore color banding, why it happens, and the best techniques to eliminate it. Let's ensure your photos look as stunning as you want.
In this article
Part 1. What is Color Banding and What Causes Banding?
I'm sure you've seen color banding before, even if you didn't know what it was called. It’s when a photo should have a smooth gradient of colors, but instead, you see bands, blocks, stripes, or circles of color.
Color banding often appears in digital images when you view or edit them on your computer. Sometimes, you only notice it after spending hours editing, which can be frustrating.
What Causes Color Banding?
Color banding happens when a photo doesn’t have enough information to display smooth gradients. It’s most noticeable in transitions from light to dark tones of the same color, like in photos. But what are the main reasons for color banding?
- Low-bit depth: Images with low-bit depth don’t have enough shades of color to create smooth transitions. For example, an 8-bit image has 256 shades, while a 16-bit image has 65,536 shades. Modern cameras can capture images with 24 to 32 bits of depth.
- Compression: Color banding can appear if you compress a high-quality photo into a JPEG with a lower bit depth. Compression removes some colors, affecting smooth transitions.
- Post-Production: Heavy editing, adding exposure and saturation, can cause banding. Even intentional effects like posterization can create banding. Sometimes, banding is used creatively in graphic design and video editing.
As you can see, color banding can happen for various reasons. In the next section, we’ll explore solutions for each cause. Let's proceed.
Part 2. Best Way to Fix Color Banding Issue in Photos
If you are facing problems like hatebeesatecheese, Repairit AI Image Debanding is what you need. You may eliminate color banding or striping brought on by uneven image gradients by using Repairit AI Image Debanding features.
The Repairit deband algorithm examines colors, gradients, and textures in images, which helps the tool accurately find and fix problem areas without messing up any finer details., making color transitions more natural. If photo formats are your concern, don't worry. It is available in JPG, JPEG, PNG, BMP, and WEBP.
Here's how to use Repairit AI Image Debanding:
Step 1. Go to AI Enhancement section and click the “Add Photo” button to upload the photo for debanding.
Step 2. After uploading the image, use the “Image Debanding” under the AI Enhancement Model.
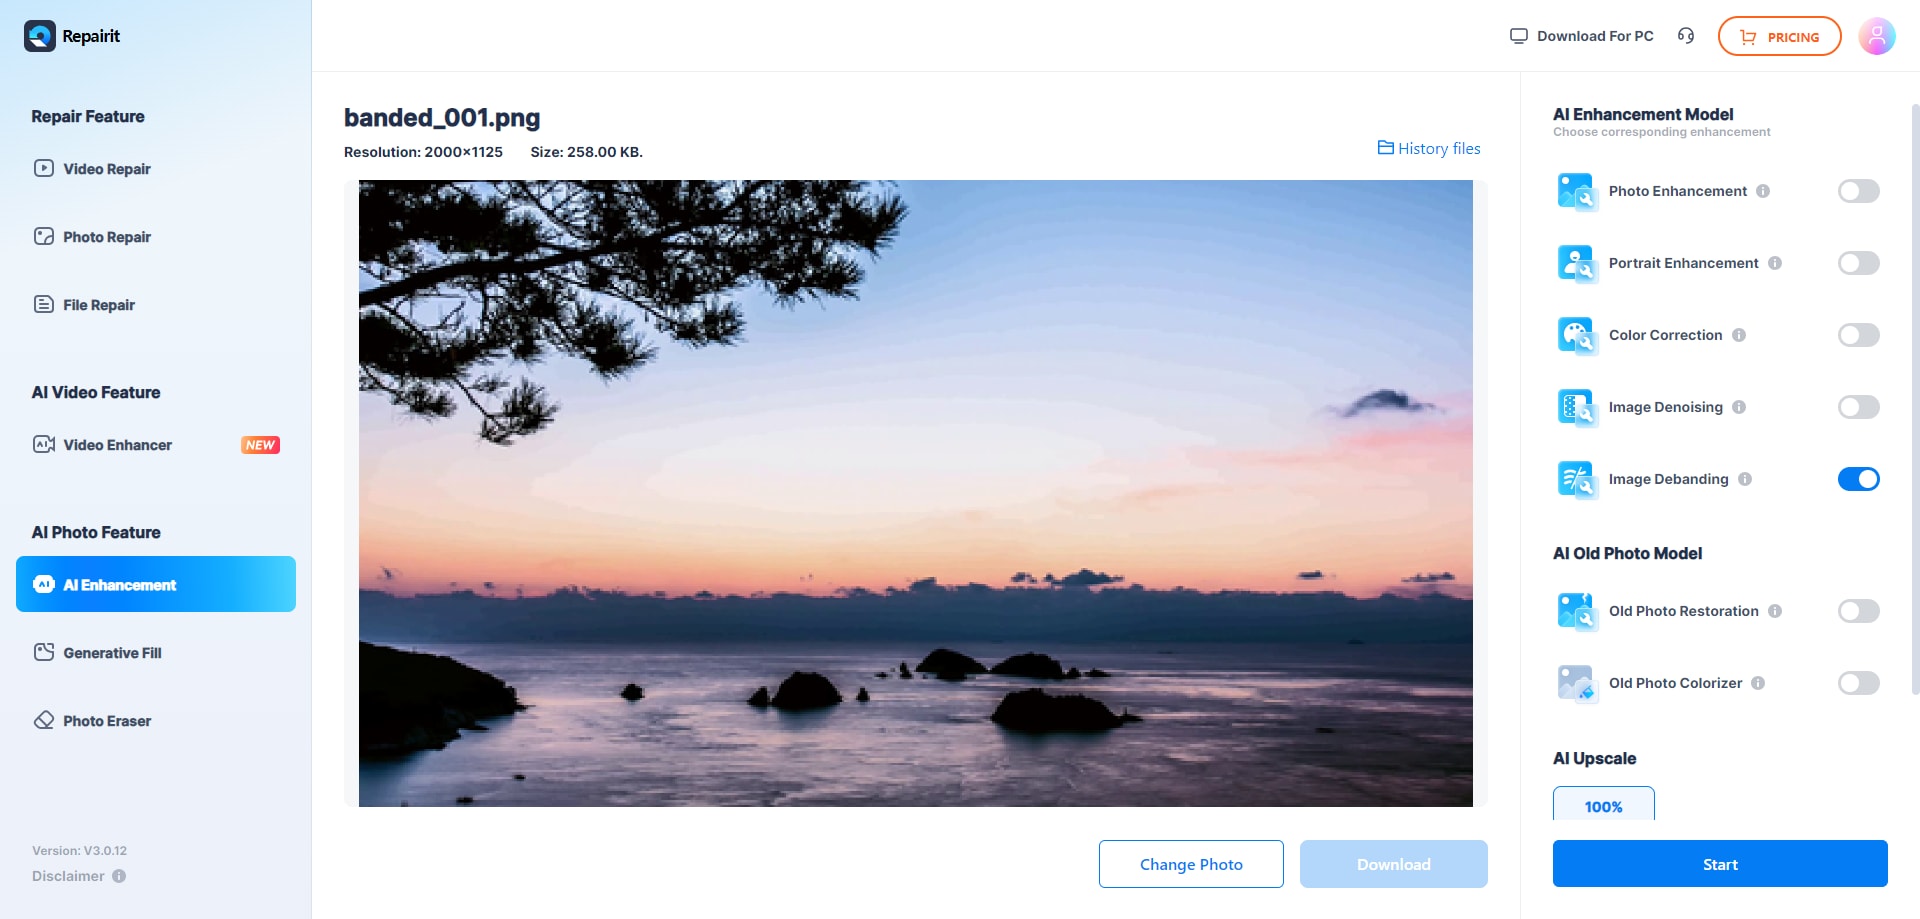
Click the “Start” button to start the process of debanding your images.
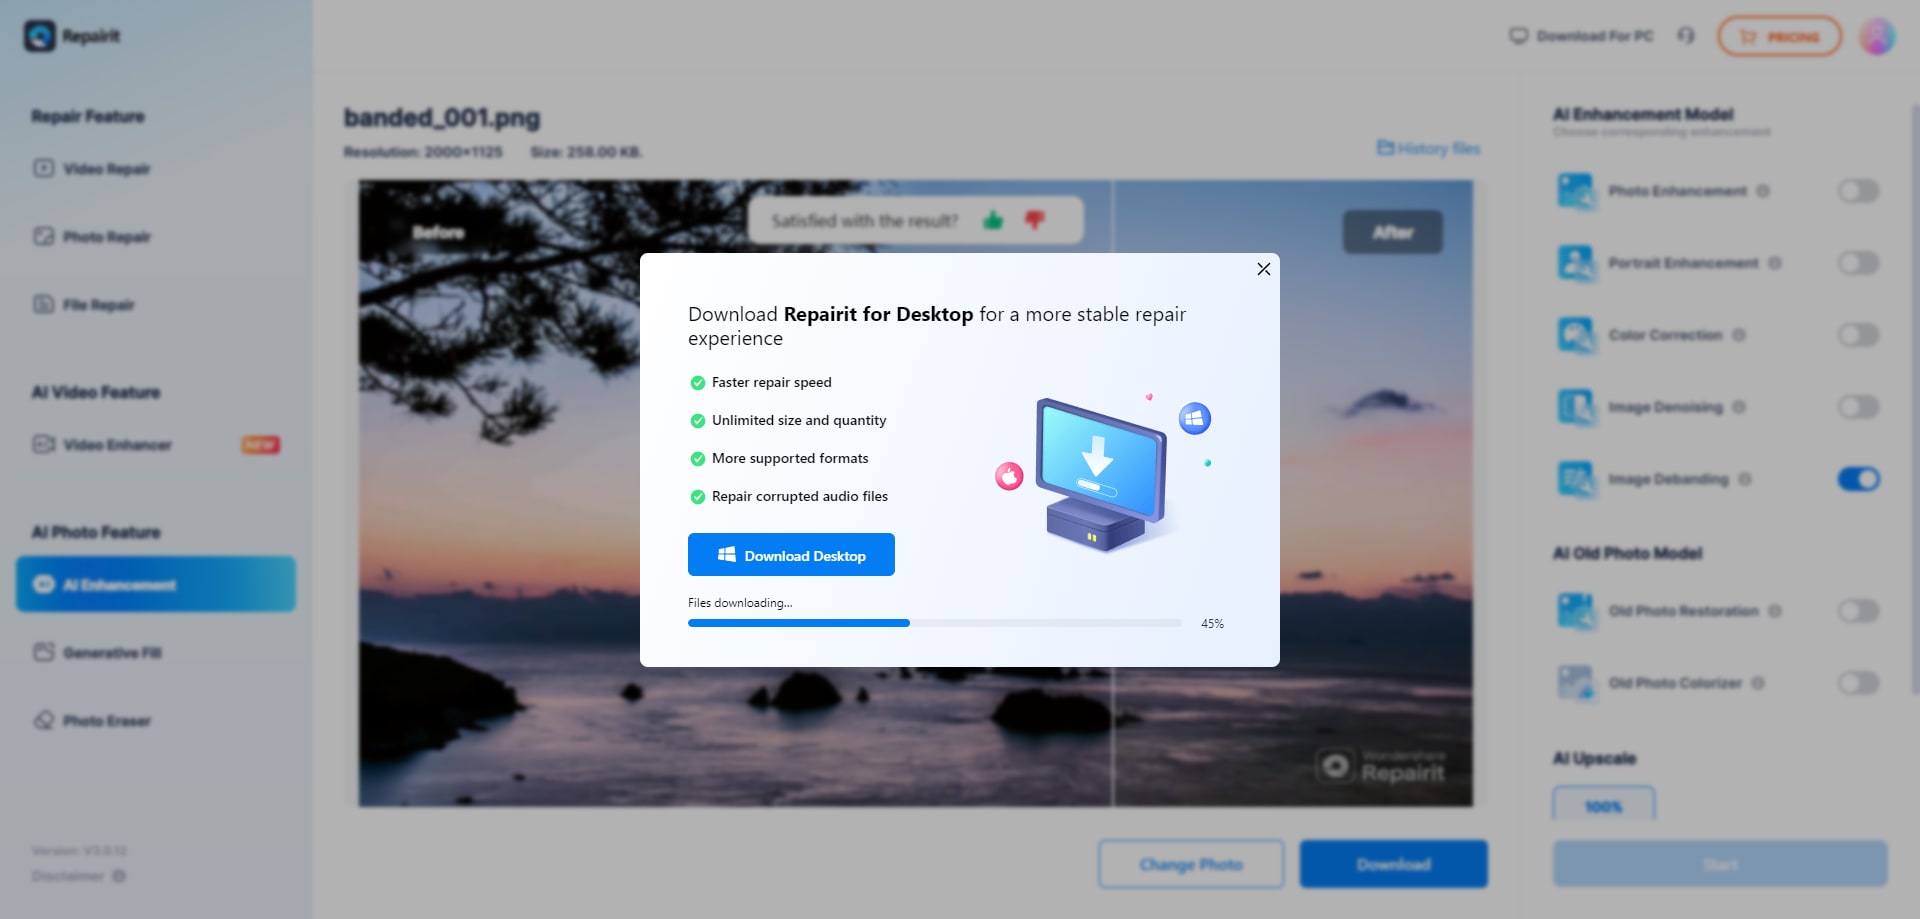
Step 3. You can see a preview of your photographs before and after results after the debanding procedure is complete. If you are satisfied with the debanded photos Download it to your desktop.
Use Repairit AI Image Debanding to Fix Color Banding Now
 Security Verified. Over 7,302,189 people have downloaded it.
Part 3.Other Ways to Fix Color Banding in Your Photos
Aside from automatically fixing color banding, you can do it manually. The only problem here is it will consume some of your time depending on how bad the color band is within your photo. Please check these out:
Fix #1. Check Your Monitor to Fix Color Banding
When you suddenly see banding in an image that looks fine, check if your computer screen is the problem. You don't want to spend time fixing banding in your editing software only to find out there wasn't any banding!
Show the same image on your computer, laptop, and phone devices. If you only see banding on your computer, it’s likely your monitor is causing it.
Fix #2. Fix Color Banding by Making Subtle Edits
Banding often happens when you make extreme edits to a photo. Try making more subtle adjustments instead of pushing sliders all the way. There are many methods for modifying photos.
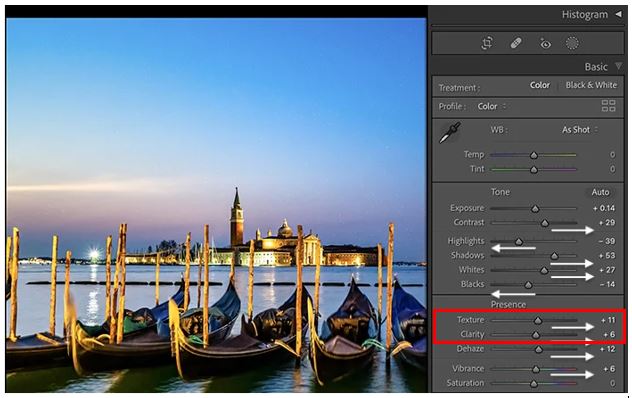
For example, you can adjust saturation and vibrance to get more saturated colors but add a bit of contrast, clarity, and dehaze. You can use the HSL/Color panel to adjust specific colors in Lightroom.
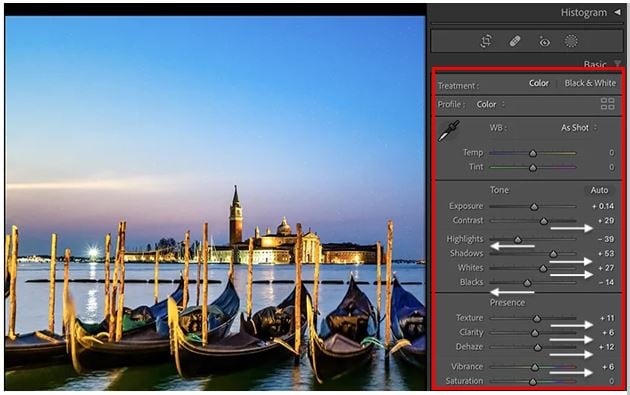
Fix #3. Add Blur to the Images to Fix Color Banding
You can add blur in Lightroom by lowering the Texture and Clarity sliders.
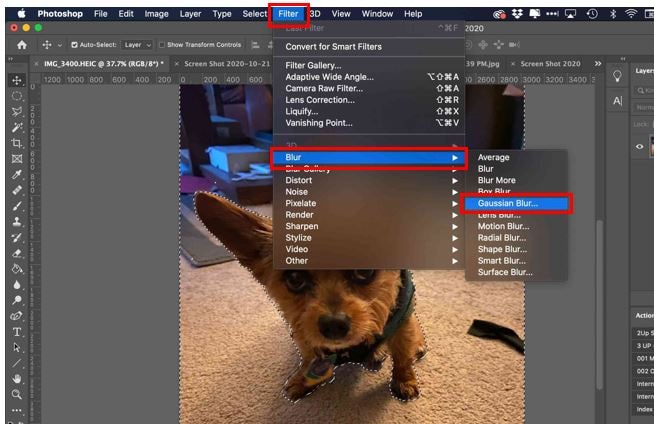
In Photoshop, you can add blur to a selected layer by going to the Filter menu. Choose Filter, select Blur and Gaussian Blur. You can also use Surface Blur. Move the blur slider while watching the preview, and stop when the banding starts to fade.
Fix #4. Add Noise and a Layer Mask to the Photos
Usually, we try to get rid of unwanted noise in our images. But in this case, a little random noise can help hide banding.
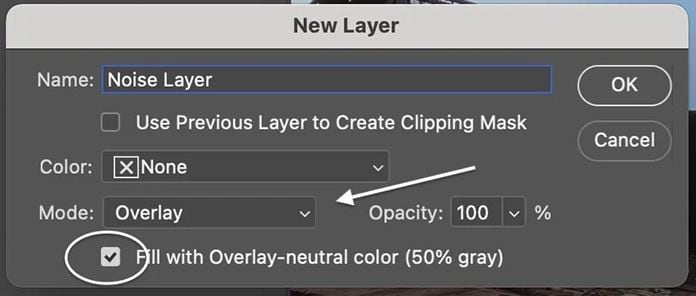
In Photoshop, go to Layer, go to the New, and select Layer. In the dialog box, set the blending mode to "Overlay." Check the box, "Fill with Overlay-neutral color (50% gray)." Lastly, select "OK."
Part 4. How to Identify Color Banding?
Identifying color banding in your images is simple if you know what to look for. Here’s how you can spot it:
- Look for Smooth Gradients: Examine areas of your image that should have smooth color. Some of these are transitions, like skies, shadows, or out-of-focus backgrounds. Banding will appear as distinct lines or blocks of color instead of a seamless gradient.
- Check Multiple Devices: Display the image on different screens, such as your computer, laptop, and phone. If you see banding only on one device, it might be a problem with that screen rather than the image itself.
- Zoom In: Sometimes, banding is more noticeable when you zoom in on the image. Take a closer look at the areas with gradients to see if the colors transition smoothly or if there are visible bands.
- Edit with Care: Banding can become more apparent during editing. If you notice banding after editing, it may be due to your changes.
- Test with Solid Color Backgrounds: Create an image with a solid color background in your editing software and apply a gradient. If banding appears, it's likely a display or software issue.
Conclusion
Color banding can sometimes degrade and frustrate our photos. Gladly, there are the right tools and techniques to fix it and make your photos look their best. It's up to you to automatically deband your images or just keep experimenting and refining your skills. Achieve smooth, beautiful gradients in no time.
FAQ
-
What is color banding?
Color banding is the appearance of distinct bands or lines of color where there should be smooth gradients. This is usually caused by low bit depth, compression, or heavy editing. -
Why does color banding appear on my monitor but not on other devices?
If color banding appears only on your monitor, it might be an issue with your screen. You can run a color banding test to correct the problem. -
What is the best bit depth to avoid color banding?
A higher bit depth, such as 16-bit or higher, can help avoid color banding. This provides more color information and smoother gradients.
