
Ever heard of a 7z extractor? Well, it is a tool that helps you open 7z files. Using a 7z extractor online is easy. You don't need to download anything. There are many 7z file extractor tools available. Each 7zip extractor has unique features. You can choose the best 7 zip extractor online for your needs.
Using a 7z file extractor can save time. It makes handling compressed files simple. Whether you need a 7 zip extractor download or prefer an online option, there are many choices. A good extractor 7 zip tool will make extracting files quick and easy. Windows 7 zip extractors are popular. They work well with many file types.
In this article
Part 1: What is a 7z File Extractor?
A 7z file extractor is a software utility designed to open compressed 7z files, which are commonly used to save space. Using an online 7z extractor simplifies this process significantly. There's no need for any installation; simply upload your file, and the tool handles the extraction for you.
7z extractors are versatile. They support various file formats. This makes them useful for many tasks. A 7z extractor for Windows is a common choice. It’s easy to use. Many people prefer online tools. They are accessible from any device.
Part 2: How to Use a 7z Extractor Online
Getting started with a 7z extractor online is simple and convenient. These online tools make it easy to extract 7z files from any device. Let’s explore some popular options to get you started with your file extraction needs.
Method 1: Use ezyZIP 7z Extractor
ezyZIP is a straightforward and user-friendly online tool that simplifies the process of extracting 7z files. You don't need to download any software, making it a convenient choice. The website is designed to be intuitive, ensuring that even those unfamiliar with file extraction can easily navigate the process.
Just upload your 7z file and download the extracted files to your device.
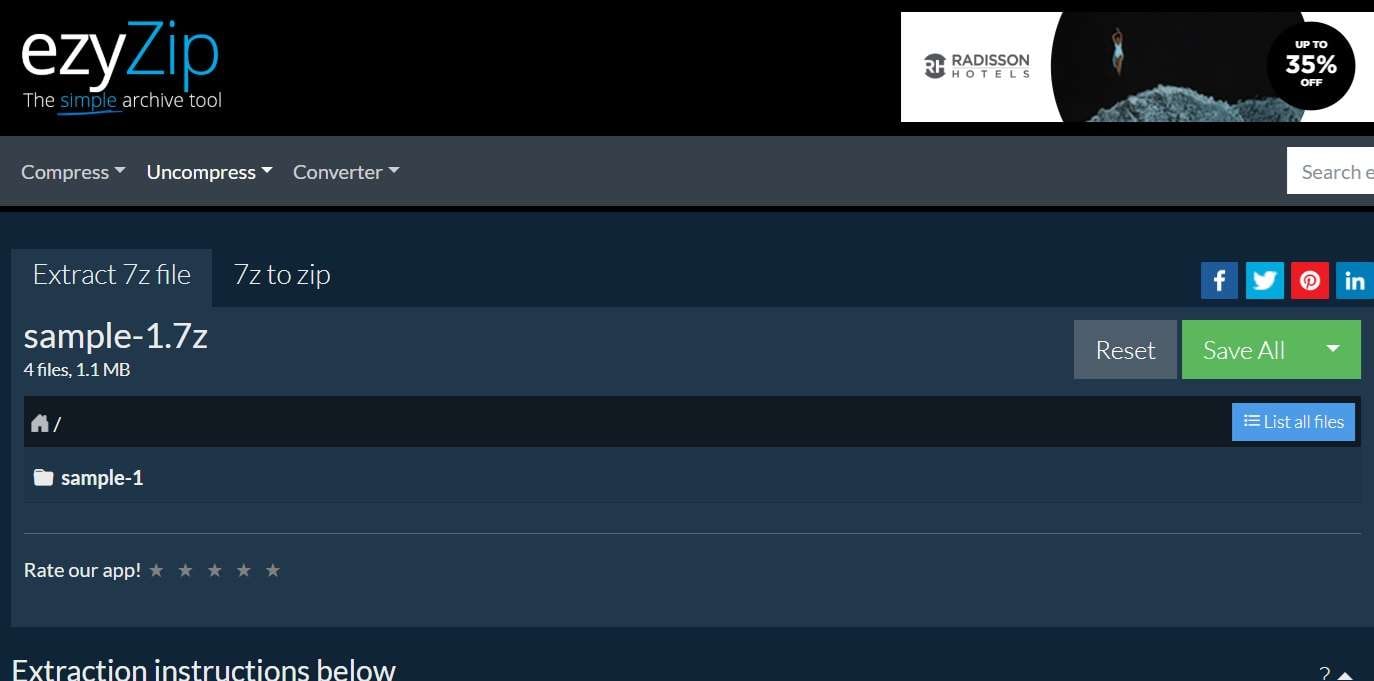
Step 1. Visit the ezyZIP website. Upload your 7z file.
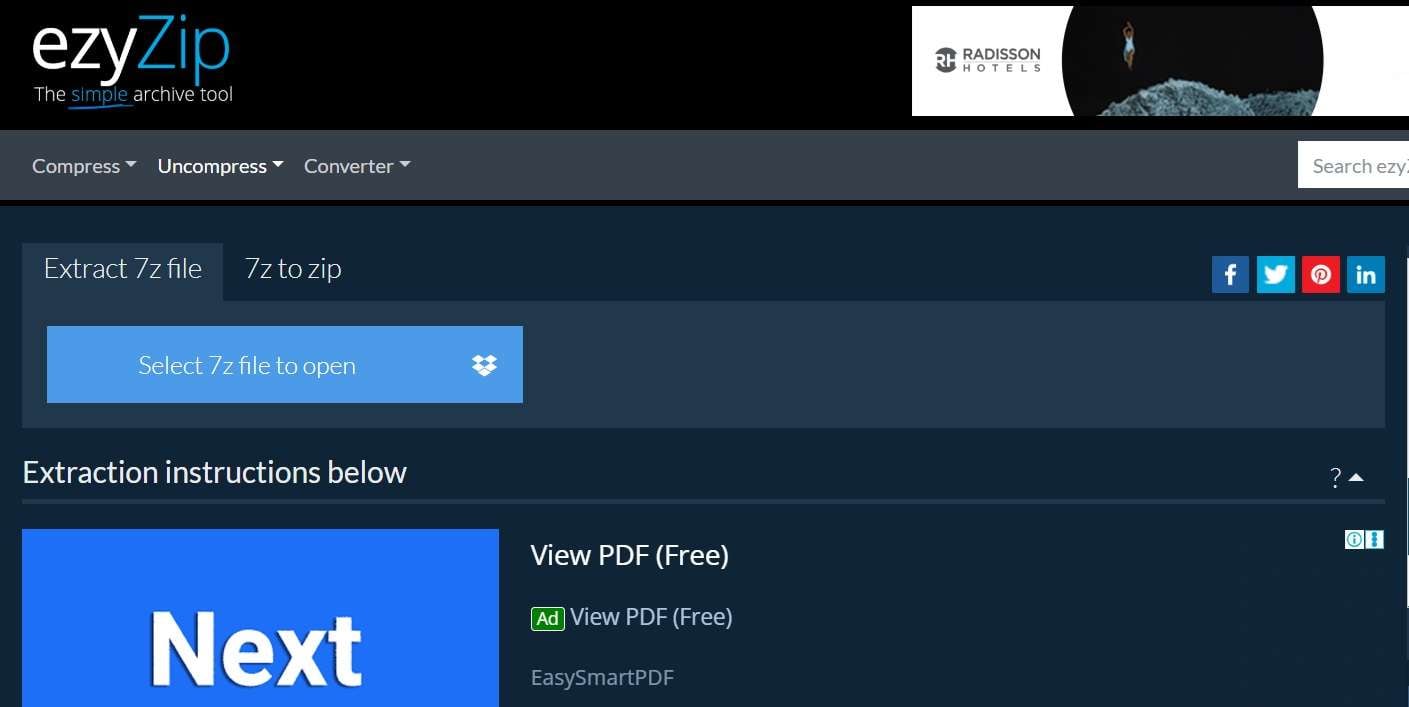
Step 2. Hit the “Save All” button. Download the extracted files.
Method 2: Use Unzip Online 7zip Extractor
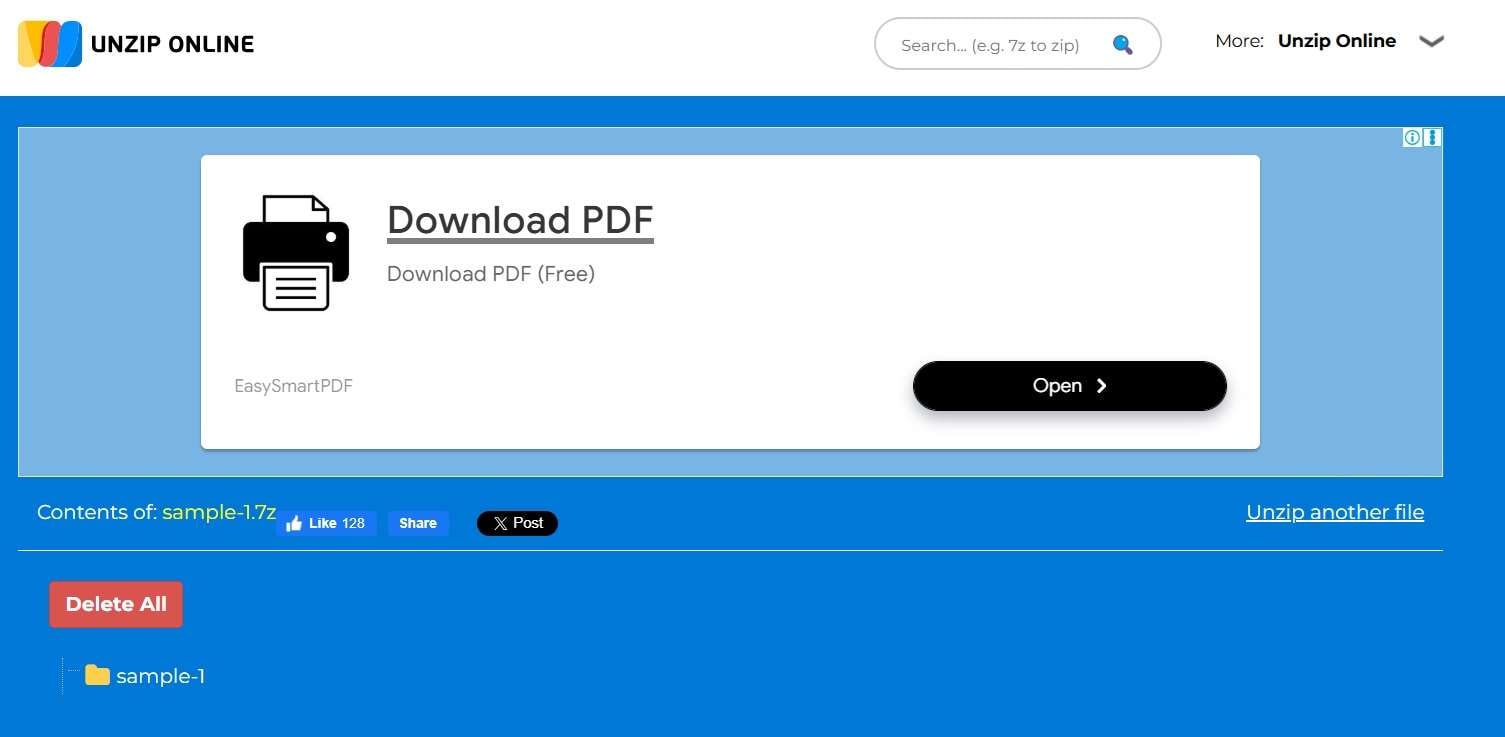
Unzip Online is a fantastic choice for extracting 7z files without needing to install any software. This tool lets you upload your 7z files directly from your device or cloud storage. Once your file is uploaded, the extraction process is quick and straightforward. The interface is user-friendly and intuitive, guiding you through each step. Simply click "Unzip," and you can promptly download the extracted contents.
Step 1. Go to the Unzip Online website. Select your 7z file.
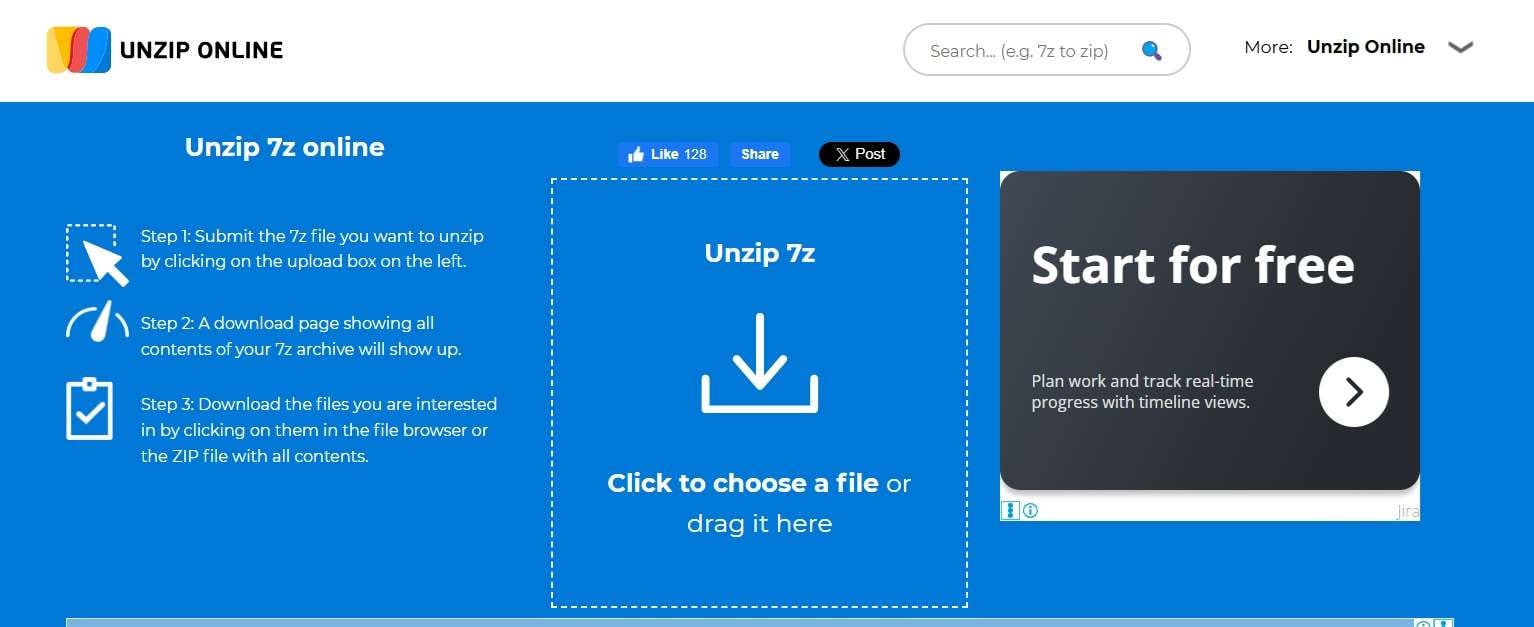
Step 2. Save the extracted files to your device.
Method 3: Use CloudConvert 7zip Online Extractor
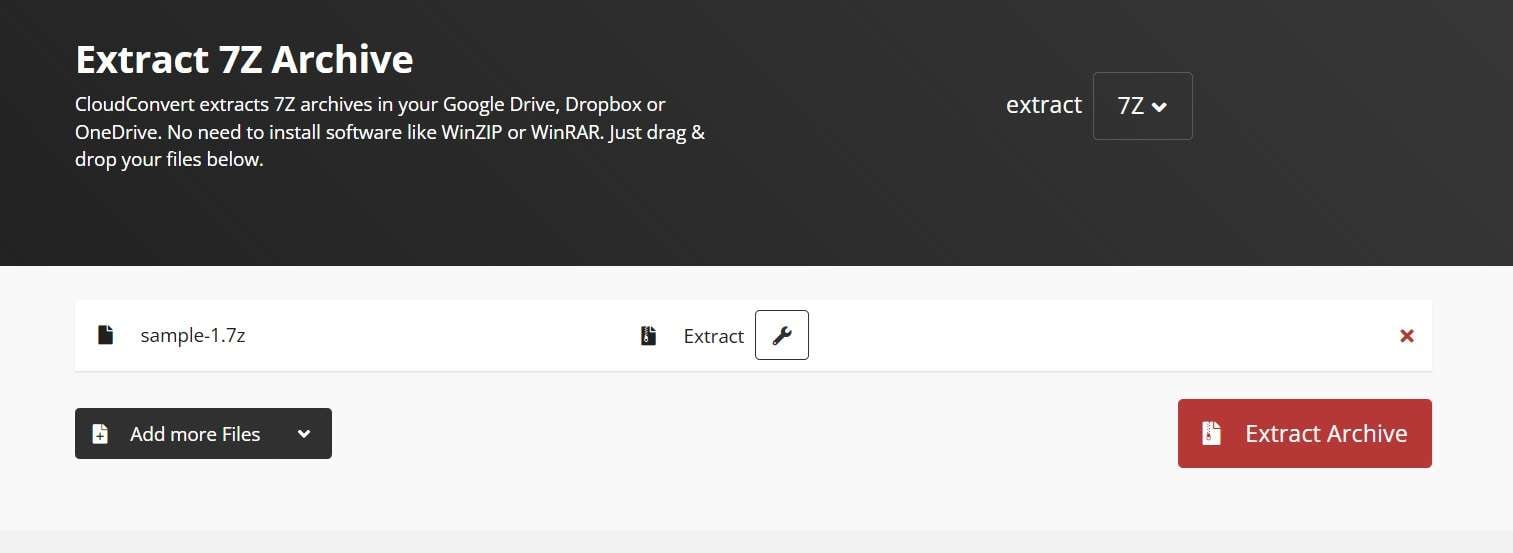
The CloudConvert 7zip Online Extractor is a powerful tool designed to handle a variety of compressed file formats, including 7z. This tool offers a hassle-free way to extract your files directly through the browser. The process is straightforward: upload your 7z file, click the "Extract Now" button, and download the files. This online extractor is efficient and reliable, making it a popular choice for many users.
Step 1. Access the CloudConvert 7zip Online website. Upload your 7z file.
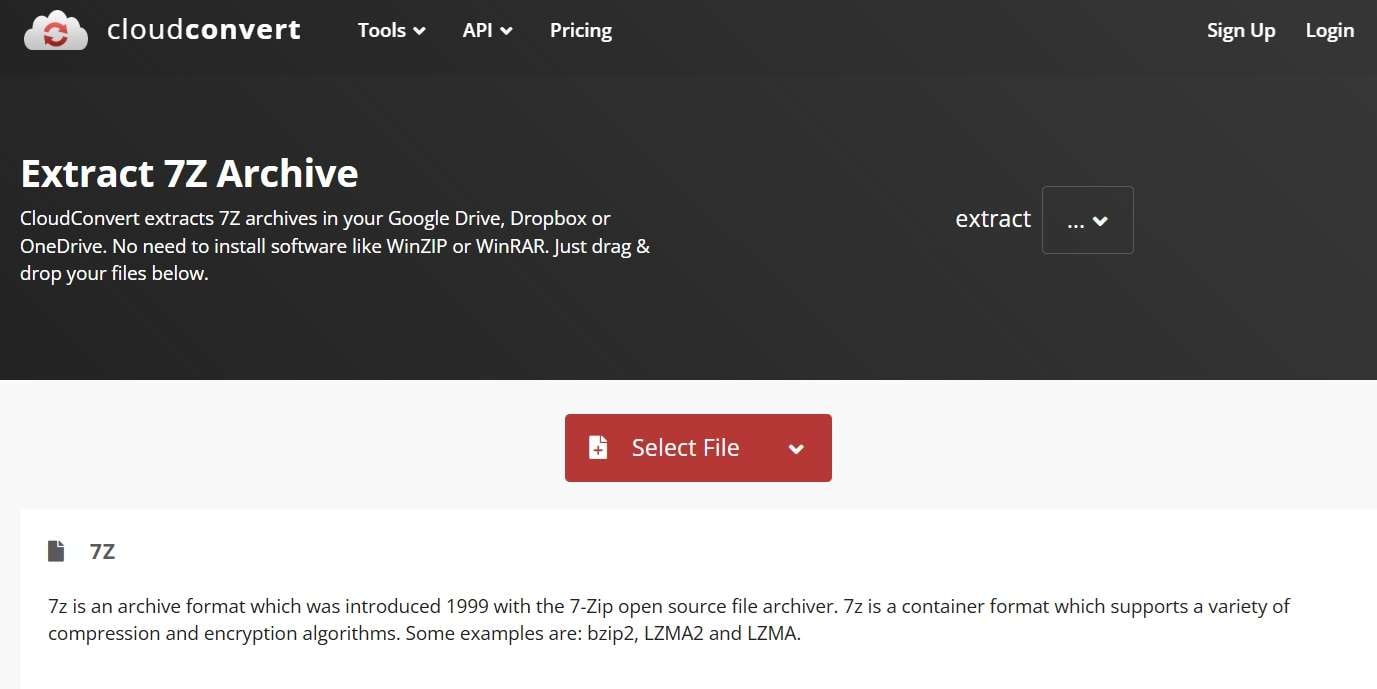
Step 2. Click "Extract Archive". Download the files.
Method 4: Use Archive Extractor Online
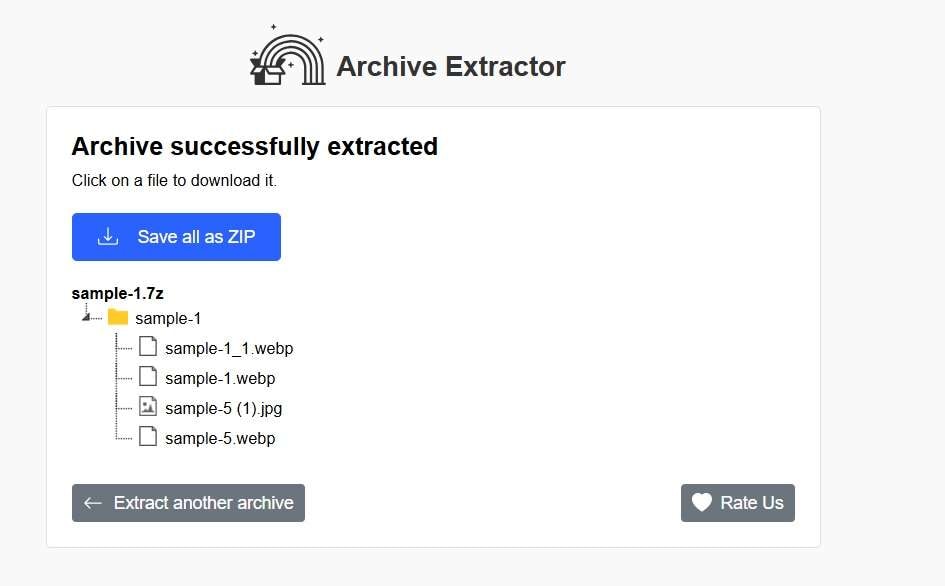
Archive Extractor Online provides a robust solution for extracting 7z files. This versatile tool supports numerous archive formats, ensuring you can handle different file types with ease. The process is simple: visit the website, upload your 7z file, and click "Extract." The tool quickly processes the file, allowing you to save the extracted contents without any fuss. It's an excellent choice for those needing a reliable online extraction tool.
Step 1. Visit the Archive Extractor site. Upload your 7z file.
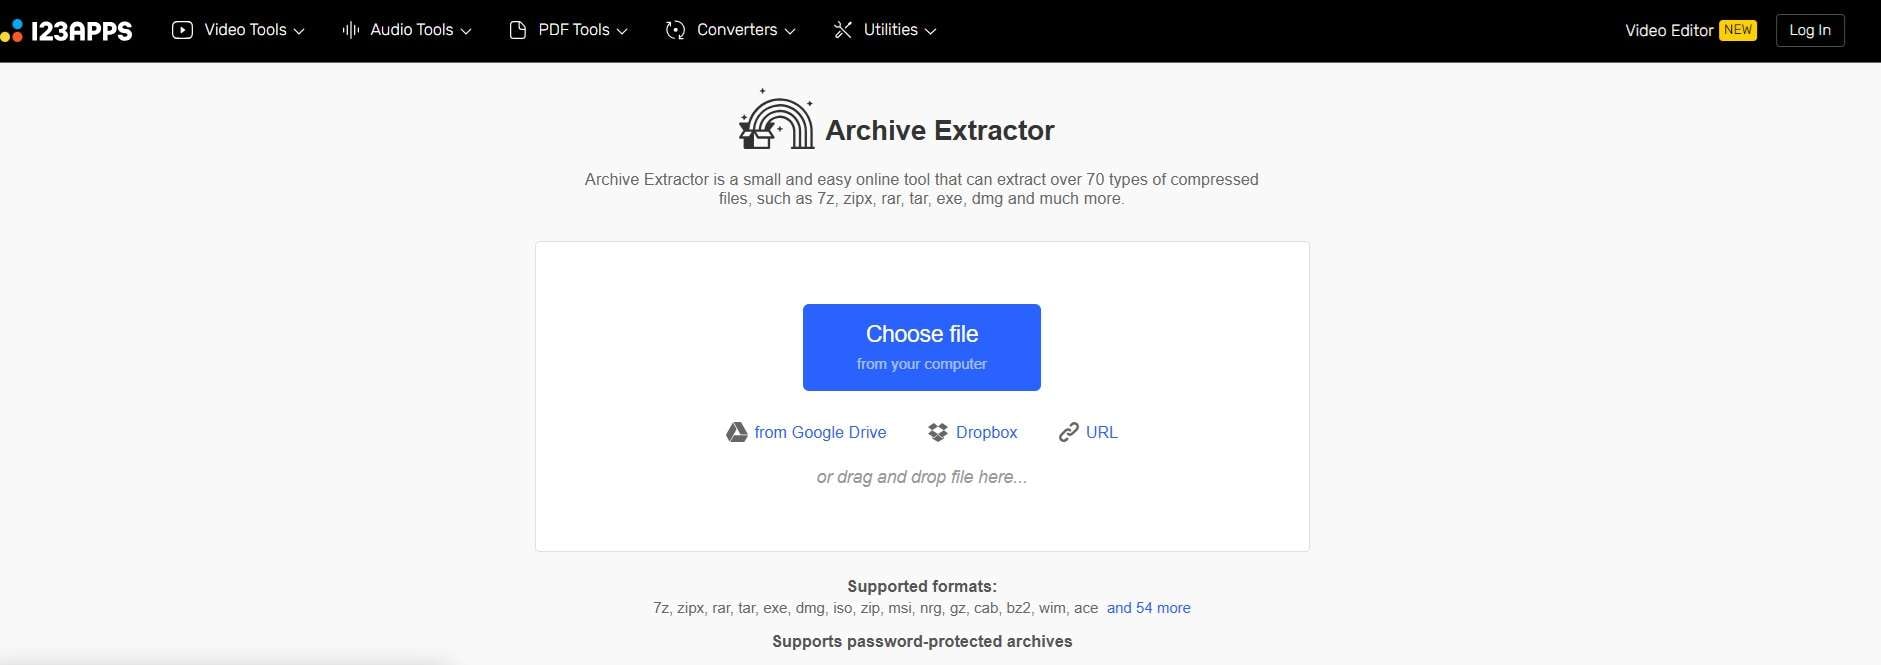
Step 2. Click "Extract". Save the files.
Method 5: Use the Aspose App
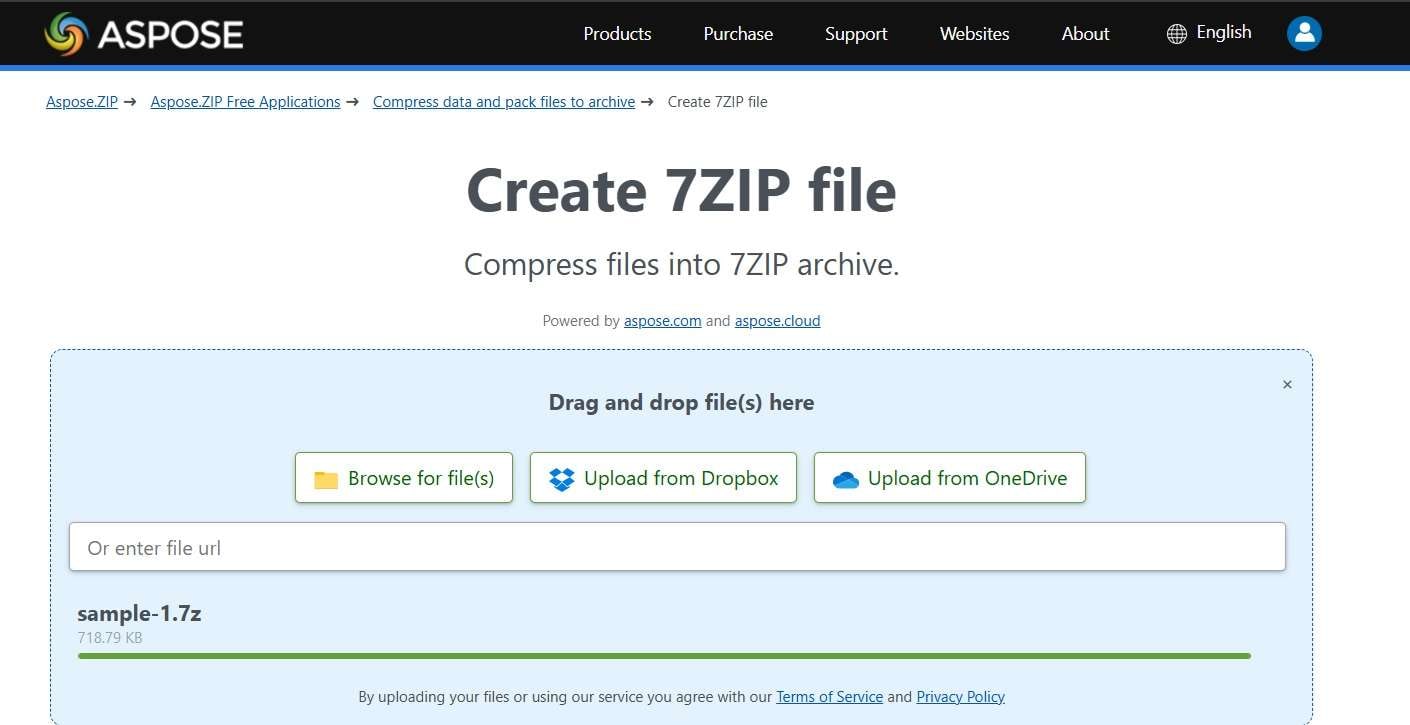
Aspose App is a comprehensive online solution for extracting 7z files and more. This tool is part of a larger suite of file management applications, making it highly versatile. The extraction process with Aspose is seamless. After navigating to the website, upload your 7z file, click "Extract," and download the processed files. Aspose ensures that your extraction needs are met efficiently and effectively, providing a reliable service for managing compressed files.
Step 1. Go to the Aspose website. Upload your 7z file.
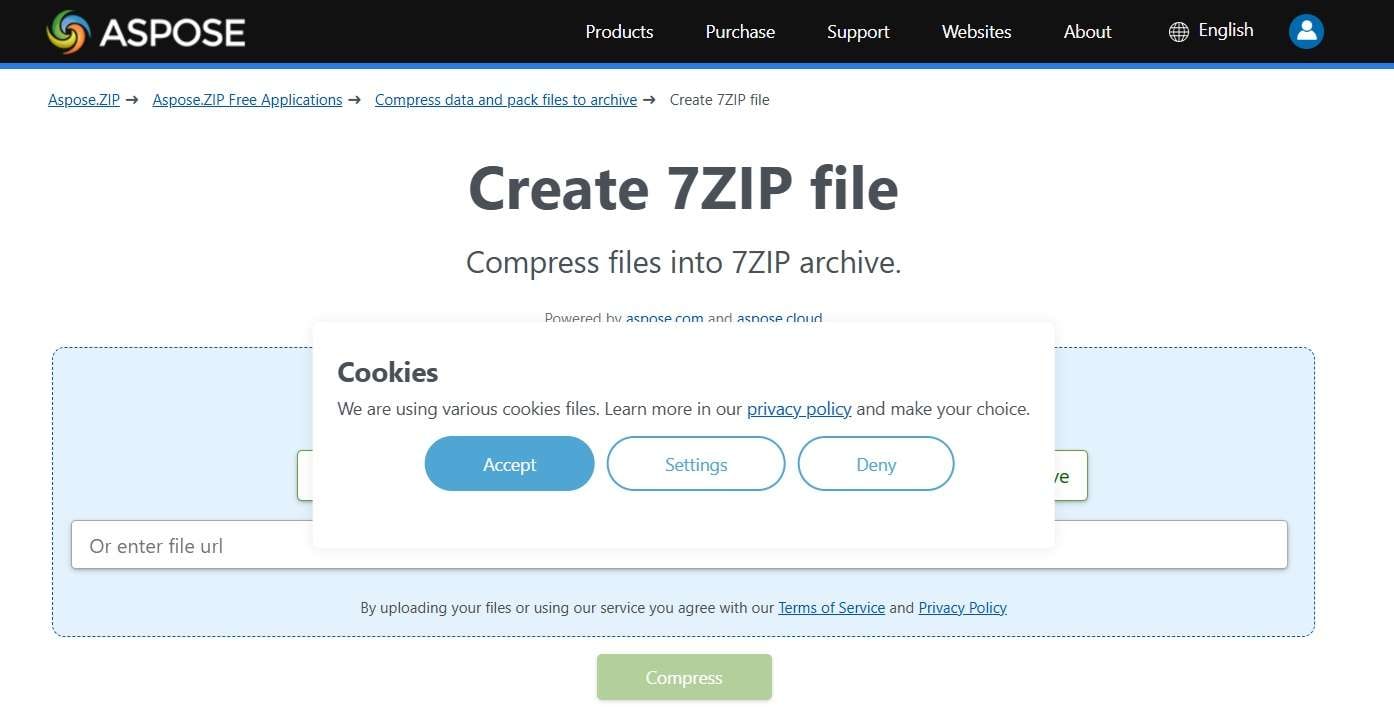
Step 2. Download the files.
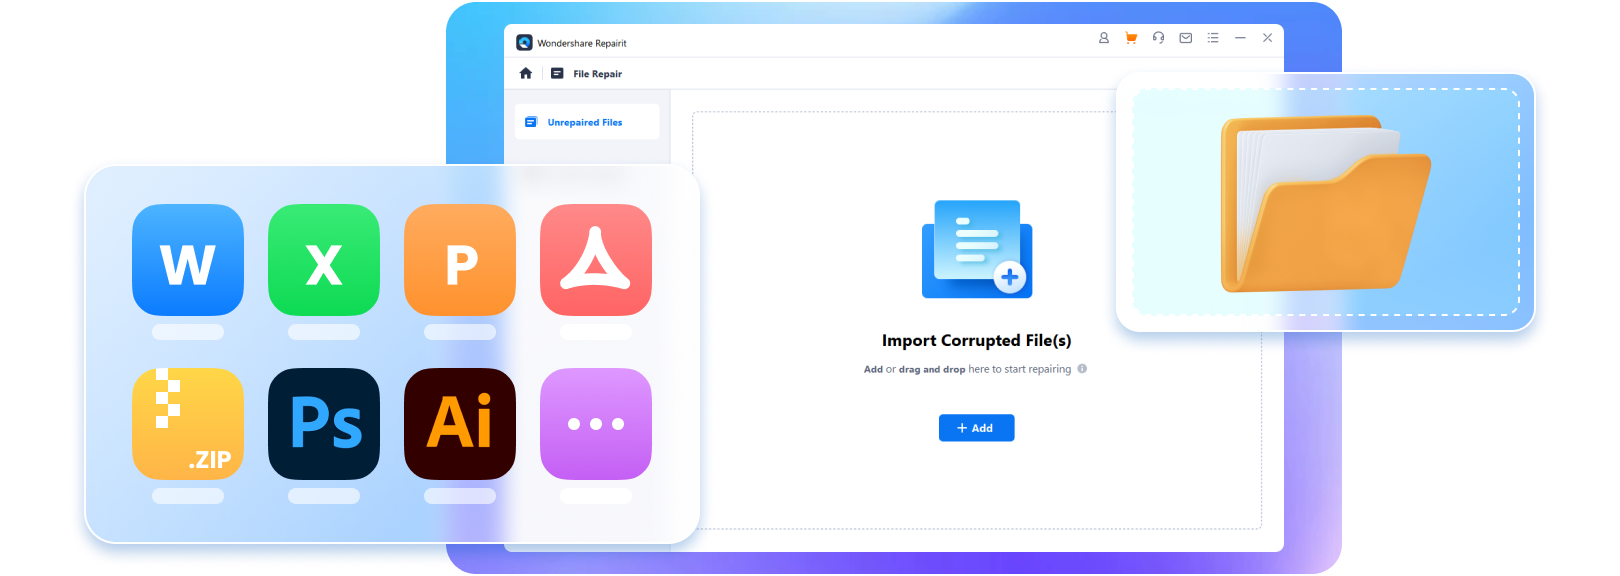
Part 3: Stuck with Corrupt Z-zip Files? Try Repairit File Repair Today to Fix File Corruption Issues
Sometimes, 7z files get corrupted, leading to frustration and a loss of important data. This can be especially troublesome when you need to access the contents of these compressed files quickly. Fortunately, Repairit offers a reliable solution. This tool is designed to address file corruption issues effectively, allowing you to recover and access your valuable data with ease.
Repairit File Repair is user-friendly and works seamlessly with 7zip extractors. Whether you're dealing with minor corruption or more severe file damage, Repairit can handle it all.

-
Repair damaged Zip files with all levels of corruption, including Zip files not opening, Zip folder is invalid, CRC error, etc.
-
Repair damaged or corrupted Zip files caused by any reason, such as system crash, file format change, virus attack, etc.
-
Perfectly repair corrupted Zip files with a very high success rate, without modifying the original file.
-
Automatically decompress, extract, and restore repaired files to their original states
-
Enable batch repair for ZIP files and files larger than 1G.
-
Repairit supports repairing damaged or corrupted PDF, Word, Excel, Zip, and PowerPoint files, support all file formats and versions.
By following a few simple steps, you can repair your corrupted 7z files and get back to your tasks without any hassle.
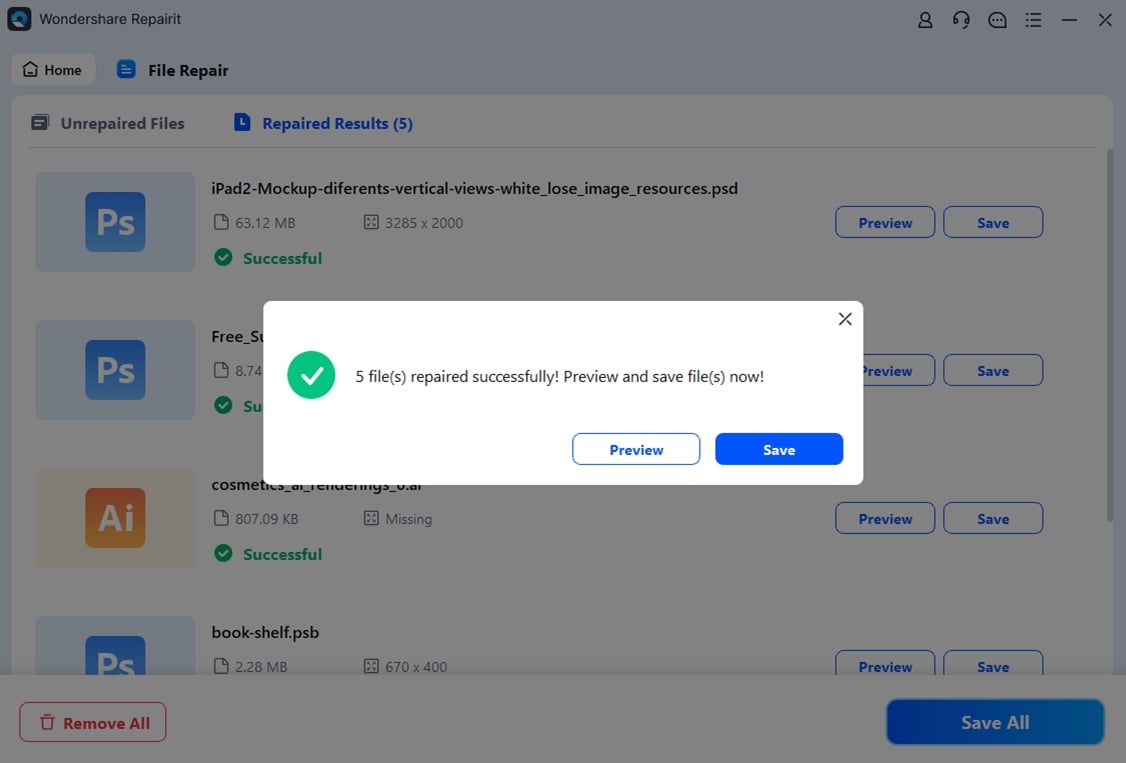
Step 1. Open the program. Select the corrupt 7z file.
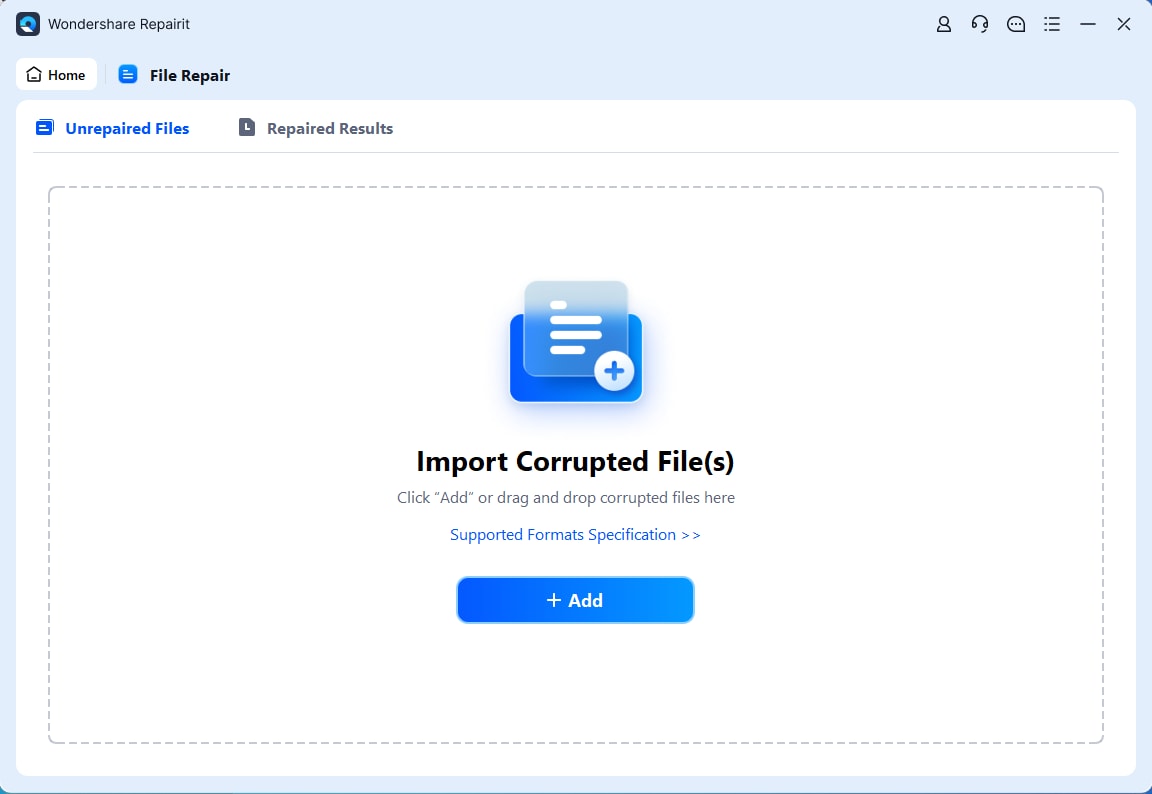
Step 2. Click "Repair".
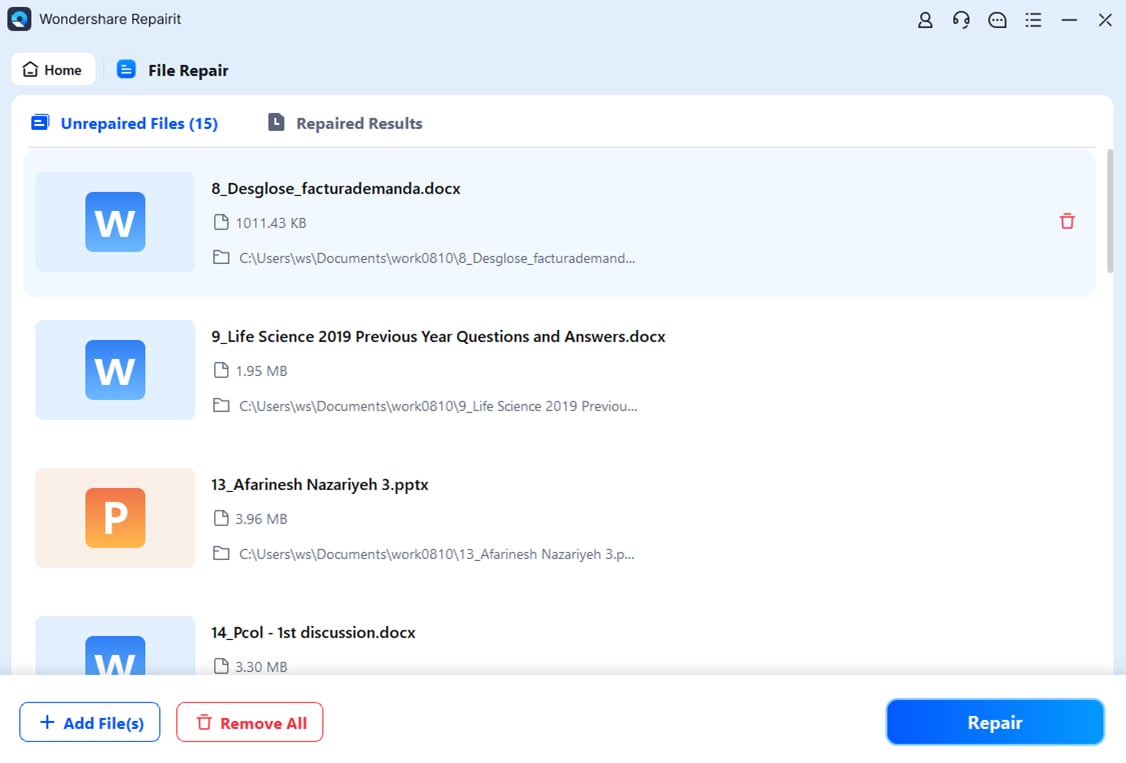
Step 3. Save the repaired file.
Repair Corrupted 7zip Files
 Security Verified. Over 7,302,189 people have downloaded it.
Part 4: Tips to Use a 7z Extractor Online
Using a 7z extractor online can make handling compressed files much easier. Here are some useful tips to ensure you get the best results:
- Choose a Reliable 7z Extractor Online: Not all online extractors are created equal. Make sure to use a well-reviewed and trusted tool to avoid any issues.
- Ensure Your Internet Connection is Stable: A strong and stable internet connection is essential for uploading and downloading files without interruption.
- Upload the Correct File Format: Verify that you are uploading the correct file format (7z) to avoid any errors during extraction.
- Follow the Extraction Steps Carefully: Each tool may have slightly different steps for extracting files. Follow the instructions provided to ensure a smooth process.
- Save the Extracted Files in a Known Location: Always save your extracted files in a location where you can easily find them later.
- Check the File Size Before Uploading: Some online tools have file size limits. Make sure your file is within the allowable size to avoid upload issues.
- Use Trusted Websites for Extraction: Stick to well-known and reputable websites to minimize the risk of encountering malware or other security threats.
- Keep Your Files Organized: Once extracted, keep your files organized by naming them appropriately and storing them in designated folders. This will help you manage your files efficiently.
Conclusion
A 7z extractor is a handy tool. It simplifies file extraction. Using a 7z extractor online saves time. You don't need to download extra software. Choose a tool that fits your needs. Whether you use a 7z extractor for Windows or an online option, it's straightforward.
Finding the right 7 zip extractor online can improve productivity. These tools are user-friendly. They support various file formats. A good extractor makes file handling easy. Always choose a reliable tool. This ensures your files are safe.
Using a 7 zip online extractor is efficient. It works well for many tasks. Consider your needs and choose the best tool. Enjoy the convenience of online extraction. It’s a great solution for managing compressed files.
FAQ
-
1. What is a 7z extractor?
A 7z extractor is a tool designed to open and decompress 7z files, which are a type of compressed archive used to reduce file size for easier storage and transfer. These extractors can handle various file formats and make it easy to access the contents of compressed files. They are available as both downloadable software and online tools, catering to different user preferences. -
2. Can I use a 7z extractor online?
Yes, you can use a 7z extractor online. Online extractors provide a convenient way to decompress 7z files without needing to download or install any software on your device. Simply upload your 7z file to a trusted online extraction site, follow the provided instructions, and download the extracted files. This method is especially useful if you need to access your files quickly from different devices. -
3. What if my 7z file is corrupted?
If your 7z file is corrupted, tools like Repairit File Repair can help. Repairit is designed to fix various types of file corruption, including issues with 7z files. Using this tool, you can repair the corrupted file and regain access to its contents. The process is straightforward: upload the corrupted file, let the software repair it, and then download the fixed file. This can save you a lot of time and frustration.
