
In this article
Musicians have always been on modern technology. They were among the first to adopt samplers and synthesizers, and more recently, they have been quick to accept new music technology. Image-to-music conversion is a new technology that is becoming popular these days. Many image-to-music AI tools automatically create a musical composition from a single image. So, do you want to transform your images into music with AI-powered tools? If yes, read this article that will help you learn about the top 3 image-to-music AI tools.
Part 1: What is an Image-to-Music AI tool?
Before coming to the main subject, let me tell you what exactly an image-to-music AI tool is. So, let's see it first!
An image-to-music AI generator is software used to convert an image to music. This software produces original music in several genres using a deep-learning algorithm.
Part 2: Top 3 AI Tools That Convert Images to Music
Now, let’s discuss the top 3 image-to-music AI tools.
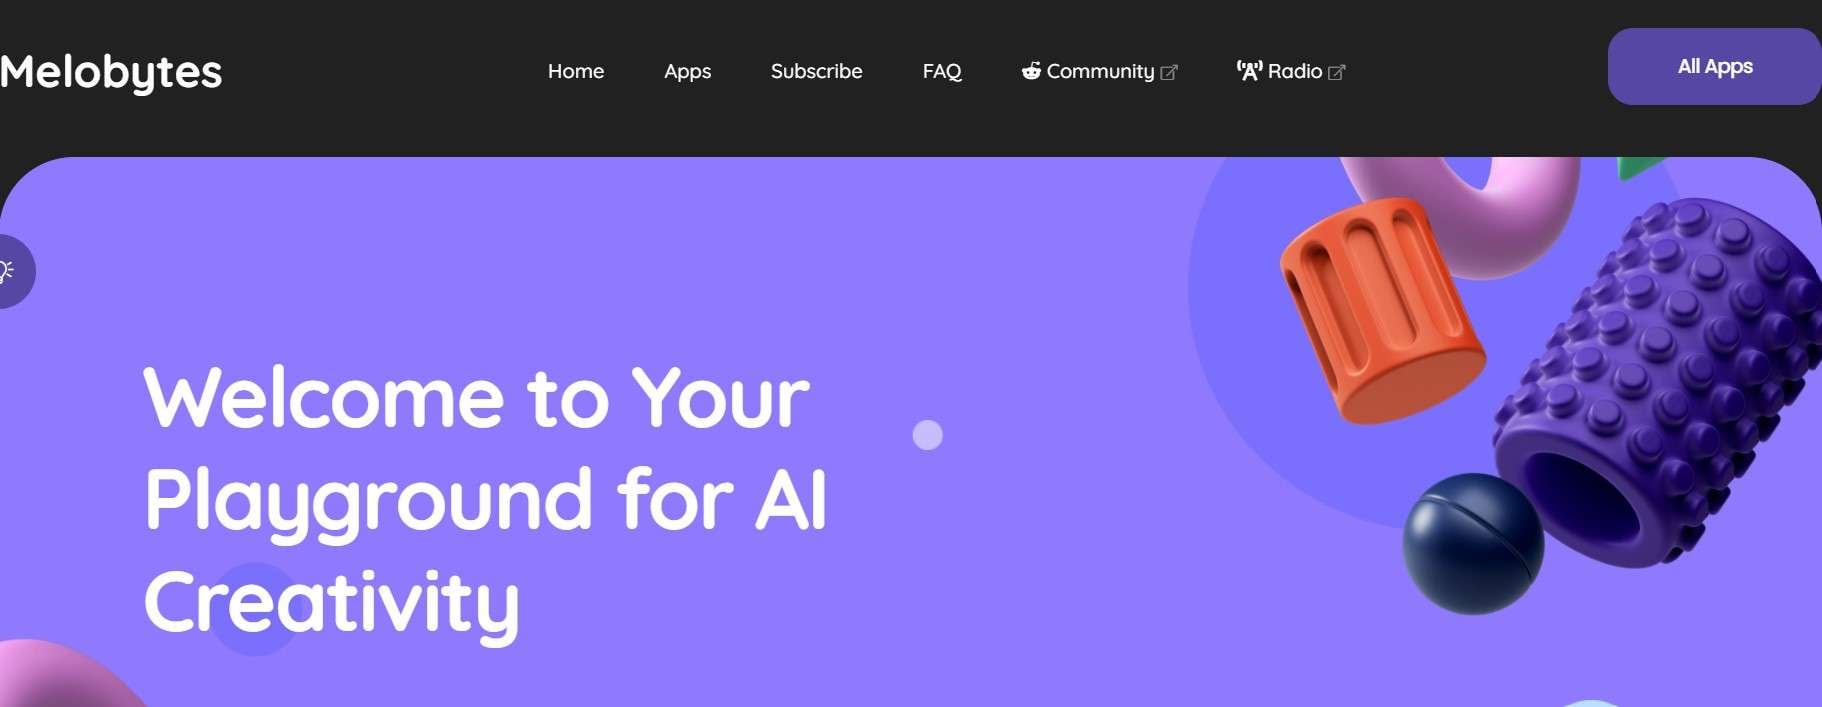
1. Melobytes
AI that makes music from images is Melobytes AI tool. Using AI technology, this software recognizes objects, scenes, and texts in your photographs and generates a song. With Melobytes' simple interface and myriad possibilities for fine-tuning the output, users may create new compositions in a few minutes. It also enables you to import and use your samples and a library of pre-made sounds and samples. The software can also generate MIDI files, which may be used with any DAW software to compose and edit music.
Key Features of Melobytes
- Melobyte’s design is superb.
- It enables rapid interest-based follow-up on their part.
- Excellent and helpful is Melobytes Support.
Steps to convert image to music
Here are three steps you need to follow by you can turn images into music quickly:
Step 1: Upload an Image
To access the online page, click Melobytes. You can see the Upload Photo button at the top. For image import, click it. The uploading process could take a few minutes, depending on the size of the image.
Step 2: Create a Song
It will appear below once the image has been submitted. The app creates a unique outcome using AI algorithms based on your input.
Step 3: Save or Share Song
Now, it's your choice to retain what you've created for yourself or share it with the world.
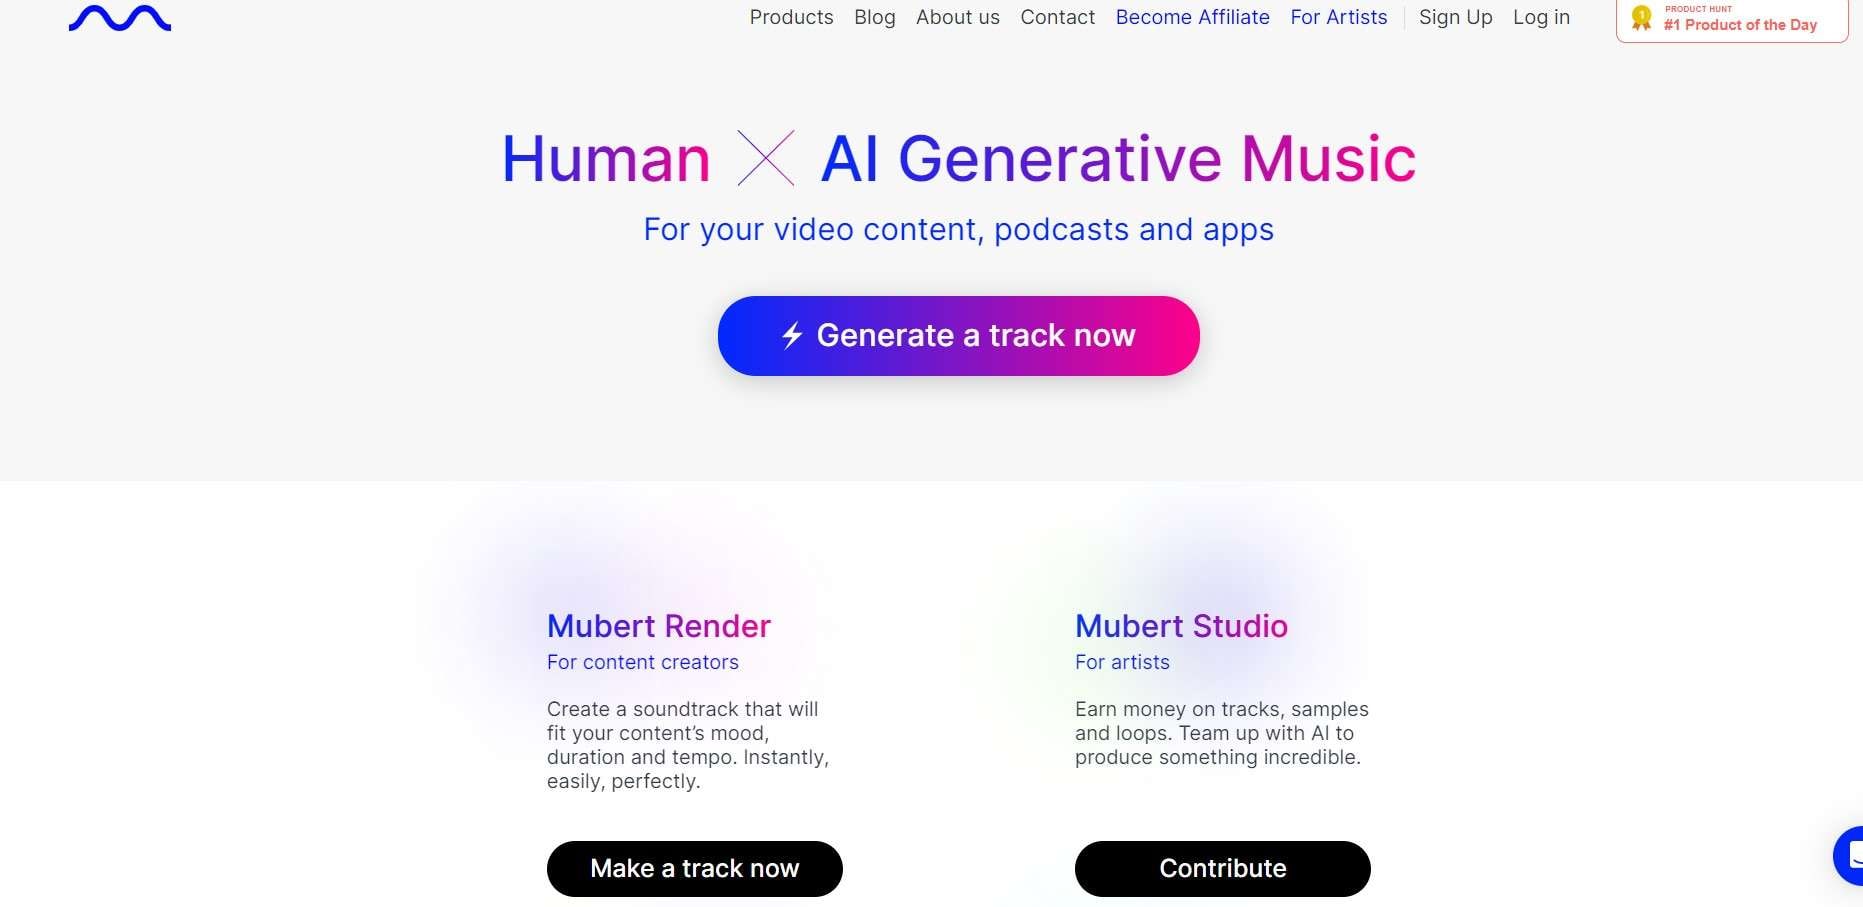
2. Mubert
Mubert is a modern ecosystem for content producersthat offers thousands of music tracks for streamingvideos. With Mubert, users convert an image to music in a couple of seconds thanks to AI. Using Mubert API, a new AI system can create a work of music from a single image. It creates a whole new range of musical possibilities since any image can serve as the basis for a composition. And, music can be created without human input via AI-assisted music composition.
Key Features of Mubert
- Creates high-quality music quickly for commercial use, podcasts, videos, and streaming.
- Enables content producers to create soundtracks suited to their material's pacing, mood, and length.
- Provides a forum for artists to be paid for songs, samples, and loops
- Gives companies and developers access to royalty-free music for their platforms and products.
- Adapts musical experiences to different situations and specific moments.
How Mubert API works?
Step 1: Musicians create sample packs.
Step 2: Mubert buys out all the rights to them.
Step 3: AI arranges samples into the composition.
Step 4: Finally, the song is created.

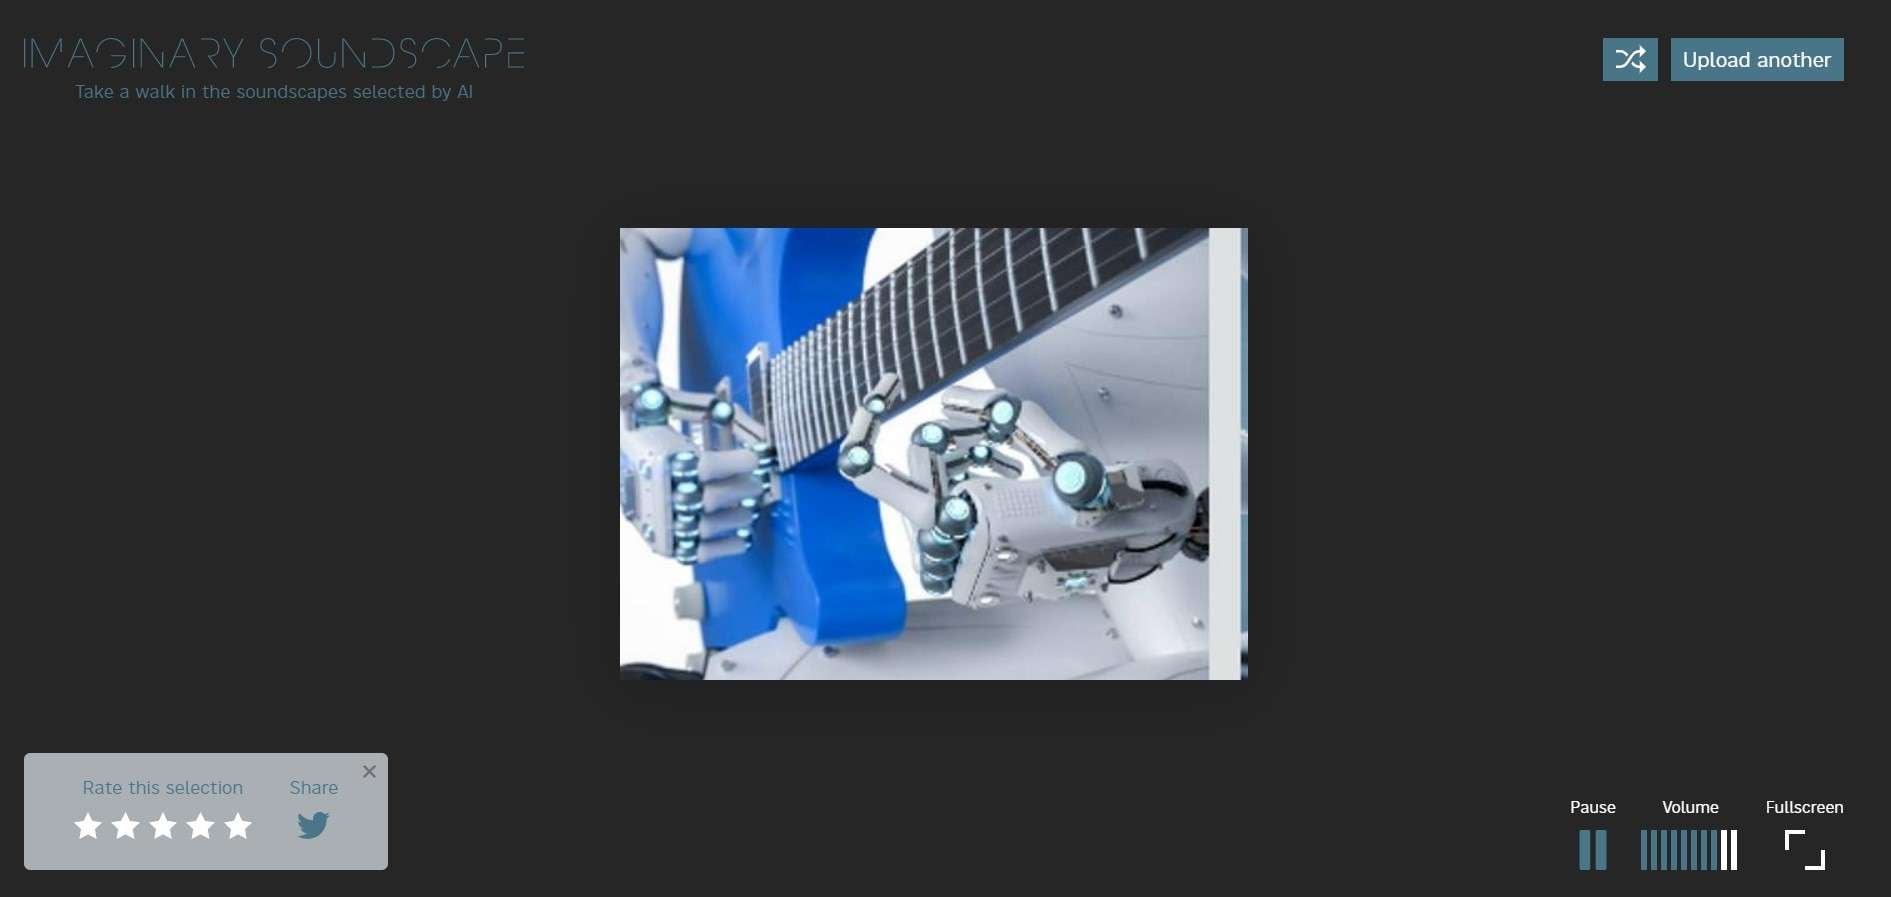
3. ImaginarySoundscape
The next image-to-music AI-powered tool is an imaginary soundscape. This web-based sound project focuses on unconscious behavior. It allows users to submerge in fictitious soundscapes created using deep learning algorithms.

This work is based on deep learning-based image-to-music and text-to-image cross-modal information systems. The system was trained using two models:
1. Given video inputs, one convolutional neural network reads the audio as spectrogram images. It evolves so that the distribution of its output gets as close as possible to that of the first one
2. The other model processes the frames.
Once trained, the two networks enable you to search through the enormous ambient sound collection.
How does Imaginary Soundscape convert images to the song?
Here are the steps to convert images to songs:
1. Upload your image
Using AI, upload a picture to go with a sound.

2. Select a Sound
After uploading an image, AI creates sound instantly.
Part 3: Bonus: Make an Image Video with Music Using Wondershare Filmora
Apart from the above-mentioned AI-powered tools, I have a bonus for you. Do you want to know what it is? So, here is for you!
Wondershare Filmora makes it as easy to turn your images into a multimedia viewing experience quickly. Have you ever heard about this software? No!!
Then, don't worry! In this part, I will tell you about Wondershare Filmora and how to create an image video with music using this software.
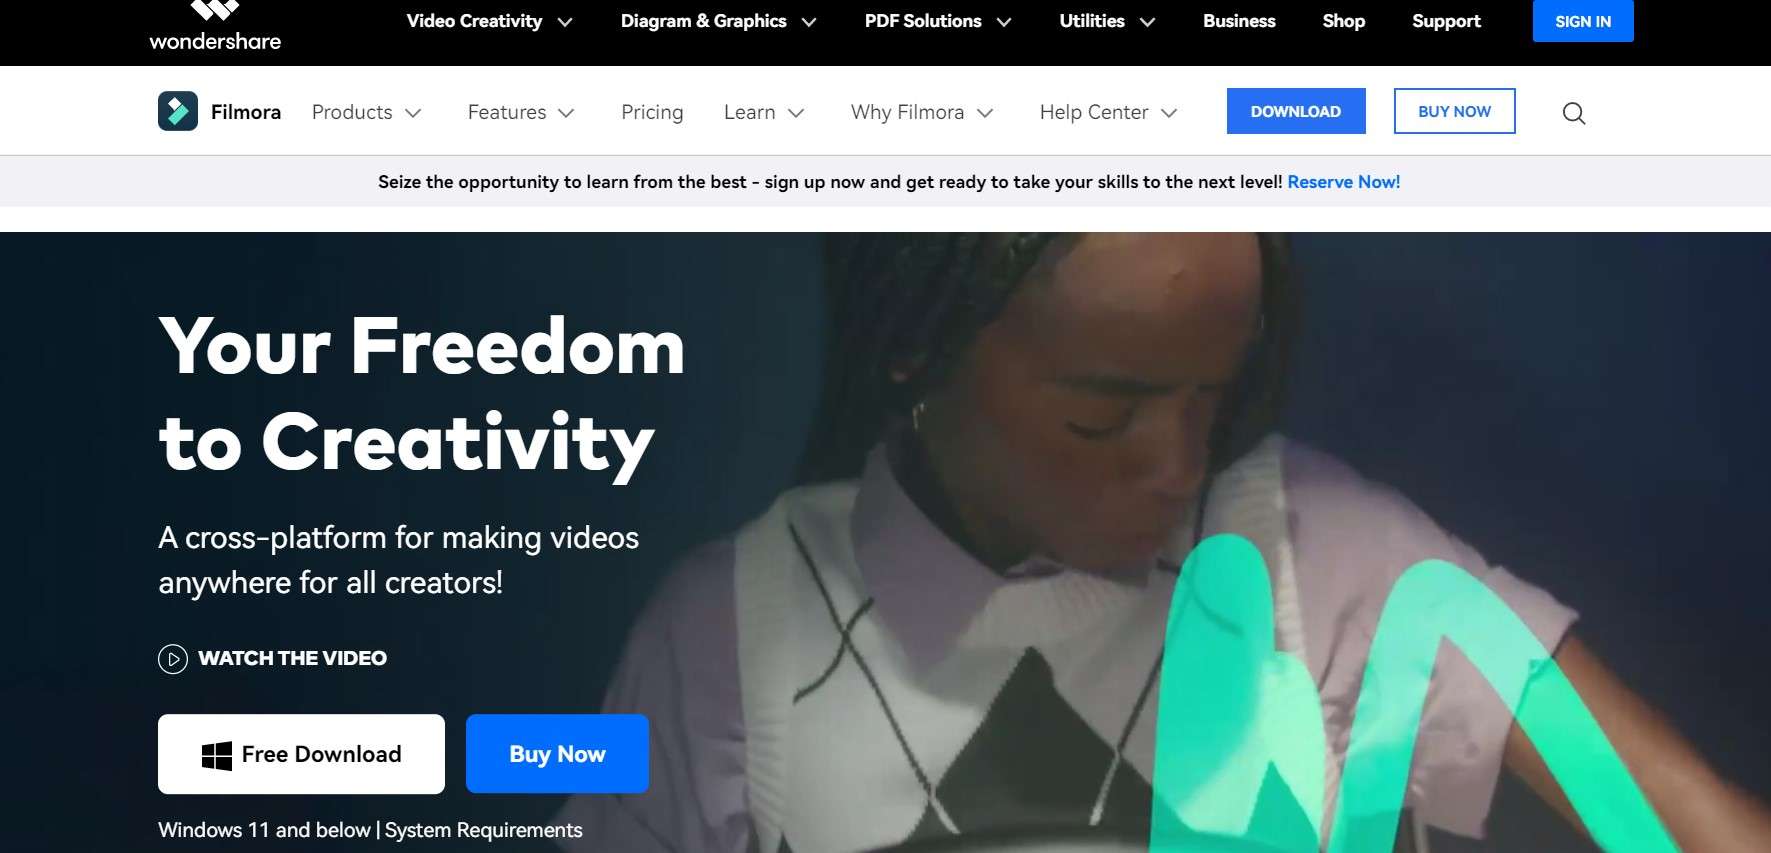
So, what is Wondershare Filmora?
To make a motion picture from images with music, the Filmora video editor is the ideal tool. It is a dependable item produced by renowned software maker Wondershare.
Key Features of Wondershare Filmora
- This software contains templates based on themes to meet your demands during the video creation process.
- While making a video for your purposes, add the royalty-free soundtracks offered on this platform.
- To make video content more appealing and remarkable to users, transitions and filter effects can be added.
- Apply voice-over sounds recorded to your videos to produce entertaining material.
- Change the video's file format and display settings while exporting the file.
Steps to Create an Image Video with Music Using Wondershare Filmora
Here are the 7 steps that you need to follow for creating an image video with music using Wondershare Filmora:
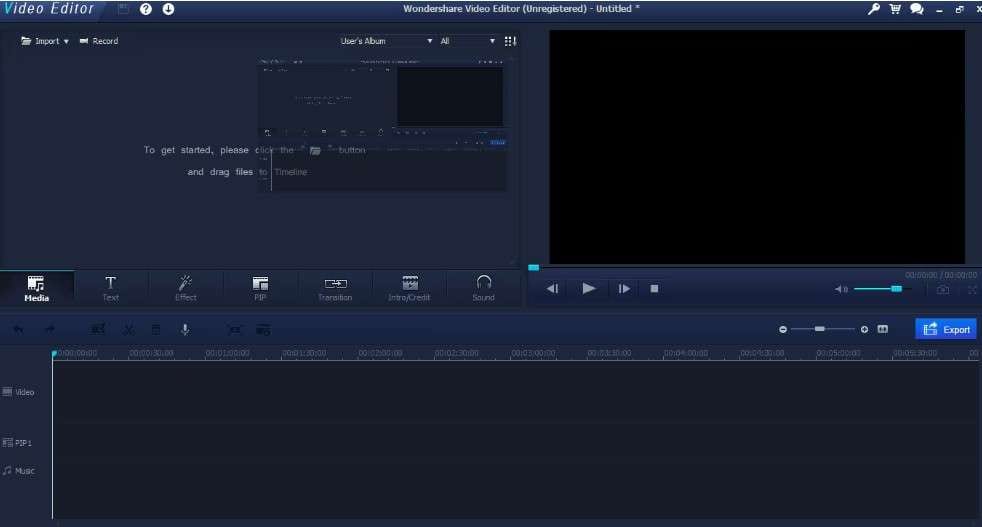
Step 1: Download Wondershare Filmora.
Installing it is the first step, just like with any other piece of software. You can download the installer from this page and then start the installation process. You will arrive at the menu screen for Video Editor if your firewall software requests internet access to download any upgrades.
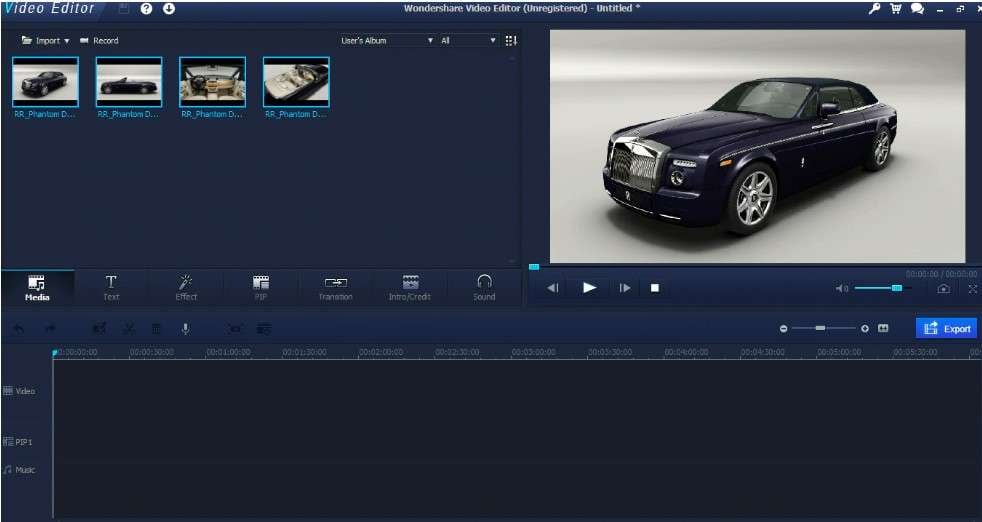
Step 2: Upload your photos
To do this, select either the import or import folder from the menu that appears when you click the "Import" button in the top left corner. With the first, you can import single or several files; with the second, an entire folder.
After choosing, you can go to the desired files or folders using the normal operating file browser. Here, I'm creating a picture montage, so I chose a few pictures of a nice automobile.
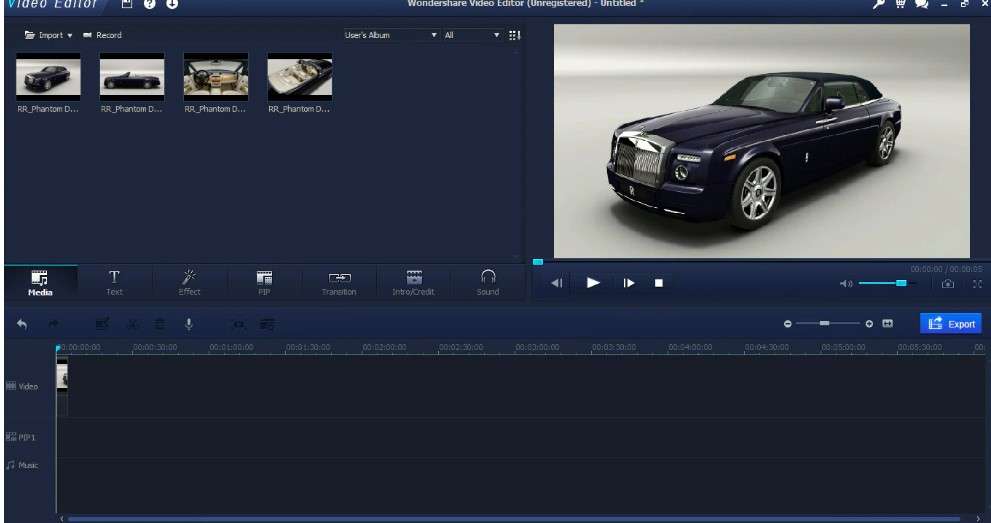
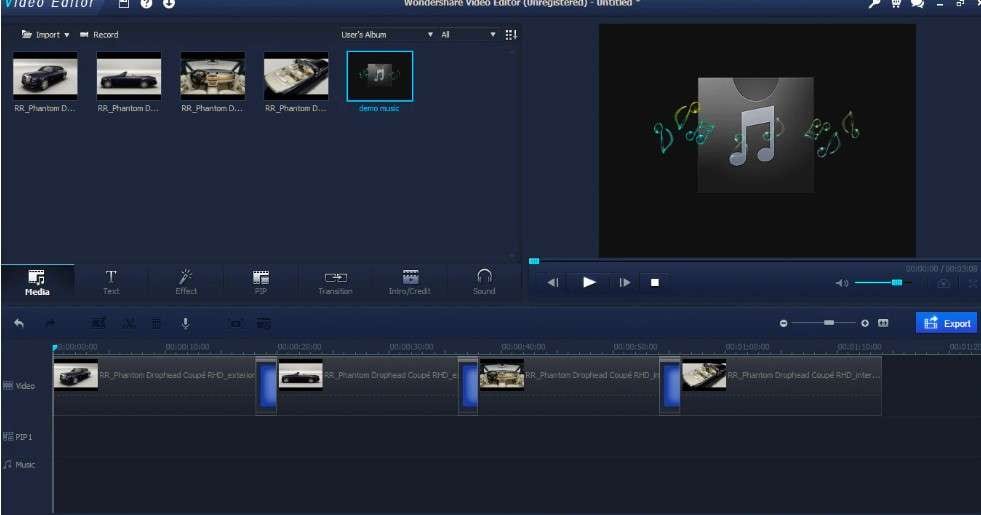
Step 3: Drag images to the timeline and drop them there.
The workspace is centered on the timeline at the bottom, where you arrange your footage, effects, and audio. Your pictures must be in the video area if you intend for your video to be comprised entirely of them. Just snap your first photo and drag it over to the video area.
Step 4: Edit in the timeline. Then view the preview
Fortunately, Video Editor makes this simple. I can drag an image out to the desired duration by choosing it in the timeline; in this case, I'm going for 20 seconds to create a great montage.
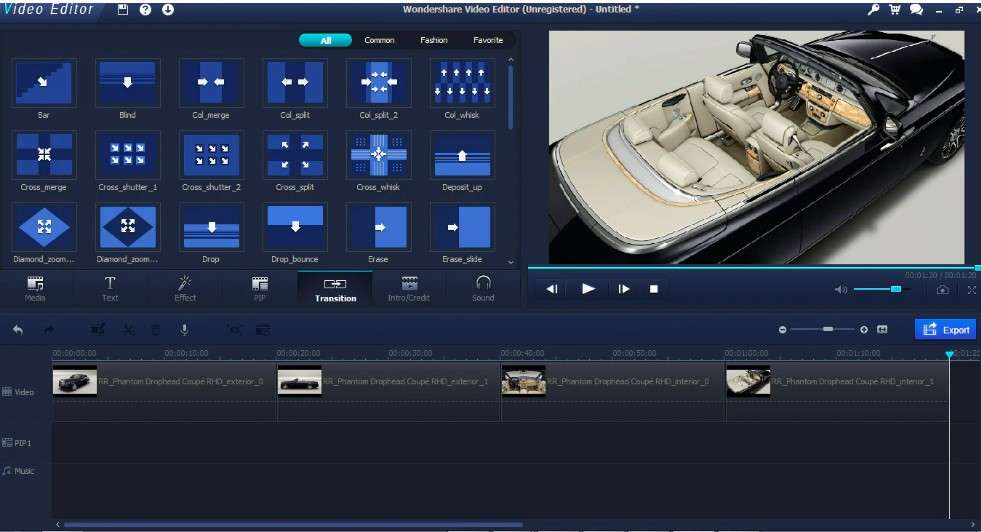
Step 5: More tools for editing, including effects, transitions, and picture-in-picture
You can quickly and easily add stunning effects using a video editor as you work. The method that your photographs switch is by adding transitions between them. To do this, drag a transition to the intersection of two images after choosing it from the object menu. The video screen will display a preview of the transition after you choose it so you can see how it will appear.
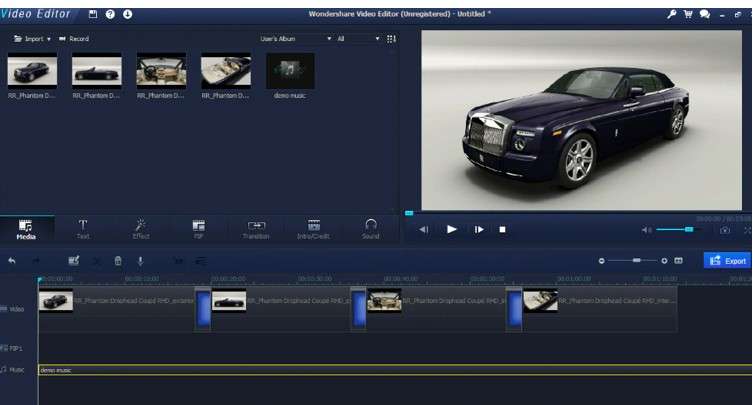
Step 6: Adding music to images
Music addition is the subsequent stage. You should return to the import button and import the music you want to utilize unless you intend to use the built-in sound effects. The media room then shows it there.
As with everything else, you can drag your content down onto the timeline once it is in your library. Drag your file to the bottom of the timeline because music has its place.
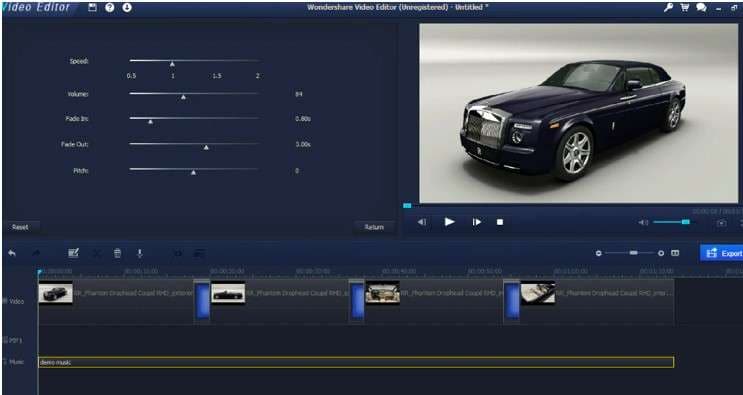
Step 7: A final polish and export
You can give it more polish by selecting the edit button. And, the music track is selected and opening the music edit menu after everything has been set up. Then, click the Export button to access this menu and select the video format you desire.
That's all, then! Using Filmora Video editor, you've just created a beautiful video with music and images.
Conclusion
In this article, I have discussed the top 3 image-to-music AI-powered tools that help transform your images into music. Moreover, if you want to create a beautiful video with music and images, try Wondershare Filmora.
