

Whether you're sharing moments on Instagram or Facebook, nobody wants photobombers or messy backgrounds to ruin a perfect shot. As highlighted in Reddit community discussions, the Magic Eraser in Google Photos has become a go-to solution for instant mobile editing. Now available for both Android and iOS users, this AI-powered tool allows you to remove pesky strangers or eyesores with just a few taps. In this guide, we’ll show you how to master the Magic Eraser Google Photo feature and explore professional alternatives for even better results.
In this article
Part 1: What is Magic Eraser Google Photos
Magic Eraser Google Photos is a powerful AI-driven tool designed to help users remove unwanted objects, people, or imperfections from their images with just a few taps. This feature utilizes advanced machine learning algorithms to analyze the content of a photo and intelligently fill in the areas where objects have been removed, creating a seamless and natural-looking result.
Part 2: Can't Find the Magic Eraser Tool in Google Photos? Try These Fixes!
While Magic Eraser is no longer exclusive to Pixel phones, many users still struggle to locate it. Since 2024, Google has expanded this feature to all Android and iOS users (via Google One or specific hardware requirements). If you still can't find it, try these steps:
- Update Google Photos: Ensure you’re running the latest version from the Play Store or App Store, as older versions lack the broad-access update.
- Check Subscription Status: For non-Pixel users, Magic Eraser typically requires a Google One subscription, though some accounts now have limited free usage.
- Verify System Requirements: Your device needs at least 3GB of RAM and must run Android 8.0+ or iOS 15+ to support AI editing features.
- Sign Out and In: Refresh your account permissions by signing out and back into your Google Account within the app.
- Clear App Cache: On Android, go to Settings > Apps > Google Photos > Storage and tap "Clear Cache" to resolve interface glitches.
If the tool is still missing, it may be due to regional rollout delays or hardware limitations. In such cases, using a web-based tool like Repairit is a reliable workaround.
Part 3: How to Use Magic Eraser in Google Photos: Simple Steps
Once you've located the Magic Eraser tool in Google Photos, using it is a straightforward process. Follow these simple steps to remove unwanted objects from your photos:
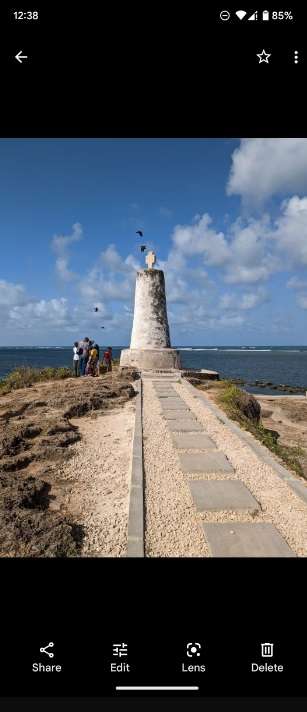
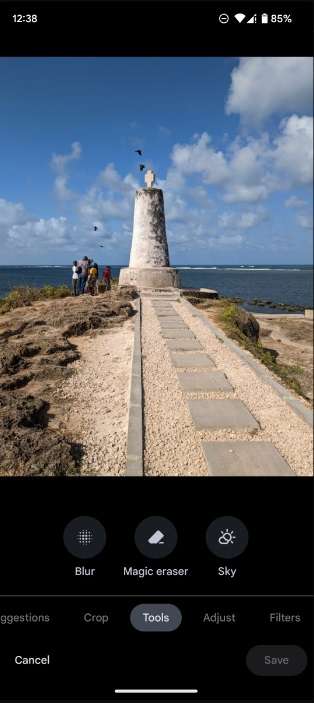
Step 1: Open the Google Photos app on your compatible device. Select the photo to remove unwanted object/person. Tap on the "Edit" button at the bottom of the screen. Scroll through the editing options and tap on "Tools."
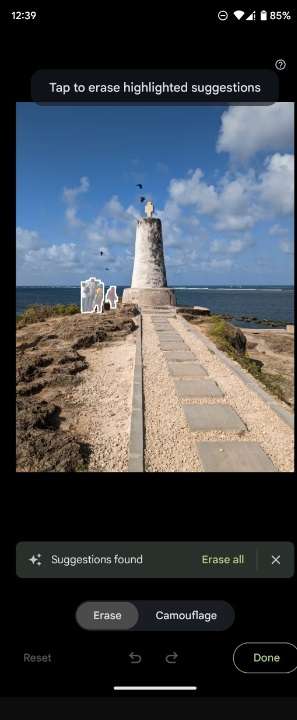
Step 2: Look for the "Magic Eraser" option and tap on it. The app will automatically detect and highlight suggested areas for removal.
Step 3: To manually select areas for removal, use your finger to circle or brush over the unwanted objects. As you select areas, the Magic Eraser will work its magic, removing the selected elements and filling in the space with AI-generated content that matches the surrounding area.
Step 4: If you're not satisfied with the result, you can tap "Undo" to revert the changes or use the "Erase" and "Restore" brush tools for more precise editing. Once you're happy with the edits, tap "Done" to save your changes. You can then choose to save the edited photo as a copy or overwrite the original image.
Using the Magic Eraser in Google Photos is an intuitive process that allows you to quickly and easily remove unwanted elements from your photos without the need for complex editing tools or professional skills.
Part 4: Remove Background and Unwanted Objects From Photos Online: Try Repairit Photo Eraser
While the Magic Eraser Google Photos tool is undoubtedly useful, there are alternatives available that offer even more flexibility and features. One such option is the Repairit AI Photo Eraser, an online tool that provides a comprehensive solution for removing backgrounds and unwanted objects from photos.
Here are five simple reasons why users should consider using Repairit Photo Eraser instead of Google Photos:
- Works on any device: You can use Repairit AI Photo Eraser on any device with a web browser.
- Smarter AI: Repairit uses advanced AI that can handle trickier edits and make your photos look more natural after removing objects.
- More editing options: While the magic eraser Google Photos tool is quick and easy, Repairit gives you more tools to fine-tune your edits just the way you want.
- Edit many photos at once: Save time by fixing multiple photos in one go with Repairit, instead of editing them one by one.
- No app needed: Just visit the website to use Repairit. You don't need to download anything or worry about updates.
To use Repairit Photo Eraser online, follow these steps:
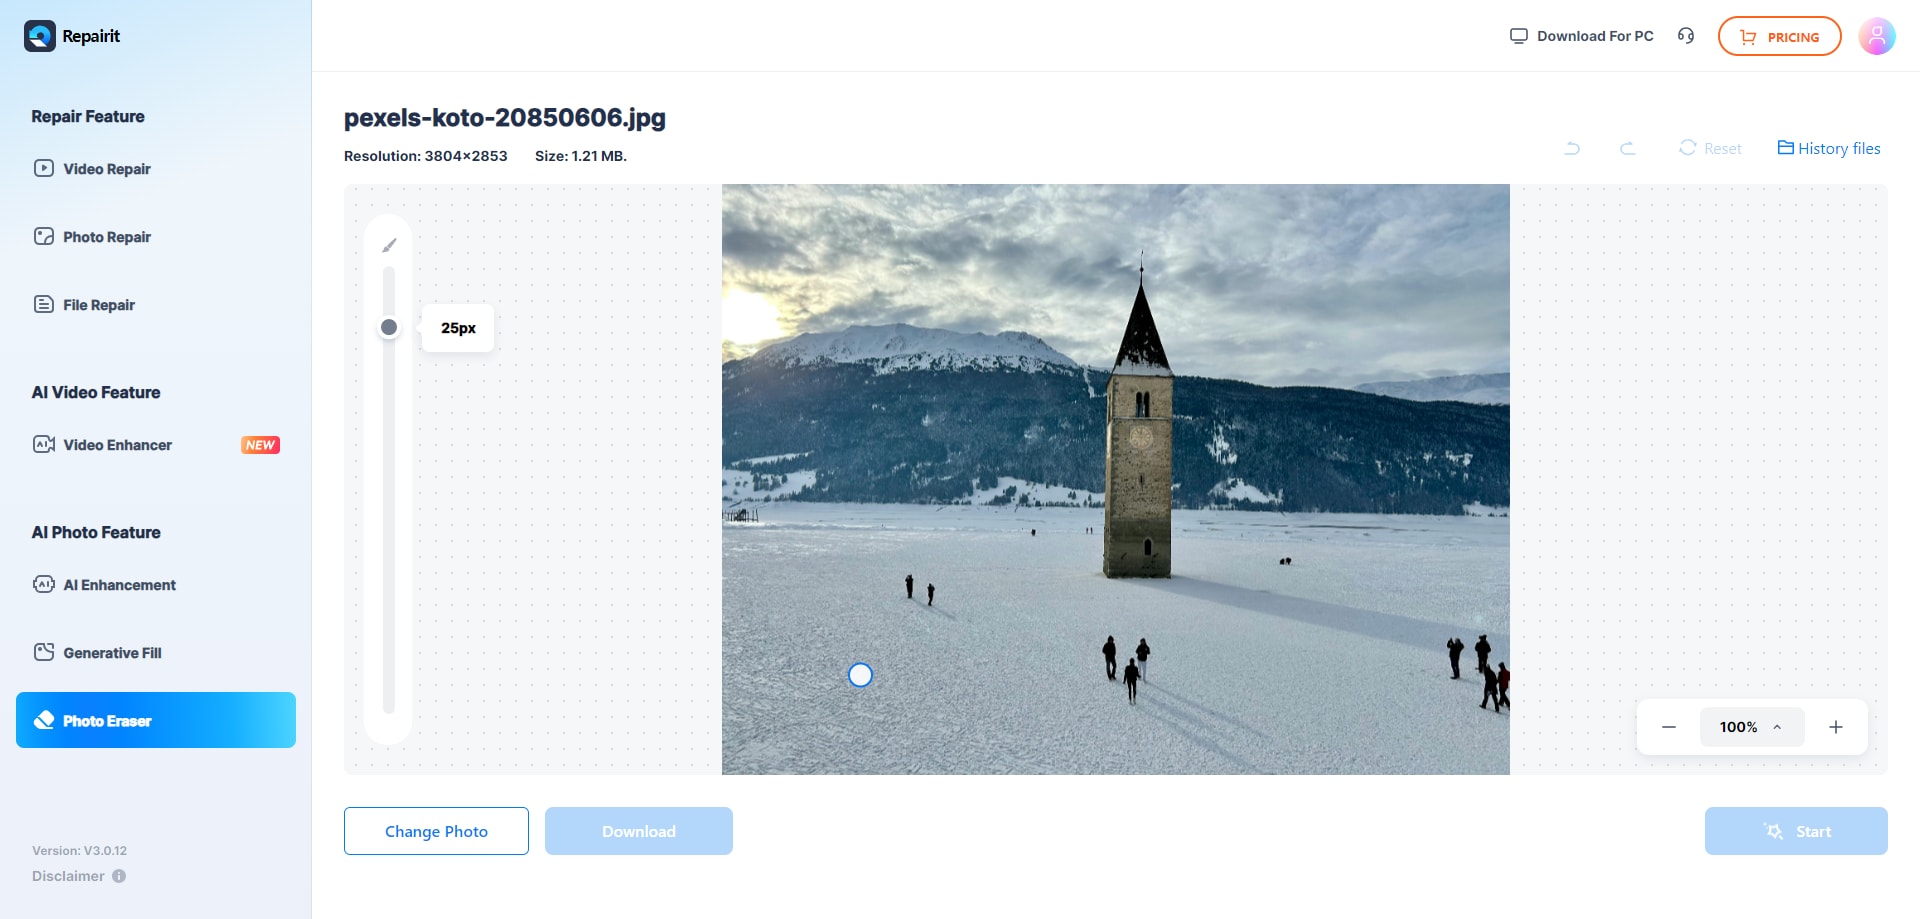
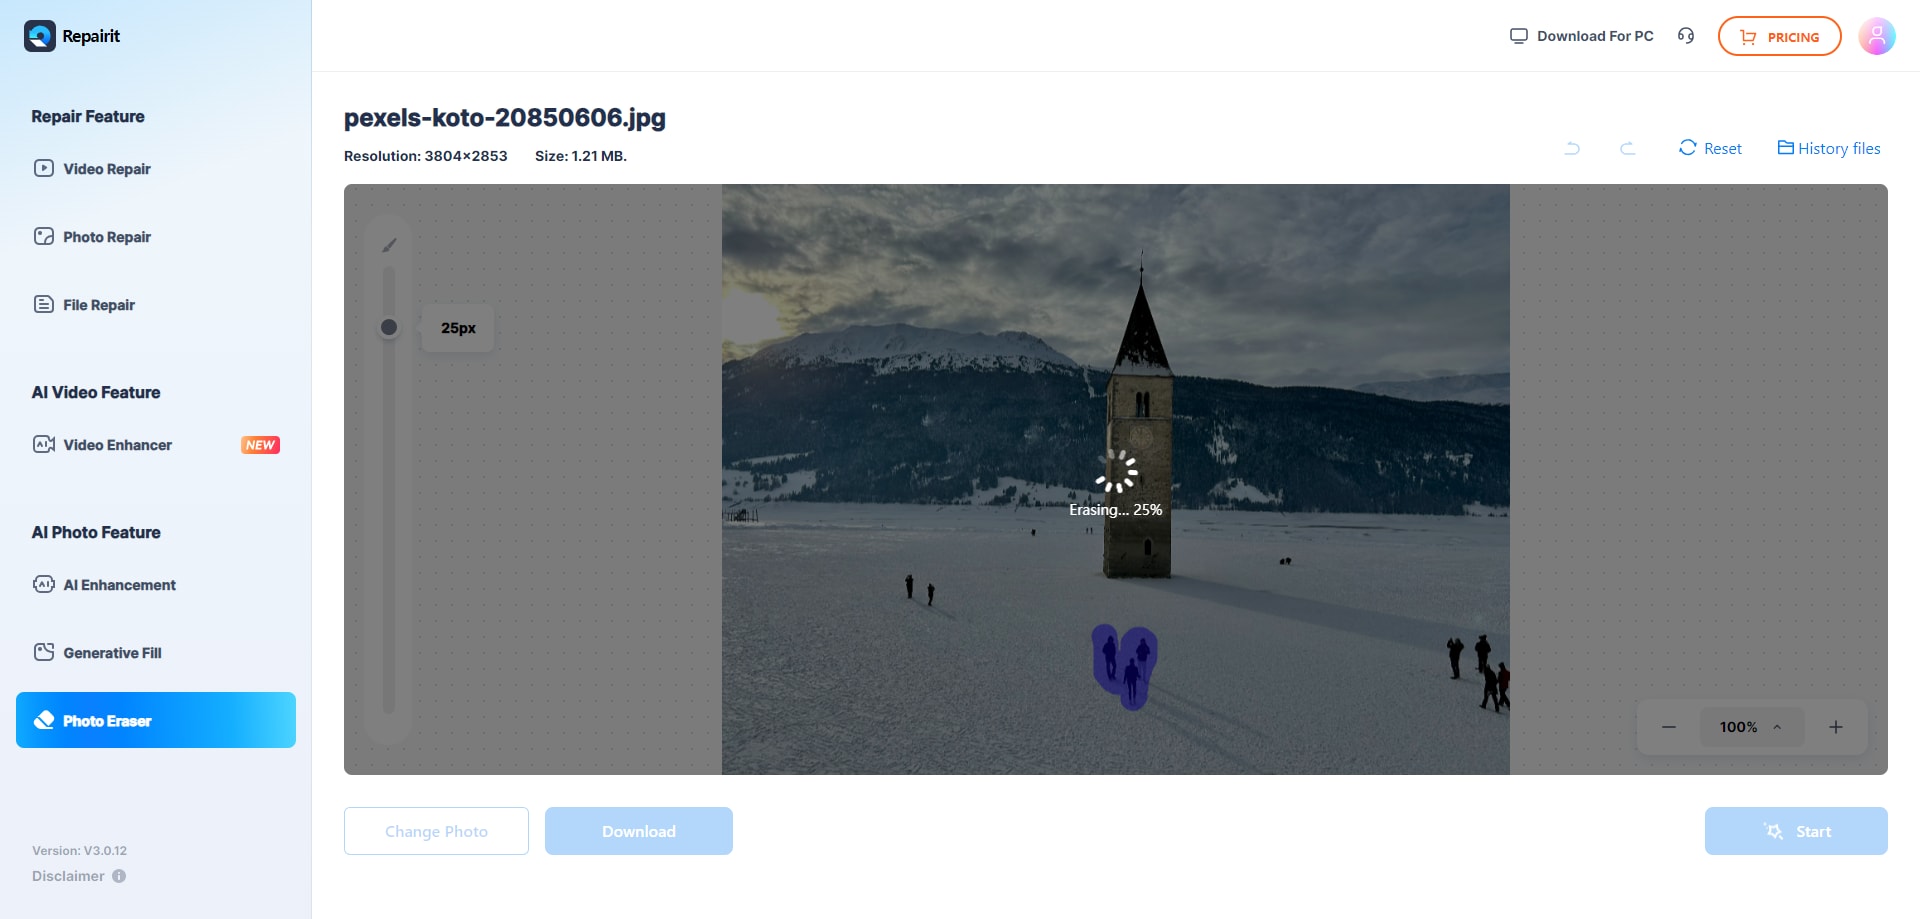
Step 1: Visit the Repairit AI Photo Eraser website in your web browser. Click on the "Add Photo" button to select the image you want to edit from your device.

Step 2: Once the image is uploaded, use the selection tools to mark the areas you want to remove. After selecting the unwanted objects or areas, click on the "Start" button to remove them.
Step 3: The AI will process your image and remove the selected elements, filling in the space with generated content that matches the surrounding area. Use the fine-tuning tools to make any necessary adjustments, such as refining edges or restoring parts of the image if needed.
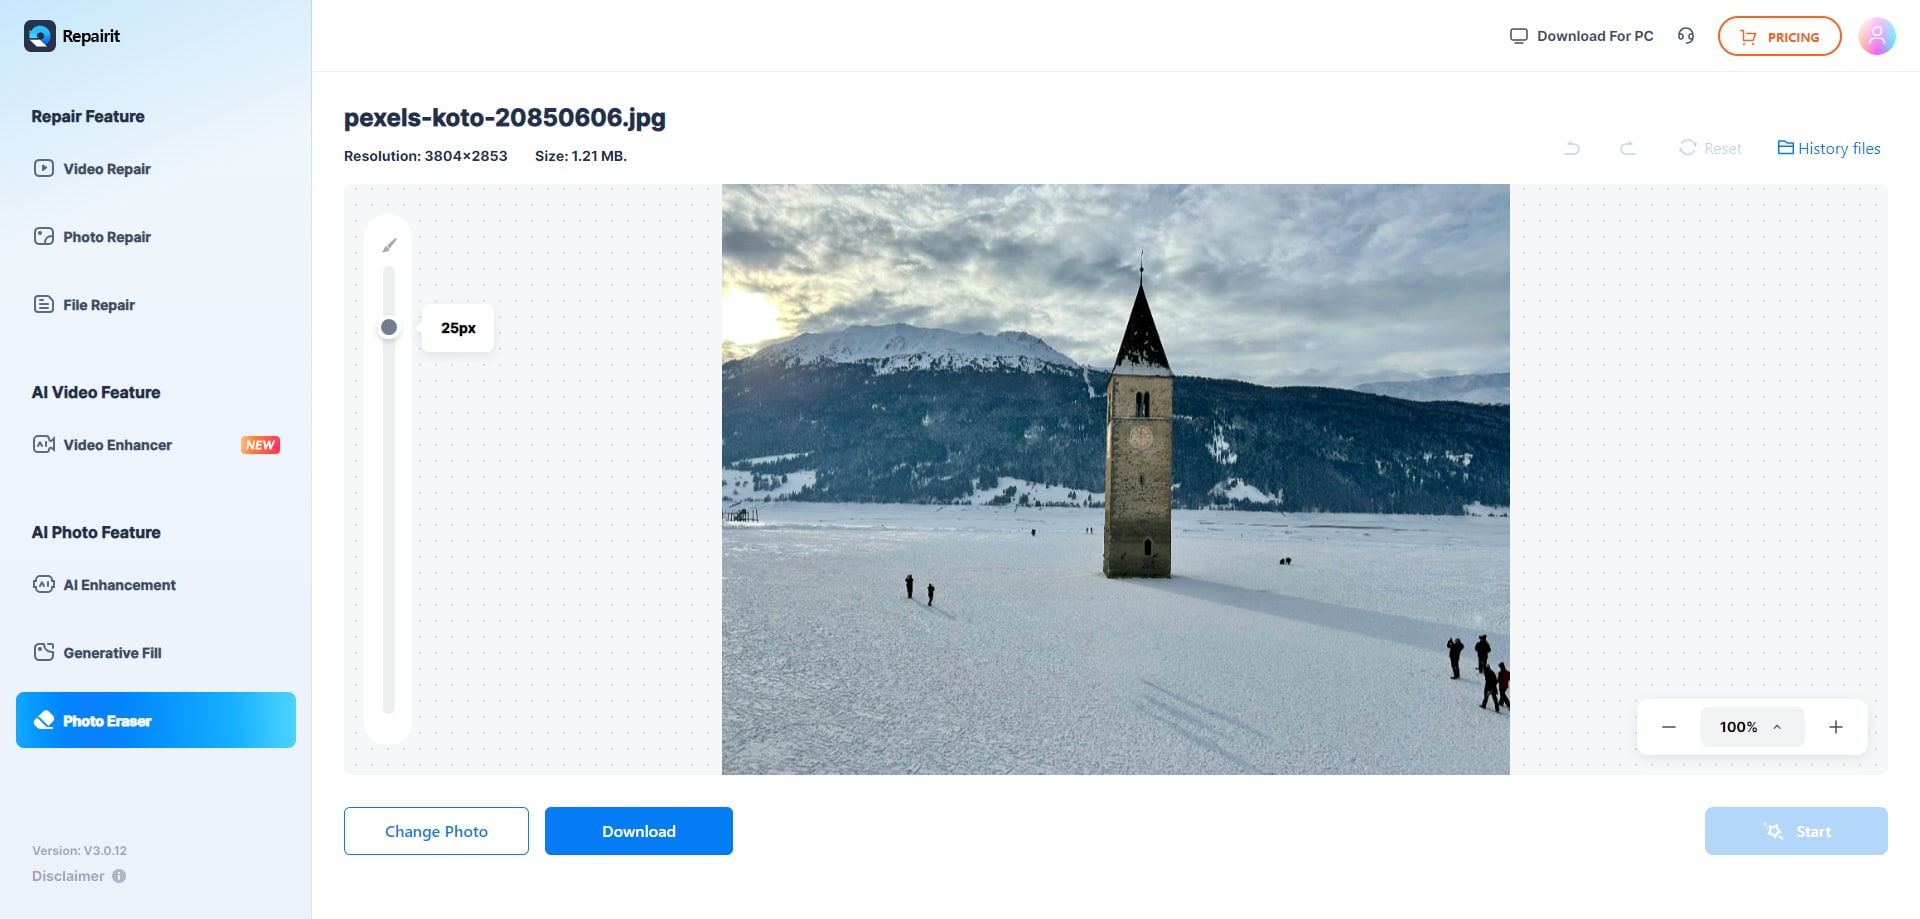
Step 4: Once you're satisfied with the result, click on "Download" to save your edited image.
You can repeat the process for multiple photos or use the batch processing feature to edit several images at once.
By offering a more versatile and accessible solution, Repairit Photo Eraser provides an excellent alternative to the Magic Eraser in Google Photos, especially for users who require more advanced editing capabilities or don't have access to compatible devices.
Part 5: Tips to Use Magic Eraser Google Photos Like a Pro
To get the most out of the Magic Eraser feature in Google Photos, consider these professional tips:
- Use small, incremental edits: Instead of trying to remove large objects all at once, make smaller, more precise selections. This approach often yields more natural-looking results.
- Pay attention to shadows and reflections: When removing objects, don't forget to address any shadows or reflections they may have cast. These details can make your edits more convincing.
- Utilize the "Camouflage" feature: In addition to the Magic Eraser, Google Photos offers a "Camouflage" tool that can help blend distracting elements into the background. This can be useful for minimizing objects that can't be completely removed.
- Experiment with different selection methods: Try both the automatic suggestions and manual selections to see which works best for your specific image.
- Take advantage of the undo function: Don't be afraid to experiment with your edits. You can always undo changes if you're not satisfied with the result.
- Use in conjunction with other editing tools: Combine the Magic Eraser with other Google Photos editing features like brightness and contrast adjustments to create a polished final image.
- Practice various types of images: The more you use the Magic Eraser tool, the better you'll become at predicting its behavior and achieving desired results.
- Be mindful of ethical considerations: While the Magic Eraser is a powerful tool, it's important to use it responsibly and avoid altering images in ways that could be misleading or unethical.
By following these tips, you can elevate your photo editing skills and make the most of the Magic Eraser in Google Photos, creating stunning, professional-looking images with ease.
Conclusion: How to Choose Between Magic Eraser and Professional AI Tools?
The Magic Eraser in Google Photos has made professional-level mobile editing accessible to everyone, allowing for quick and seamless object removal. However, the best Magic Eraser Google Photo experience depends on your specific needs: while Google’s tool is perfect for instant mobile fixes, a professional alternative like Repairit AI Photo Eraser is superior for users requiring batch processing, higher AI reconstruction accuracy, or the convenience of a web-based editor on any device. By selecting the tool that aligns with your workflow, you can ensure your visual memories remain clean, polished, and free from any unwanted distractions.
FAQ
-
Is the Magic Eraser feature available on all devices?
Yes. Magic Eraser is available on most Android and iOS devices via the Google Photos app. While Pixel owners enjoy it for free, other users generally access it through a Google One subscription. Minimum requirements include 3GB RAM and a modern OS (Android 8+ or iOS 15+). -
Can I use Magic Eraser on photos that weren't taken with my Pixel phone?
Yes, you can use the Magic Eraser tool on any photo in your Google Photos library, regardless of which device was used to capture the image. As long as the photo is accessible in your Google Photos app on a compatible Pixel device, you can apply the Magic Eraser feature to it. -
Are the changes made by Magic Eraser permanent?
When you use the Magic Eraser in Google Photos, you have the option to save the edited photo as a new copy or overwrite the original image. If you choose to save a copy, your original photo will remain unchanged, and you'll have both versions in your library. It's generally recommended to save edits as a copy to preserve the original image.
