

"I have a GoPro Hero9 Black and I often shoot multiple videos while mountain biking or snowboarding. I'm trying to figure out the best way to download the videos to my Mac for editing in iMovie."- Reddit user.
If you're an adventurer like this Reddit user, you'll likely want a smooth way to download and edit your GoPro footage. Suppose you are recording while mountain biking or snowboarding; transferring videos directly to your device for quick editing is easy. Let's dive into some easy steps to download your GoPro footage so you can start editing it right away.
In this article
Part 1. Why Do You Download GoPro Footage?
Though downloading your GoPro footage to your computer is easy, it may be a crucial step for anyone who wants to make the most out of their recordings. Here's why it's essential to download your GoPro footage:
➡️Back up your videos. Storing your footage on your computer helps protect your videos in case of memory card failure or accidental deletion on your GoPro.
✨Access advanced editing tools. Editing on your computer gives you access to more powerful and detailed editing software. This allows you to enhance your videos with effects, transitions, and more.
🔄Free up space on your GoPro. By regularly transferring your footage, you can avoid running out of storage space on your GoPro. This ensures you'll have enough storage to capture the next adventure.
📤Easier sharing options. Once on your computer, your footage can be easily uploaded to social media, emailed, or shared with friends and family without needing to use your GoPro directly.
📁Better organization. Downloading to your computer allows for better file management, making it easier to sort, tag, and organize your videos for future projects.
Part 2. How to Download and Edit GoPro Footage?
Before we download your GoPro video, let's connect GoPro to a computer. Here's a quick guide to get your GoPro setup for transferring files.
Step 1. To start, make sure your GoPro has an SD card inserted and grab the USB cable that came with it.

Step 2. Turn off your GoPro. Then, plug the smaller end of the USB cable into the GoPro. On newer models like the HERO10 Black, the port is inside the battery compartment.
Step 3. Connect the USB cable's opposite end to one of your computer's USB ports.

Step 4. If your computer detects the camera, a pop-up will appear. Click it to open your GoPro's storage folder. If no pop-up shows, manually find the DCIM folder on your computer.

Now, you can drag and drop your video files from the GoPro to your computer. This creates a copy on your computer without deleting the originals from the SD card.
Connecting GoPro via MicroSD Card Reader
This method requires a microSD card reader, which doesn't come with the GoPro, but it's a handy tool to download your files easily.Here's how do do it:
Step 1. Remove the microSD card from your GoPro. Place the card in the microSD card reader.
Step 2. Connect the reader to a USB port on your computer. If no pop-up appears, navigate to your SD card folder under your computer's local devices. Look for the folder called DCIM. From there, you can drag and save your video files onto your computer.

Download GoPro Videos to Your Computer
Once your GoPro is connected, you can start downloading your videos. Here are steps for both Windows and Mac users:
Step 1. Open File Explorer and click on This PC. Find your GoPro under Devices and drives, then open the DCIM folder. Drag and drop the videos you want to save to your desktop or a folder on your computer. You can also right-click, copy, and paste the files.

Part 3. How to Download GoPro Footage to Mac?
Beside Windows, you can download GoPro videos on Mac. But, like what is stated in part 2 you need to connect your USB cable to your devices. Here's how to download GoPro videos on Mac:
Step 1. Open Image Capture.Select your GoPro under Devices. By default, videos will be saved to your Pictures folder, but you can choose a different location.
Step 2. Import the selected files or click Import All to download everything.

Part 4. How to Fix Damaged GoPro Footage?
If you suddenly connected your GoPro USB cable to the computer and downloaded the GoPro video to edit, but found out that the video is corrupted that is really frustrating. This issue could be due to corrupted gyroscopic data in your GoPro.
In this kind of situation, using reliable software is the best choice you can have. Repairit GoPro Repair, the first to support GoPro gyroscopic data restoration, is a tool that you will need for a fast restoration and repair. This software also makes sure that your footage remains smooth and accurately oriented, just as you intended.
Why Choose Repairit V6.0 for GoPro Gyroscope Data Repair?
🔧Advanced Repair Success Rates. Repairit V6.0 improves repair success rates, with an impressive 93% success rate in restoring GoPro gyroscopic data.
⭐ Industry's First Gyroscope Data Repair. This new function supports the repair of damaged GoPro gyroscope data, with a parameter restoration rate of 98.15%.
⚡Optimized Performance and User Experience. 80% increase in overall speed for essential processes such as startup, file adding, and saving. The preview module now loads twice as fast.
📹Enhanced Video Damage Repair. Effectively repairs exclusive process files from various camera formats. This feature is good for recovering footage damaged by sudden power outages and other issues.
Step 1. Get Wondershare Repairit. After that, press the +Add button within the Video Repair section to fix the corrupted GoPro video in the repair list.

Step 2. After uploading the corrupted GoPro video files, please select the Repair button to start the video repair process.

Step 3. After repairing your GoPro video, we suggest using "Advanced Repair" for a deeper fix as you cannot achieve the desired result without this function.
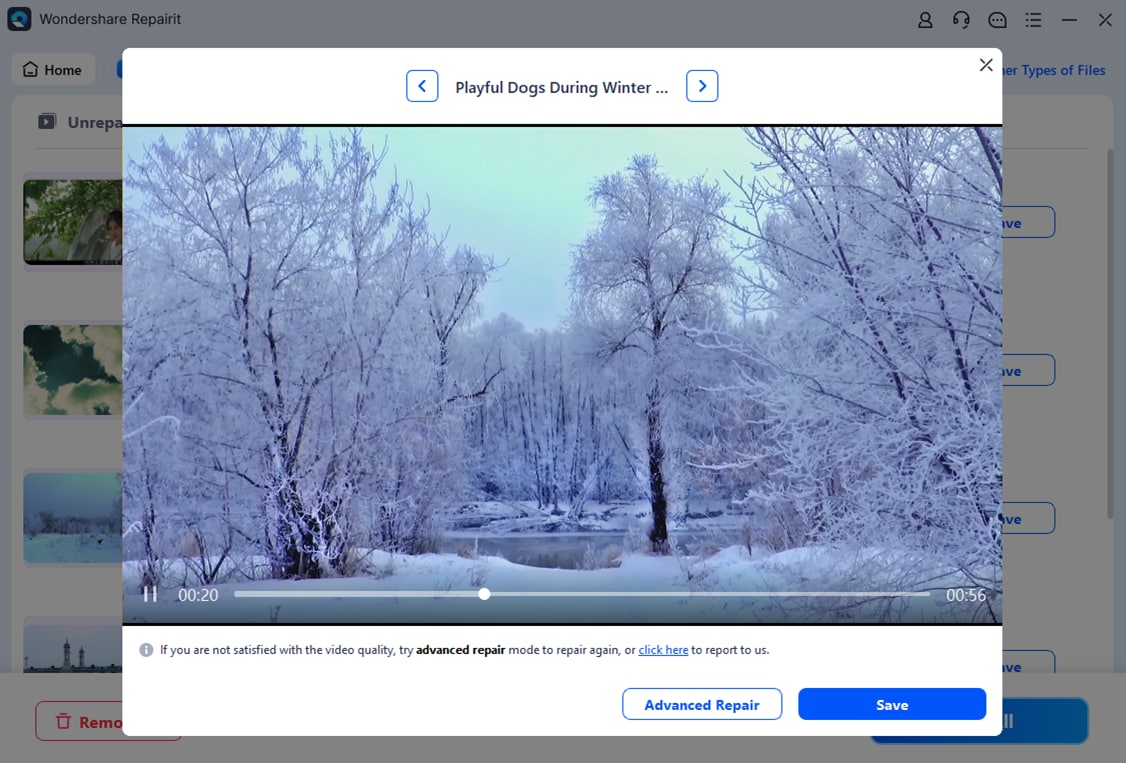

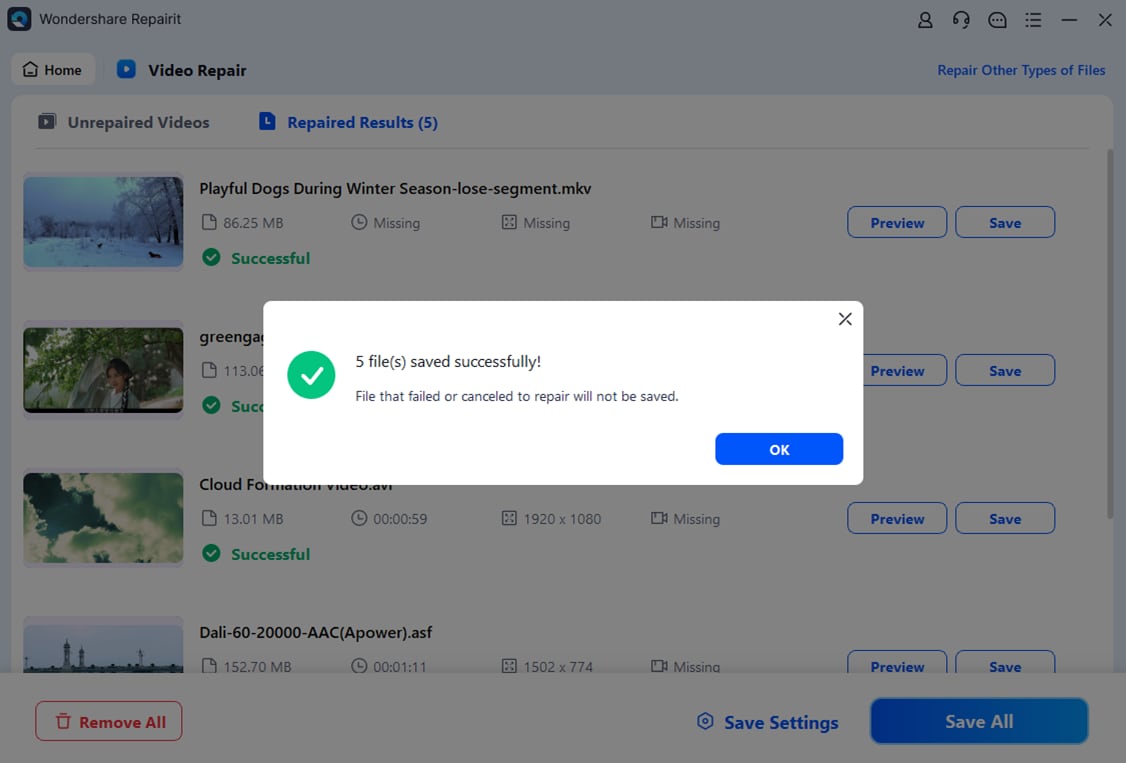
Step 4. Click the Preview button to view the repaired GoPro video files. If the repaired GoPro video files appear good for you, select Save and choose a location to store them. However, do not rescue them from the spot where they were initially injured.
Fix Damaged GoPro Footage
 Security Verified. Over 7,302,189 people have downloaded it.
Part 5. How to Edit GoPro Videos for Beginners
If you're using Final Cut Pro X or a similar editing tool, start by launching it. If you don't have an editing program yet, there are plenty of affordable or free options available, such as Filmora by Wondershare, which is great for beginners.
You may also download Final Cut Pro X for free. For a quick, beginner-friendly editing option, consider using GoPro Quik, ideal for creating short videos (2-3 minutes). If you're a Mac user, here's how to start editing:
Create a New Project
Once your editor is open, the first step is to create a new project. Go to File and New then select Library.

Then create a new project, File and New and select Project.

Import Your GoPro Footage
Before you start editing, you'll need to import your GoPro clips. Click on File, go to Import and select Media to bring your raw footage into the editing software.

After that, drag and drop clips from your media library into the timeline.

Organize Your Timeline
Arrange your video clips in the timeline to create a smooth sequence by dragging and dropping them. Build your story with a clear beginning, middle, and end for a better flow.
Pro Tip: Structure your video in a "beginning - middle - end" sequence to keep your viewers engaged.

Add a Soundtrack
Music and sound effects can greatly enhance your video. After downloading your music, drag and drop your soundtracks into the timeline, where they will be placed on an audio track, either above or below your video clips.
Pro Tip: Cut your video clips to match the beats of the music for a professional feel.

Adjust Video Speed
If you filmed in slow motion or need a time-lapse, adjust the speed of your clips. Slow down footage shot at higher frame rates (60fps, 120fps) or speed up long clips with a time-lapse.

Use Transitions
Transitions help smooth the change between clips. Most software comes with built-in transitions like cross-dissolve or blur. Be careful not to overuse them, as this can disrupt the flow of your video.

Add Titles
Titles aren't just for the beginning or end; they can also help tell your story. Most editors, including Final Cut Pro X, have a variety of premade titles that you can easily add to your video.

Color Correction
The color correction makes your video look polished. In Final Cut Pro X, press cmd+6 to open the color board and adjust contrast, exposure, and saturation. You can also apply LUTs (Look-Up Tables) for an even more enhanced look.

Review and Refine Your Edit
Before finalizing, take time to review your edit:
- Are your cuts synced with the music?
- Is the story easy to follow?
- Did you avoid overusing transitions?
Pro Tip: Let your video sit for a day before the final export. This helps you spot anything you might have missed.

Export and Share Your Video
When you're satisfied with the results, export the video. Depending on where you plan to share it (YouTube, mobile, etc.), choose the appropriate settings:
- Select the H.264 video codec for the best quality and size balance.
- Use full HD 1080p or higher for YouTube and larger screens or 720p for mobile devices if space is limited.

That's it! You're now ready to share your GoPro masterpiece with the world.
Conclusion
Downloading and editing GoPro footage is simple and essential for preserving your memories. With easy-to-follow steps, you can quickly transfer and edit your videos. Taking the time to add effects, music, and transitions will bring your adventures to life. Start creating stunning GoPro videos that capture the essence of your experiences!
FAQ
-
Do I need to transcode my GoPro footage before editing?
Most modern video editing software supports GoPro's MP4 format, so no conversion is needed. However, if you're using older software, you might need to convert the files first. -
What frame rate is best for editing GoPro footage?
For standard editing, a frame rate of 30fps or 60fps is usually sufficient. If you want to create slow-motion effects, shoot at higher frame rates, such as 120fps or 240fps. -
Why is my GoPro footage lagging during playback in the editor?
Lagging can occur if your computer's processing power or memory is insufficient for editing high-resolution videos. Try using proxies or lowering the playback quality in your editor to improve performance.
