

Ever wished you could save what's on your computer screen but weren't sure how? Maybe you're a gamer who wants to show off big victories, a teacher making digital lessons, or someone who needs to explain software. Recording what's on your screen is really important these days.
There are lots of tools to choose from, and it can be tough to pick the best one. That's why OBS is great – it's a strong, free, and flexible program that makes screen recording easy.
This guide will show you all the steps on how to use OBS for recording. We'll start from setting it up and go all the way to some clever tricks. By the end, you'll be really good at using OBS.
In this article
Part 1: Overview of OBS Screen Recorder
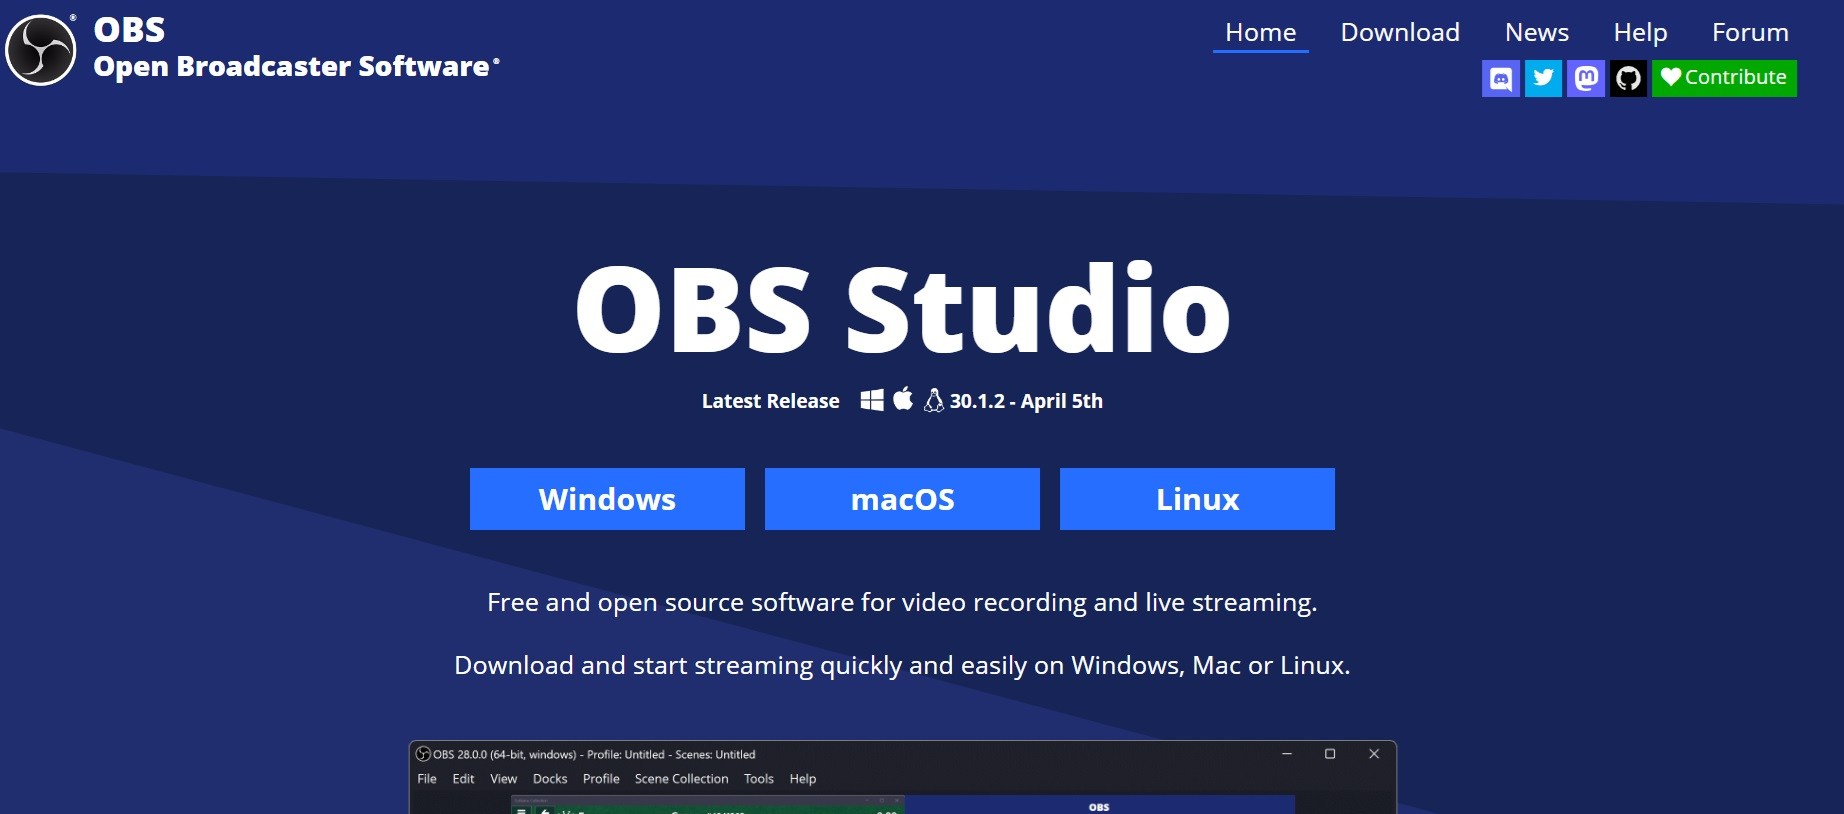
OBS, which stands for Open Broadcaster Software, is a powerful and flexible program for recording and streaming video from your screen. This free, open-source tool is popular with content creators, gamers, and professionals. OBS is known for its versatility, enabling users to not only record their screens but also include footage from webcams, audio from microphones, and other sources.
If you're looking to learn how to record screen with OBS or how to use OBS for screen recording, this software provides a complete solution for all your video recording needs.
Part 2: How to Use OBS for Recording
In this section, we have listed simple steps to use OBS Recorder. These steps will guide you through the basics of setting up and using OBS for screen recording, making it easy for beginners to get started.
Step 1Installation
To begin your journey on how to use OBS screen recorder, you'll first need to download and install the software.
Step 1: Visit the official OBS website. Click on the "Download" button.
Step 2: Choose the version that matches your operating system (Windows, macOS, or Linux). Run the installer file to complete the installation.
Step 3: Follow the on-screen instructions to complete the installation process. Launch OBS Studio once the installation is finished.
The installation process is straightforward, but if you encounter any issues, the OBS community forums are an excellent resource for troubleshooting.
Step 2Customize Recording Settings
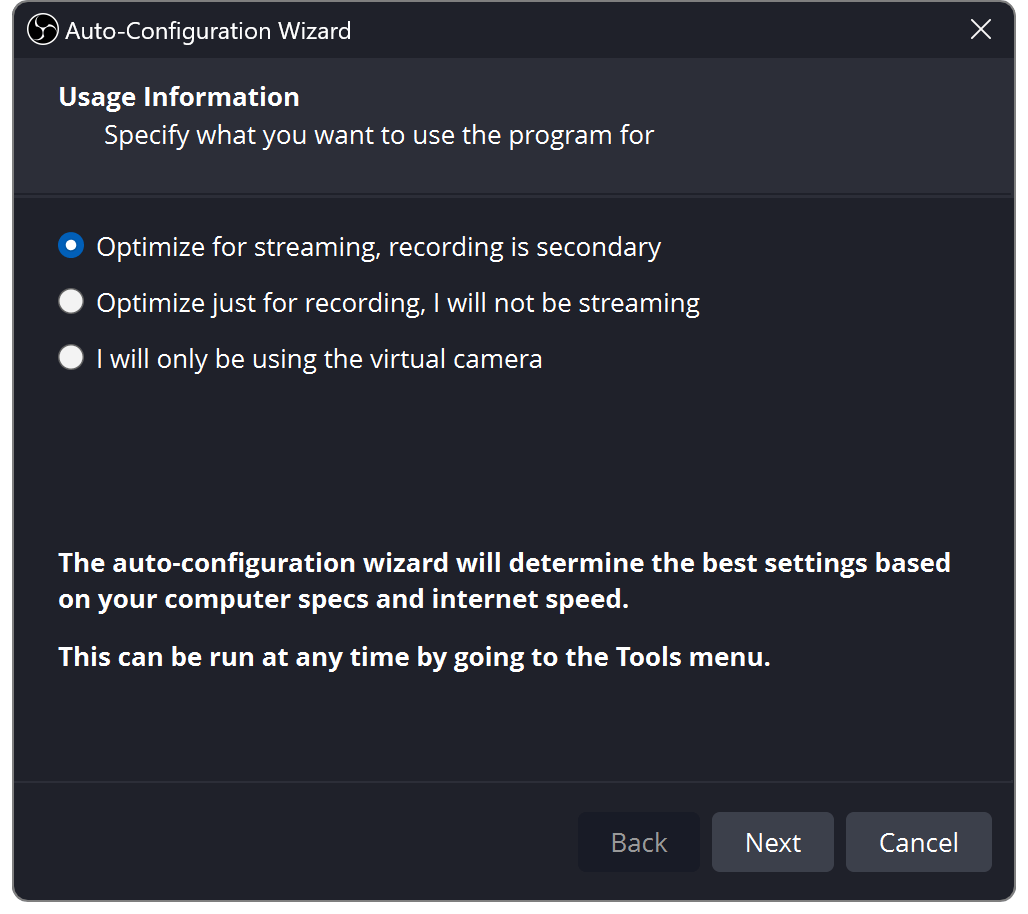
Once you launch OBS Studio for the first time, you'll be greeted by the Auto-Configuration Wizard. This initial setup process is crucial as it helps tailor OBS to your specific recording needs and system capabilities.
Step 1: Welcome Screen: Click "Yes" to run the Auto-Configuration Wizard. Select your primary use: "Optimize for recording" or "Optimize for streaming" For this guide, choose "Optimize for recording, I will not be streaming"
Step 2: The next step is to customize the video settings:
- Base (Canvas) Resolution: This should match your monitor's native resolution
- Output (Scaled) Resolution: Choose the resolution for your recordings (e.g., 1920x1080 for 1080p)
- FPS: Select your desired frame rate (30 or 60 FPS are common choices)
Step 3: Once the wizard completes, you'll see the main OBS interface. Go to Settings > Output to fine-tune your recording settings:
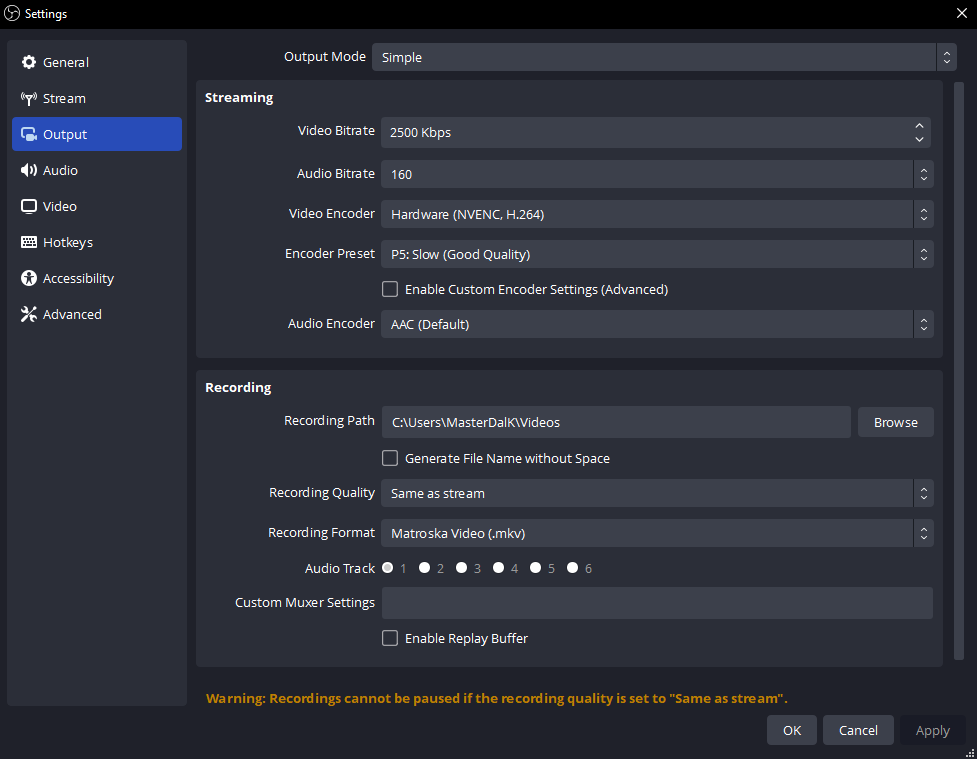
- Recording Format: Choose between MP4, MKV, or FLV.
- Recording Quality: Select "High Quality, Medium File Size" for a good balance.
- Recording Path: Set where your videos will be saved.
Step 3Exploring the Features and User Interface
Understanding the OBS interface is crucial for mastering how to capture video with OBS. Let's break down the main elements for how to use OBS to record screen:
Scenes: These are collections of sources that make up your recording or stream. OBS allows you to create multiple scenes simultaneously and switch between them.
Sources: These are the individual elements that make up a scene. Common sources include:
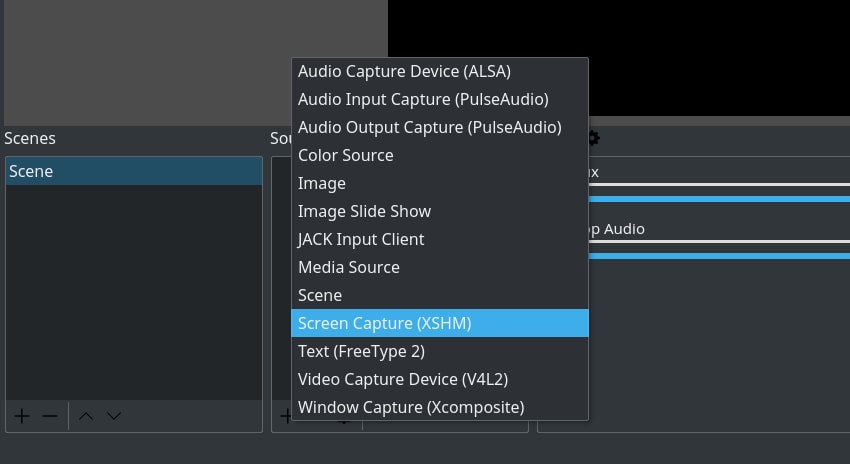
- Display Capture: Records your entire screen
- Window Capture: Records a specific application window
- Video Capture Device: For webcams
- Audio Input Capture: For microphones
- Game Capture: Optimized for capturing games
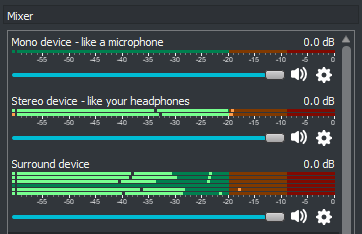
Audio Mixer: This section shows all your audio sources and their levels. You can adjust volumes or mute sources here.
Controls: In the bottom right, you'll find controls for starting/stopping recordings, accessing settings, and exiting Studio Mode.
Studio Mode: This advanced feature allows you to prepare scenes before making them live.
Experiment with different combinations of sources to create the perfect setup for your recordings.
Step 4How to Record a Video Using OBS
Now that you're familiar with the interface, let's walk through the process of how to record screen using OBS:
Step 1: Set up your scene with the desired sources (e.g., Display Capture for your screen, Audio Input Capture for your microphone).
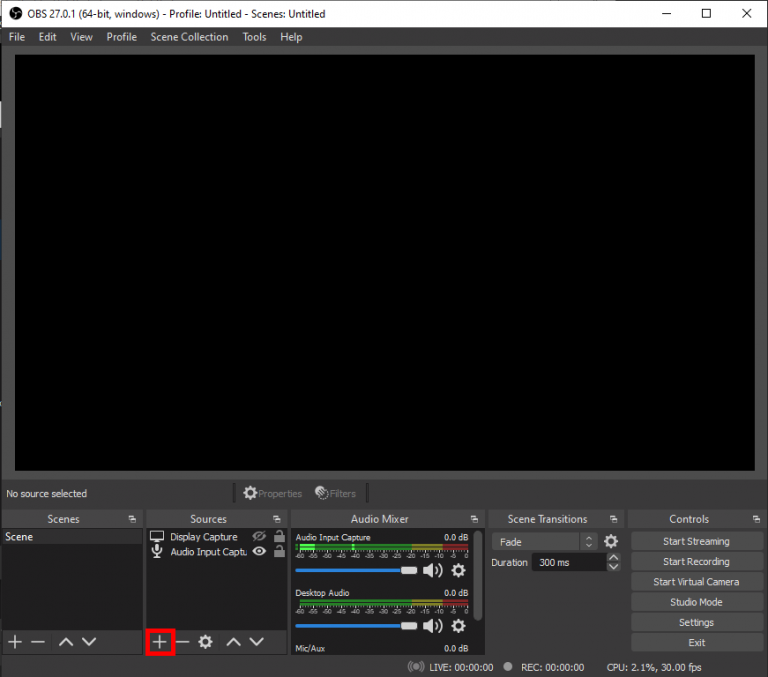
Step 2: Adjust your audio levels in the Audio Mixer to ensure everything is audible but not too loud. Click the "Start Recording" button in the Controls section when you're ready to begin.
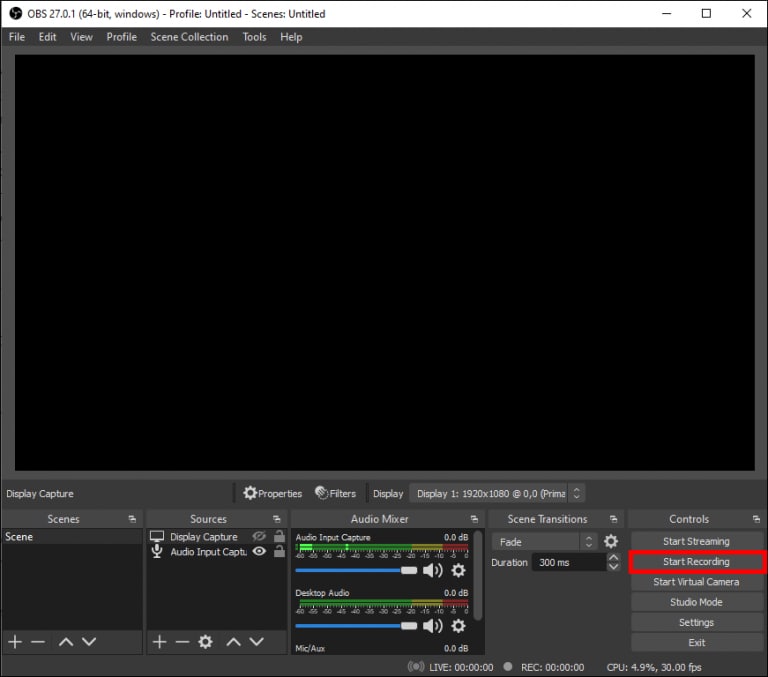
Step 3: When you're finished, click "Stop Recording". Your video will be saved to the Recording Path you specified in the settings.
That's the basic process of how to record a video using OBS. With practice, you'll become more comfortable with the software and can explore its advanced features.
Part 3: How to Repair Recorded OBS Video Files after Corruption?
When you're learning to use OBS for recording, you might sometimes face problems with video files that are not working properly. This can happen if your computer stops working or if it suddenly loses power while you're recording. That's when Wondershare Repairit can be very helpful. It's a simple tool made to fix video files that are not working right, including those made by OBS.
Wondershare Repairit is especially helpful for people who use OBS and often make long recordings or work on important projects where losing any video is not an option.
Here's a list of key features of Wondershare Repairit that are particularly useful for repairing corrupted OBS video files:

-
Multi-format support: Repairs various video formats commonly used in OBS, including MP4, MOV, AVI, and FLV.
-
Advanced repair algorithm: Utilizes sophisticated technology to fix severely corrupted video files.
-
Batch processing: Allows users to repair multiple corrupted OBS recordings simultaneously.
-
Preview function: Let you check the repaired video before saving, ensuring the content is recovered correctly.
-
High success rate: Effectively repairs issues like frozen frames, out-of-sync audio, or unplayable files.
-
User-friendly interface: Easy to navigate, making the repair process simple for both beginners and advanced users.
Here's how to use it to repair your OBS recordings:
Step 1: Install Wondershare Repairit from the official website. Launch the software and click on the "Add" button to import your corrupted video file.

Step 2: Once the file is added, click on "Repair" to start the process.

Step 3: After the repair is complete, preview the video to ensure it's fixed. If satisfied with the results, click on "Save" to export the repaired video.

Repair Recorded OBS Video Files after Corruption Now
 Security Verified. Over 7,302,189 people have downloaded it.
Part 4: Tips for Best OBS Recording Settings
To ensure you're getting the most out of OBS, here are some tips for optimizing your recording settings:
- Resolution and Frame Rate: Match your base resolution to your monitor's native resolution. Set your output resolution to 1080p for most use cases. Use 60 FPS for smooth motion, or 30 FPS to reduce file size.
- Bitrate: For 1080p60, aim for a bitrate between 4,500 to 6,000 Kbps. For 1080p30.bitrate of 3,500 to 5,000 Kbps should suffice.
- Encoder Settings: If you have a dedicated GPU, use hardware encoding (NVENC for NVIDIA, AMF for AMD). For CPU encoding, use the x264 encoder with the "veryfast" preset for a good balance of quality and performance.
- Audio: Record desktop audio and microphone on separate tracks for easier editing. Use noise suppression and noise gate filters to improve audio quality.
- Performance: Close unnecessary background applications to free up system resources. Use Game Capture instead of Display Capture for better performance when recording games.
Well, these are general guidelines. The best settings will depend on your specific hardware and recording needs. Don't be afraid to experiment to find what works best for you.
Conclusion
Learning how to use OBS for recording can greatly enhance your ability to create content, teach, and communicate professionally. Whether you're recording gameplays or making detailed software guides, OBS offers the necessary tools to make high-quality screen recordings. This guide has taught you how to set up OBS, adjust its settings, use its interface, and improve your recordings.
FAQ
-
Q: Can OBS record my webcam and screen at the same time?
Yes, OBS can record multiple sources simultaneously. You can add both a Display Capture (or Game Capture) source for your screen and a Video Capture Device source for your webcam to the same scene. -
Q: Why is my OBS recording laggy or choppy?
Laggy recordings can be caused by insufficient system resources or suboptimal settings. Try lowering your output resolution or frame rate, using hardware encoding if available, or closing background applications to free up resources. -
Q: How do I record system audio without my microphone in OBS?
In the Audio Mixer section of OBS, you can mute your microphone by clicking the speaker icon next to it. Ensure your Desktop Audio is unmuted to capture system sounds.
