

 TL;DR:
You can apply partial color to black-and-white photos manually through Adobe Photoshop or Adobe Lightroom Classic, and restore full color automatically using Repairit AI Photo Colorizer.
● Adobe Photoshop isolates partial color by duplicating layers, desaturating the background, and selecting the target hue via the Color Range tool, whereas Adobe Lightroom Classic requires dropping all non-target color saturations to -100 in HSL mode and refining with the Adjustment Brush.
● Repairit AI Photo Colorizer processes JPG, JPEG, PNG, BMP, and WEBP files by generating three different coloring effects per upload and provides a preliminary option to fix damaged old photos before colorization.
● If source files are lost on a PC, Wondershare Recoverit retrieves deleted photos and videos in resolutions up to 8K while maintaining original formats from common camera manufacturers.
Ask AI for a summary
 ChatGPT
 Perplexity
 Gemini
 Claude
 Grok
Grok
Do you have any old, colorless photographs of your parents? If you could view the same image in color, it would come to life. This is now possible with just a click just because of AI technology. It is no longer the exclusive property of post-production businesses to add color to black-and-white photographs. Read this article to know how to edit old images with a black-and-white photo editor.

How to Edit Partial Color of Black-and-white Photos?
You may have seen pictures on the internet where there is only one colored object and everything else is black and white. This selective coloring in the picture can give your image a playful atmosphere or make it look more elegant and impressive. So, let’s check how to edit the partial color of black-and-white photos.
Method 1: Edit the Partial Color of Black-and-white Photos with Adobe Photoshop
The first method to edit the partial color of black-and-white is Adobe Photoshop. You can start after you have the most recent version of Photoshop installed. Enter Adobe Photoshop now and import your image.
Step 1 In the Layers Panel on the right side of your Photoshop screen, right-click the Background layer.
Then, choose the Duplicate Layer menu option. This option allows you to complete your edits in two separate layers.

Step 2 Next, choose the Background layer again.
Then, press Ctrl + Shift + U to desaturate all the colors in your photo. Select Layer 1 in the Layers panel after clicking the eye icon to make it visible once more.

Step 3 Then in Adobe Photoshop, select « Color Range from the top menu bar.
You will choose your accent color.

Step 4 Select the bonus Eyedropper Tool from the Color Range dialogue box.
You can choose all of the blue tones in the image with the help of this tool, "Add to Sample."
Step 5 Click the image's accent color using the Add to Sample Tool.

Step 6 Once you have made many selections of your accent color throughout your image, click the OK button.
In order to make a selection in your picture.
Step 7 To reverse the selection you just made, press Ctrl + Shift + I on a Windows keyboard.
The entire image has now been selected by Photoshop except the color you want to keep.
To erase the chosen area from Layer 1, simply press the Delete key on your keyboard. Your image is now B&W with one color remaining.

Method 2: Edit Partial Color of Black-and-white Photos with Adobe Lightroom
The next black white photo editor tool that can color some parts of a picture, and remain other parts in black and white is Adobe Lightroom. Here are the steps by which you can edit black-and-white pictures in partial color:
Step 1 You must first load your image into Lightroom Classic.
Open Lightroom and choose Import to do that.

When you're finished, go to Lightroom's Develop mode, which is accessible from the menu bar at the top of the black and white picture editor.

Step 2 Make the entire picture black and white, excluding the model's red clothing.
To get this result, pick Saturation in HSL mode from the editing pane of Lightroom.


Step 3 Reduce the saturation of all colors to -100, with the exception of red.
All other colors will become grayscale as a result, creating a black-and-white look.
Now, your Saturation menu will appear like follows:

Step 4 Set the Adjustment Brush's saturation to -100 after clicking on it.
Then, using the brush, paint over any areas of the image that still have an undesirable color.

You are done now!

Part 2: How to Bring Full Color to Black-and-white Photos?
Now you know how to edit the partial color of black-and-white with a black-and-white picture editor easily. But if you want to bring full color to black-and-white photos, then you can do it online without spending too much time. No doubt, there are a plethora of online tools available but if you find the best one then there is Repairit AI Photo Colorizer. This tool based on AI technology works well for restoring and coloring black-and-white images.
What else makes this AI-powered tool best?
The AI Photo Colorizer tool gives users a variety of choices. The many choices are as follows:
- Before colorization, you could try to fix the old, damaged pictures.
- Three different coloring effects are produced with the tool. You have two other options if you are unhappy with one of them.
- The utility is compatible with many file types, including JPG, JPEG, PNG, BMP, WEBP.
Steps to make black and white photos full-color
There are three steps that you need to follow. The steps are:
- Upload the black-and-white photograph
- Start colorization by selecting Photo Colorize mode
- Preview and save the results
Now, let’s discuss each step in detail:
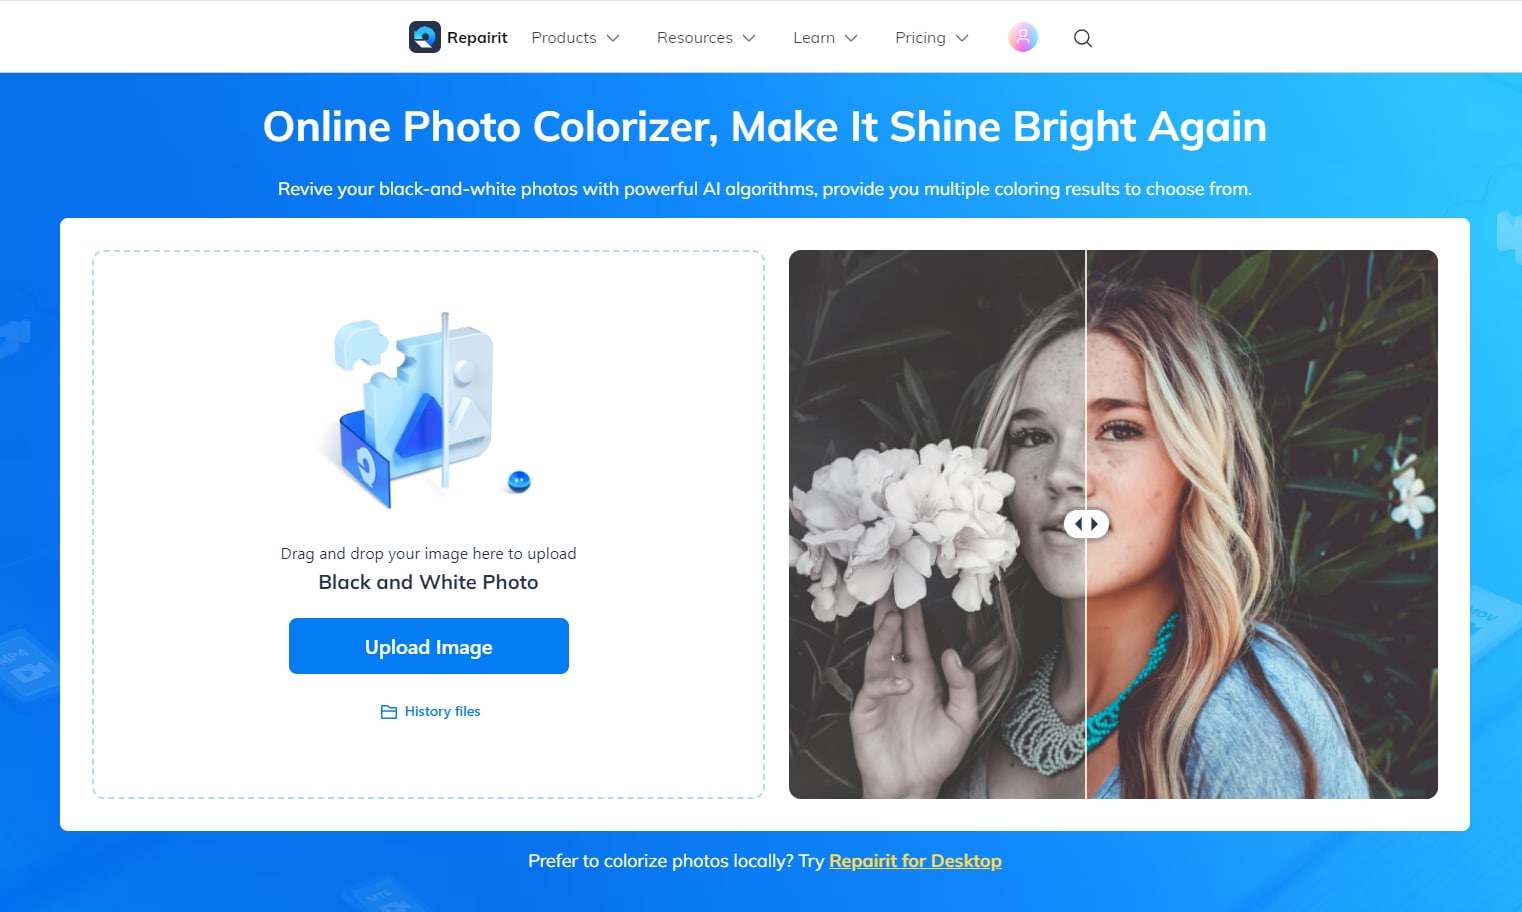
Step 1 Upload the black-and-white photo
After launching the Wondershare Repairit tool, an interface will display. This interface will ask you to upload a black-and-white photo. Choose the photo from the source folder and tap on the Upload Image button.
Step 2 Start colorization by selecting Photo Colorize mode
After uploading the black-and-white photo, you will see two options on your computer screen. Here, you must choose either Old Photo Restore or Photo Colorize. To add full color to black-and-white images, choose the latter option.
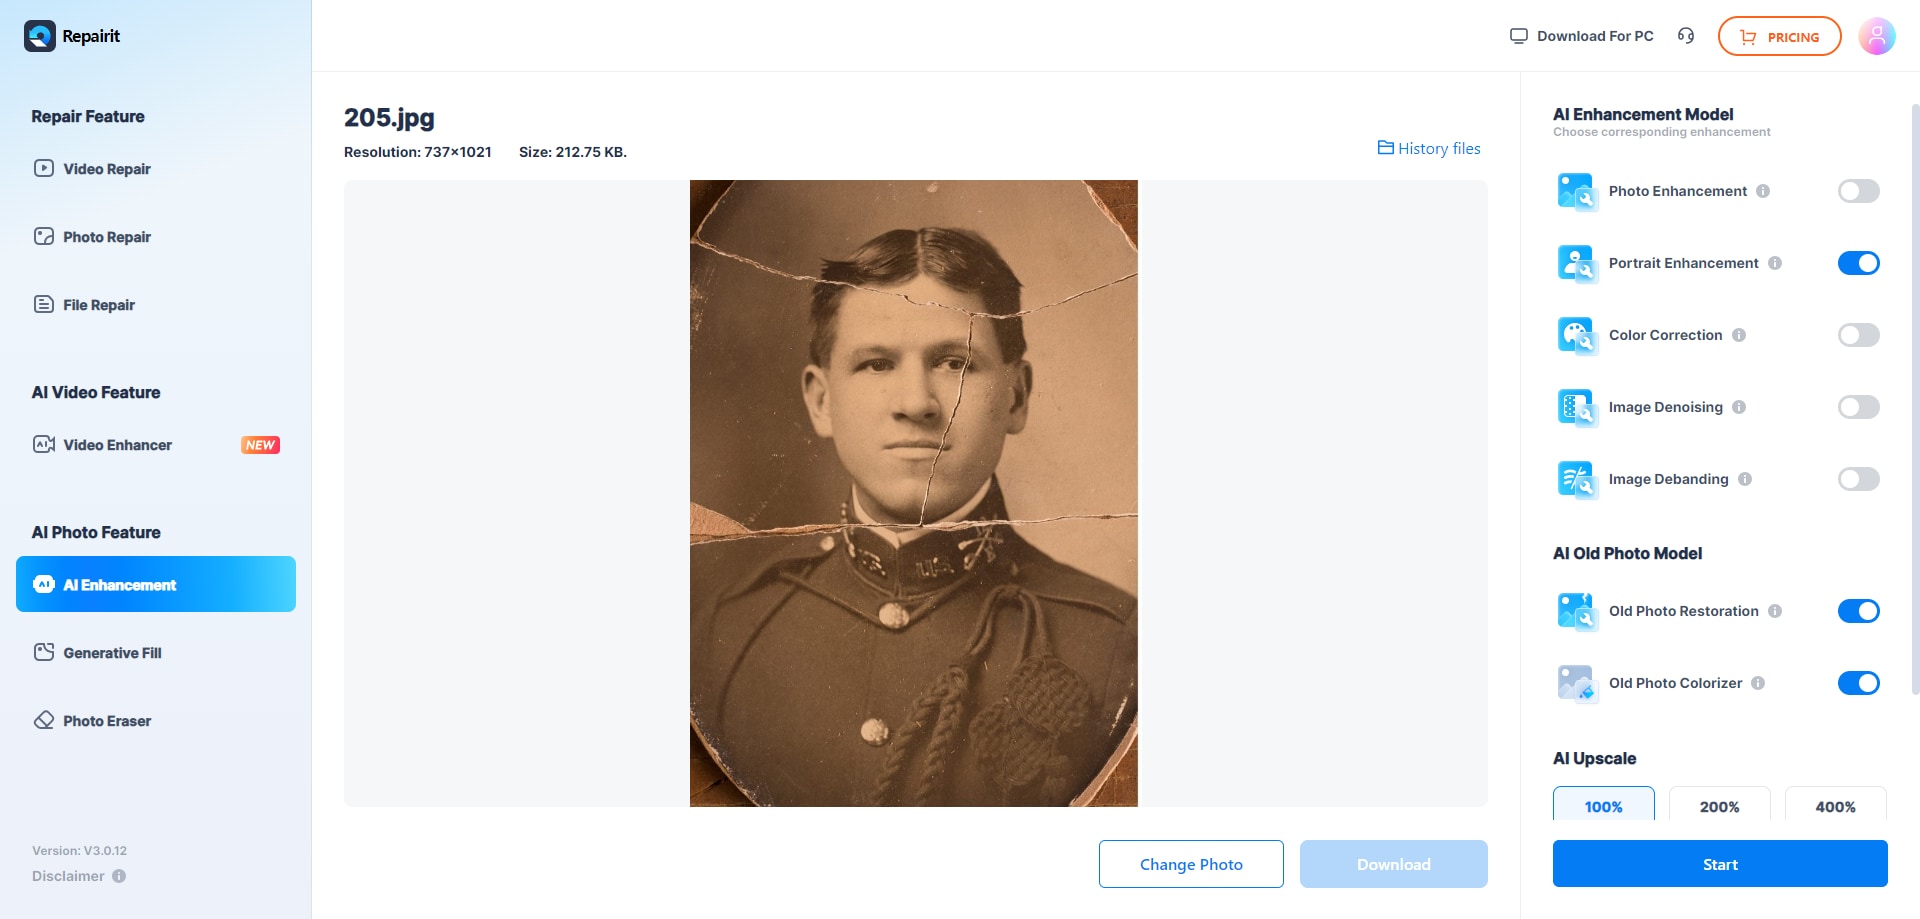
Now, click the Start button. Then, the colorization process on an uploaded photo will be started.
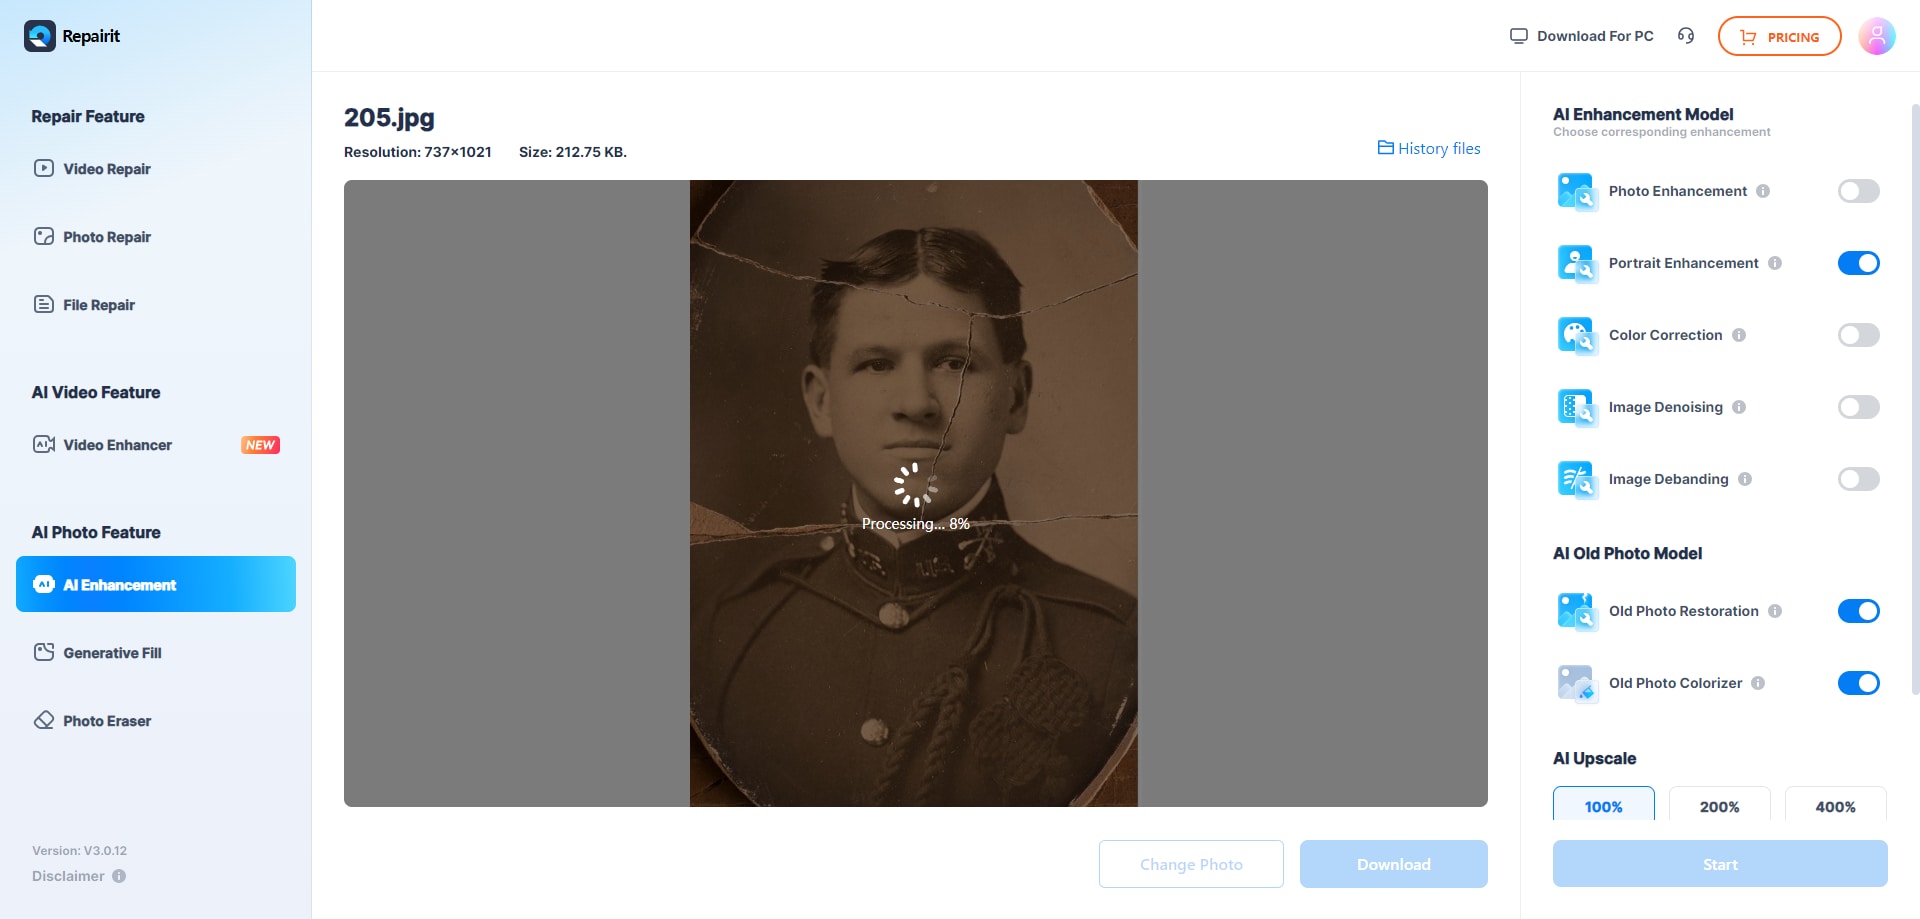
Wait a few minutes for the process to be successfully done.
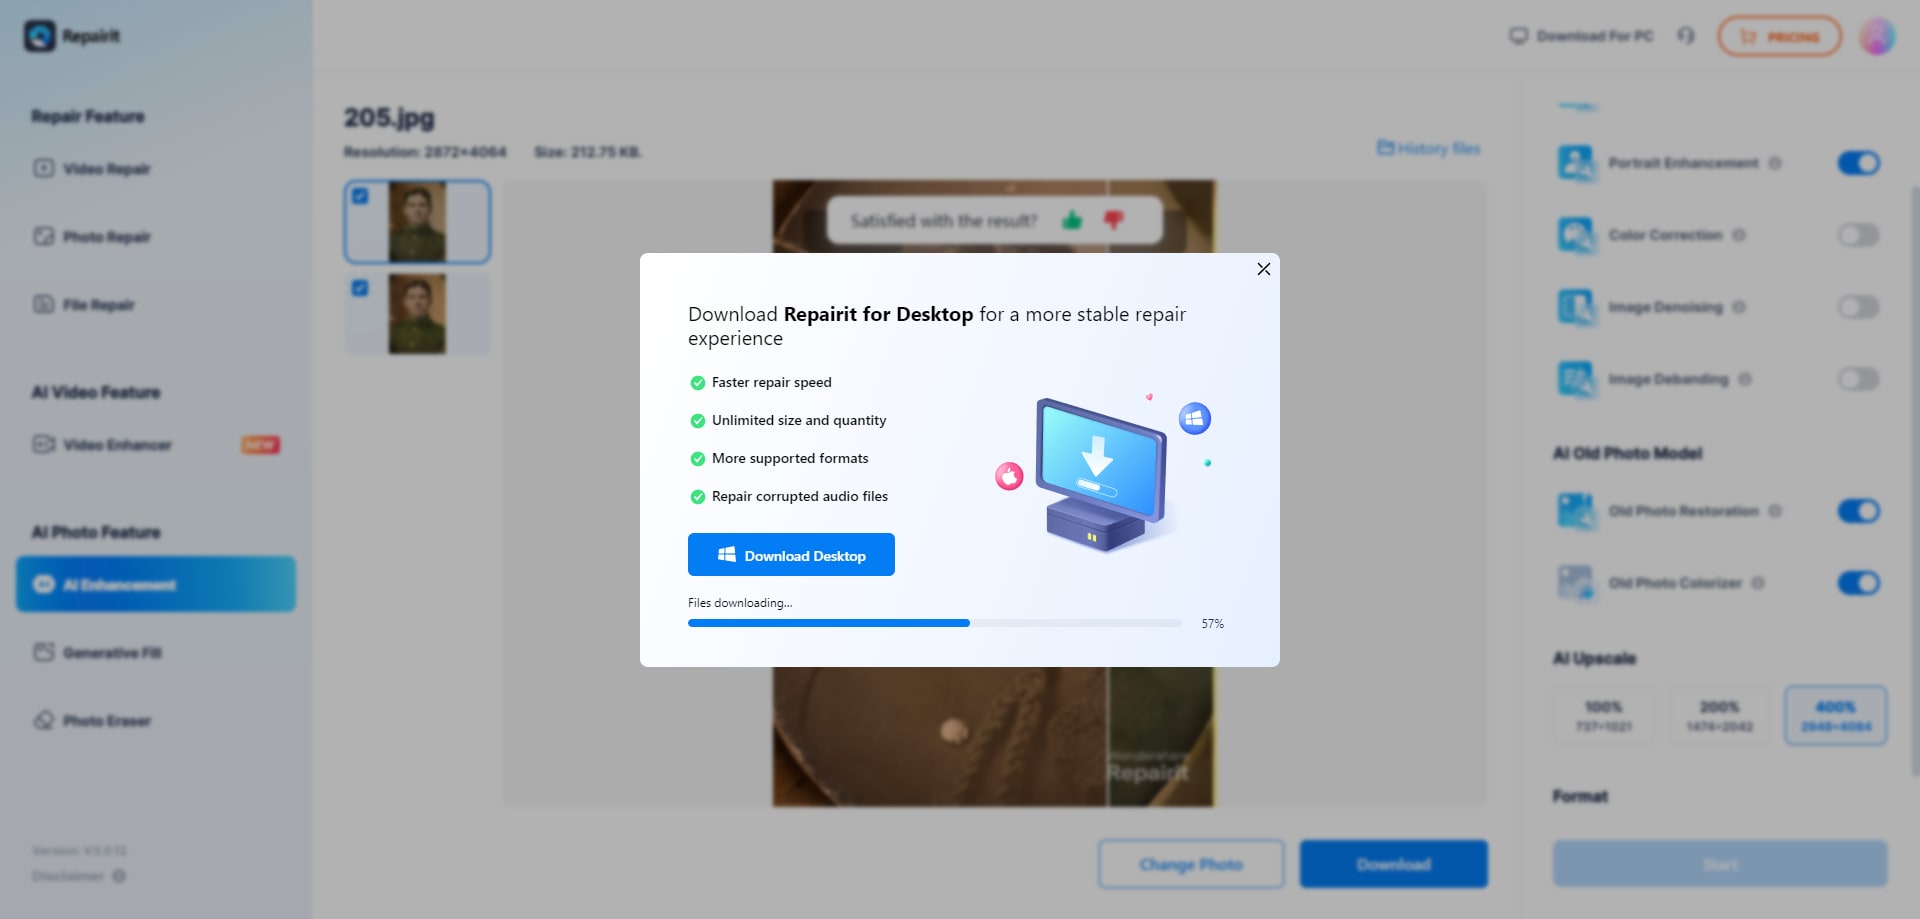
Step 3 Preview and save the colored photo
Wondershare Repairit allows users to go through the results before downloading them. After the colorizing process is completed, you can tap on the Download button to save the colorized photos.
Bonus: How to Recover Lost Photos on Your PC?
Till now you have learned how to edit the partial color of black-and-white photographs, and how to make black-and-white photos full color. But what would you do if your old photos got lost on your computer? You may search the software on the internet that can solve your issue. But as per my experience, I recommend you to recover lost photographs on your PC with Recoverit. This is because this tool can fully recover your lost photos with 100% safety.
Here are some features that make Recoverit file recovery tool the best:
- Find and retrieve your deleted, lost, or secretly concealed films and photographs.
- Keeping the original quality, recover Ultra HD, 4K, and 8K films and images.
- Restore images and video in various formats from all common camera manufacturers.
- Without any corruption, retrieve an unlimited number of video and photo files.
Conclusion
That’s it! In this article, I have explained some black-and-white image editor software that can color some parts of a picture, and remain other parts in black-and-white. Whenever you want to color your old and colorless pictures without spending long hours, always use Repairit AI colorizer. However, if your important images got lost on your Windows, then recover those images with Wondershare Recoverit.