

Repair Videos & Photos in DJI Drones
Check why your videos & photos in DJI drones corrupted and the solutions to repair videos & photos from DJI drones.
Capturing stunning aerial footage with your DJI drone, only to discover corrupted files, can be infuriating. Ins’t it? Well, many drone enthusiasts have faced this disappointment. But fear not! This comprehensive guide offers two easy solutions to repair damaged DJI drone files.
Whether you are a professional or an amateur, you will learn how to troubleshoot DJI drone repair problems and how to recover corrupted video files. By reading this article up to the end, you will be well-prepared with solutions to DJI drone fix problems.
Corrupted DJI drone files got you down? Don't worry! This guide provides two easy fixes to recover your stunning aerial footage. Learn how to repair damaged files and breathe new life into your lost videos.
Discover how to revive your lost drone footage and rescue your stunning aerial shots.
Part 1: Overview of DJI Drone Repair
When it comes to DJI drone repair, file corruption is one of the most common issues that users face. While DJI drones are known for their reliability and high-quality footage, even the best technology can sometimes falter. Understanding the basics of DJI drone fix techniques is essential for any drone pilot.
Whether you're dealing with a broken DJI drone or just corrupted video files, knowing how to address these issues can save you time, money, and precious memories captured in your aerial footage.
Part 2: How DJI Drone Files Get Corrupted
Before we delve into the solutions, it's important to understand why DJI drone files might become corrupted in the first place. Here are some common reasons:
1.Sudden power loss during recording
2.Improper shutdown of the drone
3.Physical damage to the SD card
4.Interference from electromagnetic fields
5.Software glitches or firmware issues
6.Exceeding the maximum file size limit
7.Using incompatible or low-quality SD cards
8.Removing the SD card while the drone is still processing data
9.Extreme weather conditions affecting the drone's performance
10.Accidentally formatting the SD card before transferring files
Part 2: How to Fix DJI Drone Files Easily: Easy Methods
Now, let's explore two simple methods to fix your corrupted DJI drone files. These techniques can help you recover your footage and get back to enjoying your aerial videography.
#Method 1. Use Repairit Video Repair
Wondershare Repairit is a powerful tool that can help you fix DJI drone files easily. Here's a step-by-step guide:
Step 1: Install Wondershare Repairit on your computer. Launch the Repairit application. Click on the "Add" button to import your corrupted DJI drone video files.

Step 2: Select the corrupted files from your computer and click "Open" to add them to Repairit. Once the files are added, click on the "Repair" button to start the DJI drone fix process.

Step 3: Let the repair process finish, which may take several minutes. Then, preview the videos to ensure they've been successfully restored.

Step 4: If you're satisfied with the results, click on "Save" to save the repaired files to your desired location.

Using Repairit for DJI drone repair is an effective way to recover your corrupted video files. It's user-friendly and can handle various types of video corruption, making it a versatile tool for fixing broken DJI drone footage.
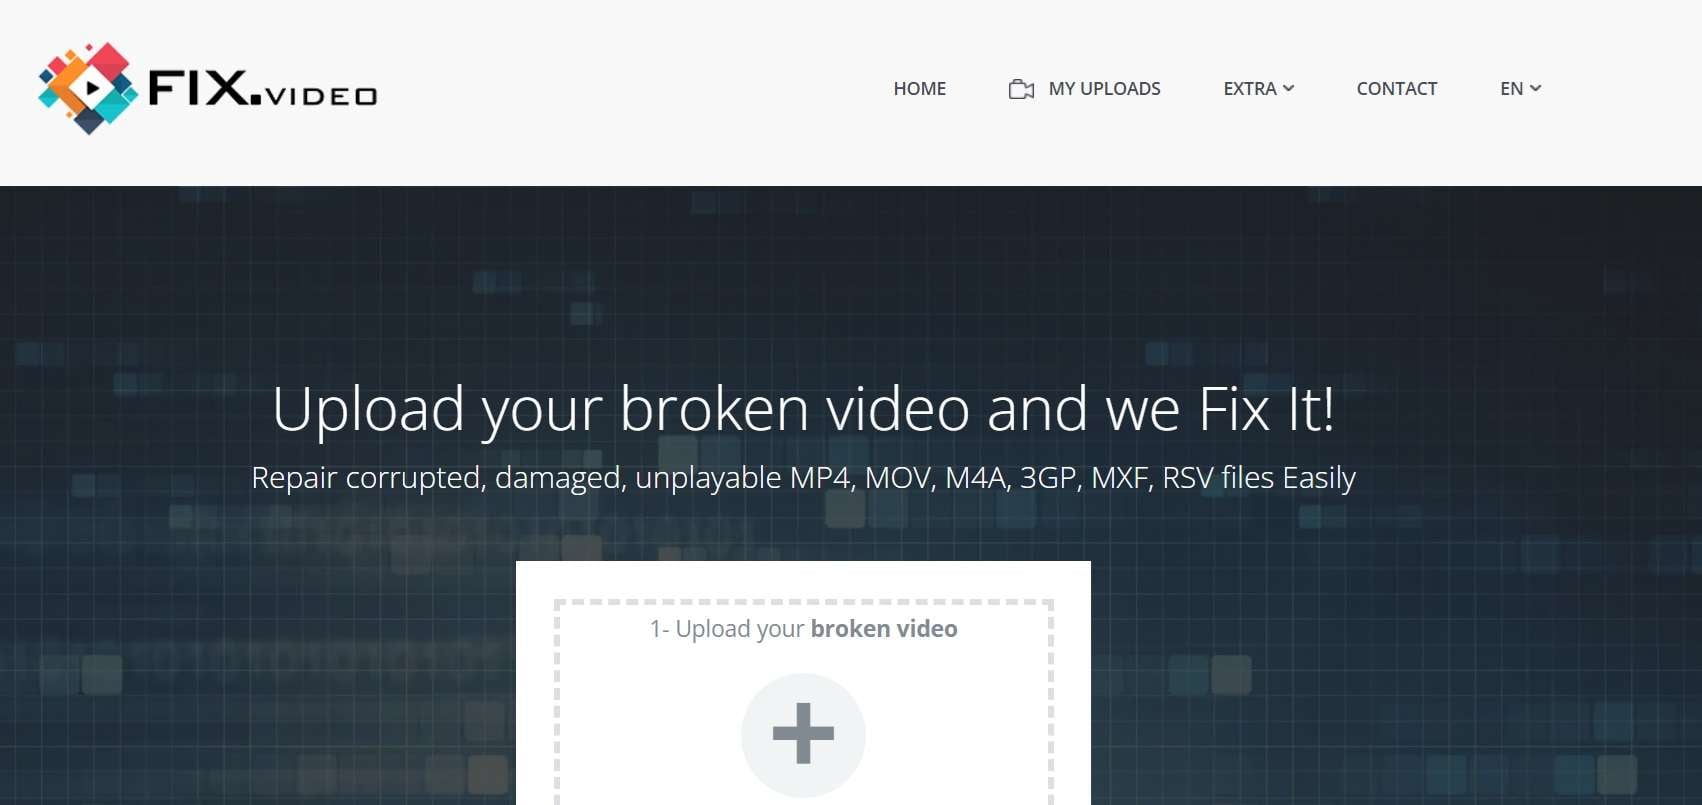
#Method 2: Use Fix.Video to Fix DJI Drone Files Online
If you prefer an online solution for your DJI drone fix needs, Fix.Video is an excellent option. Here's how to use this web-based tool:
Step 1: Open your web browser and go to the Fix.Video website. Click on the "Upload Video" button to select your corrupted DJI drone files.
Step 2: Choose the corrupted files from your computer and click "Open" to upload them. Wait for the files to upload.
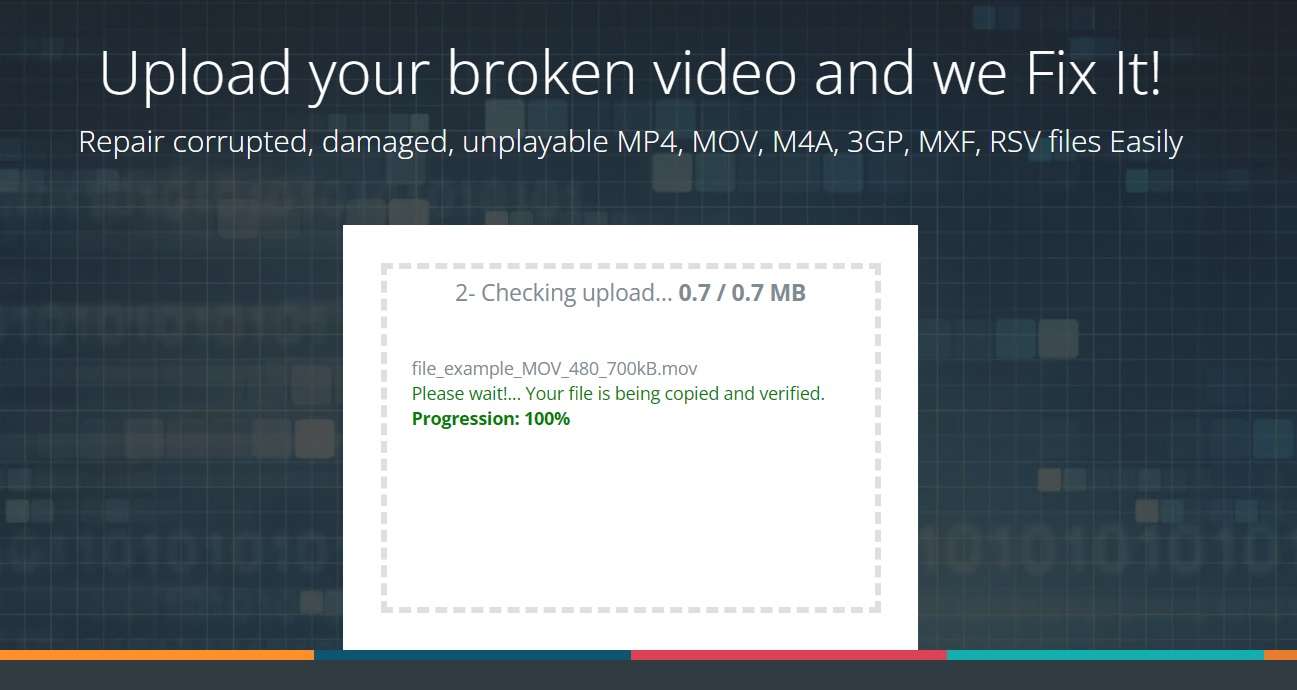
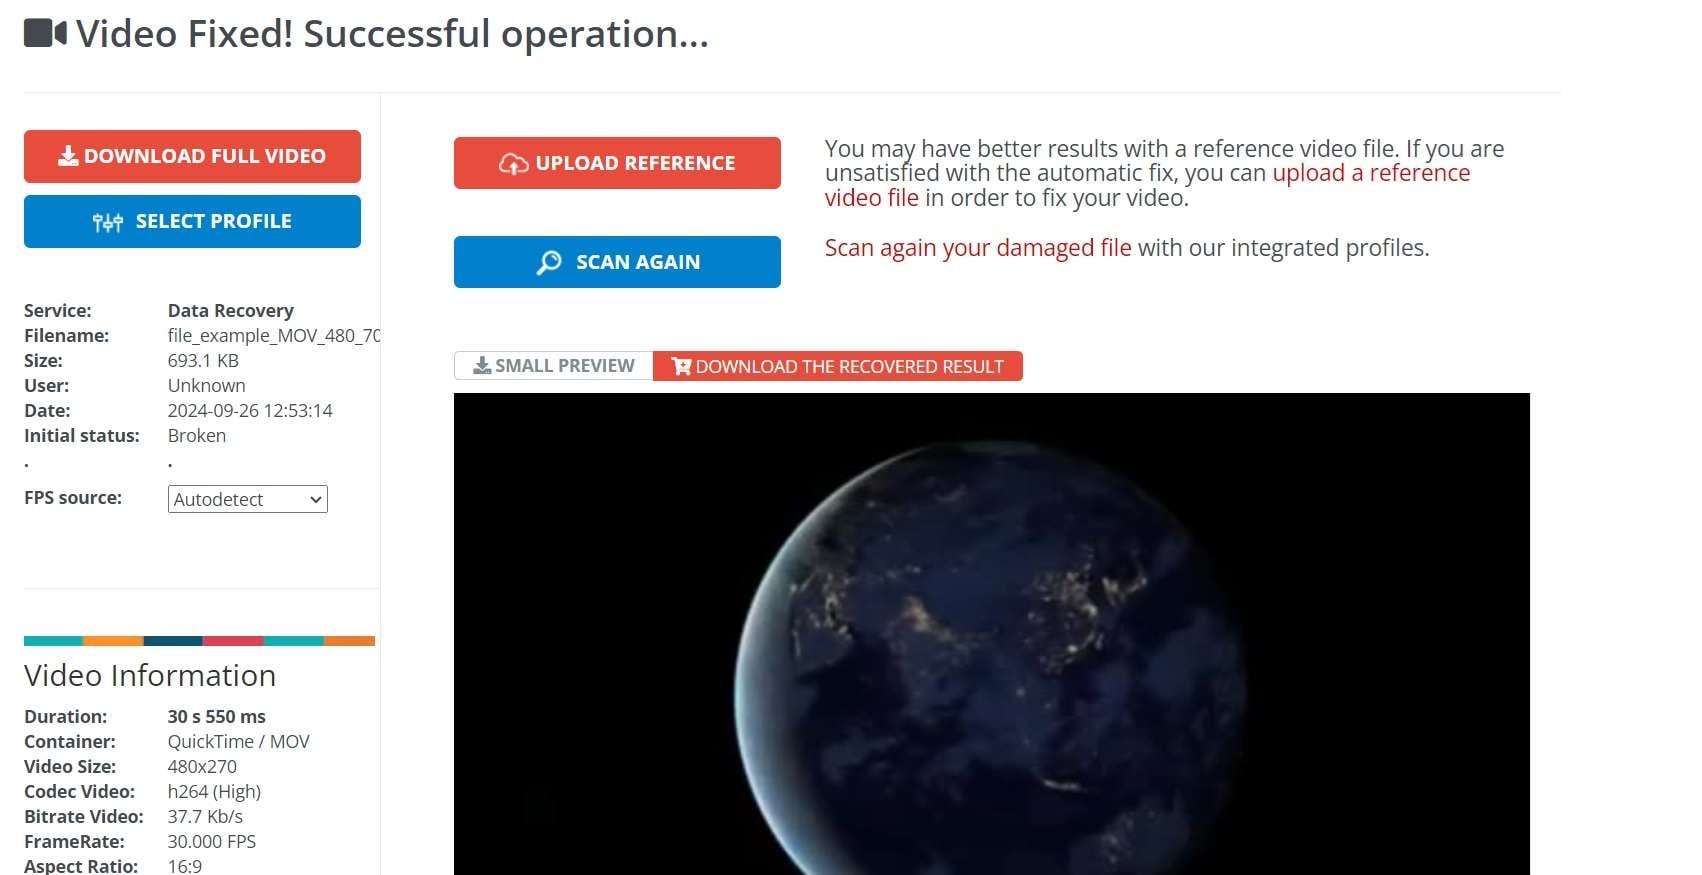
Step 3: The online tool will process your files. This may take a few minutes. After the repair is finished, preview the repaired videos to check their quality. If you're happy with the results, click on "Download Full Video" to save the repaired files to your computer.
Part 4: Part 4: Tips for DJI Drone Repair
To help you avoid future issues and make your DJI drone fix efforts more effective, here are some valuable tips:
Tip 1: Always use high-quality, compatible SD cards with your DJI drone.
Tip 2: Format your SD card in the drone before each use to prevent file system errors.
Tip 4: Ensure your drone's firmware is up to date to avoid software-related issues.
Tip 5: Don't remove the SD card while the drone is still processing data.
Tip 6: Regularly back up your drone footage to prevent permanent loss of data.
Tip 7: Avoid flying in extreme weather conditions that could affect your drone's performance.
Tip 8: Be mindful of the maximum file size limit for your specific DJI drone model.
Conclusion
Dealing with corrupted DJI drone files can be frustrating, but as we've seen, there are simple and effective solutions available. Whether you choose to use Repairit File Repair or Fix.Video, you now have the tools to recover your precious aerial footage. Make sure to follow the tips we've provided to minimize the risk of future file corruption.DJI drone repair doesn't have to be a daunting task. With the right knowledge and tools, you can easily fix DJI drone files and get back to capturing amazing aerial videos.

 Security Verified 1,010,994 people have downloaded it.