Even with the best of the cameras, a situation with an important photo getting corrupt can't be avoided. But, that's not the end of it. What if you could repair the corrupt photos from Sony A9 II with just a few clicks? This is where you need to employ the best repairing method to get the best results. We have summed them up for you.</p >
Part 1: Overview of Sony A9 II
The Sony A9 II camera, built for the Pro shooter, is extensively used for high-speed sports shooting. The camera uses a 24.2 MP sensor assisted by the Bionz X processor which is similar to its predecessor Sony A9. It generates an impressive 20fps continuous shooting output with the electronic shutter, 14-bit RAW output, 4K video up to 30fps and 1080p up to 120fps, 5-axis in-body image stabilization furthermore a remarkable autofocus system that makes up to 60 AF calculations per second.
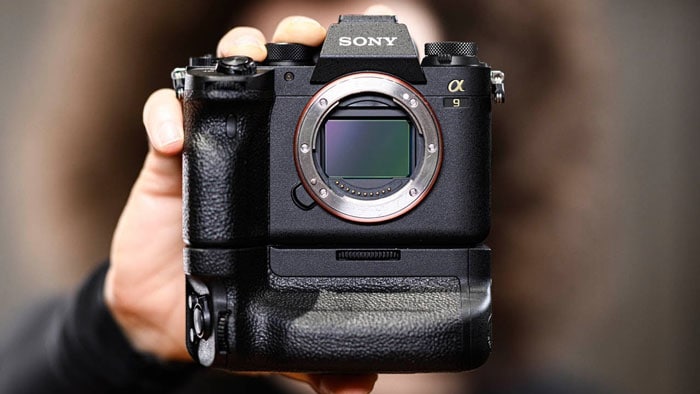
The camera features an increased mechanical shooting burst of 10 frames per second (twice the value of the previous model). The improved stabilization of 5.5 stops facilitates continuous shooting using an external flash, and continuous shooting now features anti-flicker with AF/AE tracking. This phenomenal camera can be used easily even when wearing gloves, which makes it the best choice for a professional sports photographer.
The A9 II boasts mirrorless technology, such as an electronic viewfinder and in-body image stabilization. The connectivity is of an upgraded level, with built-in 5GHz Wi-Fi and very useful tools such as voice tagging transcription. With the 24.4MP camera, it takes an edge over its competitors. If you want to get more camera inforamtion, you can click here to know:
3. Panasonic Lumix Digital Camera
Now let's proceed and know how to repair the corrupt photos from Sony A9 II in case a situation were to arise.
Part 2: Why My Sony A9 ll Camera Pictures Get Corrupted?
Even with the most outstanding cameras, image corruption is inevitable. There are several reasons why an image gets corrupted. Some of them are:
Improper Mounting of SD Card
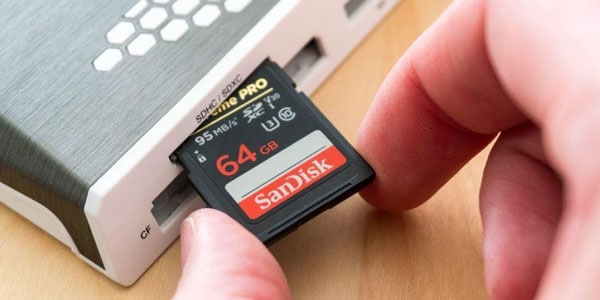
This is one of the most common causes of image corruption. Mostly, when in a hurry, people tend to carelessly mount the SD card, leading to corrupt images. The improper mounting can damage the card itself or alter the saved files.
A sudden interruption in ongoing file transfer
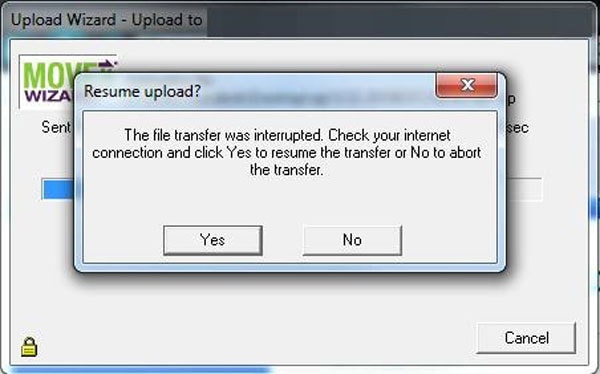
When the data transfer is interrupted, some parts of the files may not get copied, resulting in a corrupted or half-visible image. This is also the case when a transfer from a camera to another device is stopped abruptly.
File System or Card Corruption
The right way to handle the Card is very important. When using the same card on multiple devices, often people end up getting rough with the way they pull and push the card. This can lead to card corruption and files on the device will be affected. The best way to repair this anomaly is to depend on the command prompt.
Generation of Errors while Resetting
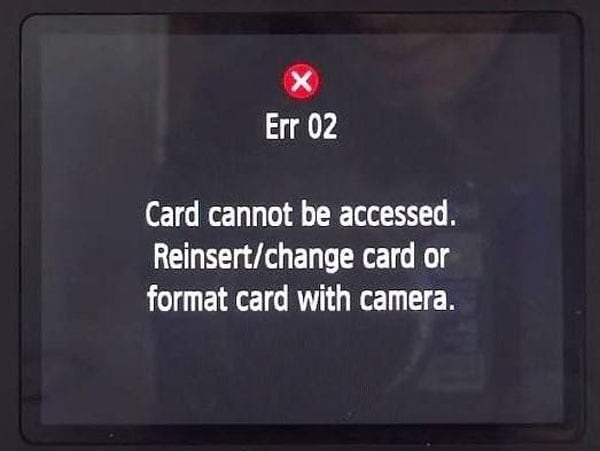
Sometimes the camera is not able to read the memory card or access the information stored on it. Most of the time it happens because your SD card is not compatible with the camera.
Virus infection
Most people insert their SD card in almost any device to check the photos. That's when the unwanted viruses infect the card. These slowly multiply and leech onto the files on the card, including the images. This can result in distorted images, disturbed color gradients and also affect the performance of the camera.
That being said, let us proceed and see how we can repair corrupt photos from Sony A9 II using software and manual methods.
Part 3: How to Repair Corrupt Photos from Sony A9II?
Manual Approach:
These are some of the manual methods to repair corrupt photos from Sony A9 II.
1. Update the tool that opens Sony camera pictures
The ARW image file format from the Sony A9II camera is new. It may not be compatible with the older versions of image viewers and photo editing programs. Normally, the updates support the new file formats launched in the market.
You may be using Windows Photo Viewer, Photoshop Elements, Affinity Photo, IrfanView, etc., as the default apps to open the photos. Consider updating your image viewer or editing software to open Sony A9 II camera pictures.
2. Install image extension pack
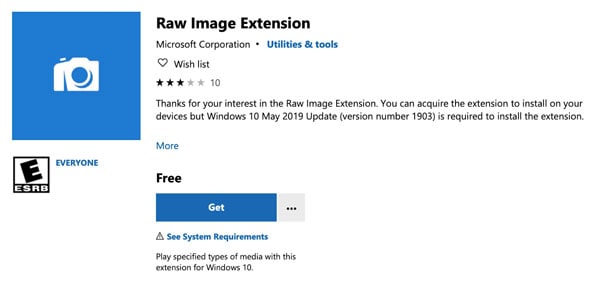
Install the latest RAW Image Extension, which supports photo formats of Sony ILCA-99M2 (a99II). This image extension software allows you to view RAW files in Windows File Explorer and Photos app without relying on other applications. There are other options too if you give a closer look but this one has been more successful according to customer statistics.
3. Convert the corrupt photos to another format
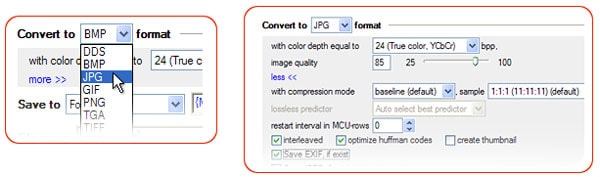
To access corrupt RAW files from Sony a9II, consider changing the file format. Use a secure online photo format converter tool to change JPEG to TIFF or ARW to JPEG/ DNG format.
You can also consider downloading Sony Imaging Edge software on your device. It converts RAW files to JPEG and TIFF formats and also facilitates remote shooting. Also, it can be used to repair jpeg or jpg image files.
4. Open pictures in a different program
Change the default app you use to open the photos. Suggested alternatives include File Viewer Lite, Lightroom, Photoshop, etc. Depending upon the OS that you have, your default image apps will be different. If you want, you can download other third-party applications to view some images that are too stubborn to open.
Software Approach
1. Using Hex Editor
Hex Editor software such as OxED, HxD, and Hex Fiend let you compare the binary data (in the form of 0 and1) of a corrupt and working file. You can repair the corrupt file by using the binary data information of the correct image. You should be proficient with hex code to use this software.
Hex Editors are available for Windows, Mac, and even Linux systems.
If the file can not be opened, there is a chance its header is corrupt. You can sometimes repair this using the header of an intact file that was taken using the same camera and same settings.
Steps to repair corrupt Photos from Sony A9 II using this method include:
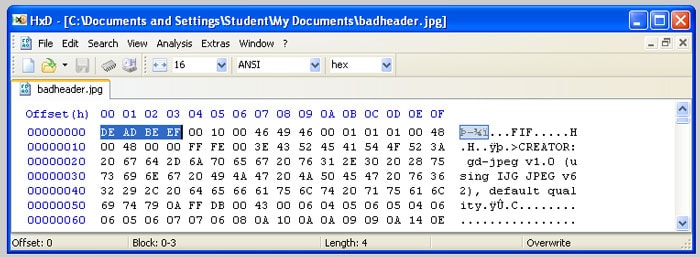
Step 1: Open the file in HxD
The header looks wrong--it starts with DE AD BE EF, as shown below:
Step 2: Use an online resource as shown below to edit the file
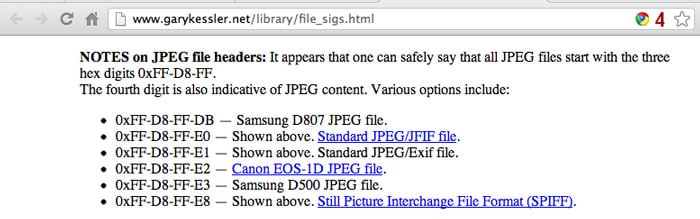
Or follow the following steps to change it.
Step 3: Open paint, scribble something and save the file. Save this file in jpg format.

Step 4: Open the same file in HxD editor. The first few bytes are different.
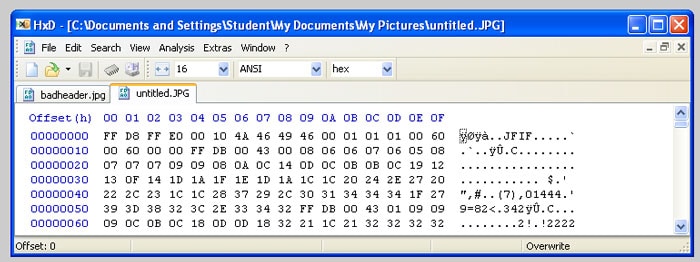
Step 5: Change the first byte 'DE' with 'FF' of the original file with this image.

The changed alphabets turn red.
Step 6:Change the rest of the bytes as shown below and save the file.
Now you can view the file in your photo viewer. The file has been repaired.
If the damage was limited to the header you should now be able to open your file.
2. Repair by VLC
The VLC media player is one of the most preferred video players. It is also a powerful tool for converting and repairing video files. VLC's file conversion process fixes corrupted videos taken using Sony A9 II. Follow the below-mentioned steps to repair your file:
Step 1: Right-click on the file and select rename.
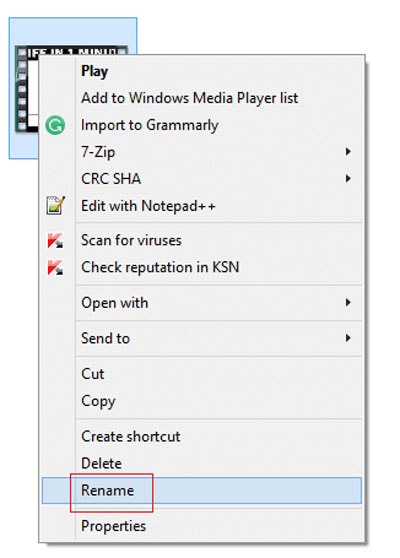
Step 2: Change the file format to .avi as shown below and press Enter.
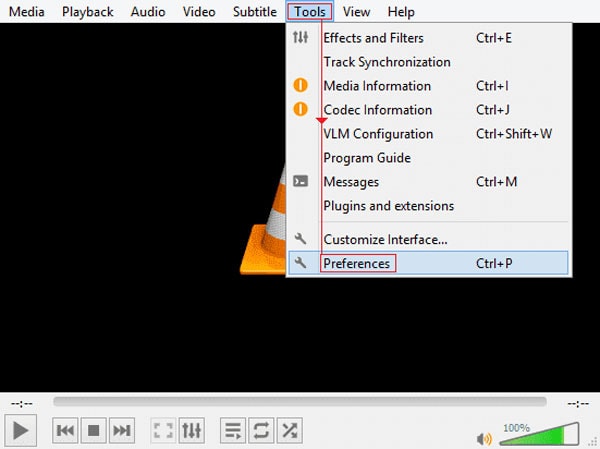
Step 3: Launch VLC, click on Tools and select preferences.
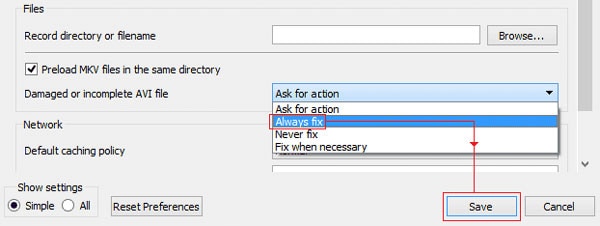
Step 4: Switch to Input/Codecs section; Inputs/Codecs Settings window will open.
Step 5: Select 'Always fix' in the Ask for action bar and save it.
After that, you can try playing the video on the VLC media player.
3. Repair Using Wondershare Repairit
Wondershare Repairit is one of the best software to deal with corrupt images and videos. Within a few clicks, you will be able to retrieve back high-quality video and audio files.
There is no hassle and you don't need coding experience to get what you want. It is compatible with about 1000+ types of formats of corrupted files. The advanced repair feature will set right even the most adversely affected images. Here's how you use it.
Step 1: Launch the Software and Add Photos
Launch Wondershare Repairit on your Windows PC and go to the 'Photo Repair' feature from the sidebar.
Then, click on the "Add" button that would load a browser window. You can now go to the location where your corrupt photos are saved and load them on the application.

Step 2: Repair and Preview Photos.
Click on the 'Repair' button and wait as the application would implement its unique algorithm to fix the loaded photos. When the repair process is completed, the application will let you know about the result.

You can also just click on the thumbnail of the image to open its preview window. This will let you view the results, and you can check if the standard repairing process was successful or not.

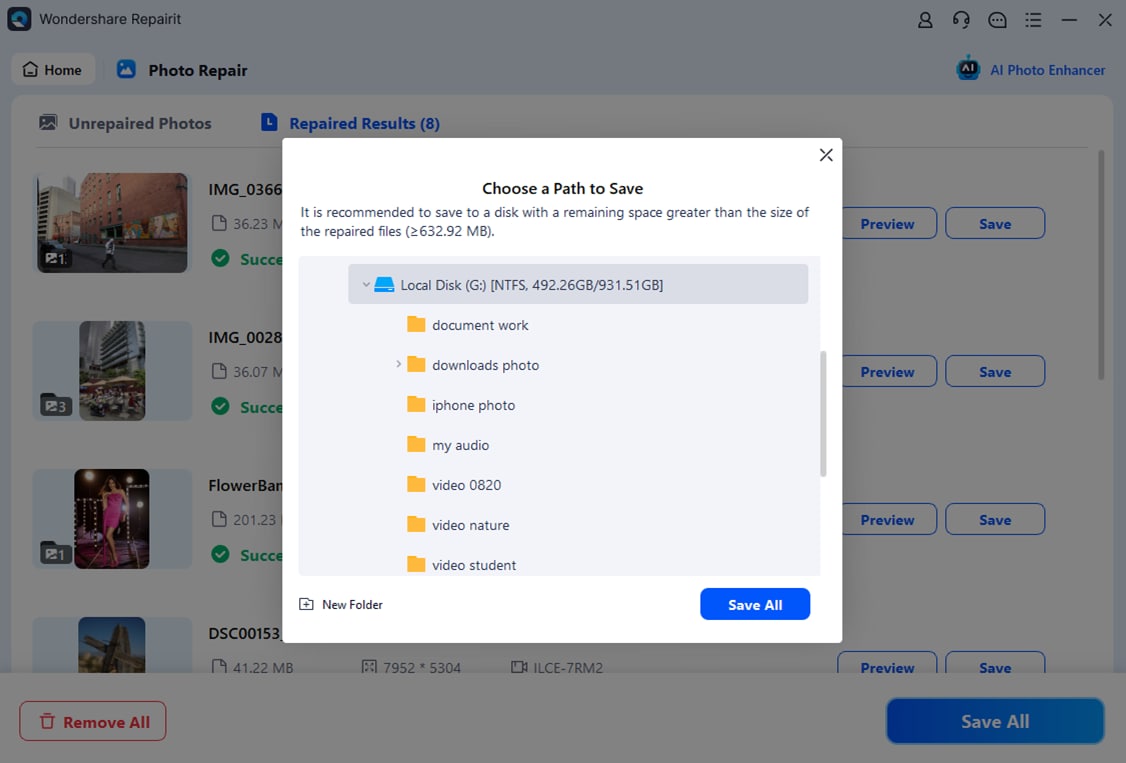
Step 3: Save the Repaired Photos
Lastly, you can simply click on the 'Save' button on the preview panel to export your photo. You can also go back, select multiple pictures, and click on the 'Save All' button.
Conclusion
You can easily use the above-mentioned services to repair corrupt photos from Sony A9II. While the Hex method needs some background in Hex coding, it is comparatively harder than using the software. The VLC method might not work for the files that are too damaged to work by a mere format change. The Wondershare Repairit software takes an edge over the other methods with its ease of use. Just a matter of clicks and you have your favorite photos back. That being said, even the quality and resolution of the images are not altered so you are safe from all sides.
Frequently Asked Questions
-
1. How to Work with Both RAW and JPG Image Files on the Sony A9II?
To work with both RAW and JPG image files, one can go to preferences. When launching, choose RAW+JPEG mode. Then while editing a photo, you will have two choices:- Edit the JPG photo
- Edit the RAW photo
-
2. How to Enable Auto-Switching Memory Cards on the Sony Camera?
On the back screen of the camera, click on the menu system under the toolbox icon. Navigate to its sixth page 'Setup5' and click on 'Rec. Media Settings.'
Turn the 'Auto Switch Media' option on and it will automatically start storing in slot 2, when the slot 1 card gets filled.