Cameras on our devices - smartphones, tablets, and laptops play a significant role ever since work from home has become the new normal. With everyone relying on video calls and meetings, the in-built camera not functioning can become a grave issue. A lot of Apple users recently are facing issues of their camera not working on macOS Big Sur. In this article, we will provide solutions to this issue in detail.
Part 1: Why is the Camera Not Working in MacOS Big Sur After Update?
MacBook and iMac devices boast of having an excellent quality in-built camera. But recently a lot of people are experiencing issues of Mac cameras not working, especially after the Big Sur update.
The macOS Big Sur update is a current major release that elevates the desktop operating system to a new level of power and beauty. However, Apples new updates not only bring changes to the user interface but also have new bugs and issues. The macOS is no exception as it brings issues with the camera/webcam. It thus hampers a users experience of conducting video calls and meetings over the web like Zoom, Google Meet, and other such apps.
A lot of users have reported their cameras have stopped working post the MacOS Big Sur update. But dont worry, there are numerous solutions to the problem. First, let us get started with understanding the right way to connect the camera to the MacBook.
Part 2: The Right Way to Connect Your Camera on the Macbook
Mac devices can come across as complicated especially for new users. It is possible that a user cannot connect or enable the camera on their Mac device. To activate a camera, one has to open apps that require the use of the lens, such as the Photo Booth app. To turn on your camera follow the simple steps:
-
Open the finder and click on applications.
-
Click on facetime or photo booth.
-
The camera should turn on. The LED next to the built-in iSight camera turns on, an indication that the camera is now on.
We will further explore the various methods to make sure the camera is functioning in MacOS Big Sur.
Part 3: Methods to Ensure Camera is Working in MacOS Big Sur
To find out the solution to a problem, it is important to understand the reasons behind it, to fix it. For a camera not working in macOS Big Sur, there could be numerous reasons like internal permissions, software update problems, camera accessibility, and so on. To ensure the smooth functioning of the camera in your apps, there are about 10 possible solutions. Let us go over them step by step.
Method 1: Restart app
The simplest and primary solution to fix such issues is to restart the application and check again. So in whichever app the camera is not working on macOS Big Sur, close it and restart. Press Cmd+Q to shut it and restart as normal. If it doesn't work, move on to the next step.
Method 2: Update the OS
For all the applications to run smoothly, it is important to ensure your operating system is running on the latest updates. So check for any further updates on MacOs Big Sur and install them. Software updates can usually fix issues related to in-built apps including Camera.
To update your OS, follow the steps below:
-
Open Apple Menu.
-
Go to System Preferences.
-
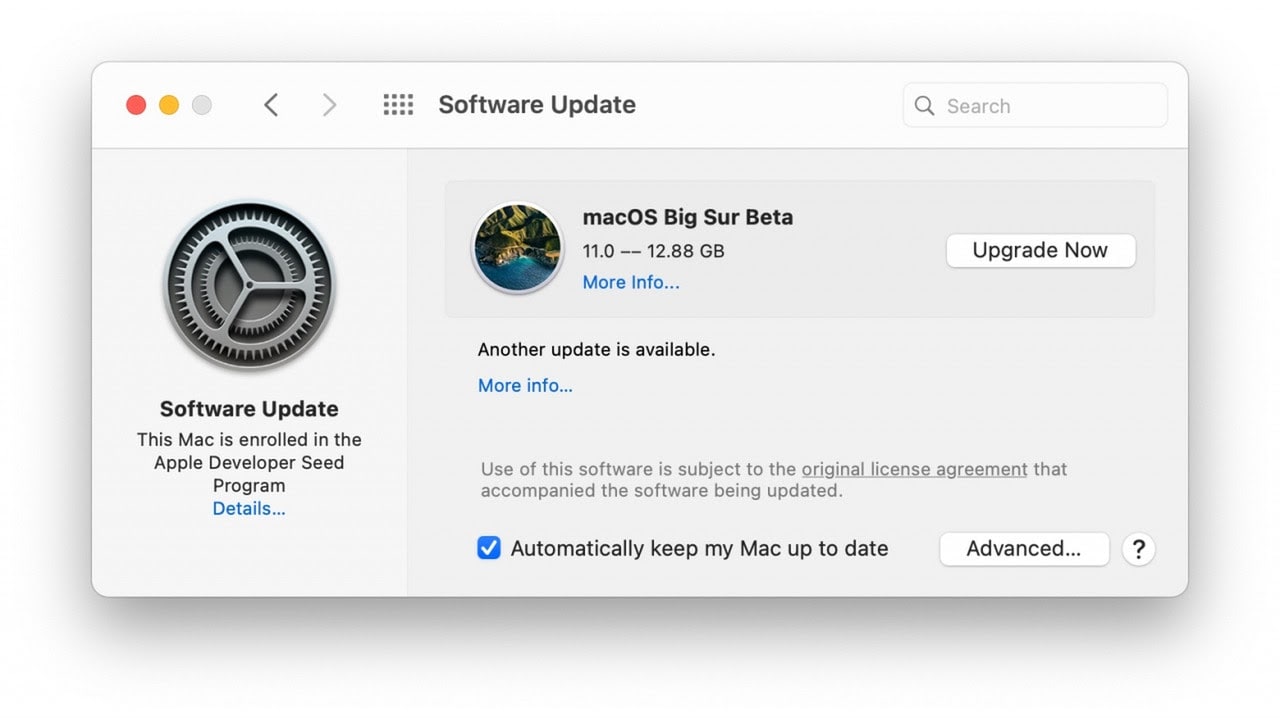
Click on Software Upgrade.
-
Check for availability of the latest updates. Click on Upgrade.
-
To ensure your system has the latest updates, you can check on the option ‘Automatically keep my Mac up to date.
If this method does not work, check for the camera access and permissions for the app.
Method 3: Access camera
One of the basic fixes is to check if the camera has accessibility for the particular application.
Heres how to check the camera permissions:
-
Open Apple Menu.
-
Go to System Preferences.
-
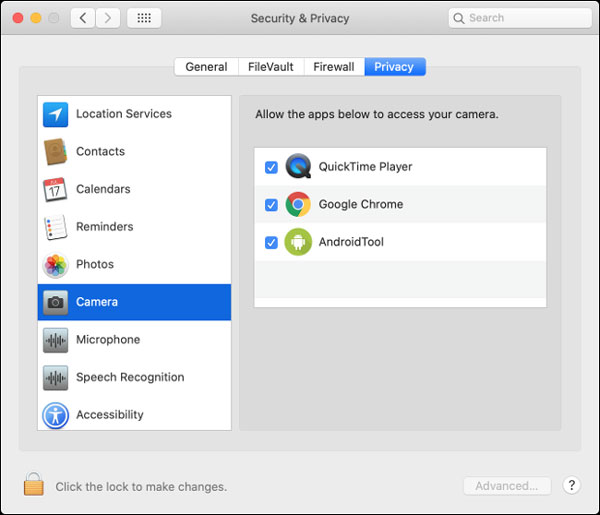
Select Security and Privacy.
-
Click on Camera from the sidebar.
-
Check on the box next to the app which requires camera permission.
-
Now open the app and check if the camera is working.
Another way to check the functioning of a camera is its indicator light on the device. Which takes us to the next step.
Method 4: Check camera indicator light
The LED light next to a camera is supposed to be a sign that the camera is turned on. When an application does not detect the camera, the indicator light does not blink. In case, you see a green light contact Apple. It is likely that your camera hardware has a problem.
Method 5: Check Antivirus setting
Always check your Antivirus setting on certain apps. It is possible that your antivirus software has restricted camera access for a few apps.
Method 6: Remove the screen time limit
All versions of macOS come with specific Parental control features, which sometimes also include Screen Time restrictions. The Screen Time feature lets a user regulate the amount of time being spent on particular apps and websites. In case you have set a screen time for any app that uses a camera, then it is possible your camera wont work beyond that time. You need to enable Internal Camera use from screen time restrictions, in case it is blocked.
Here are the steps to do it:
-
Click on the Apple logo from Mac Menu.
-
Go to System Preferences - Screen time.
-
In the sidebar, click on Content Privacy.
-
Click on the Apps tab.
-
Now enable the checkbox for the camera.
-
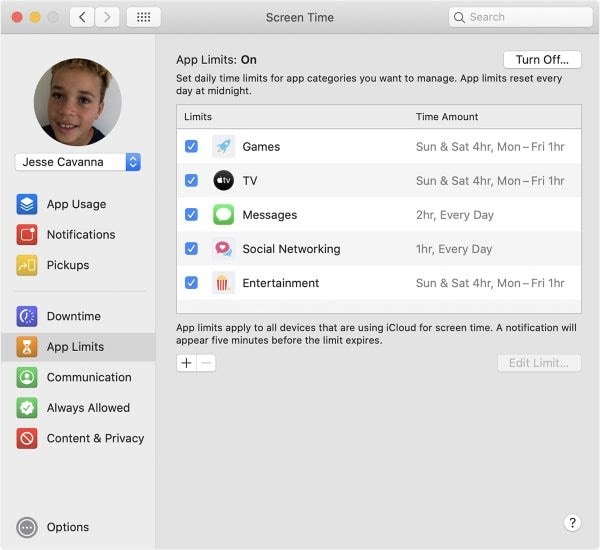
In the sidebar click on App limits.
-
You will see the list of apps that have screen time limits. Deselect the apps which require the use of a camera.
-
Reopen the Camera app to apply the settings.
Check if the camera is working for the apps now. If not, let's move to the next solution.
Method 7: Check app detection by Mac
For your camera to work properly it needs to be detected by the system. If Mac does not recognize your camera, it could be a hardware issue that needs attention.
To check if the camera is detected by Mac, do the following:
-
Go to the Apple menu and select ‘About This Mac.
-
Go to the Overview Tab and select System Report.
-
Go to System Information and click on Hardware.
-
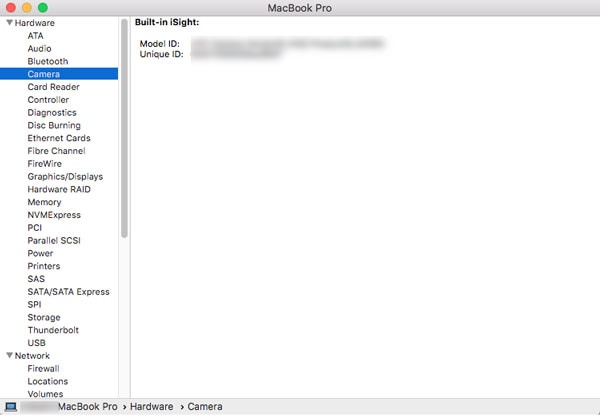
In this menu, select Camera. You will see camera information with the model ID number in the right pane.
-
If this information is missing, you need to contact Apple to resolve the camera not working in macOS Big Sur.
Method 8: VDCAssistant Command
Another solution is to use the VDCAssistant command. When you open any application that requires a camera, the macOS runs VDCAssistant that manages your camera controls. It can prevent the camera connection on certain apps. Heres how to fix that issue:
-
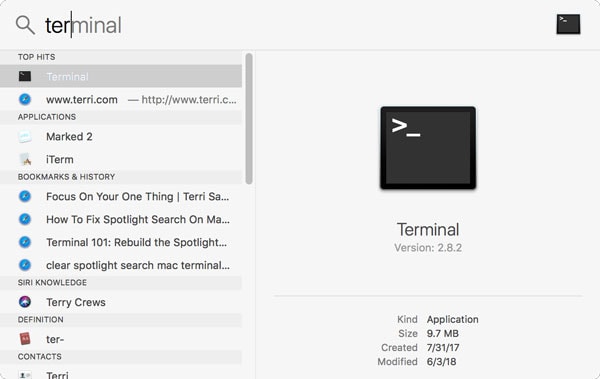
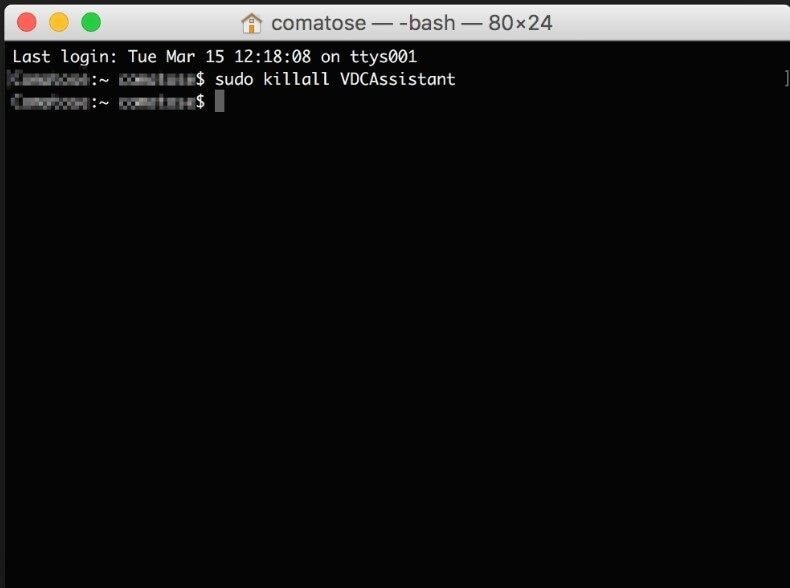
Close all the tabs and apps on your Mac. Open Terminal window using spotlight.
-
Copy this command: sudo killall VDCAssistant;sudo killall AppleCameraAssistant
-
It will ask you for the password, enter, and proceed further.
-
Now relaunch the apps that require a camera and see if it is working.
If all of these solutions do not work, it may be time to try reinstalling the operating system.
Method 9: Reinstall macOS and create a new user account
If you're facing the issue of the camera not working in macOS Big Sur, then probably reinstall the update with built-in macOS Recovery. The process differs if you are using an Apple silicon or Intel Processor.
For Apple Silicon system: Turn on your Mac. Press and hold the power button until you see the startup options window. Click the gear icon labeled Options, then click Continue to Open Recovery Mode.
For Intel Processor system: Turn on your Mac and immediately press and hold Command (⌘)-R until you see an Apple logo or other image.
-
Select the user and enter the password.
-
Select Reinstall macOS from the utility window in macOS Recovery.
-
Click Continue and follow the onscreen instructions.
To create a New User Account, follow the next steps:
-
Go to Apple Menu - System Preferences.
-
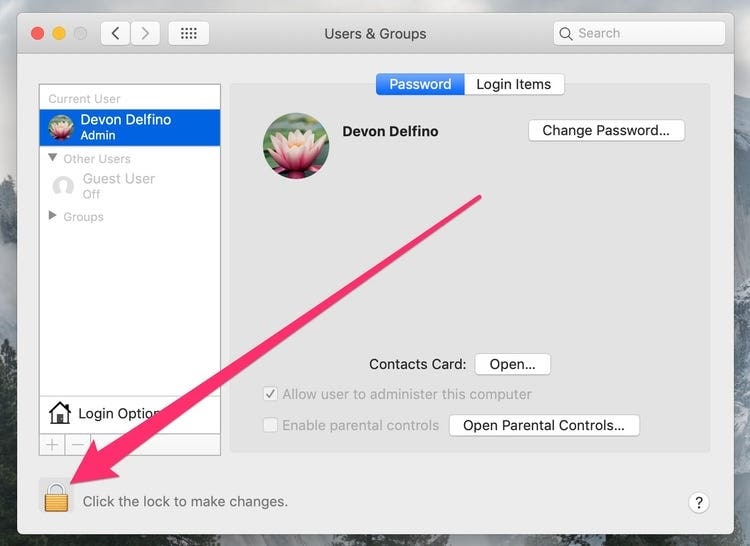
Select Users and Group.
-
Click on the lock icon to unlock the preference pane.
-
Now click on + on the bottom left.
-
Click on New Account and choose the Administrator option in the type of user.
-
Enter details of name and password.
-
Click on Create User.
Note: During the reinstallation process, it is important to have continuous access to the internet. In case, there is an error, you may end up losing your data or corrupting your files. But dont worry, theres a solution for that too.
Method 10: Wondershare Repairit
Sometimes with a system reset, there is a possibility of losing your data including photos and videos. But there is a way to repair your media loss using a simple tool called Wondershare Repairit. In just three simple steps, you can select the files you want to repair and let the software work its magic.
The Wondershare Repairit Software has the following advantages for you.
-
It is easy to use and 100% secure..
-
Supports 15+ video formats, like MOV, MP4, 3GP, etc.
-
Fix different videos corruption issues with ease.
-
User friendly and efficient.
Download Wondershare Repairit on your system. Open the software and select the photos and videos that need to be fixed. Within a few minutes, your files will be repaired and you can save them after preview.
Conclusion
We know the importance of the camera's functioning especially in the current times when everyone works through video calls and meetings. It is even imperative just to keep in touch with friends and family via Messenger apps. We hope the above set of solutions help to fix the camera not working in the macOS Big Sur issue.