

Working with different color palettes may be difficult, especially if you’re unfamiliar with different modes. For instance, you may know many people use the CMYK palette but don’t know why. You just want to convert your images to this model and follow the norm.
If so, this guide is for you. We’ll discuss the importance of changing to CMYK in Photoshop and the basic notions of the CMYK system. We’ll also help you change the colors and reach your desired goals. Stay tuned for bonus tips on adjusting your colors after the conversion.
In this article
The Importance of Changing Images to CMYK
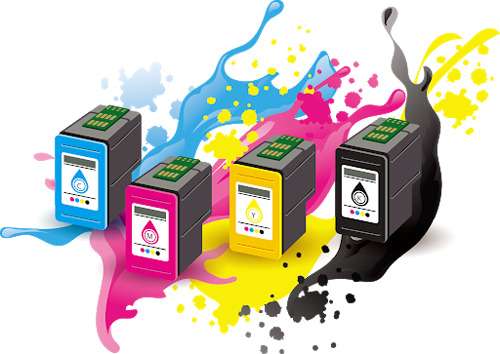
The CMYK model is primarily used for printing, as you’ll find cyan, magenta, yellow, and black toners inside the printer. If you plan to print out some of your designs, you should convert them to the CMYK palette. Here’s why this is important:
- Accuracy – using the CMYK model will help you get the most realistic image. The way the image is on the screen is the way it’ll turn out on paper once you print it out.
- Proofing – if you don’t like the colors after converting, you can proof your designs and ensure you won’t waste materials or get unexpected results.
- Consistency – once you convert your designs to the CMYK model, you’ll get consistent printing results.
- Preparing for the printing process – since most printers use the CMYK model, the best way to prepare for the printing is to convert the images to CMYK and adjust them to fit your printing desires.
Overall, using the CMYK model is crucial for getting high-quality, consistent, and correct printing results.
What Is the CMYK Color Model
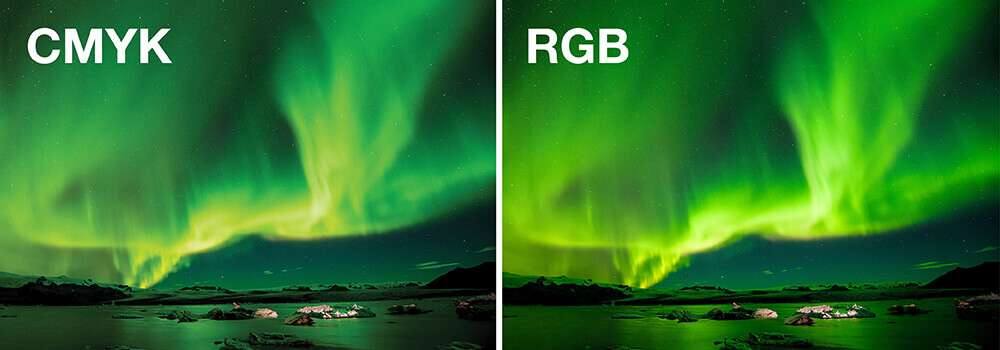
The CMYK is a color model containing cyan, magenta, yellow, and key (black). Once these colors are mixed, they can create any color you can transfer onto the paper. However, by mixing and matching these colors, you won’t get vibrant results as you may expect from the RGB model. Instead, you’ll get softer, more neutral results.
One of the most significant differences between CMYK and RGB is the black color – CMYK uses the black key to create the color, while RGB uses the absence of light to generate it. As a result, CMYK may represent a blacker black on paper than the RGB mode.
CMYK is the most popular color model option in the printing industry. Whether for professional printing or smaller projects, you should use this palette as it represents the colors of your printer’s cartridges.
Key Components of the CMYK Color Model
The CMYK model consists of four main components:
- Cyan
- Magenta
- Yellow
- Key (black).
These components will determine the outcome of your images and the paper design. This model works by implementing a bit of all the colors on top of each other to create depth and new colors. CMYK mixes and matches the colors mentioned above to create any color you want on the paper.

How to Change Images to CMYK in Photoshop
Before printing your designs, you should convert them to the CMYK model. However, you should consider a couple more elements to ensure you won’t lose color or image quality during the transition process.
For instance, the file format can play a major role in its quality – if you use the incorrect formats, you’ll have poorer results. Before starting the conversion process, ensure your image is in the TIFF, PDF, JPG, PNG, PSD, or similar formats.
Another crucial element is the resolution since it can significantly impact the printed result. If you use a smaller resolution, your images may come out pixelated or simply not how you want them. The ideal resolution for printing images in the CMYK model is at least 300 dpi; anything below that will result in low-quality prints.
After checking these elements, you can jump to the conversion process. We’ll present a step-by-step guide below:
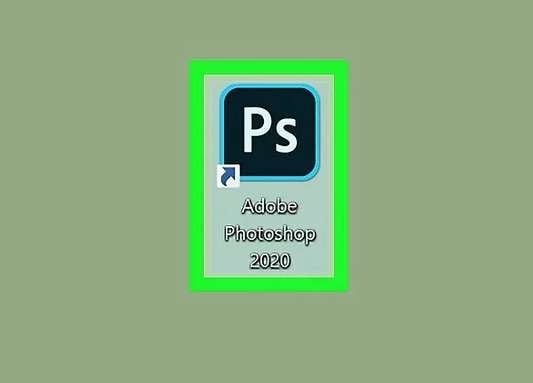
Step 1: Open your Photoshop application.
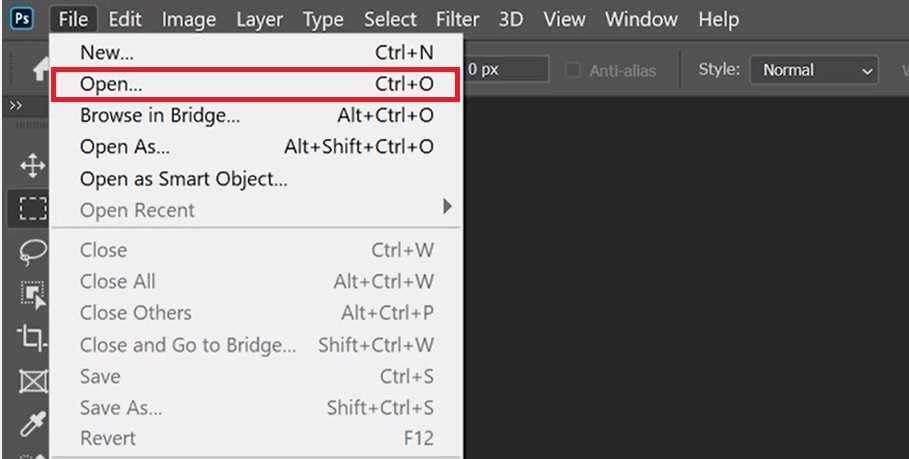
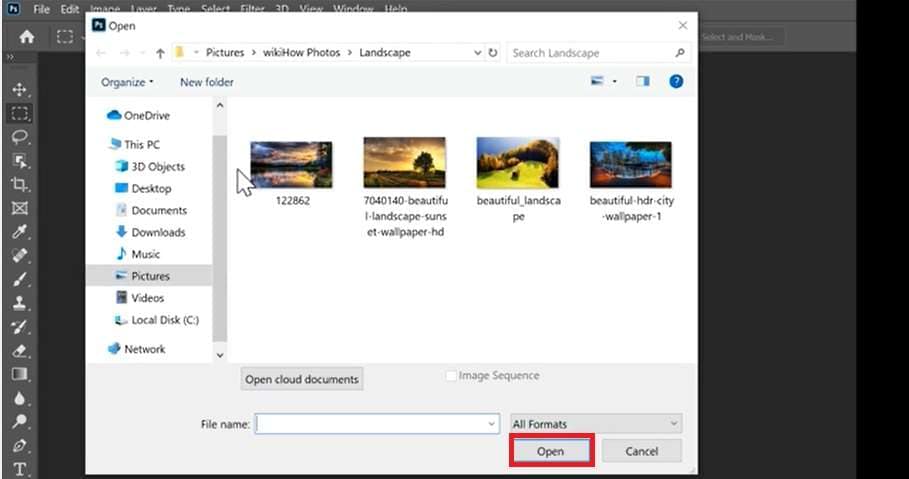
Step 2: Navigate to the File tab and click Open.
Step 3: Choose the image you want to convert and click the Open button.
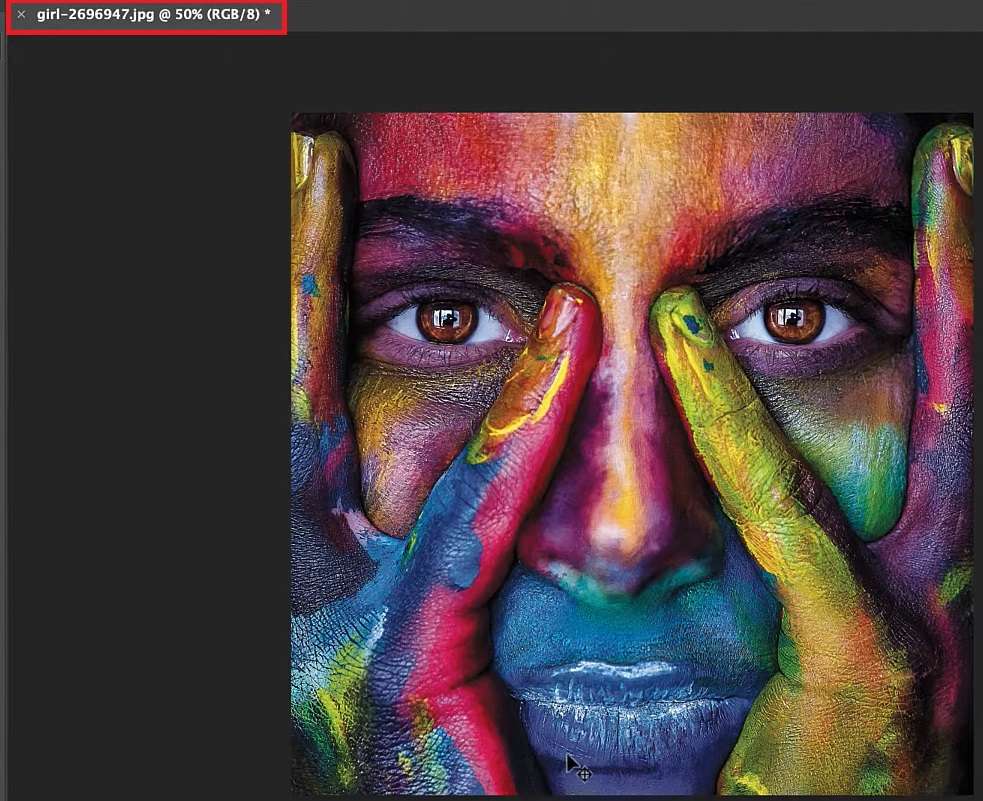
Step 4: After importing the image, you should check the existing color mode by looking at the top bar. You’ll notice the image’s specifications as presented in the image below.
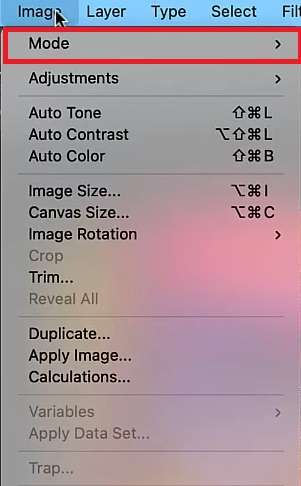
Step 5: If the image isn’t in CMYK, click on the Image>Mode.
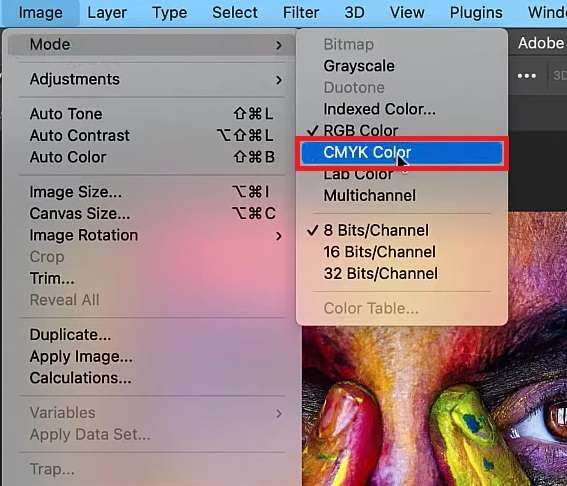
Step 6: Choose CMYK Color from the available options.
There’s another way to convert your images to CMYK, as presented in the steps below:
Step 1: Open your image in Photoshop.
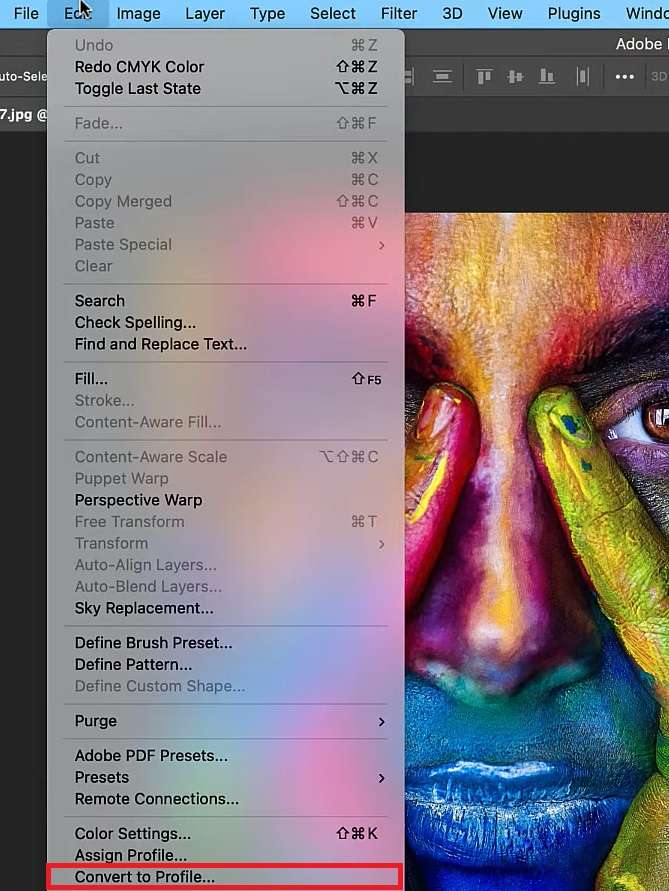
Step 2: Click on the Edit button from the top bar.
Step 3: From the drop-down menu, choose Convert to Profile.
Step 4: Navigate to Profile in the pop-up window and click on it.
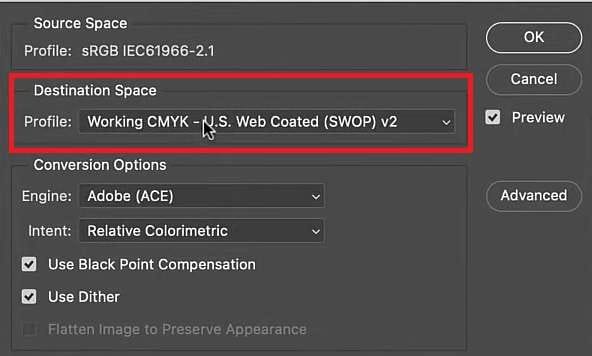
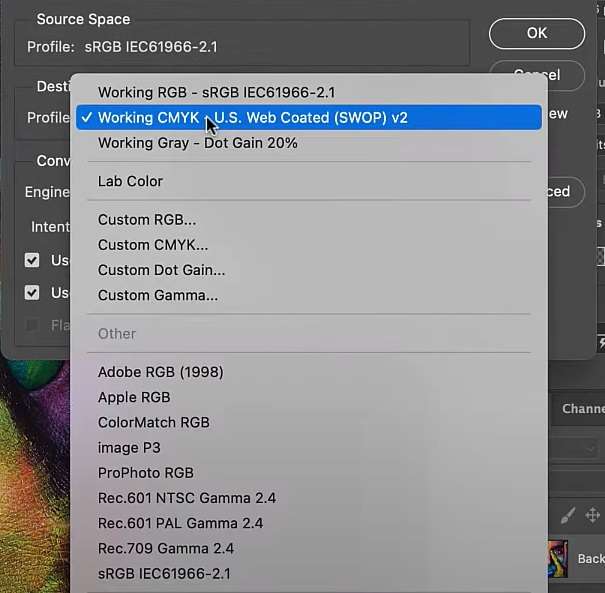
Step 5: Choose the specific CMYK profile you want to apply.
The changes will be applied instantly, and you can start printing your designs.
Adjusting and Checking Color Results After Changing the Image to CMYK
Once you change the image to CMYK, you’ll notice that the colors may differ slightly from the previous model. To get the most accurate results possible, try some of the tips we have prepared below.
Looking at the Image in CMYK Mode
As soon as you convert to CMYK, you’ll notice changes in the color vibrancy and appearance. To determine which colors and elements need to be touched up, look at the image in the CMYK version and switch between the previous and new ones.
It will give you insight into which colors have been affected the most. You can, then, focus on fixing these colors and making them as close to the original as possible.
Making Color Accuracy Adjustments
After examining your converted images, it’s time to adjust and fix the colors. You need to pay special attention to the details as they can make or break your design. Don’t rush this process. Instead, you should rest between the sessions to give your eyes room to breathe and detect inaccuracies.
After you finish all adjustments, check the image once again. If everything’s in order, you can finally hit that print button.
Using a Third-Party Tool for Color Finesses
If you don’t want to lose your eyesight trying to find the smallest details that need to be corrected, you can use advanced third-party tools to finish everything within minutes. These tools can help you cut the time it takes to adjust the colors, and you’ll even have multiple options.
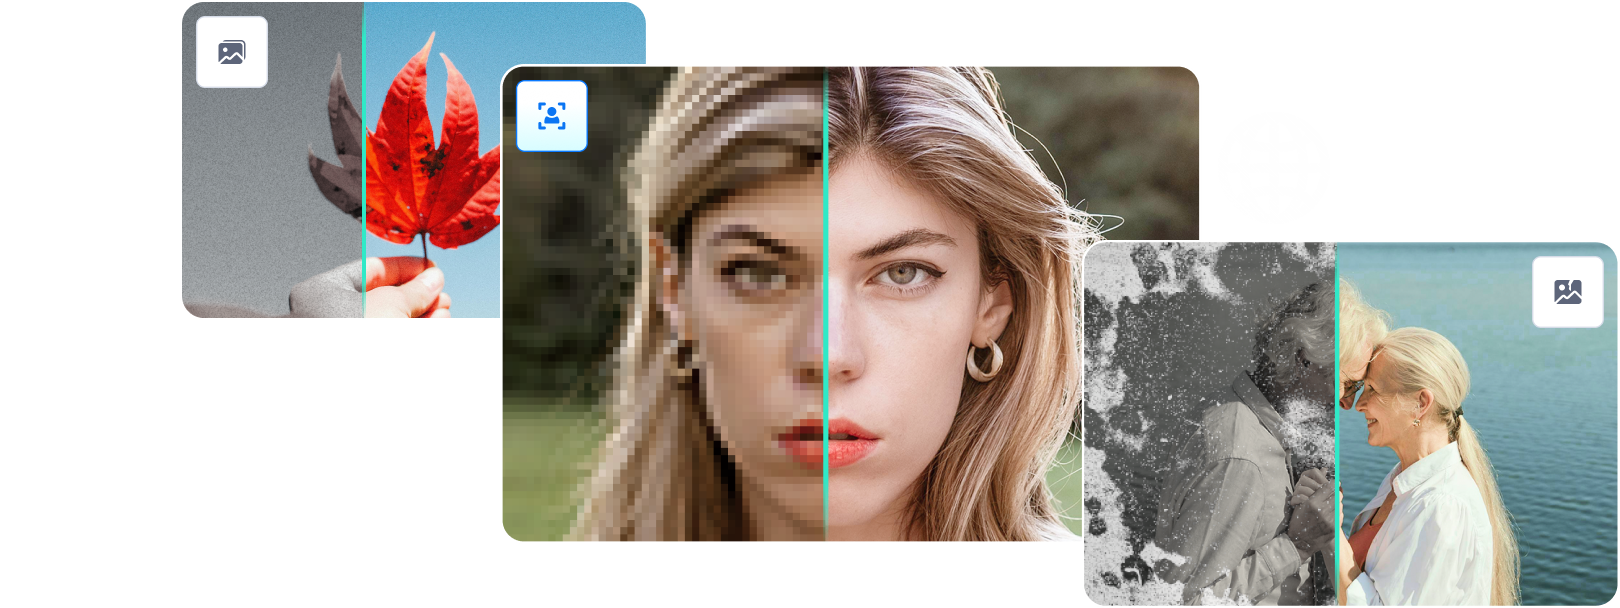
One of the best tools you can use is Wondershare Repairit, an advanced tool that will meet all your photography needs. The online version can fix the color issues you may have with your CMYK models so you can restore the image’s original glory.
Wondershare Repairit is a feature-packed option, and here are some of the features it offers:
- AI-powered photo coloring solution that will bring your images a brand-new life
- Compatible with verious photo formats, such as: JPG/JPEG/PNG/BMP/WEBP.
- Fix and restore damaged black-and-white photos before colorization
As you can see, this is an all-in-one tool developed to make your photography journey easier. If you want to try this tool for free, follow the steps below:
Step 1: Open the official website of Repairit Photo Colorizer website.
Step 2: Upload your image by clicking the Upload Image button or dragging and dropping your file.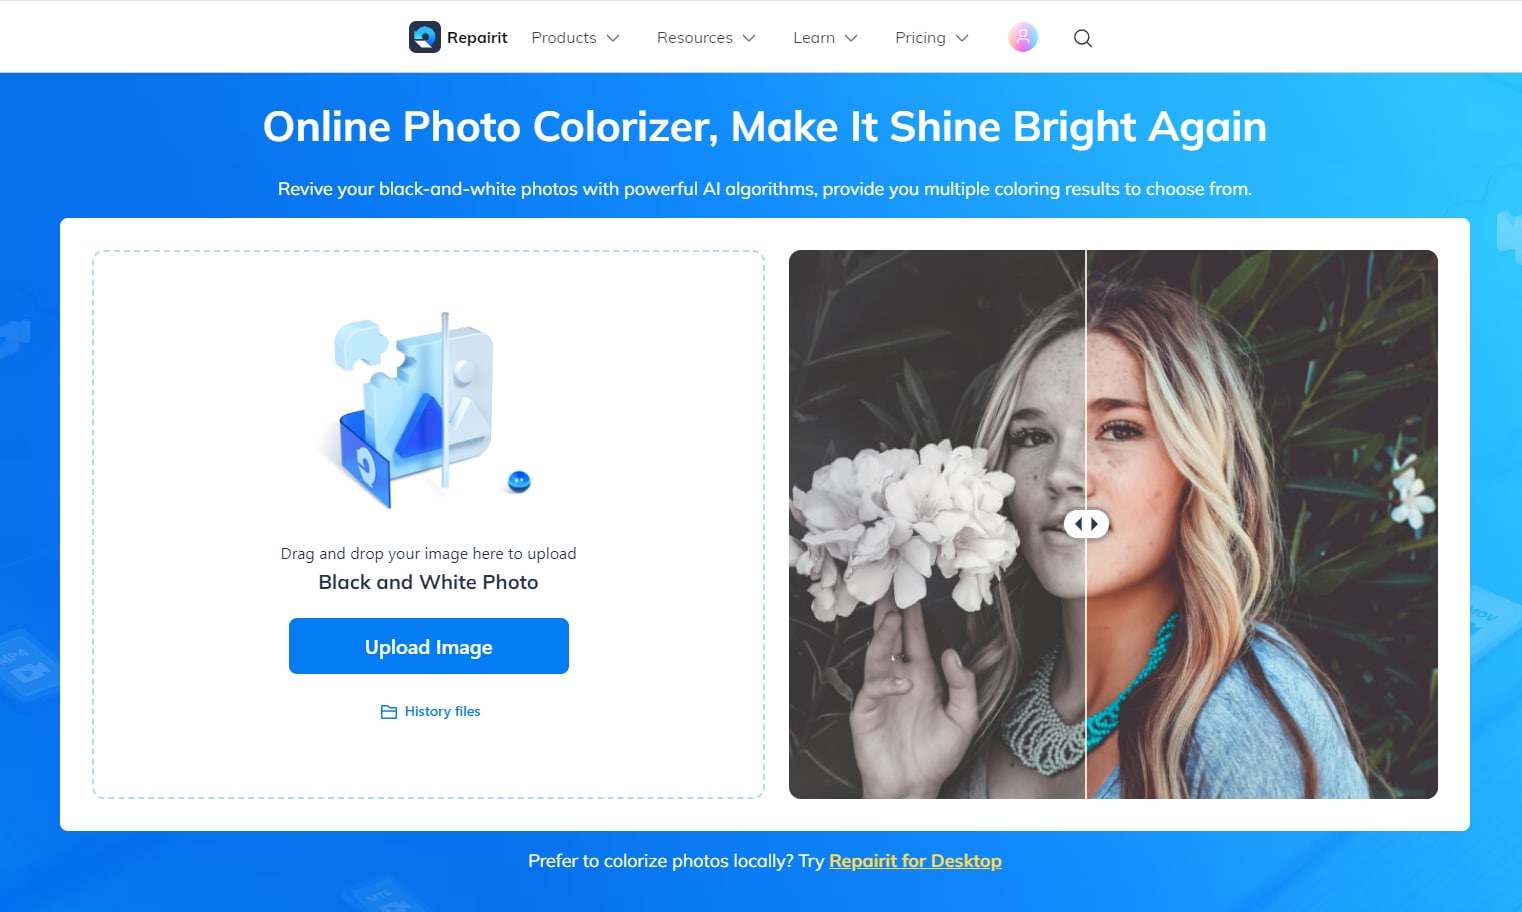
Step 3: Once you upload the image, you will be send to AI Enhancement workspace. Turn Old Photo Colorizer on. then click the Start button. 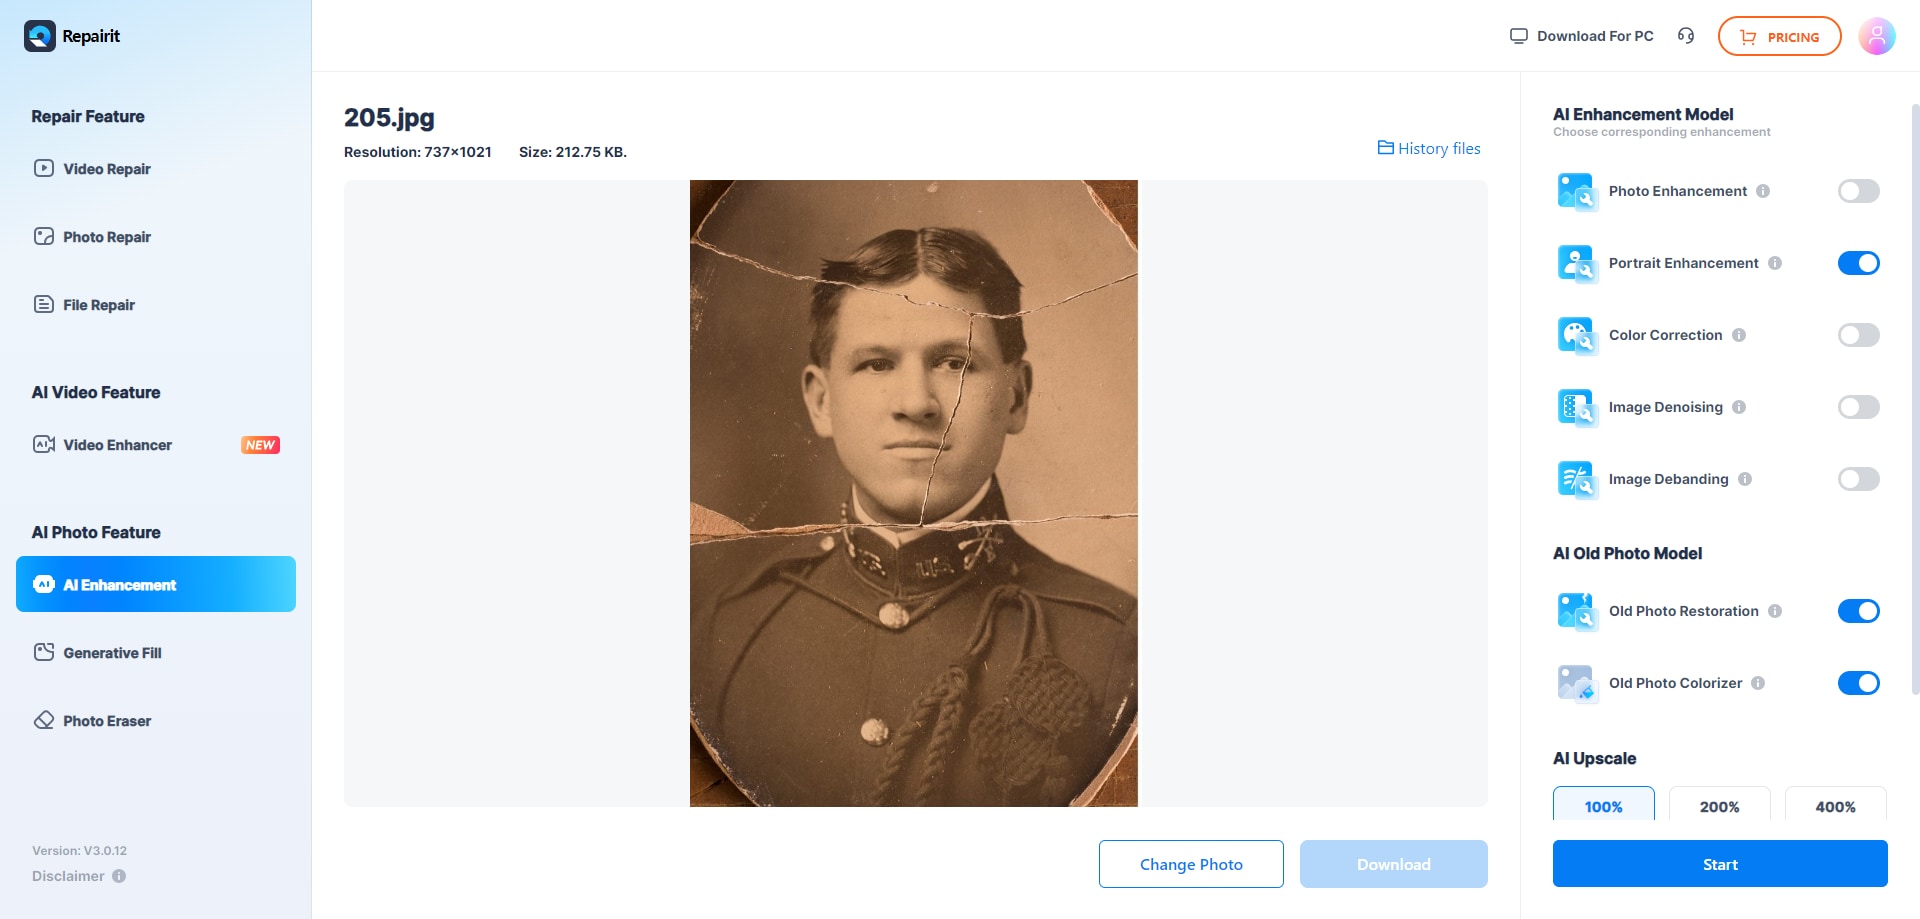
Step 4: The program will start colorize the image.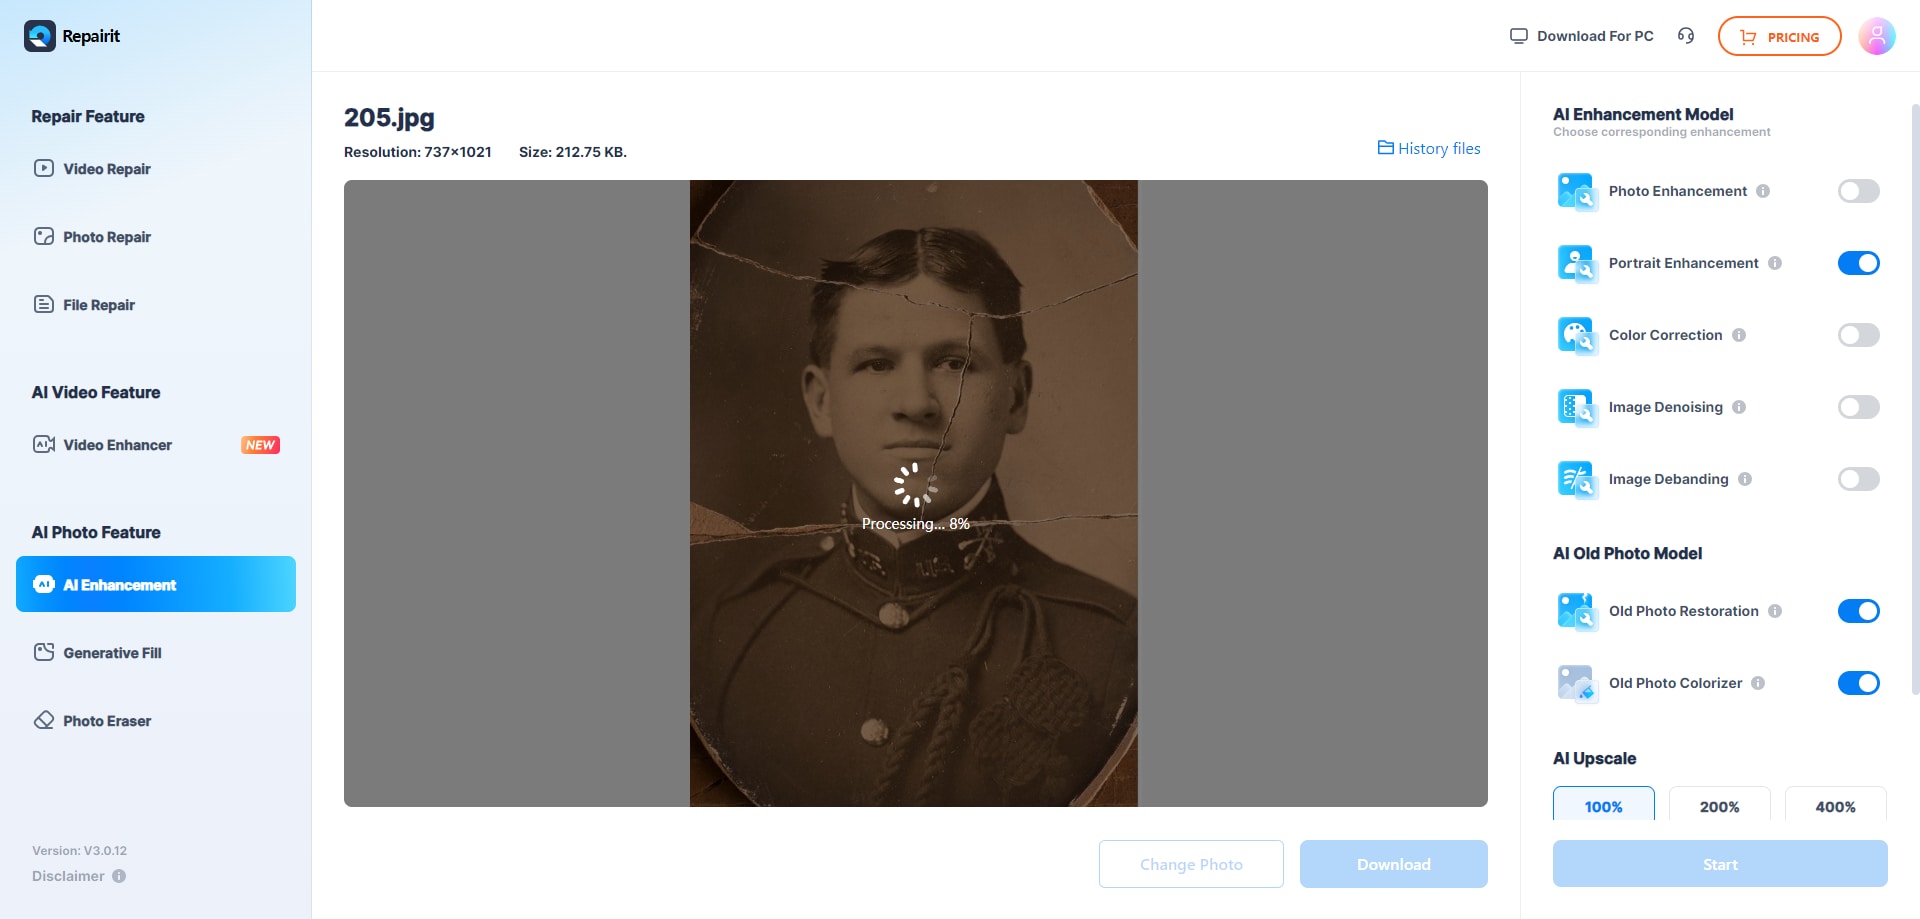
Step 5: After it finishes, you can preview the results. Choose the ones you want to save and click the Download button.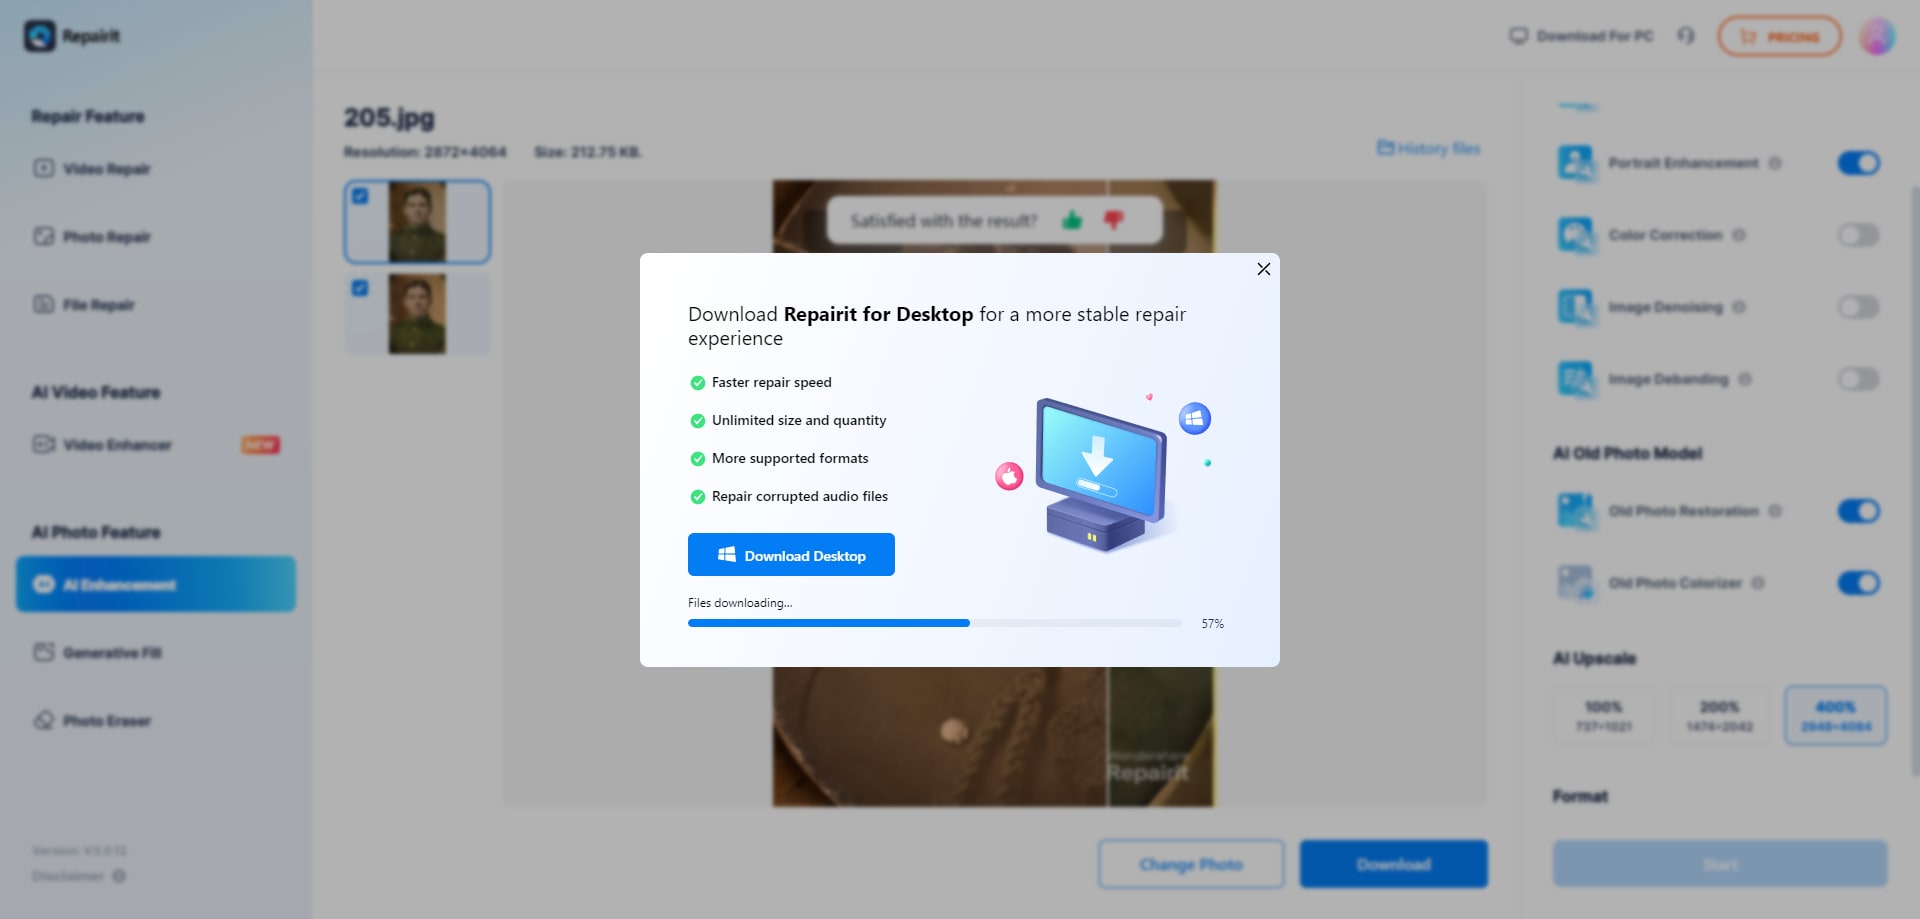
Conclusion
Starting your journey in the photography world isn’t easy, but it’s very rewarding. You need to learn many details to create a successful project and make your images come to life. One such detail is transferring your images to paper, a process backed up by the CMYK model. Today, we discussed this model, its importance, and how to convert your images to this palette.
We have also prepared some tricks you can use if you encounter issues on your conversion journey, such as losing some of the vibrant colors. Our best advice is to save yourself some time and use a professional third-party tool to correct your CMYK images and prepare them for printing.