
Want to invert images of Mac? Inverting images is a helpful function that allows you to create unique and artistic effects. Inverting photos can help you produce appealing results, whether you want to add a creative touch to your photos or explore new viewpoints. You can reverse your images by using the built-in editing capabilities on iOS devices such as iPhones and iPads. This tool allows you to reverse the colors and generate a negative effect, creating an eye-catching change. We will lead you through the process of inverting images on iOS step by step, allowing you to unleash your creativity and experiment with intriguing visual effects.

In this article
Part 1. What is Photo Inversion?
In an image, color inversion switches the hues to their opposites on the color wheel. The green will turn magenta, the red will change blue, and the yellow will turn violet. Each pixel's brightness will also be converted to its appropriate value.
The color wheel was created to demonstrate the relationship between colors. It was invented by Isaac Newton for his optical research. It has since been upgraded to meet the requirements of scientists, designers, artists, photographers, videographers, and others.
You might ask if you can conduct color inversion on black-and-white photographs because they lack color. However, color inversion in this circumstance means that light parts turn dark and dark areas become light. Colors in colorful images are inverted to their complementaries. There is no degradation in color saturation or brightness.
Why You Should Invert the Colors in Your Photos
You would want to invert photo on iOS for various reasons. Some are entirely aesthetic. People find inverted color images interesting and entertaining to look at. Color inversion, on the other hand, can benefit persons who see colors differently.
Color-blind folks benefit from color inversion as well. Color blindness does not imply that a person only sees in black and white. There are various varieties of color blindness, and people with this illness frequently perceive colors differently. Inverting the hues may allow people to perceive colors where they previously thought none existed.
Color inversion affects not just the colors of an image but also the contrast and details. This could be useful for folks who have poor vision. It can lessen eye strain by reducing blue light because it darkens light regions.
Part 2. Using the Built-in Photo Editor
Most image editing software includes a quick and easy option for playing with inverse colors, but you can invert photos on in Preview.
Yes, as long as you know the secret, the default macOS Preview software can handle your color inversion jobs in three simple steps.
Step 1: Launch Preview to view your image.
A photo file can be opened in Preview by double-clicking it.
JPEG, JPEG 2000, PNG, TIFF, and PDF are all supported by Preview. This method can also be used to modify PSD files without Photoshop!
Many file types open their default programs instead than Preview when double-clicked.

To open your file without unintentionally opening the wrong software, select Open from the File menu in Preview. Cmd+O also works.
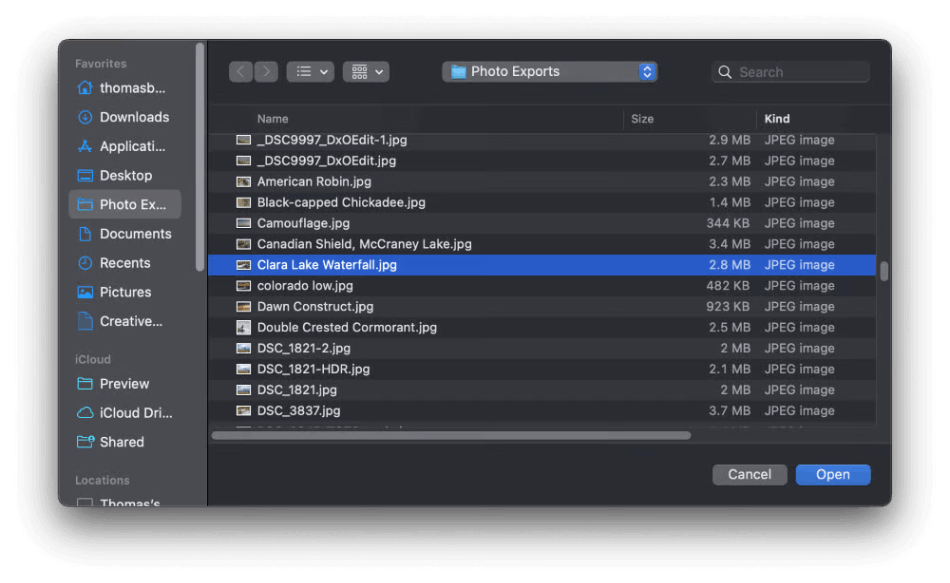
Select the image to be inverted and press the Open button.
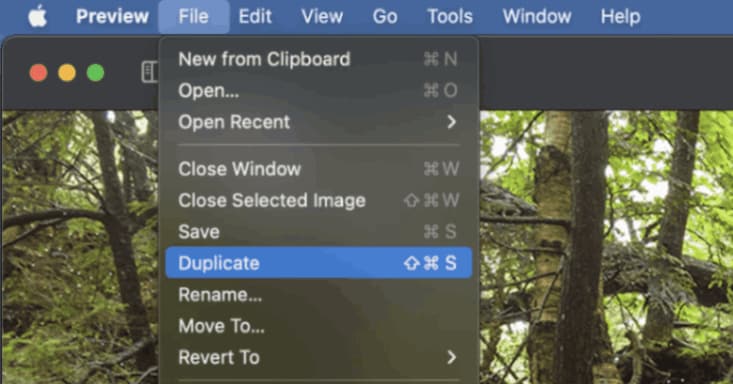
From the File menu, duplicate your original image. Preview will copy your image to apply the color inversion effect without erasing it.
Step 2: Open the Color Adjustment Window
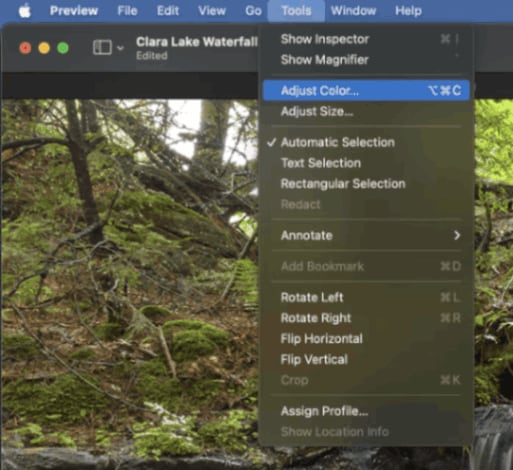
In Preview, begin altering your image.
Color can be changed using the Tools menu. If you need to get something done quickly, hit Cmd+Option+C.
You can change the exposure, contrast, saturation, color temperature, and other settings on the Adjust Colors tab. These programs are useful for one-time, short jobs where image quality could be more critical.
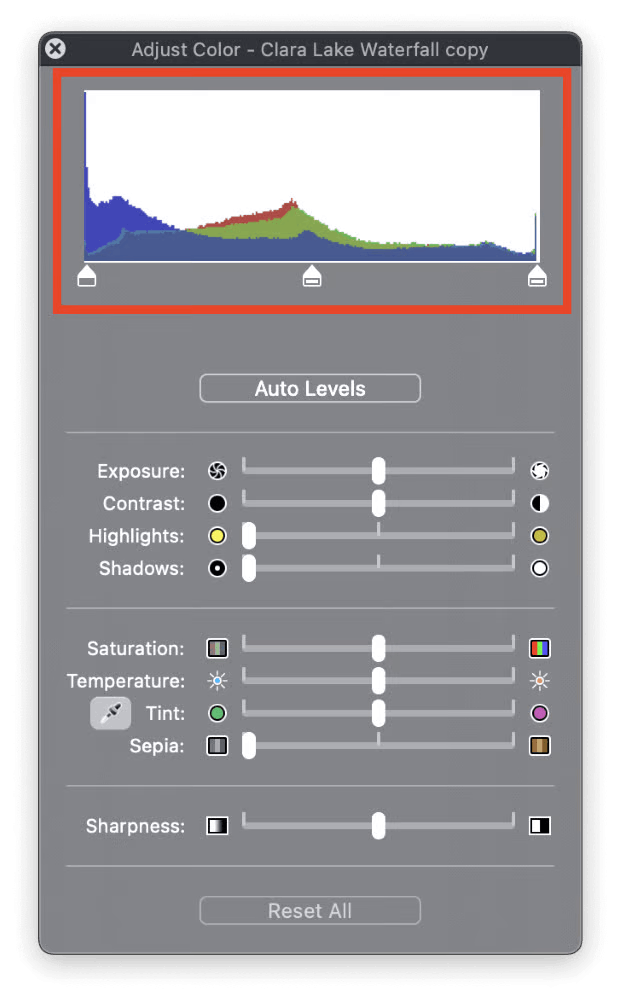
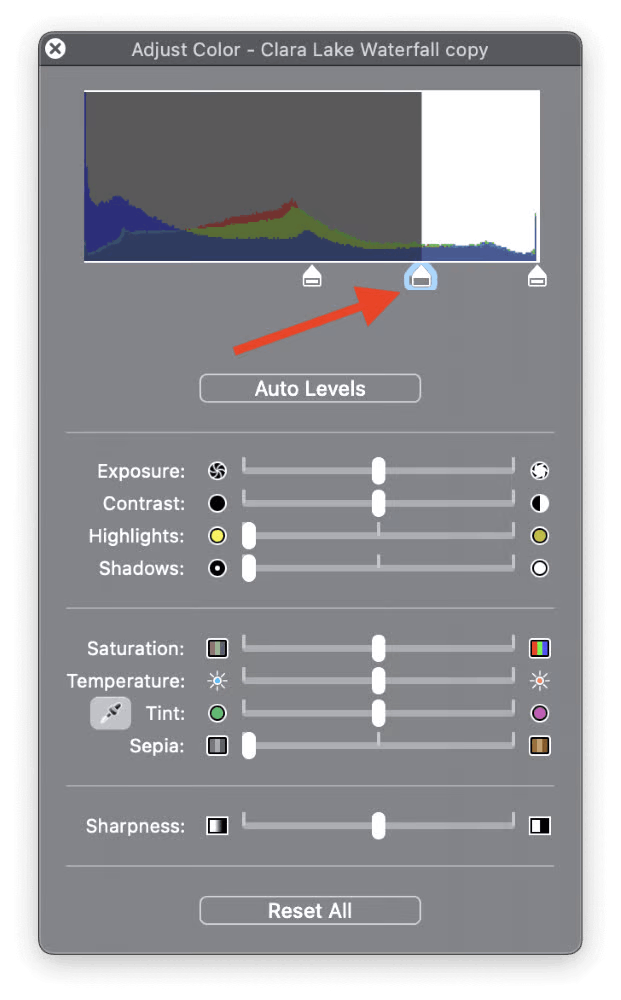
The top of the window allows you to reverse the colors of your image. Histograms display the colored pixels in your image.
Three overlapping graphs—red, green, and blue—represent the three color channels utilized to produce an RGB image.
Below the histogram is the black point slider on the left, the mid-tone slider in the center, and the white point slider on the right. You can vary the display of the pixels by adjusting the three slider controls.
Experiment with the other alternatives. Click on the Reset All button at the bottom of the window to return your image to its original condition.
Step 3: Alter the colors!
Using this knowledge, adventurers may have reversed the hues of a photograph.
First, move the black point slider to the histogram's right side. Moving it too far to the right will cause it to overlap the white point slider, making clicking difficult.
Don't worry about image exposure or color changes—we're not finished yet.
After moving the black point slider to the right, drag the white point slider to the left side of the histogram. The black point slider will radically alter the hues of your image.
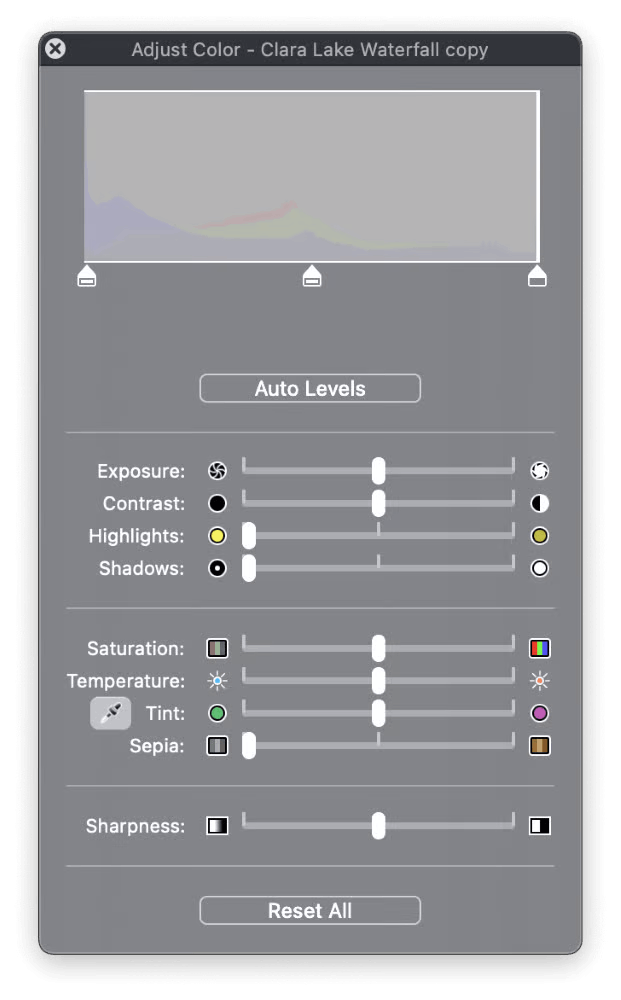
Click and drag the black point slider to the right edge once more.
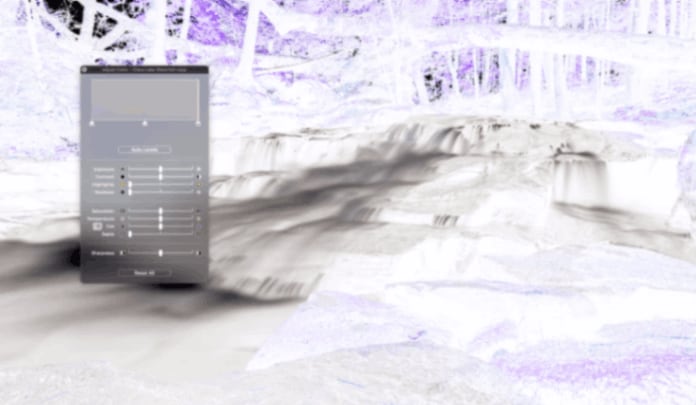
It's simple! After closing the Adjust Color window, save your work.
Part 3. Using Third-Party Apps
Tool 1: Adobe Photoshop
Follow these steps to invert the colors of a photo in Adobe Photoshop on a Mac:
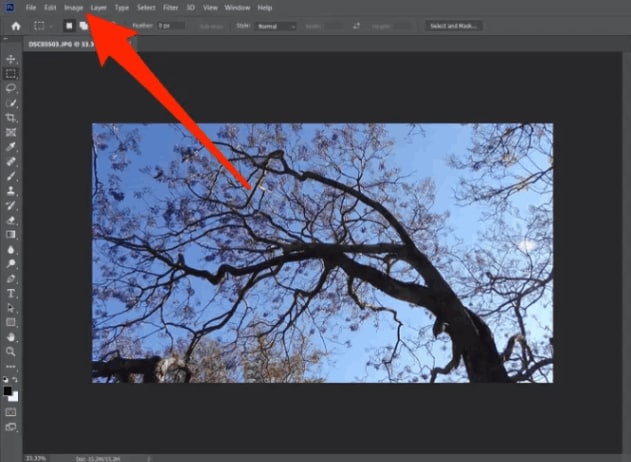
Step 1: Go to "File"> "Open" or use the keyboard shortcut Command + O to open the photo you wish to edit. Locate the photo on your computer and press the "Open" button.
Step 2: Make sure the Layers panel is visible after the photo is open in Photoshop. If it isn't visible, go to "Window"> "Layers" to make it visible.
Step 3: Select "Duplicate Layer" from the Layers panel by right-clicking on the Background layer. This will make a copy of the original photo layer.
Step 4: With the duplicate layer selected in the Layers panel, navigate to the "Image" menu at the top of the screen and pick "Adjustments"> "Invert." You can use the keyboard shortcut Cmd + I.
Step 5: The photo's colors will now be reversed. If you're happy with the outcome, go to "File," then "Save As," or "Save" to save the altered photo. Select the preferred file format and save the location for the image.
Tool 2: GIMP
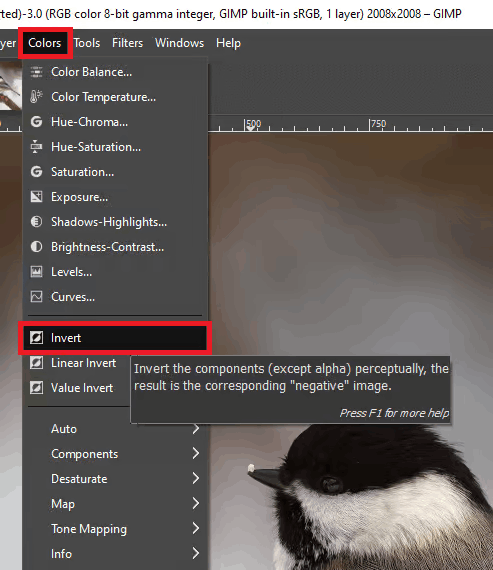
Follow these instructions to invert the colors of a photo in GIMP on Mac:
Step 1: Go to the menu & select "File"> "Open" to open the photo you wish to modify. Find the photo file on your Mac and select "Open."
Step 2: While the photo is still open in GIMP, go to the "Colors" tab in the menu bar and choose "Invert." Or else, you can use the keyboard shortcut "Cmd" + "I."
Step 3: GIMP will automatically flip the photo's colors. If you like the outcome, go to the "File" menu and choose "Export As" or "Export" to save the altered image. Choose the file format and place where you want to save the inverted photo.
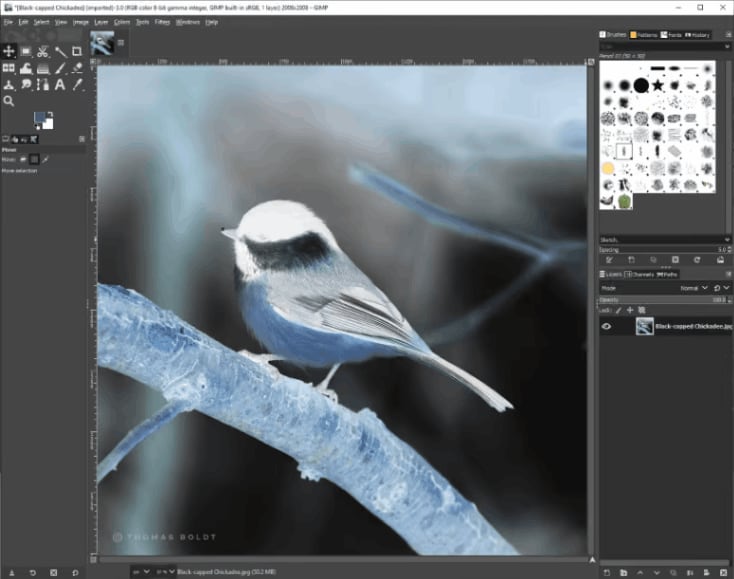
Step 4: As desired, you can change the quality settings and other elements in the export options. After selecting, click "Export" or "Save" to save the inverted image.
Tool 3: Fotor
Follow these methods to invert the colors of photos in Fotor on Mac:
Step 1: To import the photo you wish to modify, click the "Open" button in the top-left corner of the Fotor window. You can also drag & drop the photo directly into the Fotor window.
Step 2: Once the photo has been loaded, the Fotor window will provide many editing choices on the right side. Look for and select the "Effects" tab.
Step 3: There are various effect categories under the "Effects" menu. Scroll down or use the search box to find the "Invert" effect.
Step 4: When you select the "Invert" effect, you will see an instant preview of the inverted colors on your photo.
Step 5: If necessary, adjust the intensity of the effect. Some editing tools may allow you to adjust the effect's strength or opacity. You can change these variables to attain the desired outcome.
Step 6: Once you're happy with the inverted colors, save the edited photo by clicking the "Apply" or "Save" button.
Step 7: Choose the file format and location for the inverted photo, and then click "Save" or "Export" to finish the procedure.
Tool 4: Pixelmator
Follow these instructions to invert the colors of a photo in Pixelmator on a Mac:
Step 1: Open the photo you want to invert by dragging it onto the Pixelmator canvas or by going to "File"> "Open" and choosing it from your computer.
Step 2: When Pixelmator is open, go to the "Image" menu at the top of the screen.
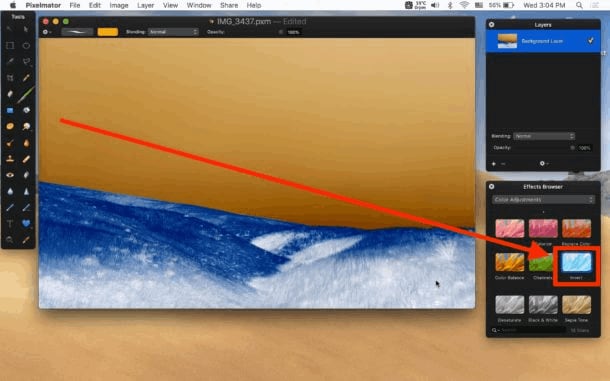
Step 3: Select "Adjust Colors" from the dropdown menu in the Image menu.
Step 4: A sidebar with numerous adjustment options will appear on the right side of the Pixelmator window. Locate the "Invert" slider and drag it to the right to invert the photo's colors.
Step 5: You'll notice an immediate effect on the photo when you use the Invert slider. Close the Adjust Colors sidebar if you're pleased with the inverted colors.
Step 6: Finally, pick "Save" or "Export" from the "File" menu to save the inverted photo. Select the desired file type, quality, and location to save the altered image.
Part 4: Method Comparison
Color inversion is a feature of the professional photo editing software Adobe Photoshop. Photoshop's sophisticated tools and extensive capabilities enable precise color changes for complex editing tasks. Its complexity and high cost may put off inexperienced users.
GIMP is an open-source Photoshop replacement. It enables color inversion and has a variety of plugins and editing tools. GIMP is an excellent tool for those on a tight budget or who like to work with open-source software.
Fotor is a straightforward Mac and Windows photo editor. It offers a basic user interface and various editing options, including color inversion. Fotor is ideal for casual users and beginners because it blends usability and functionality.
Pixelmator is a Mac-only photo editor with a variety of capabilities. It has color inversion and a user-friendly interface. Pixelmator is an excellent solution for Mac users looking for professional editing at a lower cost than Photoshop.
Adobe Photoshop is the most powerful but also the most expensive tool. The free GIMP allows for extensive customization. Fotor strikes a mix between functionality and convenience, while Pixelmator is a popular choice among Mac users looking for professional editing.
Bonus Tip: Use Wondershare Repairit - Online Photo Repair
Repairit Online Photo Repair is a free online picture repair service restoring corrupted or damaged images. It has a friendly interface which allows users to upload damaged photographs for repair effortlessly. Repairit's powerful algorithms ensure the efficient and successful repair of numerous image formats. Repairit can help restore your images to their original quality, whether partially deformed, have apparent artifacts, or are completely inaccessible. Repairit's user-friendly web platform allows users to use it from any device with an internet connection, making it a dependable and accessible solution for mending damaged images.

Part 5. Conclusion
iOS invert photo is straightforward and may be accomplished with the help of dedicated photo editing applications. However, a photo repair application like Wondershare Repair It might be useful if your photographs are infected or damaged. Wondershare Repairit is a dependable and easy-to-use program that can repair corrupted or damaged pictures, allowing you to recover and restore your priceless memories. Because of its powerful algorithms, it is a suggested option for repairing corrupted images on iOS devices.
