

Are you frustrated with Error 4302 in your Mac Photos app? We've all been there – that moment when you're trying to organize and cherish your precious memories, only to be thwarted by a pesky error. You're not alone in this struggle. On platforms like Apple Support Communities, countless users have faced the same issue.
But worry not; we're here to help you navigate this digital dilemma. This comprehensive guide will walk you through the best ways to fix Error 4302 in Photos on your Mac. Our step-by-step solutions will resolve the issue and ensure your Photos app runs smoothly. We want you to enjoy seamless photo management on your Mac.
In this article
What is Photos Error 4302?
Photos Error 4302 is like a little hiccup your Mac computer's photo app (called "Photos") sometimes has. It's a message that says, "Oops, something's not quite right!" It usually appears when you try to do things with your photos, like organizing or looking at them.
This error is a bit like a traffic jam on a road. It stops you from moving forward and doing what you want with your pictures. But don't worry; it's a common issue, and there are ways to fix it. It's like having a detour sign on the road; you just need to follow the right path to get around it.
In simple terms, Photos Error 4302 is a minor problem that can pop up when you're working with your photos on a Mac. It's a signal that something isn't working smoothly. There are common reasons why you are experiencing this kind of issue.
Common Reason for Photos Error 4302
The common reason for Photos Error 4302 is like a puzzle piece not fitting perfectly. It happens when your Mac's photo app, "Photos," encounters a little trouble with its "puzzle." A few things can cause this trouble:
- Network Problems
It's like having a weak or shaky bridge. If your internet connection is unstable, the Photos app might not work correctly, and Error 4302 can appear.
- Large Libraries
Think of it as trying to fit too many books on a small bookshelf. If you have a massive collection of photos and videos, your Photos app can get overwhelmed, leading to this error.
- Sync Issues
Imagine two people talking but can't understand each other. If there's a problem syncing your photos between your devices, it can trigger Error 4302.
- Software Glitches
The Photos app might sometimes have a little "hiccough" or a glitch that causes this error. So, when you see Error 4302, it's like a signal that something in your photo app's world isn't quite right.
We know how stressful it is when you encounter this kind of error. The feeling that you have no idea why that thing is happening, so we hope that the provided common reason above helps you. For that reason, this article also contains some methods that you can use to fix error 4302.
The Comprehensive Methods to Fix Photos Error 4302 on Mac
Below are the methods that you can use to fix photos error 4302. Take a look.
Method 1: Use a Repairit Desktop Product [Hot]

-
Repair damaged photos with all levels of corruption, such as grainy photos, dark photos, pixelated photos, faded photos, etc.
-
Repair images of diverse formats, such as JPG, JPEG, PNG, CR3, CR2, NEF, NRW, etc.
-
Repair critically damaged or corrupted photos available on SD cards, phones, cameras, USB flash drives, and more.
-
Repairit has a quick and advanced repairing mode. You can use either depending on the level of corruption the photos has undergone.
-
The "AI Image Upscaler" feature can enlarge the repaired photos to 2X, 4X, and 8X.
-
Intelligently restore old/scatched photo and colorize black and white photos with various AI effects.
-
No limit to the number and size of the repairable photos compared with the online version of Repairit.
-
Support Windows 11/10/8/7/Vista, Windows Server 2003/2008/2012/2016/2019/2022, and macOS 10.10~macOS 13.
One top AI photo repair choice is Wondershare Repairit-Photo Repair. This powerful tool effortlessly fixes corrupted photos in various formats such as JPEG, PNG, JPG, CR3, CR2, NEF, NRW, RAF, DNG, ARW, GPR, TIF, TIFF, GIF, and many more.
Repairit-Photo Repair can fix various photo-related issues, including reviving your photos that were affected by error 4302. It's a reliable solution that can help you restore your valuable photos. This tool also ensures you don't lose cherished memories due to errors or corruption.
It supports all storage devices, including Mac and Windows computer disks, USB flash drives, memory sticks, SD cards, digital cameras, and cell phones. We value and protect your cherished memories as much as you do. With Wondershare Repairit-Photo Repair, you can confidently restore your spiritual treasures.
Step 1Upload Your Damaged Photos
- Launch Wondershare Repairit on your Mac access the More Types Repair section in the sidebar. Then, select Photo Repair.
- Choose the Photo Repair option to proceed.
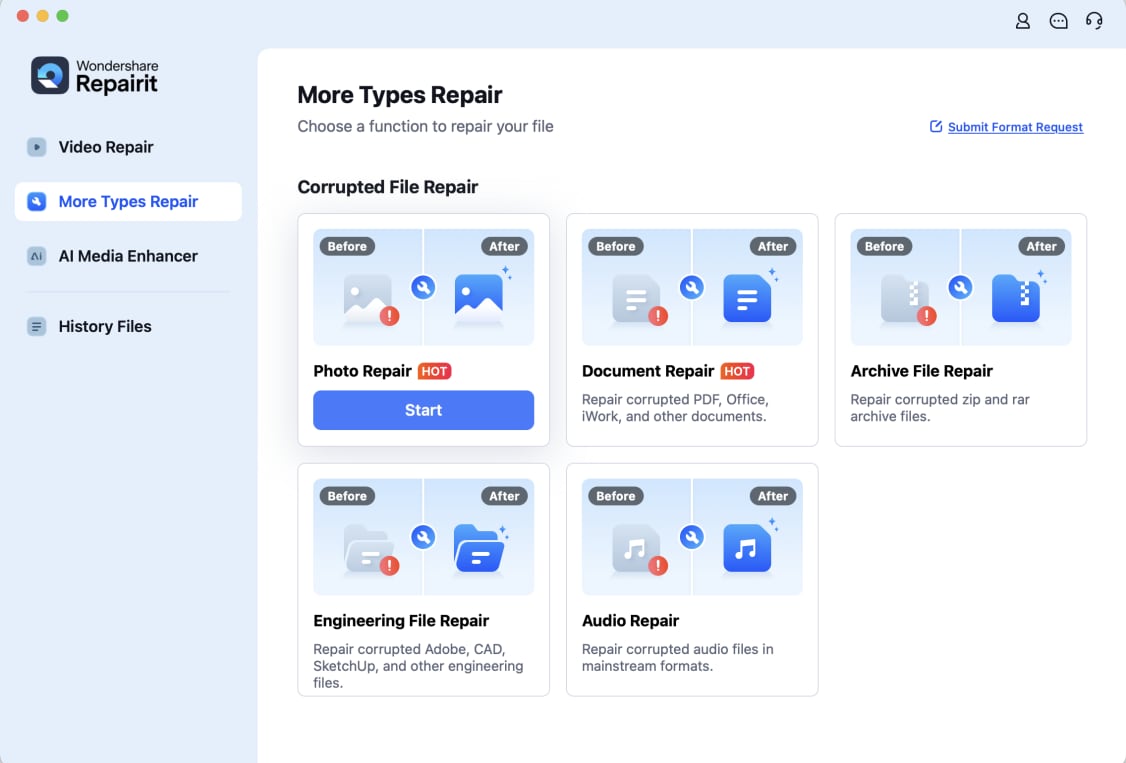
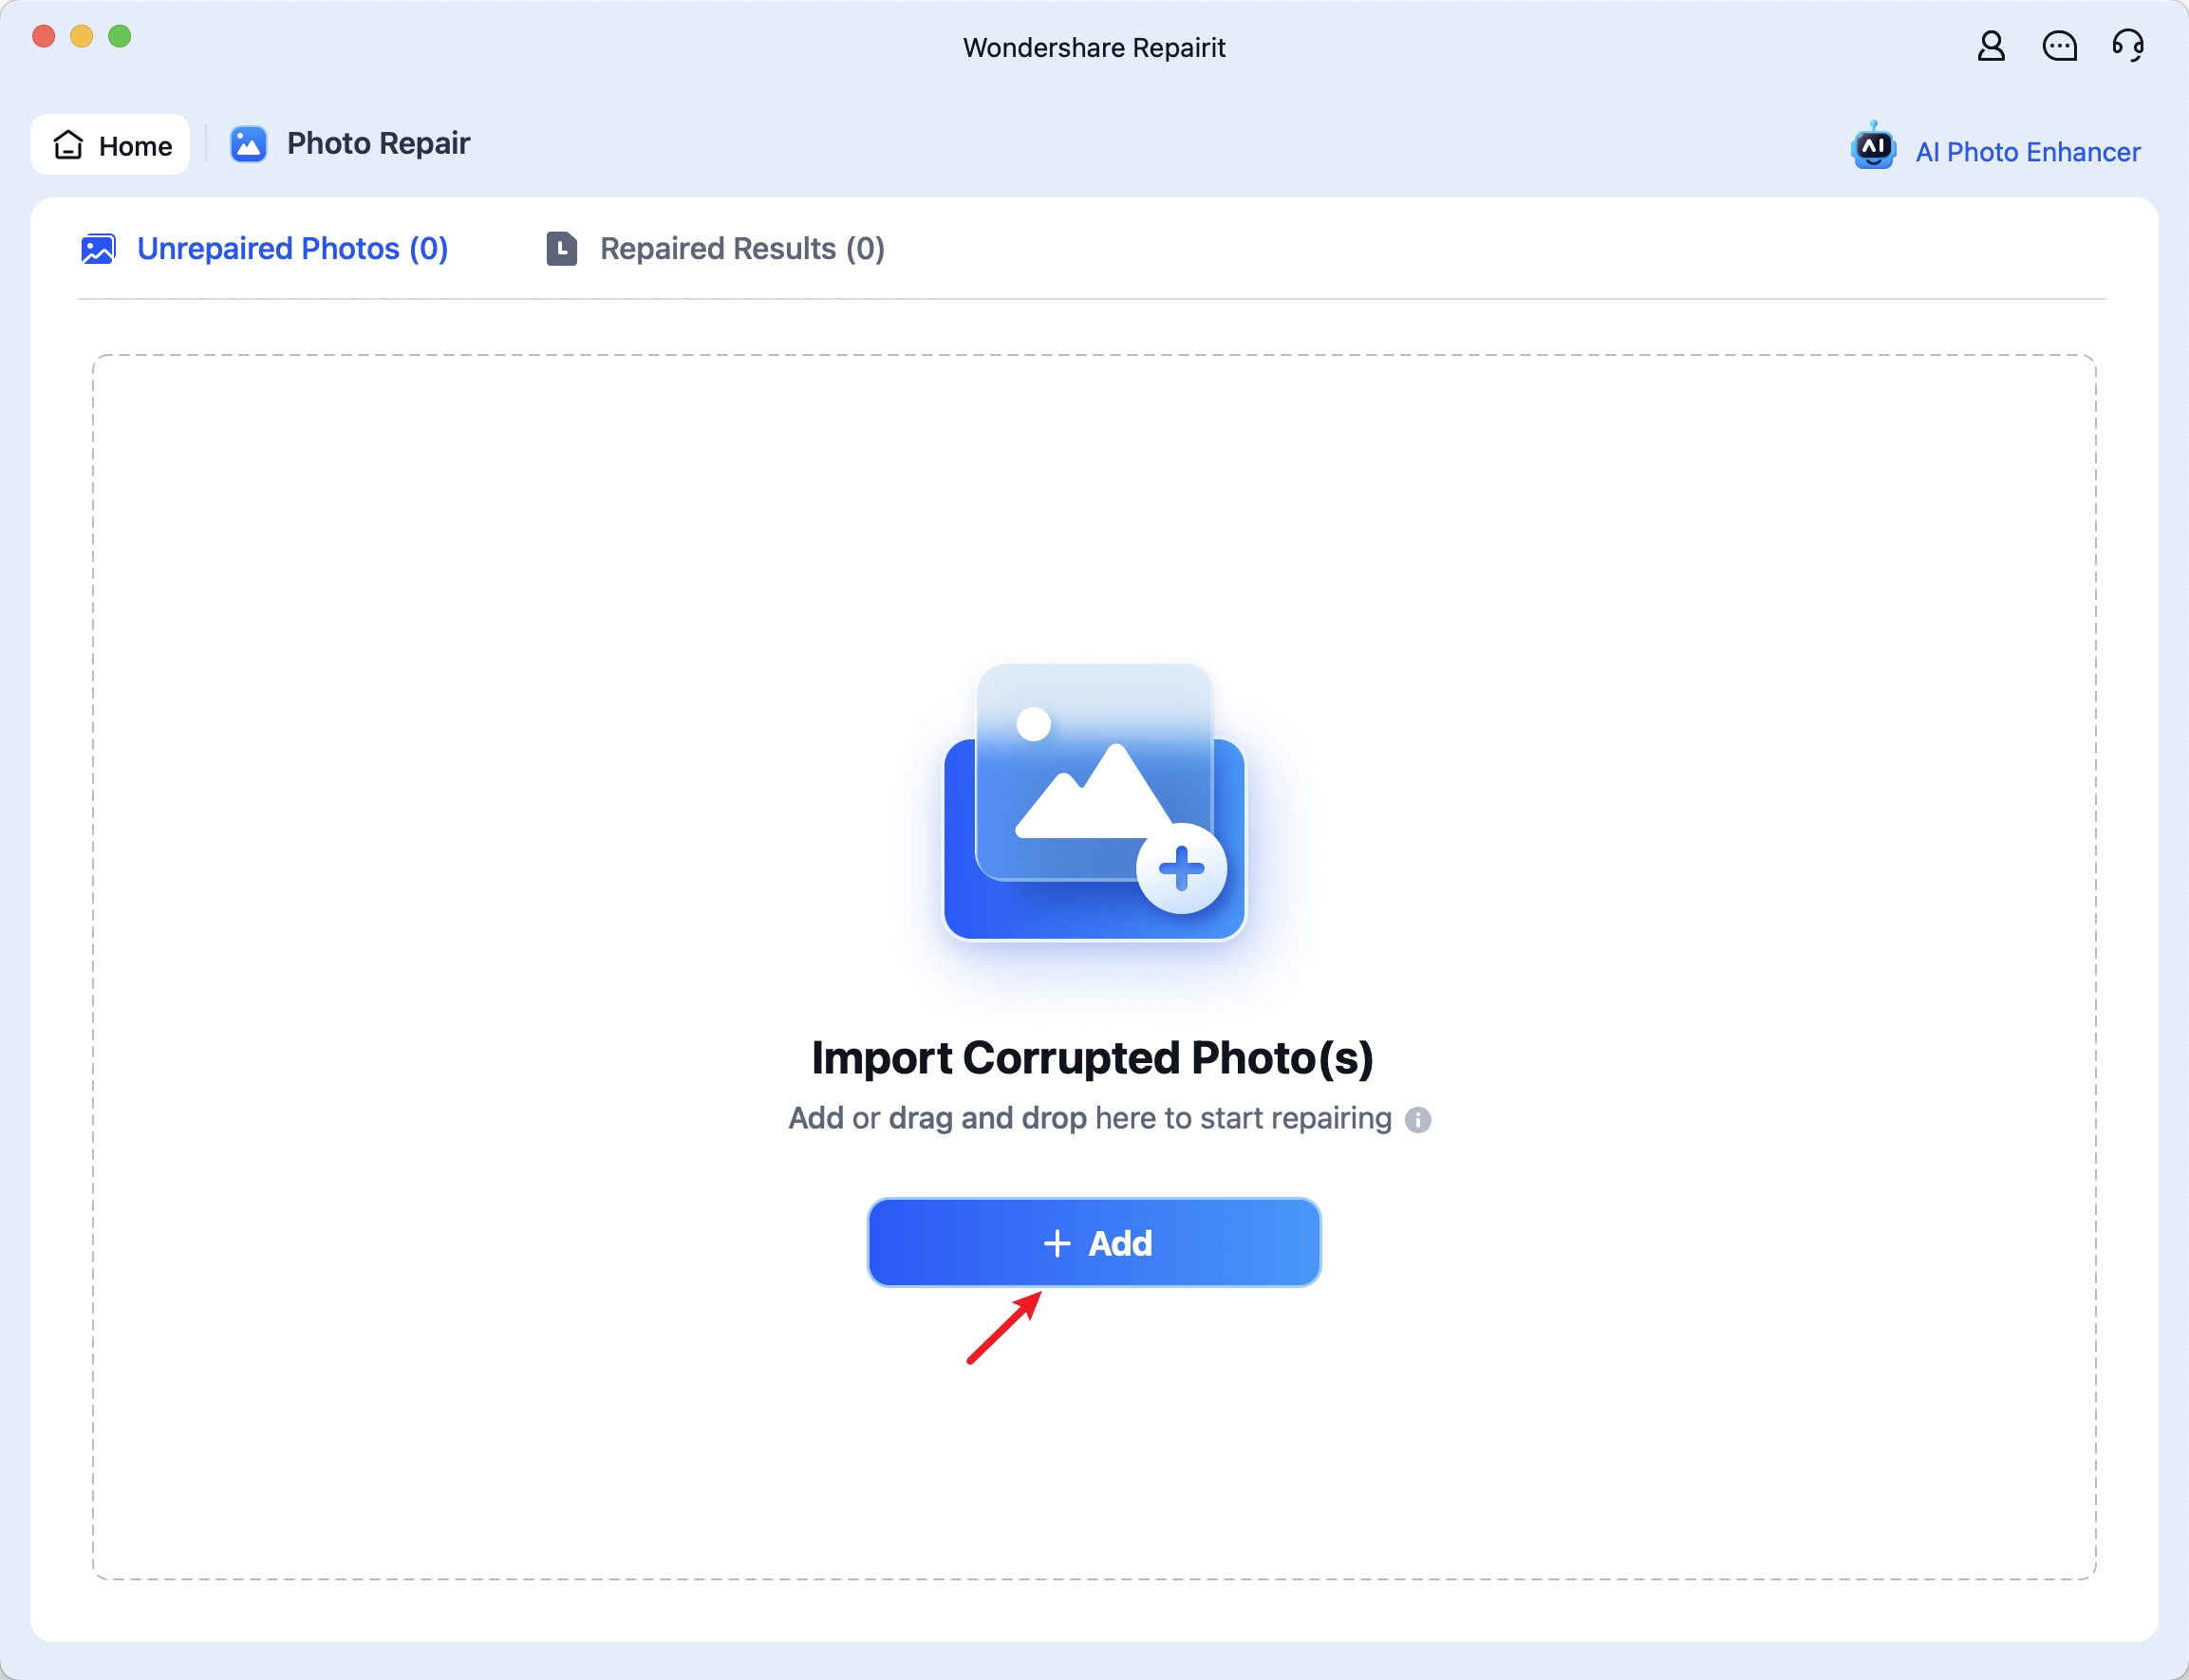
- Click the Add button, which opens a file browser window. Locate the folder where your corrupted photos are stored and upload them to the application.
Step 2Repair and Preview Your Photos
Repairit Photo Repair is equipped to resolve various photo issues, such as pixelation, color distortion, and more. After uploading your photos, the application will display thumbnails. This includes the details like file size and resolution.
- Initiate the photo repair process by clicking on the Repair button.
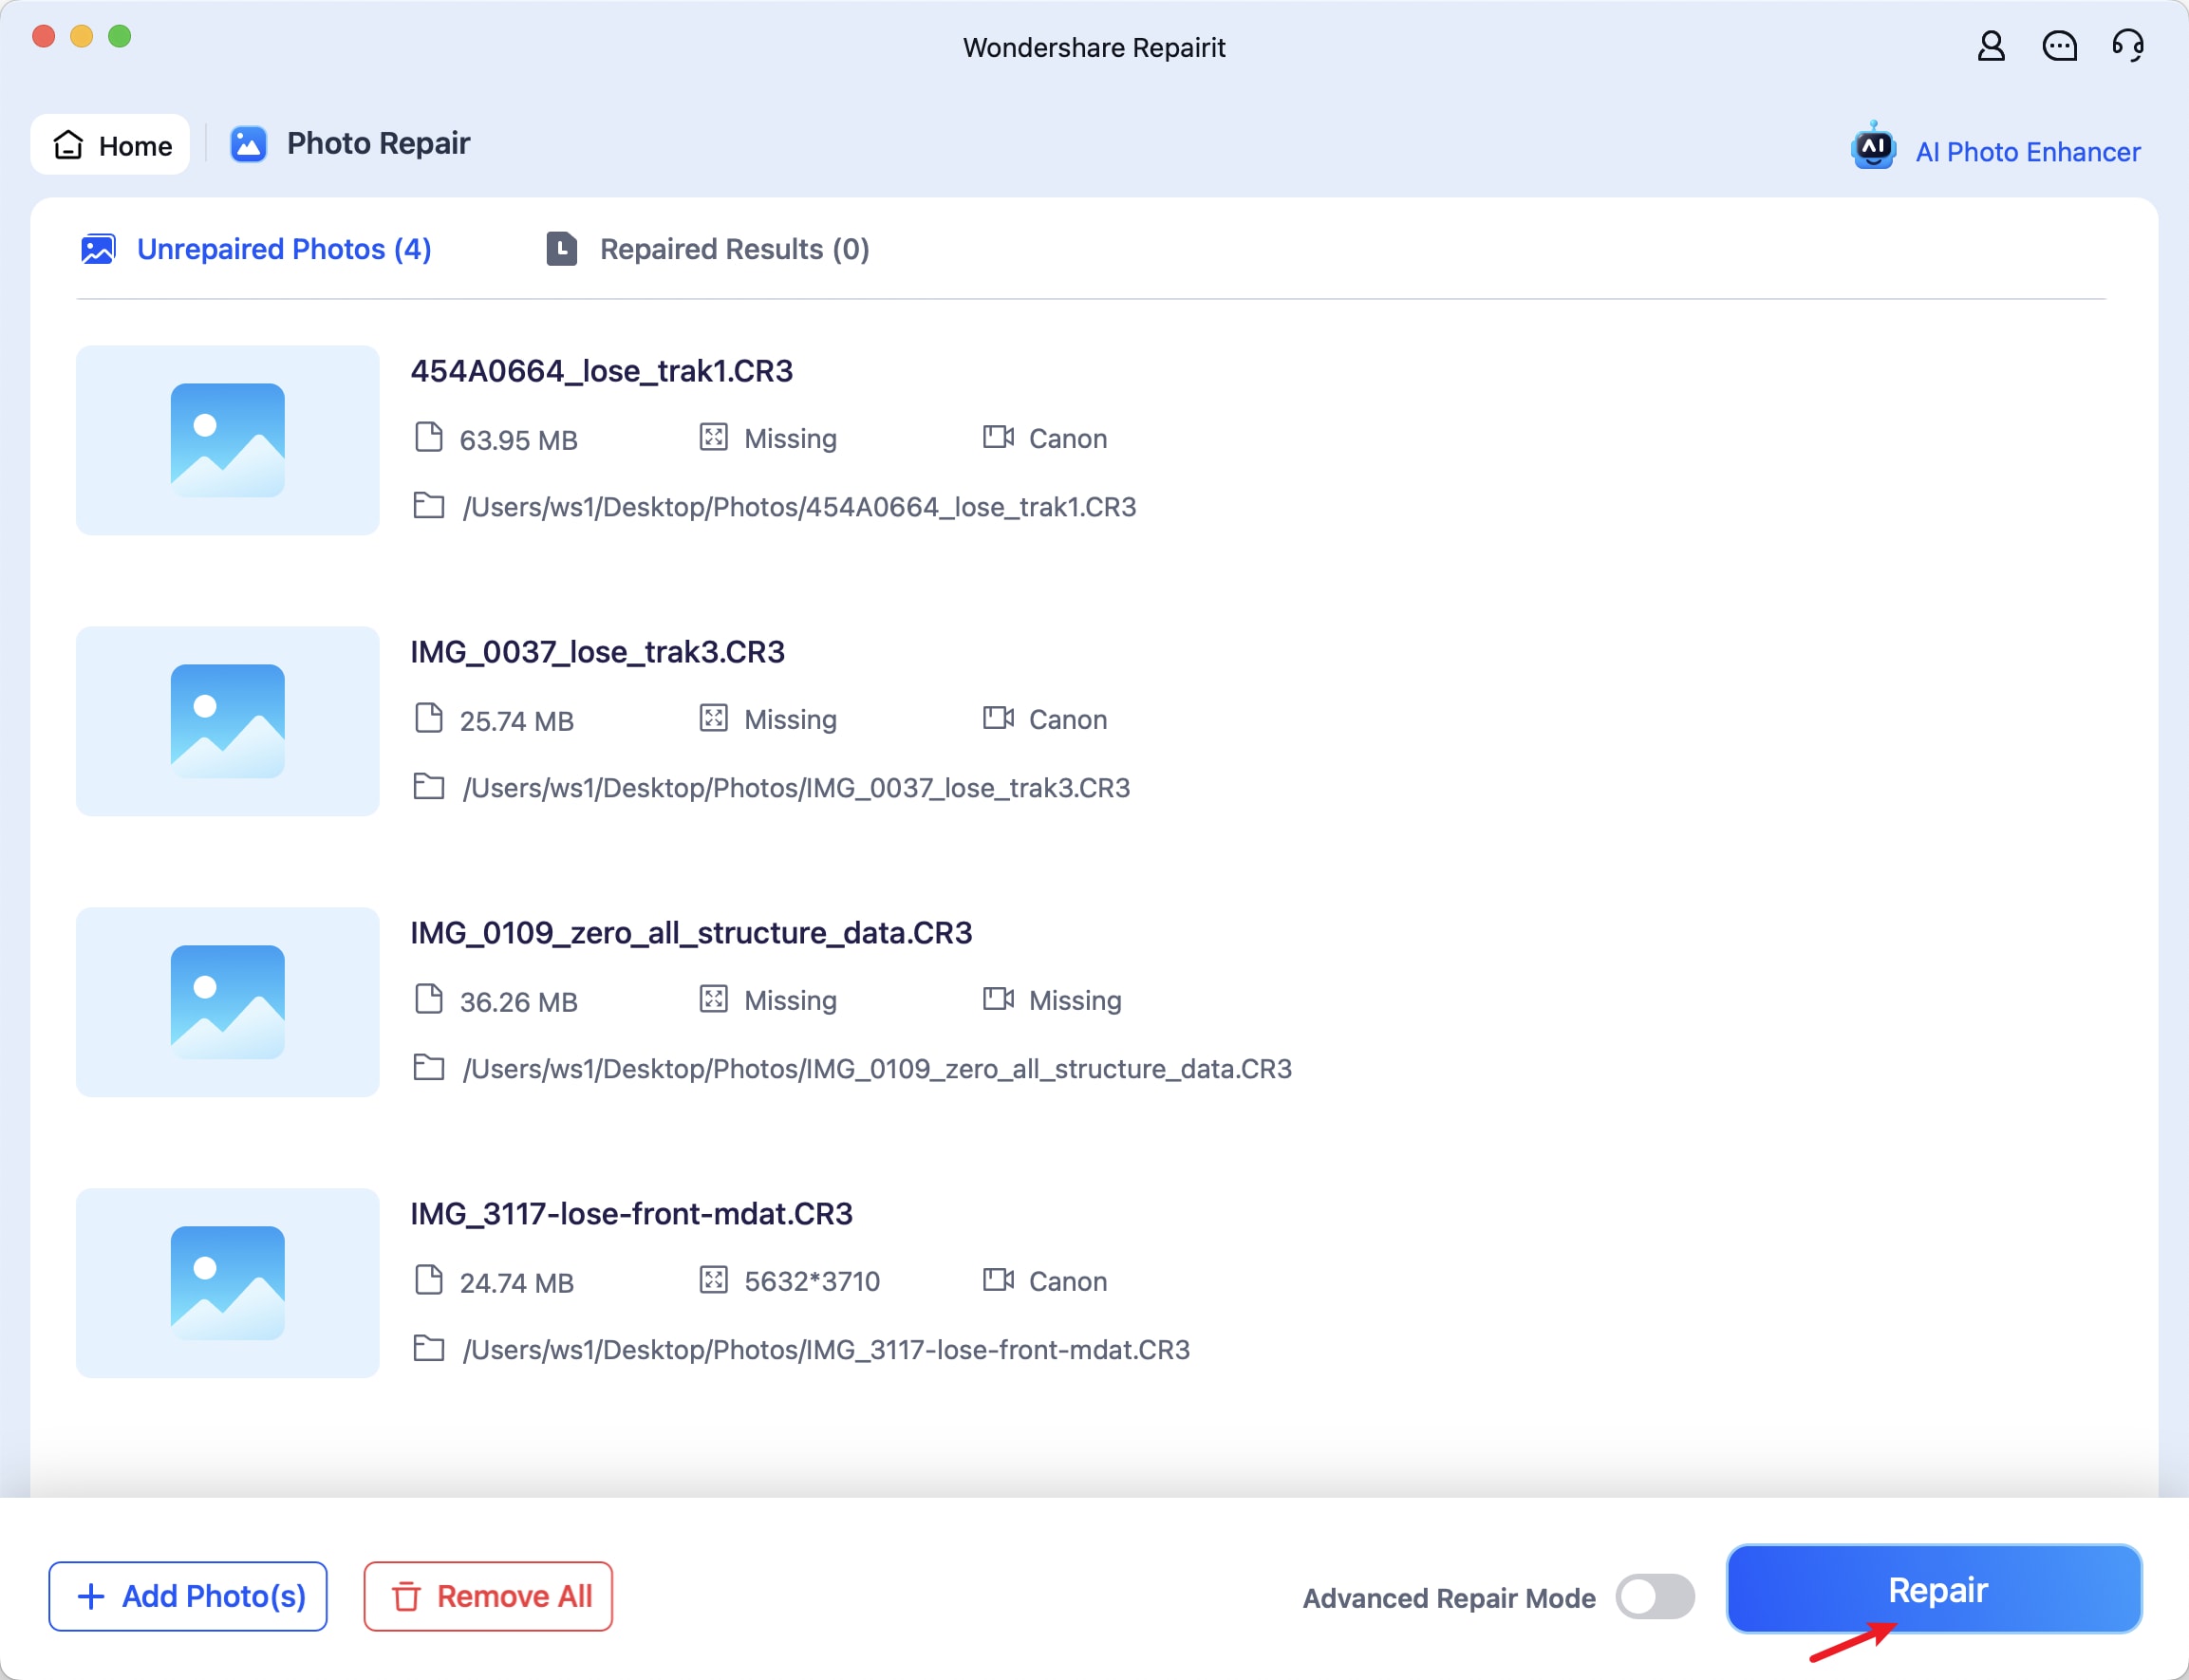
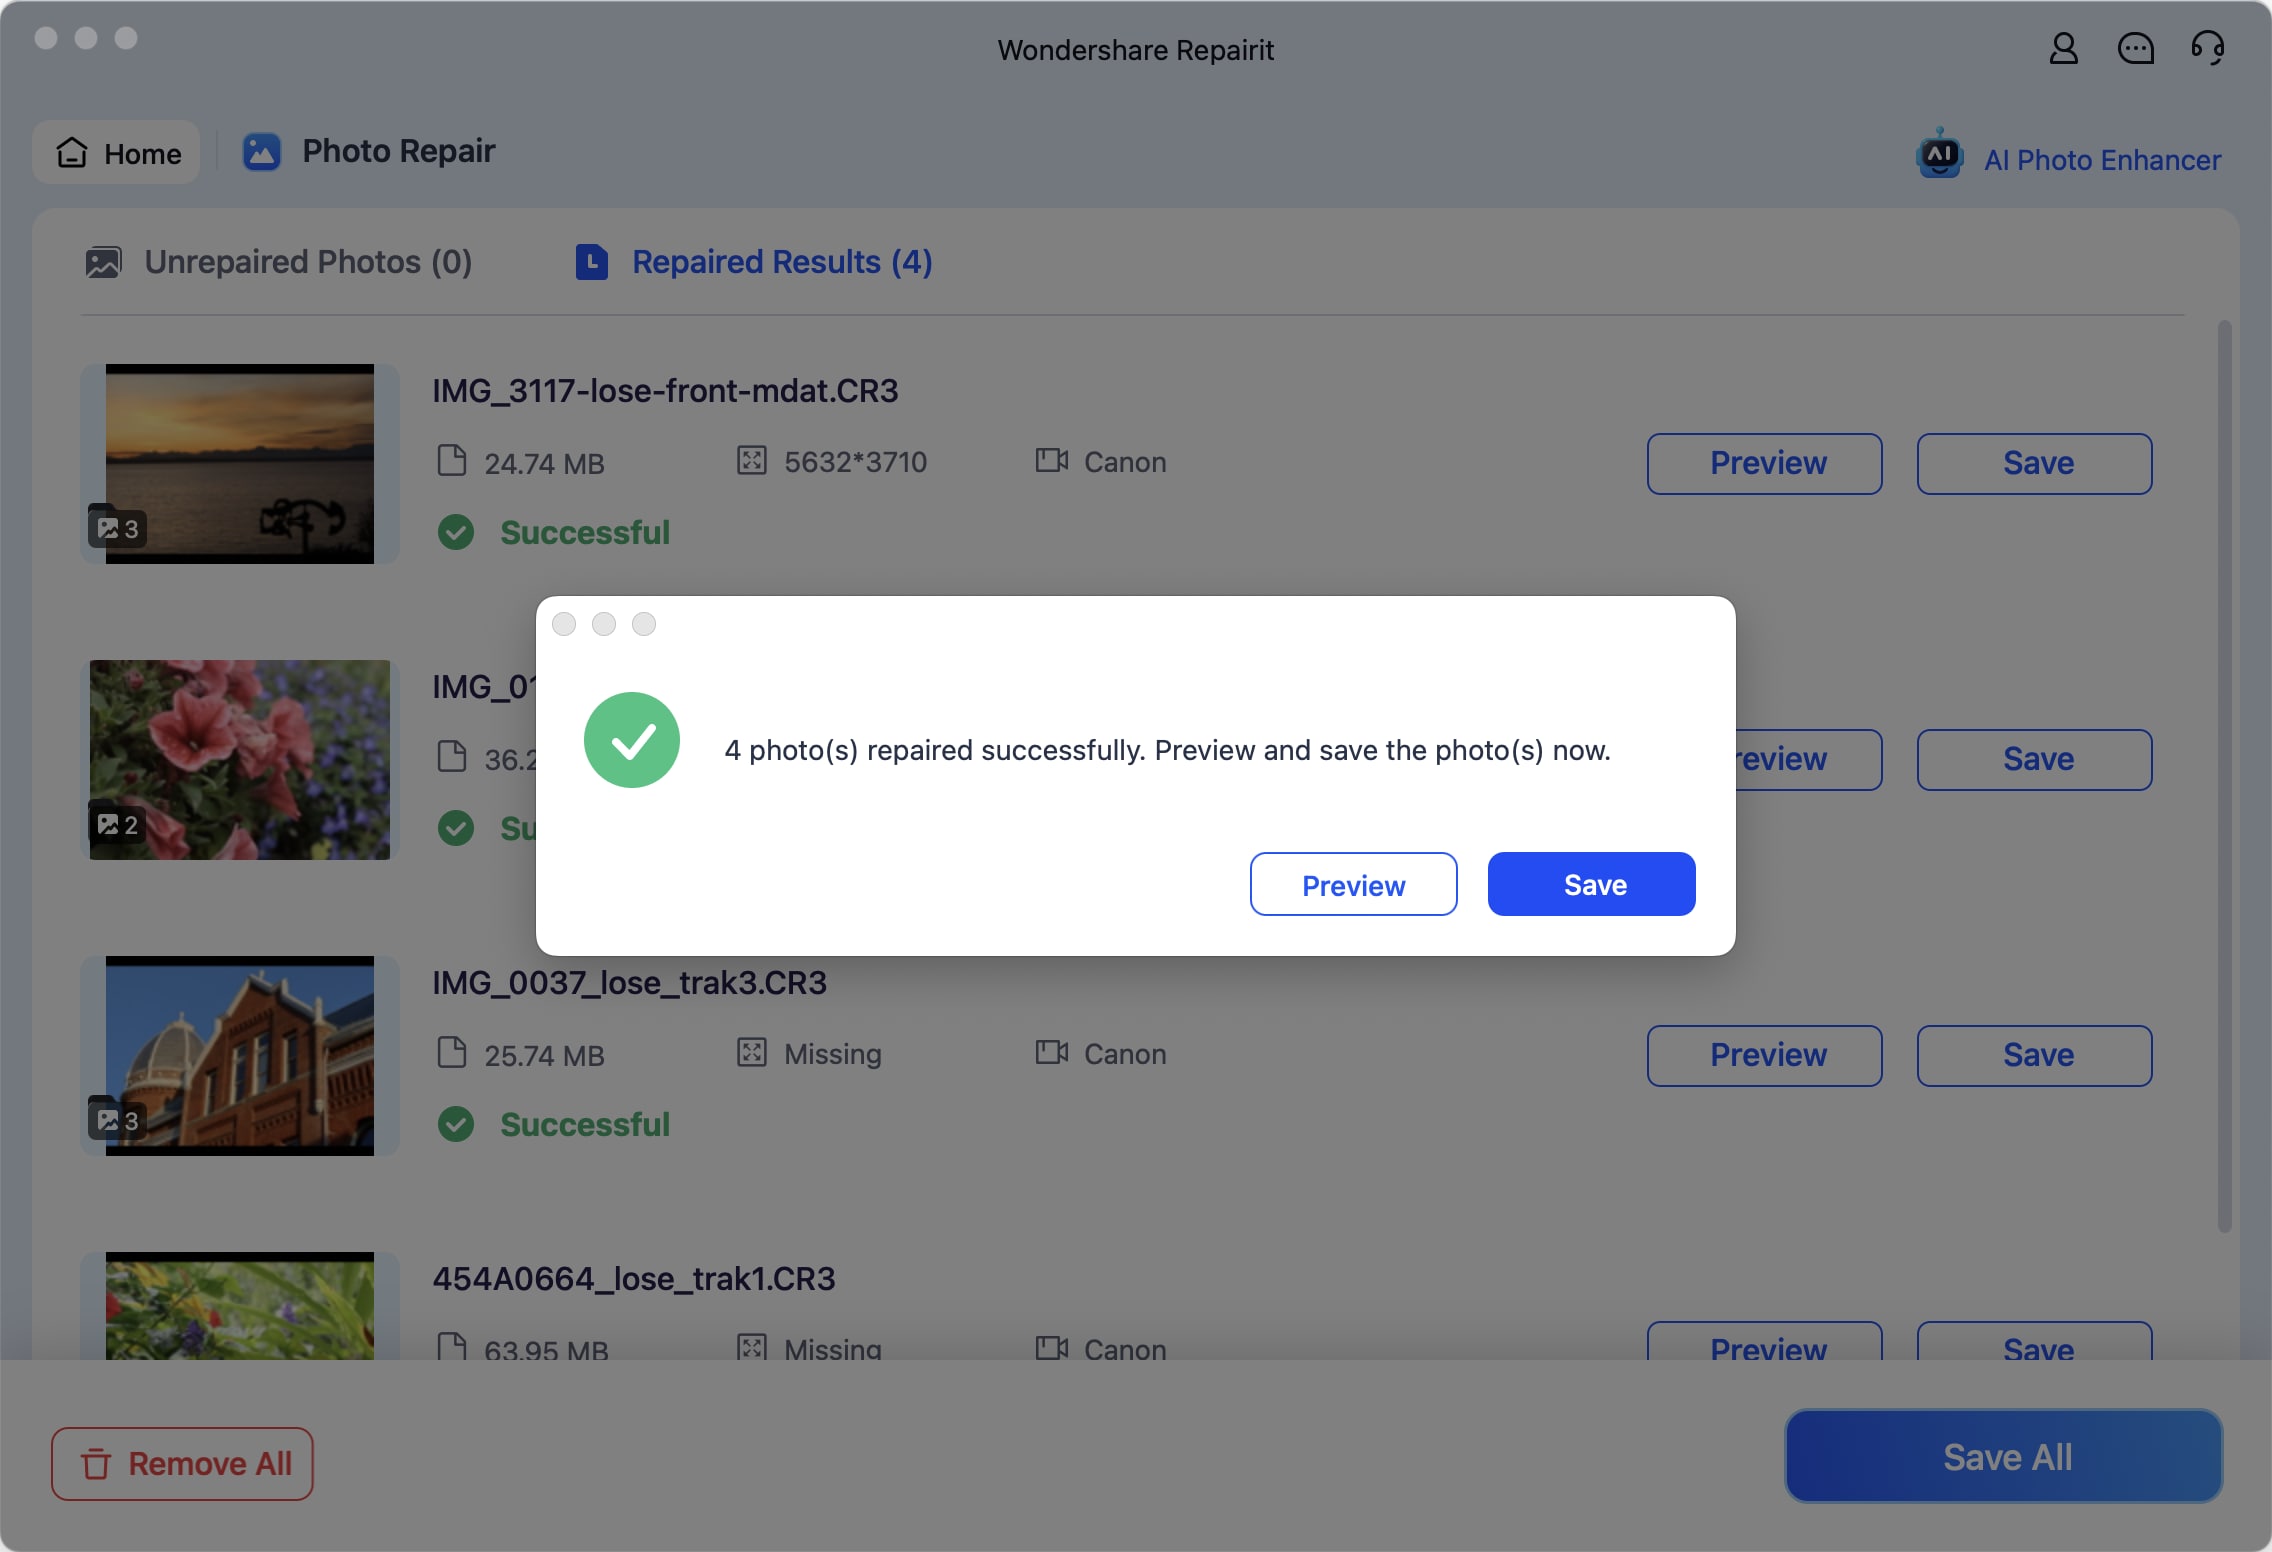
Wait as the application employs its unique algorithm to mend the uploaded photos. Once the repair process is complete, the application will inform you of the results.
Step 3Save Your Photos
If satisfied with the repaired results, click the Save button and designate a destination folder to store the mended photos.

This video can help you fix your corrupted photos with a step-by-step guide.
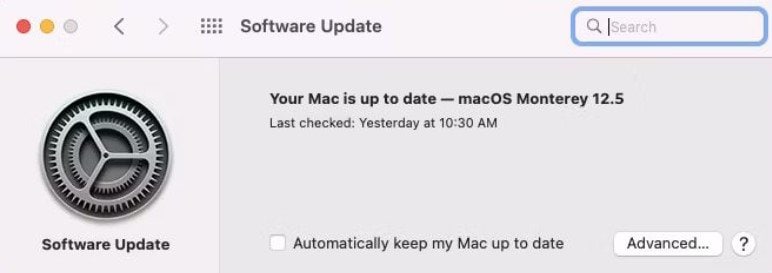
Method 2: Update the System Software
The chance of the photo error 4302 happening again on your Mac is quite high when you update macOS. Sometimes, software updates that come in time can help fix this error. Most Mac users already know how to update their system software, but I'll give you some clear steps so you don't miss anything:
Step 1. Look for the on the Apple menu in the top-left corner of your screen, then click it. This will open a menu.
Step 2. From that menu, select System Preferences.
Step 3. In System Preferences, choose Software Update. This will make your Mac search for any available software updates.
Step 4. If there is an update available, click on it, and then press the Update Now button.
Step 5. Your Mac will automatically restart after it finishes updating the software.
Step 6. Once it's done, open your photo library again. You should find that it opens without the 4302 error.
Method 3: Fix Photos Error 4302 with Photos Library
Third, try to fix problems in your photo library to solve the 4302 error. You can do this with a Photo Library repair tool.
Step 1. If you've already opened a damaged photo, close the Photos app.
Step 2. After that, press and hold the Option and Command keys on your MacBook.
Step 3. A window will pop up. Click the Repair button to start fixing the library.
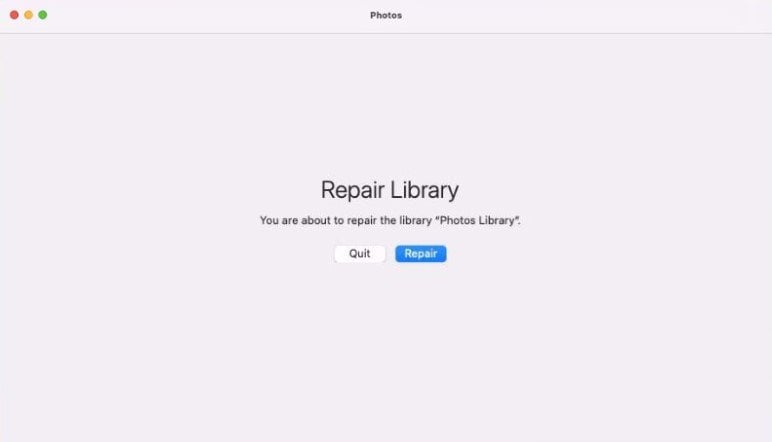
Step 4. Be patient and let the Repair tool do its job on the library database. It can only fix the issues it finds during this process, so it might take a while, especially if you have lots of photos.
Step 5. Once the repair is done, the Photos app will open, and you can see your pictures again.
Method 4: Repair External Drive in Disk Utility
Use Disk Utility to control both the internal and external drives. It helps with organizing and handling data on physical storage devices and can also fix unexpected errors. However, it may not catch and repair every issue with a disk. To check and fix problems on an external drive, follow these steps:
Step 1Accessing Disk Utility
- Open the Launchpad and click Other: Begin by launching the Launchpad, an application launcher on your Mac. You can usually find it in your dock, the row of icons at the bottom of your screen. Inside the Launchpad, locate and click on the "Other" folder.
- Choose Disk Utility: Within the "Other" folder, you'll find various utility applications, including "Disk Utility." Select this option by clicking on it.
Step 2Selecting the External Drive
- Pick the external drive from the sidebar: In the Disk Utility application, you'll see a sidebar on the left-hand side. This sidebar displays a list of drives and volumes connected to your Mac. Find your external drive in this list and click on it to select it.
- Click the First Aid button: Once your external drive is selected, you'll notice a set of buttons above the Disk Utility window. Click the "First Aid" button to initiate the diagnostic and repair process.
Step 3Running the Repair Process
- Select Run and repair any errors: A window will appear with options to run the repair process. Select "Run" to begin the scan and repair operation. At this point, your Mac will automatically scan the external drive for any errors and attempt to fix them.
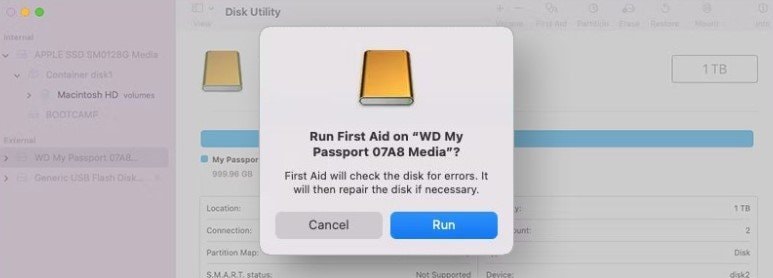
- Click Done to confirm: Once the scanning and repair process is complete, a summary of the results will be displayed. If your Mac successfully resolved any issues, click "Done" to confirm that you've achieved the desired result.
Method 5: Ignore Ownership of the External Drive
When you turn on this option, your Mac treats all files on the disk as if they belong to it and can easily understand even the most complex ones. The Ignore Ownership of the External Drive option is useful for storage drives that use HFS+ or APFS file systems. To activate this option, follow these simple steps:
Step 1. Choose the external drive on your Mac by right-clicking it or using the Finder sidebar, then go to File and then Get Info. To expand this section, click the arrow next to Sharing & Permissions.
Step 2. If you see a closed lock icon at the bottom left, click it to open the preference pane. If necessary, enter your administrator password or use Touch ID.
Step 3. Now, at the bottom, check the box that says Ignore ownership on this volume to enable it.
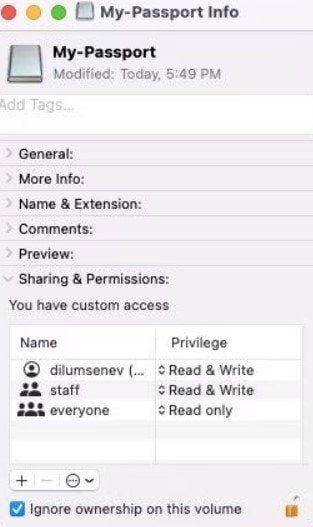
By following these steps, you'll ensure your Mac can smoothly handle files on the external drive without getting bogged down by ownership-related complications.
Final Thought
Photos Error 4302 can be annoying when organizing your photos on your Mac. Think of it like a small roadblock that gets in the way of managing your pictures. But don't worry; this guide offers simple ways to overcome this issue.
Whether it's fixing your photo library, updating your Mac's software, or using a professional tool like Wondershare Repairit-Photo Repair, there are several ways to deal with Photos Error 4302. We know how important it is to have smooth photo management, and we're here to help.
Following the easy solutions in this guide, you can say goodbye to the frustrating Error 4302. We ensure that your photo collection is well taken care of. Your precious memories deserve the best, and we're here to make that happen.
With these methods, you can regain control of your Photos app and enjoy smooth photo management on your Mac. Don't let a small hiccup stop you from cherishing your memories.
FAQ
-
Can I recover photos that were lost or deleted due to photos error 4302?
Unfortunately, Photos Error 4302 affects the functionality of your Photos app and may not result in lost or deleted photos. However, it's a good practice to regularly back up your photo library to prevent data loss in case of unexpected errors or issues. -
What is the main cause of photos error 4302 on Mac?
Photos Error 4302 can occur from network problems, synchronization issues, and software glitches. It's often a signal that something in the Mac's photo app is malfunctioning. -
Can photos error 4302 be prevented in the future?
While some causes of Photos Error 4302 are beyond your control, you can reduce the issue. Just update your Mac's system software and maintain a well-organized photo library. Ensuring a stable internet connection can also help avoid network-related issues.
