
In digital content, videos are very important as they are the easiest source of entertainment and education. However, they may not play properly due to various errors like format issues or playback problems. These issues can occur due to damage to the file, software bugs, or compatibility problems.
As a comprehensive guide, this article will discuss over 20 video errors and suggest their solutions. We will also explain why these errors occur during your video playback. Other than that, we will also share an advanced tool that comprehensively solves all video errors instantly.
In this article
-
- Error 1. Video Not Playing
- Error 2. File is Corrupt
- Error 3. Unsupported Video Format
- Error 4. No Sound Problem
- Error 5. System Crash During Editing
- Error 6. Choppy or Lagging Playback
- Error 7. Video Freezes While Playing
- Error 8. Green or Black Screen
- Error 9. Out of Sync Audio
- Error 10. File Size Too Large
- Error 11. Playback Error Code Appears
- Error 12. QuickTime Error 23132
- Error 13. MacBook Pro Crashes When Playing YouTube Videos
- Error 14. Video Distortion After Upgrade
- Error 15. Error Code 0xc00d36c4
- Error 16. Browser Crashes While Loading an Online Video
- Error 17. Video Quality Loss After Export
- Error 18. Videos Playing in Slow Motion
- Error 19. Dead Pixels on Videos
- Error 20. Video File Won’t Transfer to Another Device

Part 1. How to Fix the 20+ Common Video Errors
Without any wait, let's start discussing video errors that you can face and their solutions in the following section:
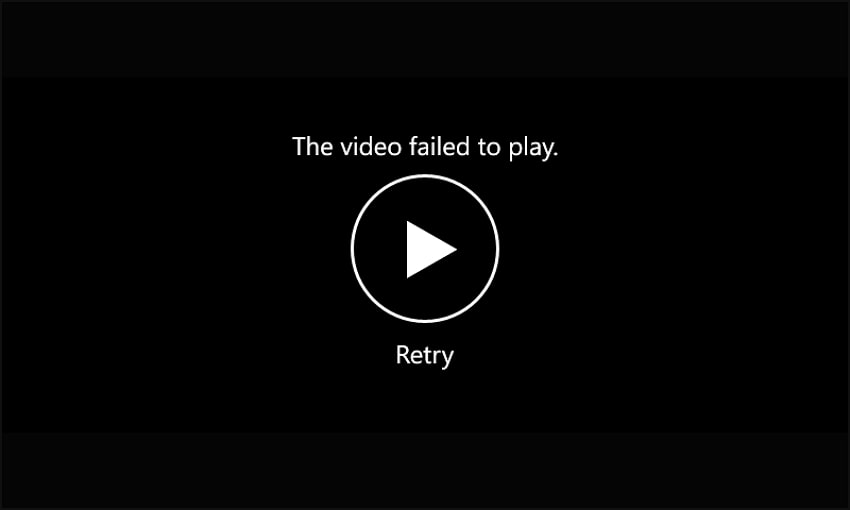
Error 1. Video Not Playing
When a video file does not open or load, it means the media player cannot recognize or process it. This issue occurs due to problems with the file format, corrupted data, or software bugs. In many cases, the file may be incomplete due to an interrupted download. To solve this common video error, you can try the solutions given below:
- Open the video in VLC Media Player, which supports most formats.
- Install missing codecs like the K-Lite Codec Pack.
- Convert the file to MP4 or another compatible format.
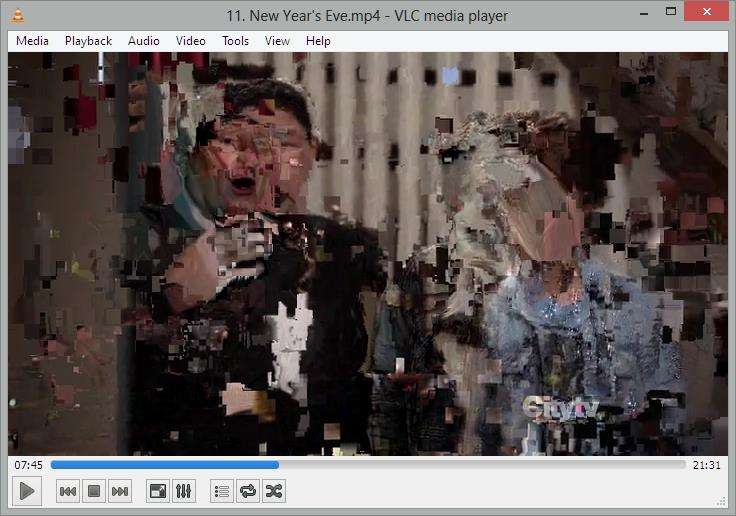
Error 2. File is Corrupt
A corrupted video file may not open or play with glitches like distorted images or missing frames. It can happen due to transfer errors or even interruptions in the downloading process. Additionally, storage device issues, such as bad sectors on a hard drive, can also damage video files. As one of the most common video errors, you can solve it with these solutions:
- Use a reliable file repair tool to remove corruption from the video.
- Try to restore an older version of the file from a backup.
- Re-download the video if the original file is incomplete in your storage.
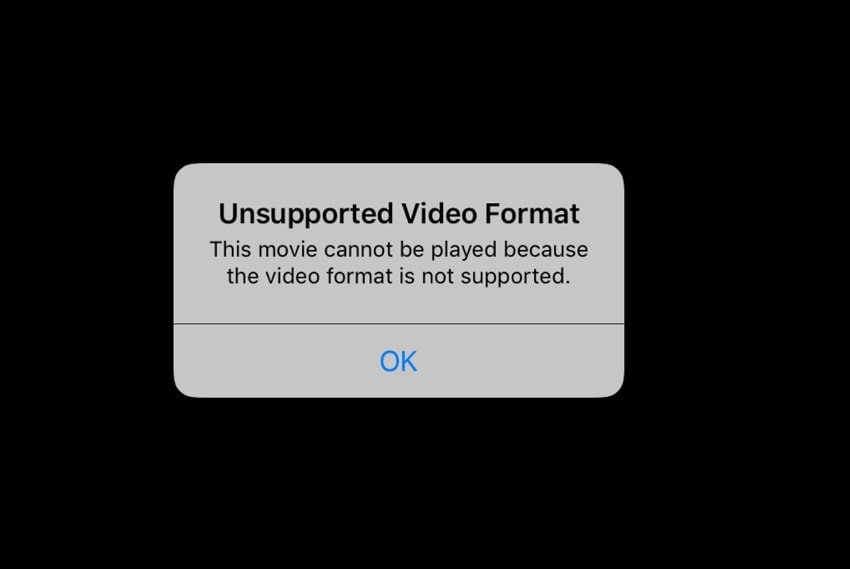
Error 3. Unsupported Video Format
Your video may fail to open if its file format is not supported by your media player. For example, older media players may not support newer formats like HEVC. Other than that, some operating systems have built-in restrictions on specific formats. You can apply any of the following solutions to solve this common video error:
- Convert the video to a widely supported format like MP4 or AVI.
- Install the necessary video codecs, such as the K-Lite Codec Pack.
- Update your media player to the latest version or install a newer one.
Error 4. No Sound Problem
In many cases, when users play videos, they don’t have any sound. As a result, they won’t be able to enjoy the content of those videos. Sometimes, the sound settings of the media player are muted, or the audio drivers get corrupted. Depending on what the root cause is, here are a few possible solutions to resolve such video errors:
- Check and increase the volume in the media player and system settings.
- Update sound drivers in the device manager of your PC.
- Try playing the video in another media player or update it.
Error 5. System Crash During Editing
During video editing, you can face the error where the system crashes or it gets slower. This is very common when people try to run heavy editing software on computers with average specifications. In addition, low storage and background processes also cause this problem. It is possible to solve this error with the following solutions:
- Increase the storage space and the RAM of your computer to handle processes better.
- Update your computer’s operating system and the editing software for bug fixes.
- Upgrade the graphics card of your computer to support running heavy editing processes.
Error 6. Choppy or Lagging Playback
Keeping on with the causes of the previous error, your videos may lag or get choppy during playback. For those with a local display with a slower refresh rate, this is one of many video errors. Storage issues and software problems can also result in choppy playback. Following the given fixes, you can easily resolve this particular video error:
- Try playing the video in a lower resolution if you’re watching it from somewhere online.
- For offline playing of 4K videos, make sure to remove all background processes.
- Update your video player or the graphics card to increase their compatibility.
Error 7. Video Freezes While Playing
A video that stops at certain frames while the audio continues may have playback or hardware issues. The playback issue is common with large files and screens that don’t support the particular video quality. Additionally, your videos may freeze during playback due to various damages to the files. After identifying the issue, you can apply these fixes to solve this playback error:
- Change the media player, as some players handle video processing better and can prevent freezing.
- Update your graphic card drivers to ensure your computer’s settings are up to date for smooth playback.
- Check the file for damages and try a repair tool or find another version of the same video.
Error 8. Green or Black Screen
Your video might be suffering from rendering issues or display settings if you see a green or black screen. Along with other playback errors, this is the result of outdated graphics cards and hardware acceleration settings. So, you can follow these solutions to resolve these video errors:

- Disable hardware acceleration and adjust your media player’s settings.
- Update display drivers in your device manager to ensure proper video rendering.
- Try another media player, as they can process video codecs better than others.
Error 9. Out of Sync Audio
When the audio in a video does not match the visuals, it creates a delayed playback experience. Various encoding issues and converting the video into another format cause this problem. Additionally, if a media player has incorrect synchronization settings, the audio may lag behind or play ahead of the visuals. This video error can be solved using the following fixes:
- Use the media player’s sync feature, as it allows adjusting audio timing settings automatically.
- Convert the video file into another format as it can fix mismatched frame rates and synchronization issues.
- Check system performance and close background apps to free up resources for smoother playback.
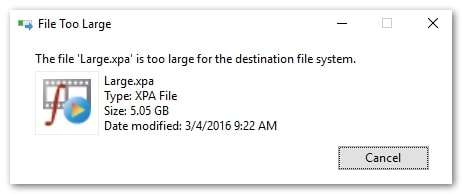
Error 10. File Size Too Large
Due to storage or hardware limitations, large video files may be difficult to play or transfer. That is simply because HD videos take up more space and require more powerful devices for playback. Since some platforms have file size limits, you can face errors in uploading a large video. You can solve any of these video errors by applying these solutions:
- Compress the file using a tool to reduce its size without losing the original video quality.
- Convert to a more efficient format like MP4 as it provides better compression.
- Split the video into smaller segments to make it easier to handle and transfer.
Error 11. Playback Error Code Appears
Error codes may appear on your screen when you try to play your desired videos. These codes indicate issues like damaged files or system conflicts. Additionally, different platforms have unique error messages that provide information about the problem. So, you can follow these solutions to remove these errors and play your videos:
- Look up the error code online, as it helps in understanding what it means and helps find the right fix.
- Install missing codecs, as some errors occur due to unsupported video formats.
- Repair or re-download the video, as a fresh copy may resolve corruption issues in the file.
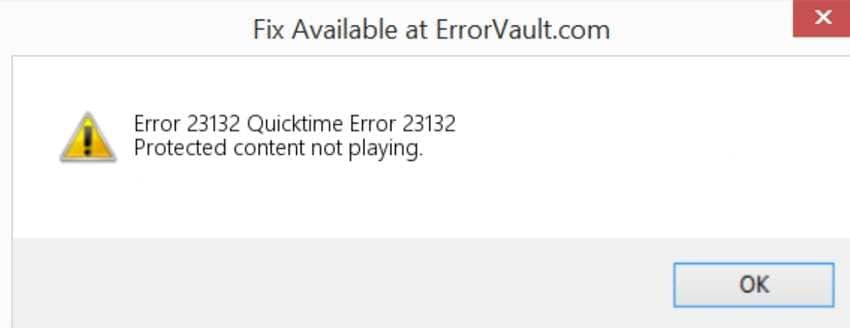
Error 12. QuickTime Error 23132
Moving on to video errors on Mac, this one appears when trying to open files in M4V format. As a common error, it usually happens due to format problems or missing codecs. That is because M4V files are associated with Apple's DRM-protected content, which can cause playback restrictions. However, the problem can be resolved if you follow these fixes:
- Convert M4V to another video format and see if you can play it in QuickTime or not.
- Update the video players and macOS to avoid compatibility issues with file formats.
- Disable DRM protection if the file is protected and use iTunes to play it or try an authorized device.
Error 13. MacBook Pro Crashes When Playing YouTube Videos
Although Apple devices are known for their ability to handle pressure, they can sometimes freeze while playing simple videos. Its common causes include problems with extensions or an outdated system. Additionally, if too many tabs or background apps are running, the system may struggle to handle video playback. You can solve this error by trying these possible solutions on your device:
- Clear browser cache and disable extensions to reduce the load on the browser.
- Update macOS and browser to a newer version as they can fix performance issues and improve compatibility.
- Disable hardware acceleration and adjust browser settings to prevent GPU-related crashes.
Error 14. Video Distortion After Upgrade
After upgrading to Windows 10, some users experience video distortion, including strange colors or blurred visuals. Once again, outdated graphics drivers or incorrect display settings cause such type of video errors. Additionally, the update process may change video rendering settings, causing playback issues. To get through this problem, you can try any of these solutions:
- Update graphics drivers by using the device manager to install the latest display driver.
- Adjust video playback settings by changing the resolution and refresh rate in your PC's settings.
- Use a different media player, like VLC, that may handle videos better after an update.
Error 15. Error Code 0xc00d36c4
Like the previous one, this error occurs when a video fails to play in your system. It usually happens when trying to play videos transferred from external sources like USB drives or DVDs. Furthermore, the Windows Media Player app may not support certain video formats, leading to this error. The exact solutions that worked above can be applied here:
- Install missing codecs using the K-Lite Codec Pack to add support for more formats.
- Try a different media player which can play most files without additional codecs.
- Repair the video if the file is damaged by using an advanced tool to restore it.
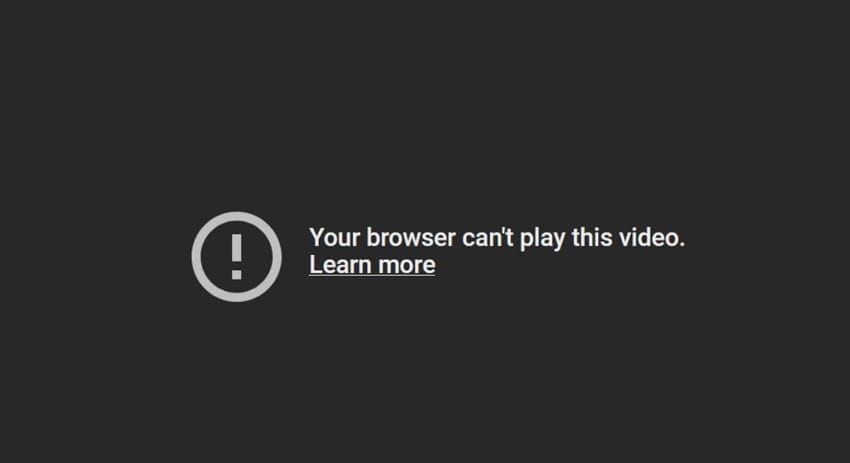
Error 16. Browser Crashes While Loading an Online Video
While playing online videos, your browser may crash and end the playback during the loading phase. When there is a lot of pressure on the system, or the browser isn't updated, such video errors become common. Moreover, a slow internet connection or excessive cache buildup may also affect video loading. In such cases, following the given solutions may resolve the playback problem:
- Clear browser cache and cookies to prevent old data from interfering with video playback.
- Disable browser extensions and ad blockers, as they usually cause this problem.
- Switch to a different browser especially those which handle video streaming more efficiently.
Error 17. Video Quality Loss After Export
After editing and exporting a video, the final output may appear blurry or lower in quality when you play it. Users can face this issue when export settings do not match the original video resolution or when compression is excessive. Some video editors reduce quality to save file size, causing noticeable detail loss. This error can be prevented and resolved if you follow these solutions:
- Use HD export settings to match the original video’s resolution and bitrate.
- Choose a less compressed format to export your videos in HD quality.
- Avoid re-encoding multiple times, as excessive conversions can degrade video quality.
Error 18. Videos Playing in Slow Motion
You may feel the video is going in slow motion while playing it due to an incorrect frame rate or limited hardware resources. This is because some files are recorded at a different speed, which affects their ability to play in a media player. However, solving these kinds of video errors is relatively easier by following these fixes:
- Check video speed settings and adjust the playback speed in the media player.
- Convert the video and re-encode it using a standard frame rate using a reliable tool.
- Upgrade system resources and ensure enough RAM and processing power is available for playback.
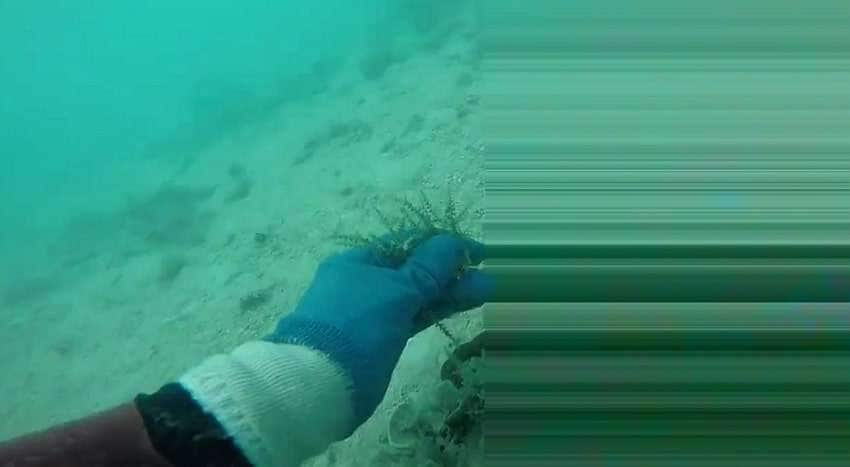
Error 19. Dead Pixels on Videos
Users may damage their displays or videos, and as a result, dead pixels appear as tiny black or colored dots on videos. You will know the issue is with the screen if the pixels are always in the same place. However, if they change location or appear only in one video, the file may be corrupted or poorly encoded. When this is the case, following these solutions will ensure the problem is resolved:

- Check the video on another device to see if the issue is with the video or the screen.
- Use a pixel-fixing tool that can refresh stuck pixels on damaged screens.
- Try to change the format of the video or use a repair tool to fix the damaged video.
Error 20. Video File Won’t Transfer to Another Device
Although it is not very common, you may face errors that stop you from transferring videos to another device. Problems like format issues or file size restrictions can be the issue behind the error. Other than that, some operating systems also have limits on file transfers. Depending on what is causing these video errors, you can apply these solutions:
- Use a different transfer method to move the video file, like a USB or cloud storage option.
- Convert the file to those formats that are supported by the receiving device.
- Check storage space on the receiving device and ensure there’s enough room for the video.
Part 2. Discover the Video Repair Toolkit to Fix All Video Errors Efficiently
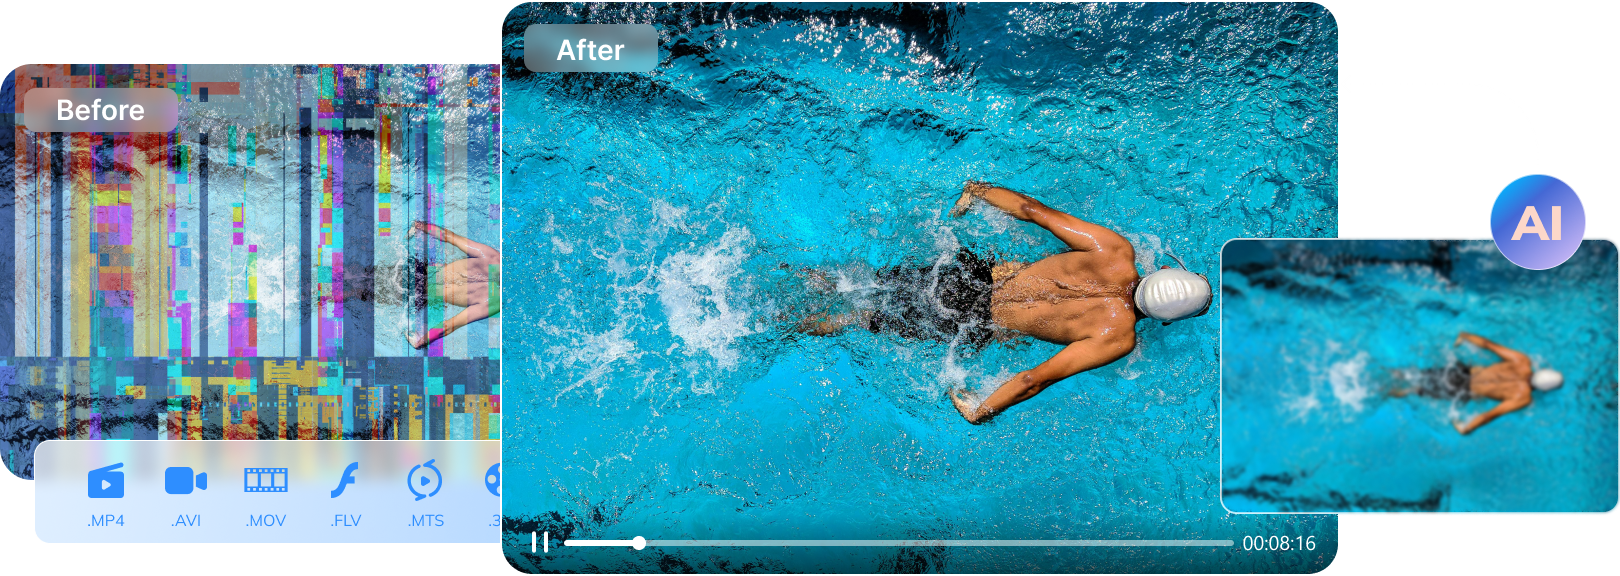
For almost all of the video errors mentioned in the above sections, you can find repair tools to restore their playback. While you can find many options in the market, we recommend using Repairit due to its extensive features. The tool can quickly solve hundreds of file errors, including damaged and blurry videos.
You can import videos of any size in this tool to remove errors from them within minutes. Other than that, the tool also supports the repair of 8K videos to ensure they are playable on your device. Repairit has an advanced algorithm that analyzes damaged sections in videos and repairs them using a vast sample library. Therefore, it is the ideal tool to eliminate all types of video errors from your files quickly.
Key Features

Wondershare Repairit - Video Repair
 Security Verified. Over 7,302,189 peop le have downloaded it.
-
Repair damaged videos with all levels of corruption, such as video not playing, video no sound, out-of-sync video or audio, playback errors, header corruption, flickering video, missing video codec, etc.
-
Repair full HD, 4K, and 8K videos and support 20+ popular formats, including MOV, MP4, M2TS, MDT, RSV, WMV, MPEG, DAT, etc.
-
Repair damaged or corrupted videos caused by video compression, system crashes, video format changes, etc.
-
Repair critically damaged or corrupted RAW/LOG/HDR videos from professional cameras such as Blackmagic Design, RED Digital, ARRI, etc.
-
Repairit has a quick and advanced scanning mode. You can use either depending on the level of corruption the video file has undergone.
-
No limit to the number and size of the repairable videos.
-
Repaired videos are more compatible with professional editing software such as DaVinci, Composer, Final Cut Pro, and Premiere Pro.
-
Support Windows 11/10/8/7/Vista, Windows Server 2003/2008/2012/2016/2019/2022, and macOS 10.12~macOS 15.
Step-by-Step Tutorial to Solve 20+ Video Errors in Repairit
Now that we know the features of this tool, you can follow these steps to solve various video errors in this tool:
Step 1. Press the “Start” button in the “Video Repair” tool. Then, select the videos with errors to bring them into the tool.

Step 2. Click on the “Repair” button to start the repair button. After the videos are repaired, you can click on them to watch them in a preview window. Then, press the “Save” button to preserve them in your storage device.
Solve 20+ Video Errors and Repair Your Corrupted Video Files Now
Security Verified. Over 7,302,189 people have downloaded it.
Conclusion
To conclude, you can face various video errors due to problems with your media player or outdated drivers. In addition to these, file format issues or software problems can also prevent you from playing your videos. So, you can ensure these errors don’t occur by regularly updating your tools and using compatible video formats.
As an alternative, you can use Repairit’s advanced features to ensure your videos are always playable. This advanced tool has many features that allow users to remove errors from videos in almost all formats. Additionally, it is accessible online for quick recovery of your video files without using any software.
FAQ
-
Q1. Why is my video not playing?
Your video may not play due to format issues or simply because it has damaged sections. To resolve these issues, you can try using VLC Media Player or converting the video to another format. -
Q2. Can I repair a corrupt video file?
Yes, it is possible to repair a damaged video using a specialized repair tool like Repairit. Additionally, some media players like VLC have repair functions for minor corruption issues. -
Q3. How do I fix audio and video sync issues?
Such video errors can be fixed by adjusting sync settings in your desired media player’s settings. Other than that, converting the video to a different format or using specialized repair tools can resolve this problem.
