

 TL;DR:
Photographers can effectively conceal a subject's lazy eye by manipulating their focal point and shooting angle, while resolving common selfie flaws and recovering corrupted photos require specific physical adjustments and software limitations.
● If the lazy eye drifts inward, direct the subject to look away from the lens center, and if it drifts outward, have them look toward the center in short intervals to prevent the eye from wandering further.
● To avoid common selfie distortions, turn your shoulder to a 30-degree angle from the lens to prevent a mugshot appearance, and position ponytails high and off-center so they remain visible in the frame.
● Damaged image files can be repaired using Wondershare Repairit for Windows (Vista through 11) and macOS (10.10 through 14), though the online version is strictly restricted to recovering files that are 300MB or smaller.
Ask AI for a summary
 ChatGPT
 Perplexity
 Gemini
 Claude
 Grok
Grok
A lazy eye is also called a wandering eye. It is a common issue in photos today, and most times, photographers find themselves in a difficult situation when they give clients their images. While some people accept it, others find it annoying as they believe it ruins their picture. A lazy eye makes most people conscious when they’re taking pictures.
However, there have been tricks over the years used to deal with this issue. It doesn’t matter whether you’re a professional or beginner photographer; this article will teach you varying methods to take photos of people with a lazy eye. The methods shared in this article ensure that the lazy eye isn’t apparent or even shown in the pictures taken.
Part 1: Problems Lazy Eyes Cause In Photos
If you don’t know what a lazy eye is, it’s when a person is looking at you, and then unexpectedly, their eyeballs start to drift away. Most time, it is genetic and, therefore, cannot be helped. However, this doesn’t mean they should stop taking pictures. Out of many things that could go wrong with an image, a lazy eye can affect a photo in several ways. Most of the time, it is dependent on the reason for the lazy eye and how it is shown. Some of the issues that a lazy eye causes in photos include.
-
Eyes not being even
-
A head tilt
-
Squinting and shutting of eyes
As a photographer, you need to understand the problems that lazy eyes can cause in a photo. Now that you’re aware, you should learn to work with them to prevent them from being prevalent effectively.
Part 2: How to Fix Lazy Eyes in Photos
Now that you’re aware of what a lazy eye is and the problems it can cause in photos; you must be wondering how to fix lazy eyes in photos. Below are some of the best solutions to the problem that ensures the lazy eye isn’t prevalent in the picture. Keep reading to discover how to fix lazy eyes when taking photos.
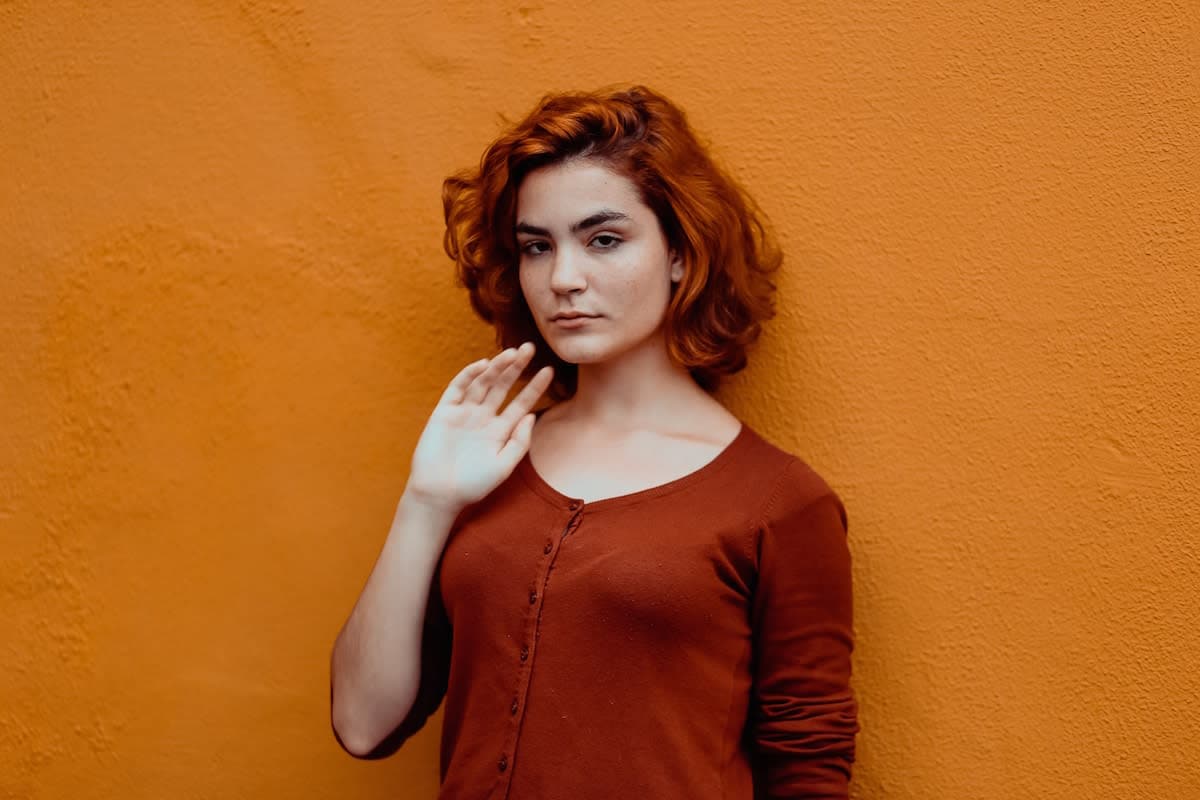
Method 1: Change Subject’s Focus

One of the best methods to correct lazy eyes in photos is by changing the subject’s focus. When you change where the person is looking when taking a picture, you can manipulate how the lazy eye appears. However, it mostly depends on whether the lazy eyes are outward or inward. If their lazy eye is inward, you should direct the subject to look away from the center of the lens. However, if it is outward, then get them to look towards the lens’ center.
Additionally, you can always ask them to train their eyes to focus on a single direction. To achieve this, have them focus on an object that’s far from the camera. Right before you take the pictures, have them look back at the camera. If you’re going to use this solution to fix lazy eyes in photos, you should make sure you do it in short periods if you’re shooting several pictures. The longer a person has to focus, the higher the likelihood of their lazy eyes drifting. When they try to concentrate for too long, they become pretty uncomfortable.
Method 2: Change Your Shooting Angle
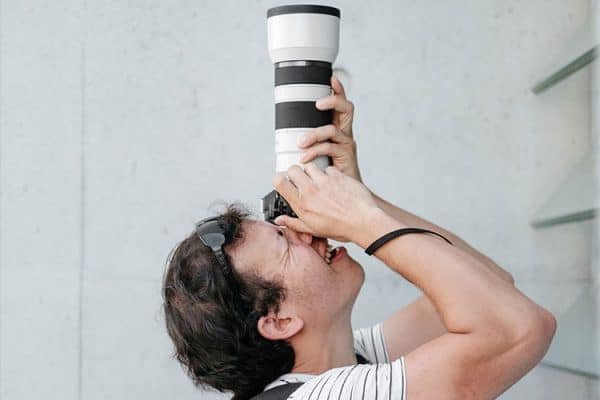
Another solution that answers how to fix lazy eyes in photos is changing your shooting angle. Apart from changing the subject’s focus when taking pictures, you can also shoot from a different angle. You could choose to shoot from the side or a higher position. Changing positions help to prevent the lazy eye from being prevalent and also makes it look natural. It is a great way to also avoid lazy eyes in photos.
When you change the shooting position, you’re forcing the eye to focus on the camera, and therefore, both eyes will be in the same direction. If you choose to shoot from the left side, the subject will have to look towards you. During this process, the other eyeball will drift to the left side, and the eyes won’t look like they’re floating either.
Method 3: Change the Head and Body Position
A great solution to the lazy eye issue in photos is to change the position of the body and the head. When you do this, the lazy eye is countered. Most of the time, this method is the best solution for fixing lazy eyes in photos. To successfully achieve this, you have to get the subject to turn the other eye's shoulder forward and lean their body forward. Additionally, you have to give them a queue, so they look at the camera at the last minute. You create a slight barrier and a shadow to hide the lazy eye when you successfully achieve this successfully.
Part 3: Selfie Problems and How to Fix them
With technology and social media becoming an integral part of our lives, it’s expected that there are specific rules to bring order to our digital life. However, it’s still easy to make mistakes, especially when it comes to taking selfies. With selfies being the new trend, you don’t want to look less than your best. Therefore, avoiding these mistakes should be a top priority for you. Now that you have learned how to fix lazy eyes in photos, let’s also explore selfie problems and how to fix them.
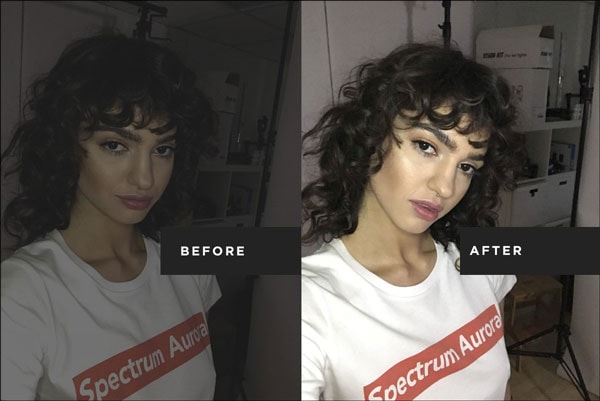
Problem 1: Skin Looks a little pale in photos
Of course, there are times when you take a selfie, and your skin looks a little pale. Maybe you have flawless skin in reality, but somehow, your flawless skin never seems to make it to your selfies. This is a common problem for selfie lovers. Luckily, there’s a solution you can always explore.
Solution: Pick a Light Reflecting Foundation

Even the best skin sometimes appears more even when there’s a bit of coverage added. You should always lookout for a lightweight foundation that looks like skin. Some foundations are also designed light-reflecting. With this option, your face will mimic the effect of in-studio lighting and ensure your skin does not appear pale in any photo.
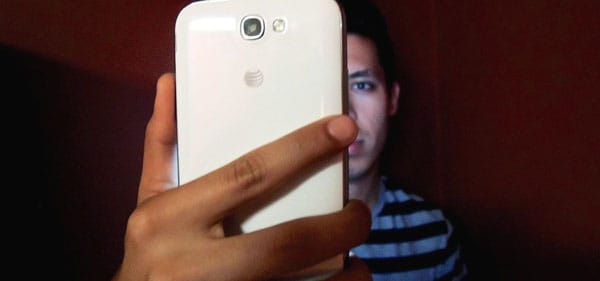
Problem 2: You’re Too Close or Far
Faces usually appear different based on the distance between the lens and face. That’s why sometimes you appear great in the mirror but somehow look terrible in photos. If your smartphone is too close to your facial features, the proportions will be off, especially when it’s the nose. Your nose will look too big for your face, and minor details you would prefer to hide would appear boldly.
Solution: Find the Best Range
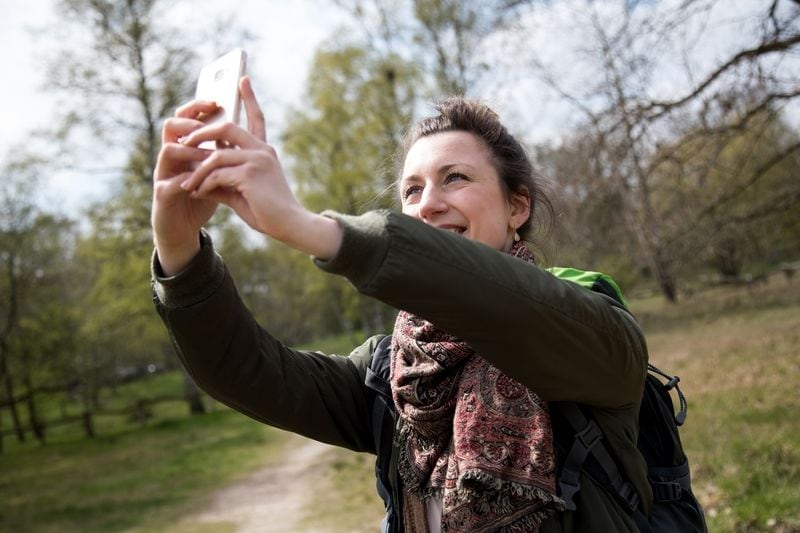
Most people would argue that the best range is the outstretched arm. It is a better distance than the up-close option that can be unflattering to your looks. To find your best range, you should have your friend zoom in with a camera and take multiple shots of you with your face filling the frame. Look through the photos to discover which you would prefer. Once you figure it out, you can decide if your best range is close, far away, or medium. Knowing this will help you inform the photographer which distance is more flattering to you.
Problem 3: Lips Don’t Stand Out
Another problem you might face when you take a photo that doesn’t involve fixing lazy eyes in pictures is that your lips don’t stand out. Maybe your lips look a little thin in the image or somehow seem too pale in comparison to the rest of your body. That’s also a common issue most ladies face when they take selfies. Luckily, there’s also a solution to it.
Solution: Don’t Mess With The Photo
Don’t change the contrast of your photo on Instagram. Sometimes, the problem is that you messed with the image a little too much. Some people tend to go overboard with the post-processing of a photo. If you already have makeup on, then you shouldn’t touch up the images so much. You could end up overdoing the colors and therefore causing your lips not to stand out.
Position 4: Your Body Position is Wrong
One of the selfie problems many people make is taking a photo with the wrong body position. When you take a picture of your head and your shoulder from a 90-degree position, the image will turn out like a mugshot. It could make a notable difference in your selfies.
Solution: Change Body Position
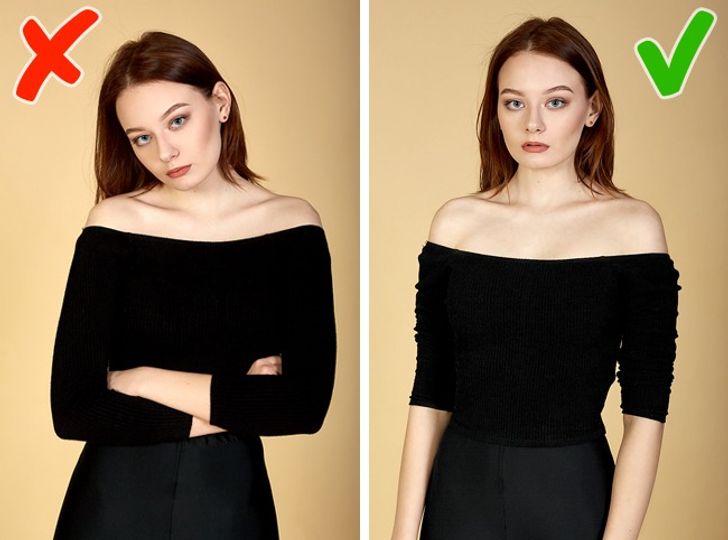
You can try one solution to turn a shoulder slightly towards the lens to prevent looking like a mugshot. The shoulder should be at a 30-degree angle from the lens. This position is also flattering because it makes the subject seems a bit slimmer. Also, you can push your shoulder back to lengthen your neck if you’re concerned about your shoulders looking hunched.
Problem 5: Cheekbones Disappear in Pictures
Overhead lights can be pretty tricky when you’re taking a picture. Sometimes, when there’s bad lighting, your facial features will turn out flat. Sometimes, it turns out excellently, and other times, your cheekbones disappear in pictures. Since you have already learned how to fix lazy eyes in photos, there’s also a solution to this problem.
Solution: Find More Lighting
Try to get to a window, so you have access to that diffused light. However, if you’re under an overhead light bulb, you can angle your face to make your cheekbones appear. Additionally, some contouring can also play a role in making your cheekbones appear. It will define your angles and make your cheekbones more prominent.
Problem 6: You Look Bad With Ponytails
If you’re wearing a ponytail, then you run the risk of looking bald when you take a selfie. Sometimes, this can be hard to interpret when you post such pictures. This doesn’t mean you should wear a ponytail anymore; there are solutions you can explore.
Solution: Switch Positions

You can try switching the position of your ponytail. First, place the ponytail in a high position and slightly off-center. In contrast to the low-centered ponytail, your ponytails are sure to show up in selfies. You can also create a halo effect by taking a picture with a light behind you. Doing this allows the light to create a glow around the hair while your face remains evenly lit.
Part 4: Tips to Take Good Selfies
Taking a good selfie shouldn’t be so hard, especially since you know how to fix lazy eyes in photos. To ensure you end up with great selfies all the time, follow the tips below and become an excellent selfie taker in no time at all.
Tilt Something

Sometimes the secret to an amazing selfie is tilting something. You can either tilt the phone slightly up or down or choose to tilt your head slightly. Another option would be tilting both the phone and your head.
Understand How to Use the Flash
Natural lighting is great for selfies, but sometimes you want to take a picture in a low-light condition, and you need the flash. Sometimes, the ideal option in such cases is to use photo apps like Snapchat.
The Eyes Matter

Another tip is to also watch out for the eyes. To avoid using the different solutions provided on fixing lazy eyes in photos, you should take note of the eyes when taking a selfie. Focus your eyes directly on the camera and not the phone area in general.
Lighting is Everything

Whether indoors or outdoors, you need to stay away from direct sunlight or other forms of harsh lighting. The ideal time to take outdoor pictures is when the sun is lower in the sky. That’s right before sunrise and just after sunset.
Part 5: Fix Corrupt Photos Using Wondershare Repairit
Most times, even after you learn how to fix lazy eyes in photos and solve selfie problems, our pictures get damaged or corrupt. In such situations, deleting the photos become a difficult choice. What if you can have your photographs back to their original state with just a few taps? That’s what Wondershare Repairit offers users. It is a secure online tool that helps repair images of different formats.

Wondershare Repairit - Photo Repair
 Security Verified. Over 7,302,189 people have downloaded it.
-
Repair damaged photos with all levels of corruption, such as grainy photos, dark photos, pixelated photos, faded photos, etc.
-
Repair images of diverse formats, such as JPG, JPEG, PNG, CR3, CR2, NEF, NRW, etc.
-
Repair critically damaged or corrupted photos available on SD cards, phones, cameras, USB flash drives, and more.
-
Repairit has a quick and advanced repairing mode. You can use either depending on the level of corruption the photos has undergone.
-
The "AI Image Upscaler" feature can enlarge the repaired photos to 2X, 4X, and 8X.
-
Intelligently restore old/scatched photo and colorize black and white photos with various AI effects.
-
No limit to the number and size of the repairable photos compared with the online version of Repairit.
-
Support Windows 11/10/8/7/Vista, Windows Server 2003/2008/2012/2016/2019/2022, and macOS 10.10~macOS 14.
Attention:
If you want to repair photo online and your corrupted photo is no more than 300MB, you can try the online version of Repairit Photo Repair to get your photo repaired online with ease.
It is fast and easy to use following the three steps below.
Step 1: Launch and Open File

First, you will need to check out the official Wondershare Repairit website. Choose "Photo Repair" from "More Types Repair", then click the "+Add" button to upload the damaged or corrupt photos. Wondershare Repairit allows you to select more than one photo to repair.
Step 2: Begin the Repair Process

Once you add the photos, this step allows you to begin the repair process. Simply click ‘repair’ at the bottom right corner of the page. You can also choose to carry out the advanced repair if the photos do not revert to the original after repair.
Step 3: View and Save Photos

After repair, you can choose the view the photos to see if they’re in their original state. Once you’re satisfied, simply click on save and choose the correct location to save your images.
Notes:
More articles related to photos, click the following links:
1. Fix "Cannot Open JPG Files With Windows Photo Viewer".
2. Can't Open JPG Files on Windows 10.
3. Fix Corrupt JPG Images.
Closing Words
Although it can be pretty tricky, you can prevent lazy eyes from appearing in photos. This article examines how to fix lazy eyes in photos using different methods. The tips provided also allow you to avoid a lazy eye from being prevalent in your photos. Additionally, you can check out the solutions to common selfie problems and top tips to ensure you always take excellent selfies.