In this article
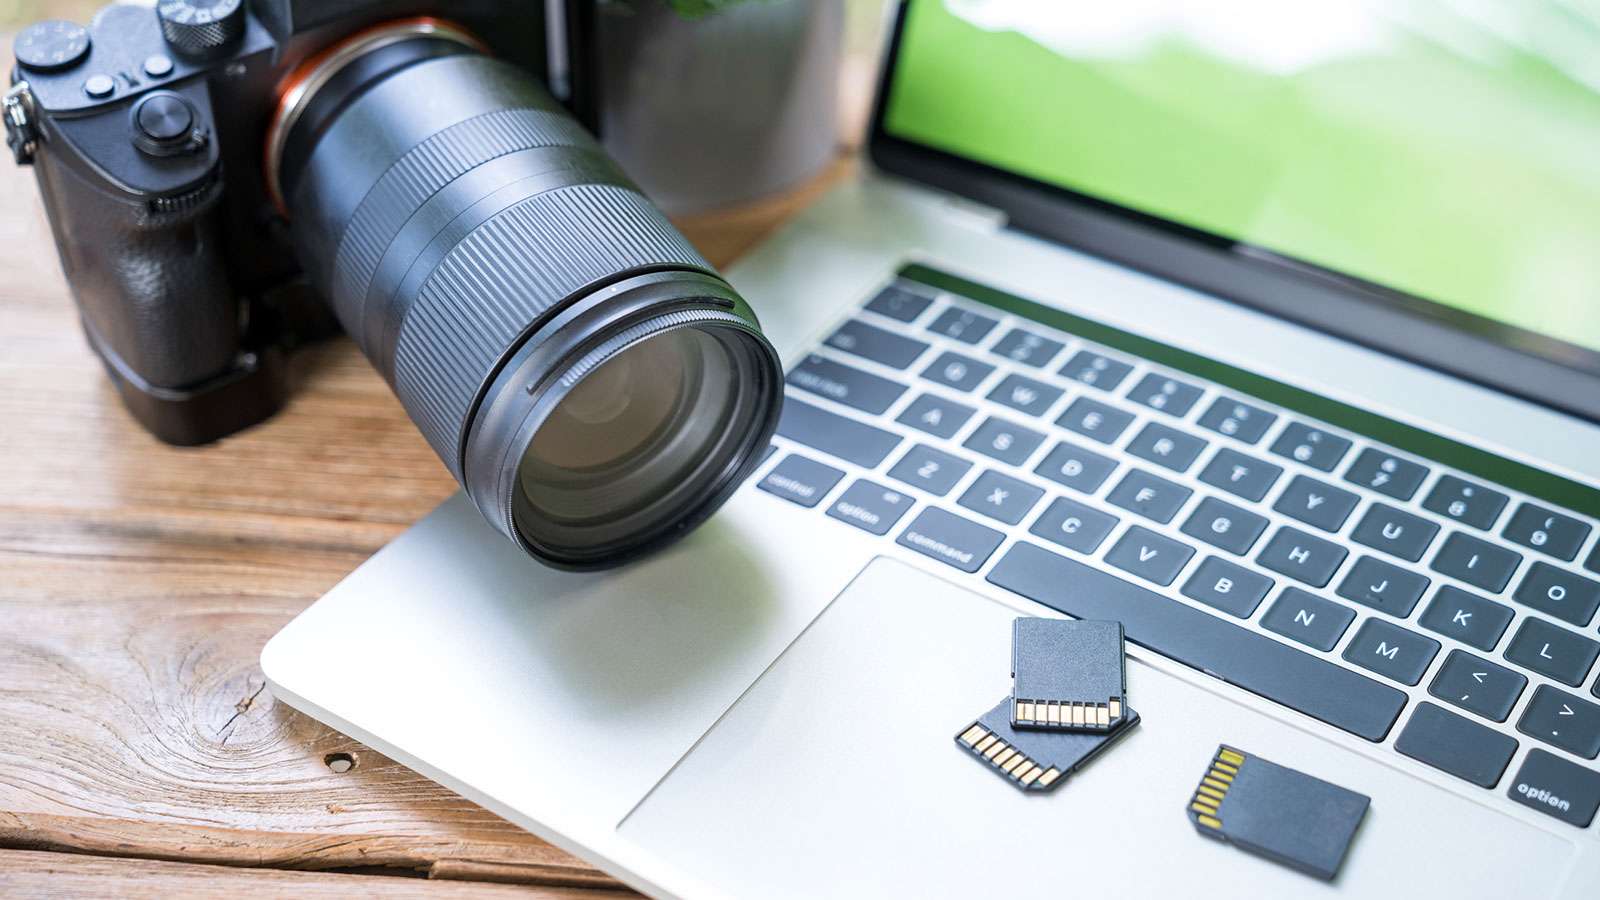
SD cards have long been our favorite way of storing files on digital cameras and phones. They’re tiny, cheap, and highly portable, making them a perfect choice for smaller devices that don’t have a full-size USB port.
However, SD cards have finite storage space, meaning users often need to empty them and start anew. They’re also prone to errors, frequently leading to file corruption and other issues.
Fortunately, there are still plenty of ways to clear your SD card, and we will show you how to get photos off an SD card. We’ll also show you how to fix faulty SD cards and corrupted pictures.
How to Get Photos off an SD Card to Your Computer
Most laptops and a handful of desktops have a built-in SD card adapter, which makes SD card file transfer incredibly easy. If you don’t have one, you can also use a third-party SD card reader, and here’s what you’ll need to do to get photos off an SD card and onto a computer:
Step 1: Take the SD card out of the device and place it into the SD card adapter.
Step 2: Put the adapter into the laptop/PC.
Step 3: Navigate to File Explorer and double-click your SD card.
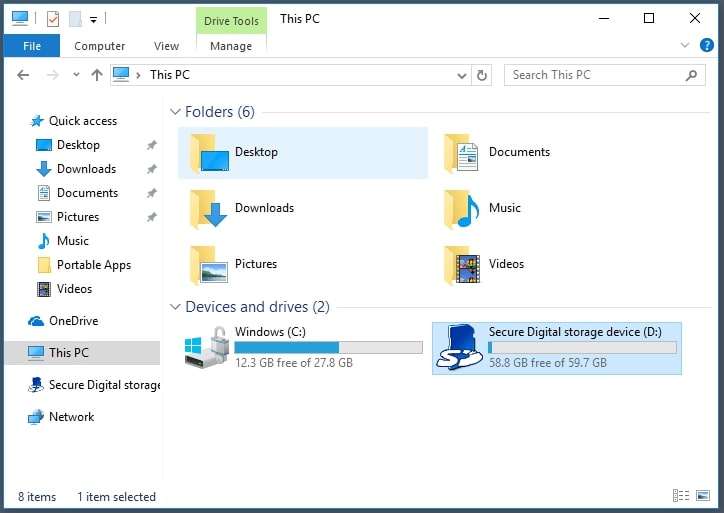
Step 4: Locate the photos you want to get off the SD card and then copy and paste them into a folder on your computer.
This method will require turning off your digital camera, physically removing the SD card, and putting it in the computer. However, SD cards on mobile phones will also show up in File Explorer if you connect the phone via a USB cable, making file transfers possible even without an SD card reader or adapter.
How to Get Photos off an SD Card to Your Mobile Device
Suppose you’re using the opposite process of getting computer files to a mobile device via an SD card or want to transfer your digital camera’s SD card photos to a mobile device. In that case, you’ll be pleased to learn that most Android devices have an SD card slot, requiring similar steps to the ones above.
Step 1: Turn off the device and put the SD card into your mobile device’s tray.
Step 2: Turn on the device, and it should immediately recognize the SD card and its contents.
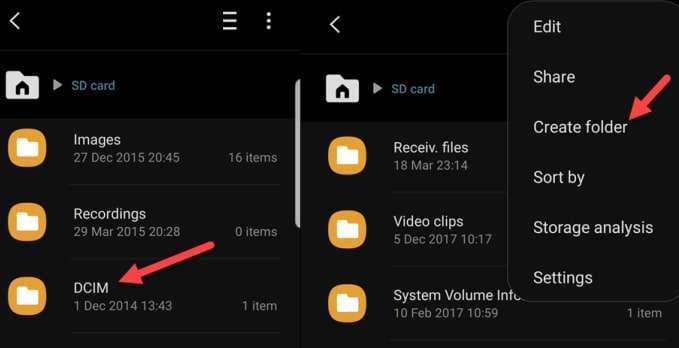
Step 3: Open the File Manager app and navigate to your SD card’s photos.
Step 4: Select the pictures you want to transfer, choose to copy or move them, and then select a folder under Internal Storage (like Photos, Pictures, or DCIM) to transfer to. You can also create a new folder.
Unlike many Androids, iPhones and iPads don’t have an SD card slot. Therefore, you’ll need an intermediary PC or Mac and a USB or Lightning cable to get the photos off an SD card and onto an iOS device.
How to Transfer SD Card Photos Using Dr.Fone
Transferring SD card photos from a phone to a PC is even more straightforward as dedicated file transfer apps simplify the process. Wondershare Dr.Fone is one such app, and using it is remarkably simple. Here’s what you’ll need to do:
Step 1: Launch Dr.Fone on your PC and connect your Android device via a USB cable (you should select the file transfer option on your phone.)
Step 2: Once your phone is detected in the app, select the Export all data option at the bottom half of the screen.
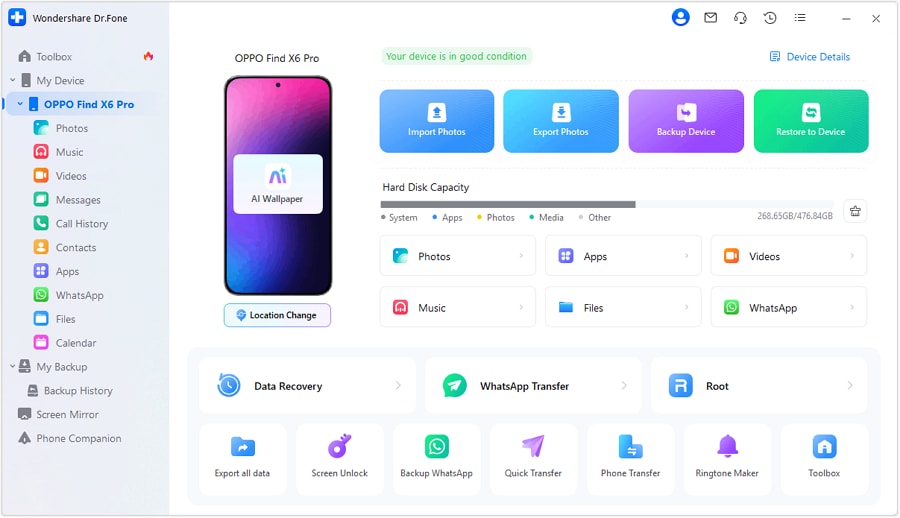
Step 3: Choose which file types to transfer (select Photos in this case) and hit Export.
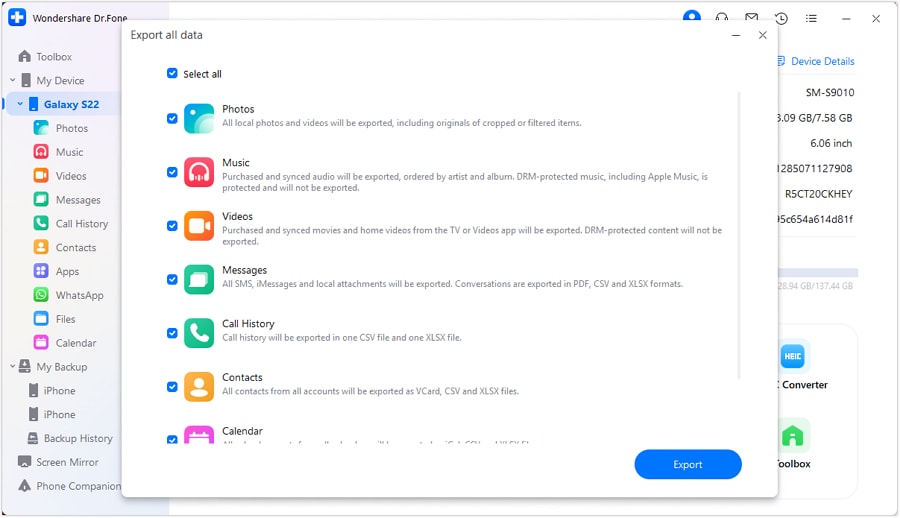
Step 4: Your Android will start exporting its data to the PC. Once finished, click Open in Folder to see where your SD card photos were transferred.

That’s all you need to do, as file transfers with Wondershare Dr.Fone are incredibly straightforward. Your photos will be safe in a folder on your computer in just a few minutes and steps.
How to Transfer SD Card Photos Using OneDrive
Another excellent way to transfer SD card files is with Microsoft’s built-in OneDrive, which synchronizes your data across different Microsoft devices. However, using it also requires an SD card reader or adapter. Here’s how you can do that:
Step 1: Insert the SD card into the adapter/reader.
Step 2: Open the OneDrive app and log into your account.
Step 3: Once the OneDrive folder opens, copy and paste your images from the SD card into the opened folder.
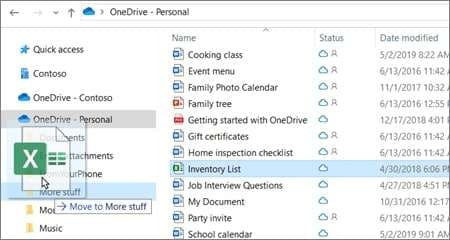
Alternatively, you can use the OneDrive website. After logging in, navigate to My Files > Upload and select your SD card’s photos to upload them onto the OneDrive server.
How to Transfer Photos off an SD Card Using AutoPlay
Windows computers have a fantastic automatic device detection feature called AutoPlay. On most Windows machines, it’ll pop up immediately after you insert a DVD, a USB device, or, in this case, an SD card. You can also enable it manually and use it by following these steps:
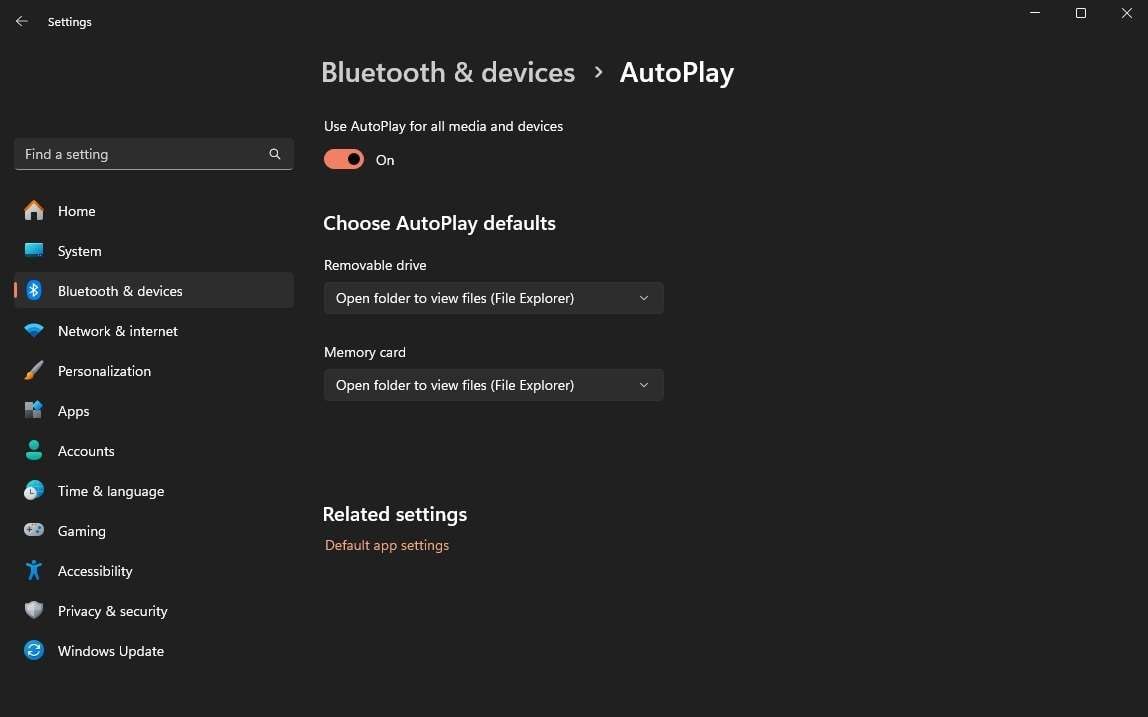
Step 1: Navigate to Settings > Bluetooth & devices > AutoPlay and ensure the feature is turned on.
Step 2: Insert your SD card through the adapter or card reader.
Step 3: Once AutoPlay pops up, select the “Open folder to view files” option (“Import pictures” is another fantastic option that uses the Gallery app on your Windows machine.)
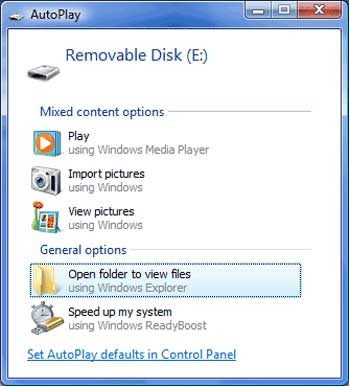
Step 4: Browse the SD card’s files, choose the ones you want to transfer, copy them, and paste them into a folder on your PC.
It’s worth noting that the AutoPlay feature on Windows 11 can be configured to invoke different actions for SD cards and USB drives, which you can change during the first step.
Tips for Managing Photos on SD Cards
Now that we know more about the numerous ways of getting photos off an SD card and onto a PC or mobile phone, we can also delve into a few helpful ways for managing SD card photos in the future. Below is a list of tips for top-tier SD card management:
- Use a proper, high-class SD card for storing vital data;
- Use camera-grade SD cards for digital cameras;
- Safely eject the SD card before removing it;
- Regularly transfer your files to prevent running out of storage space;
- Frequently format the SD card to avoid corruption;
- Use dedicated file transfer apps like Wondershare Dr.Fone to avert file transfer failure;
- Keep your computer and phone up-to-date to prevent software bugs;
- Use an antivirus tool to avoid photo corruption caused by viruses or malware.
There’s no reason to fear if these helpful tips came in too late and your SD card pictures were already corrupted. Although you might feel overwhelmed and afraid for your precious memories, there are solutions to this problem.
How to Fix Corrupted SD Card Pictures
Whether we’re talking about improper device use, malware, or constant reading and writing that may create bad sectors, SD cards are highly prone to corruption. What’s worse is that getting photos off a corrupted SD card is far more challenging than with a healthy storage device, but it’s not impossible.
Solutions like Wondershare Repairit have gotten incredibly efficient at their jobs, making it possible to effortlessly handle faulty SD cards and fix corrupted photos off such a device. Advanced AI algorithms fuel the app, allowing it to quickly repair pictures, whether you’re dealing with corruption, bad sectors, interrupted file transfers, damaged headers, formatted photos, etc.
Repair damaged photos, videos, files, audio in most of corruption scenarios, such as hard disk crashes & bad sectors, virus attacks & tojan horse, software corruption & malfunctions, improper shutdown procedure, etc.

Using Wondershare Repairit is also incredibly straightforward and only requires a few steps. Here’s what you’ll need to do to fix corrupted SD card pictures with Wondershare Repairit:
Step 1: Open the app on your PC.
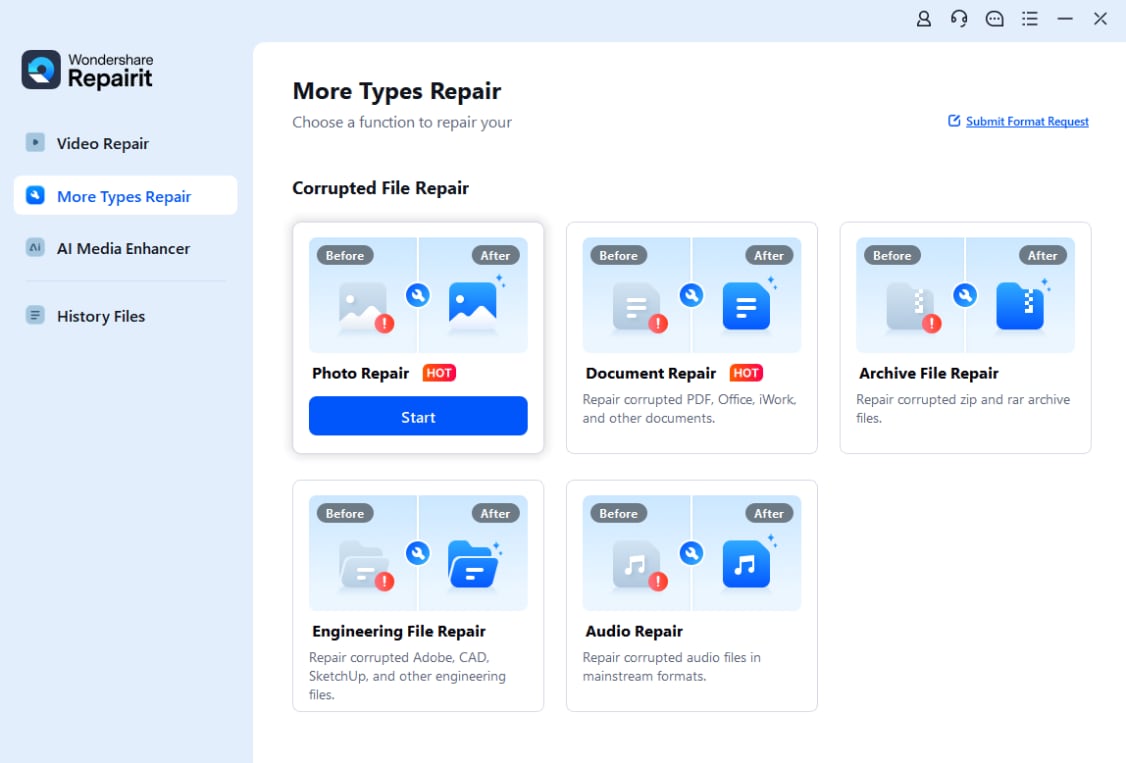
Step 2: Click More Types Repair on the left side and then select Photo Repair.
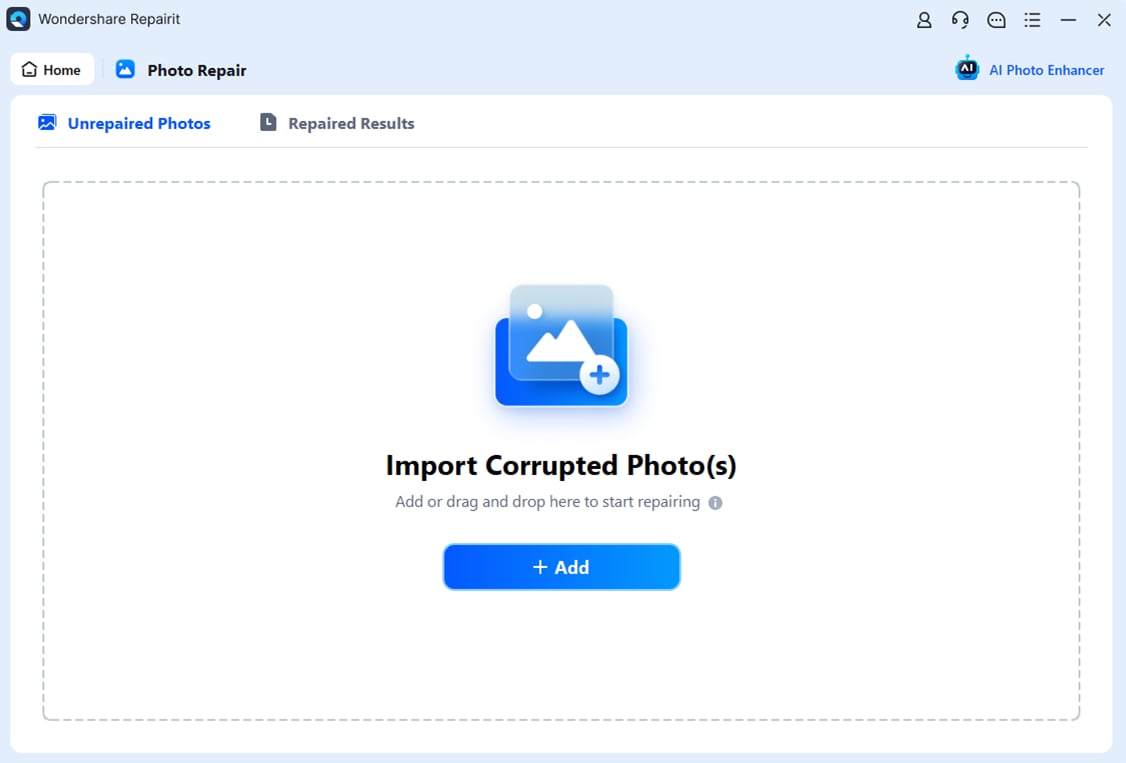
Step 3: Tap on Add to import corrupted photos to the app.
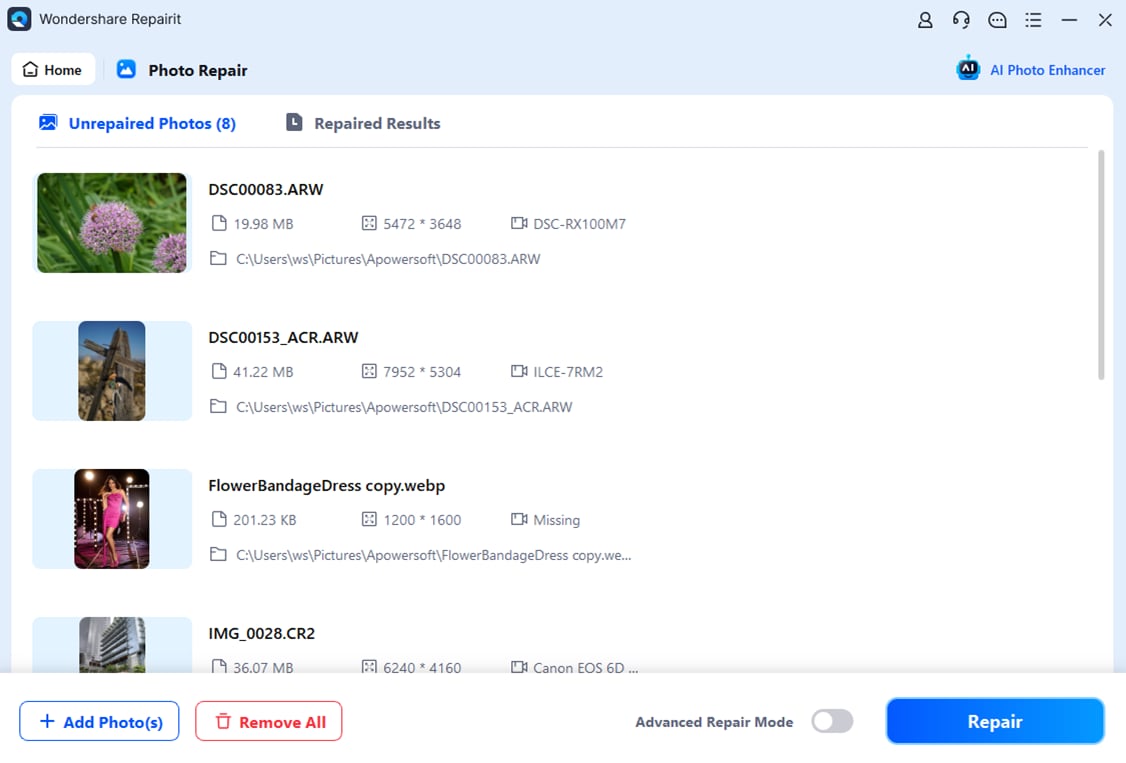
Step 4: Click Repair to initiate the application’s image repair process.
Step 5: Tap OK when the app finishes repairing. You can then preview the finished files by clicking the Preview button.
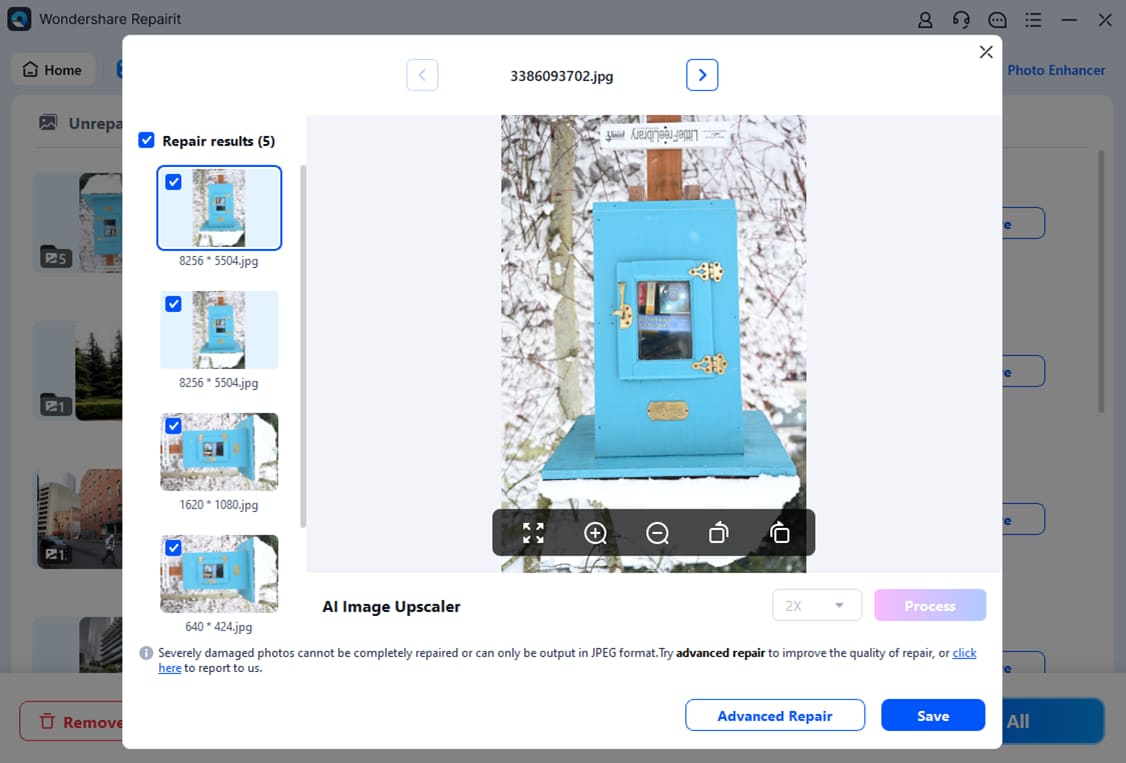
Step 6: When ready, hit Save and choose a location where to save the repaired images.
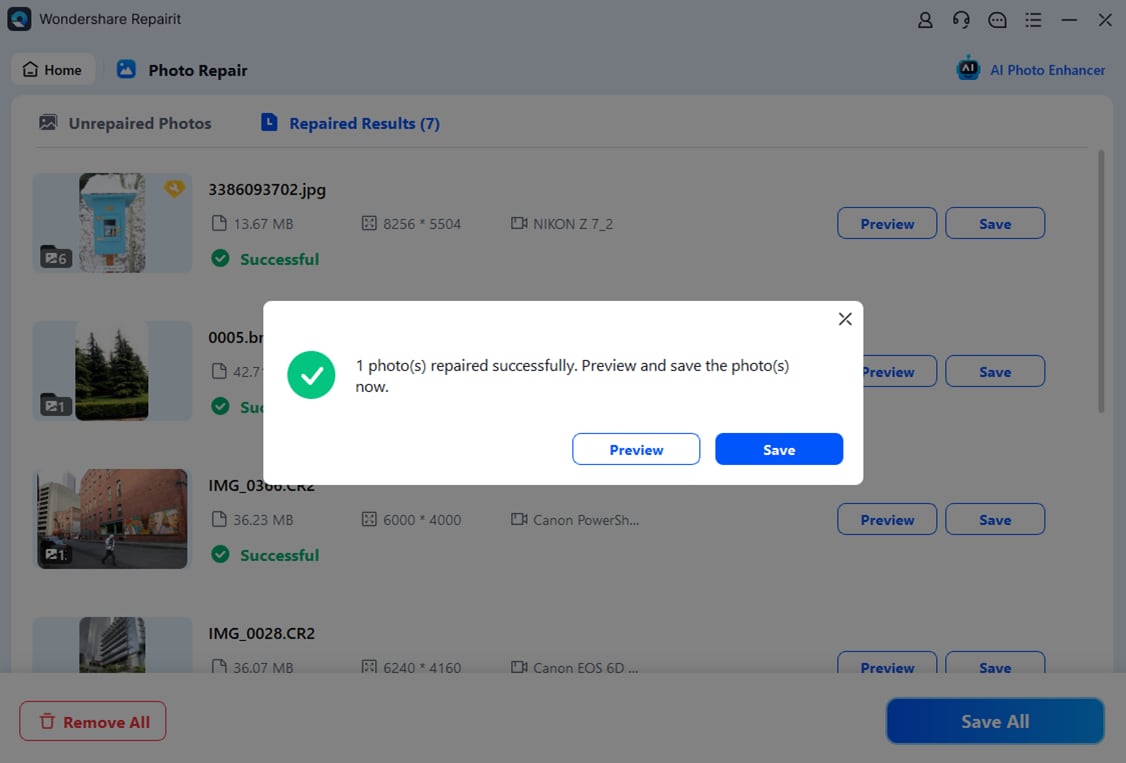
If Wondershare Repairit’s Photo Repair feature doesn’t get the job done the first time, you can use the application’s Advanced Photo Repair, which will undoubtedly fix even the heaviest types of file corruption.
Select the option during the preview step, add a sample image (a file of the same format) to help the app’s repair feature, and give the app a moment to handle your photos.
The AI Image Upscaler feature is also worth mentioning, as it can effortlessly enlarge your photos using advanced AI algorithms by 2X, 4X, or even 8X. This option is also available during the photo preview stage, so give it a try and see how it makes your stunning images even better.
Conclusion
SD cards are an excellent way to store pictures on digital cameras and mobile devices. They’re small, relatively fast, and can handle dozens of gigabytes of data. Transferring files from these tiny storage devices is incredibly straightforward.
You can do it with an SD card reader or adapter through File Explorer, OneDrive, and AutoPlay on Windows or the File Manager app on Android. Third-party apps like Wondershare Dr.Fone are an even better option for quick and effortless file transfers.
However, SD cards are also prone to corruption, primarily when mismanaged. Viruses, malware, software bugs, excessive reading and writing, unformatted SD cards, and improper ejection can all corrupt your SD card’s pictures. In that case, you’ll need a dedicated file repair solution like Wondershare Repairit to repair your photos safely.


