A number of file formats are used in the digital photography domain, like PNG, JPG, PSD, RAW, and more. DNG is one of such formats. It stands for Digital Negative. This photo format holds the uncompressed form of the images a camera takes, thereby preserving the best quality of the original photo.
The DNG image allows you to edit your pictures and share them without affecting their quality. Like any other picture format, DNG is also prone to corruption. There could be many reasons behind the damaged DNG photos. We will discuss them later in this guide.
Is your DNG image corrupted? Do you need help with how to get it back? Though it seems like a challenging job, there is always a solution to the problem. This article highlights the leading reasons behind DNG corruption and presents an authentic solution to perform a safe and quick DNG repair. Let’s get today’s discussion started.
Part 1. The Main Causes of DNG File Corruption
Before we move toward repairing corrupted DNG files, it is more important to get familiar with the leading reasons associated with this problem. Below is a list of the most common issues that result in DNG file corruption.
The corruption of your DNG image can prove to be a real bummer, especially while working in the professional field. Before looking at"DNG image data corrupted fix"methods, it is essential to understand the causes behind the issue as well. Below are the potential reasons for the issue to occur.
1. Camera Mishandling
It is very important to handle your camera perfectly when capturing photos. Don’t take pictures when the battery is low. At the same time, if you don’t have enough space on the storage device, avoid storing more pictures, as it may corrupt your DNG images in no time.
2. Outdated Drivers
If the driver software is not updated, or the drive is outdated, it can cause file corruption. If the file is missing proper codecs or they are not properly installed and updated, it can cause problems while previewing the file.
3. Hardware Problems
A reason for file corruption may be in the hardware itself. Hardware crashes and mechanical failures are among the major causes of data corruption. Frequent failures of the hardware components can badly affect the data or photos stored on your system, which leads to damage or corruption.
4. Virus Attacks
Another leading reason why your DNG photo gets corrupted is a virus attack. These attacks not only corrupt the data but also affect your system’s performance badly. A virus attack is one of the most common problems that makes your photos inaccessible.
5. Interruption During File Transfer
A couple of things can cause interruptions. When they occur while transferring your pictures from one device to another, your photos will likely get corrupted, faded, grainy, or damaged. Similarly, any sort of interruption when downloading your DNG photo can cause corruption. Therefore, you must have to ensure that no interruption occurs while transferring or downloading a DNG file.
6. Mistyping the File Name
Your DNG picture can also become inaccessible if you have mistyped the file name mistakenly. Similarly, assigning your photo a wrong name can also produce the same results.
Part 2: How to Repair Corrupt DNG Images Online/iPhone/Android?
You are now familiar with the major reasons for DNG file corruption. This section will help you learn how to perform a quick DNG repair safely.
Have you got some corrupted DNG photos? Are you concerned about getting them back instantly? Worried about losing their original integrity? Stay calm, as Wondershare Repairit Online Photo Repair is an effective utility designed to fix your damaged, broken, or corrupted DNG pictures.
The incorporation of advanced AI algorithms into Repairit Photo Repair has made it a top choice for millions of global users. Let’s look at some of its prominent features that have helped users trust this tool.
Wondershare Repairit Online
-
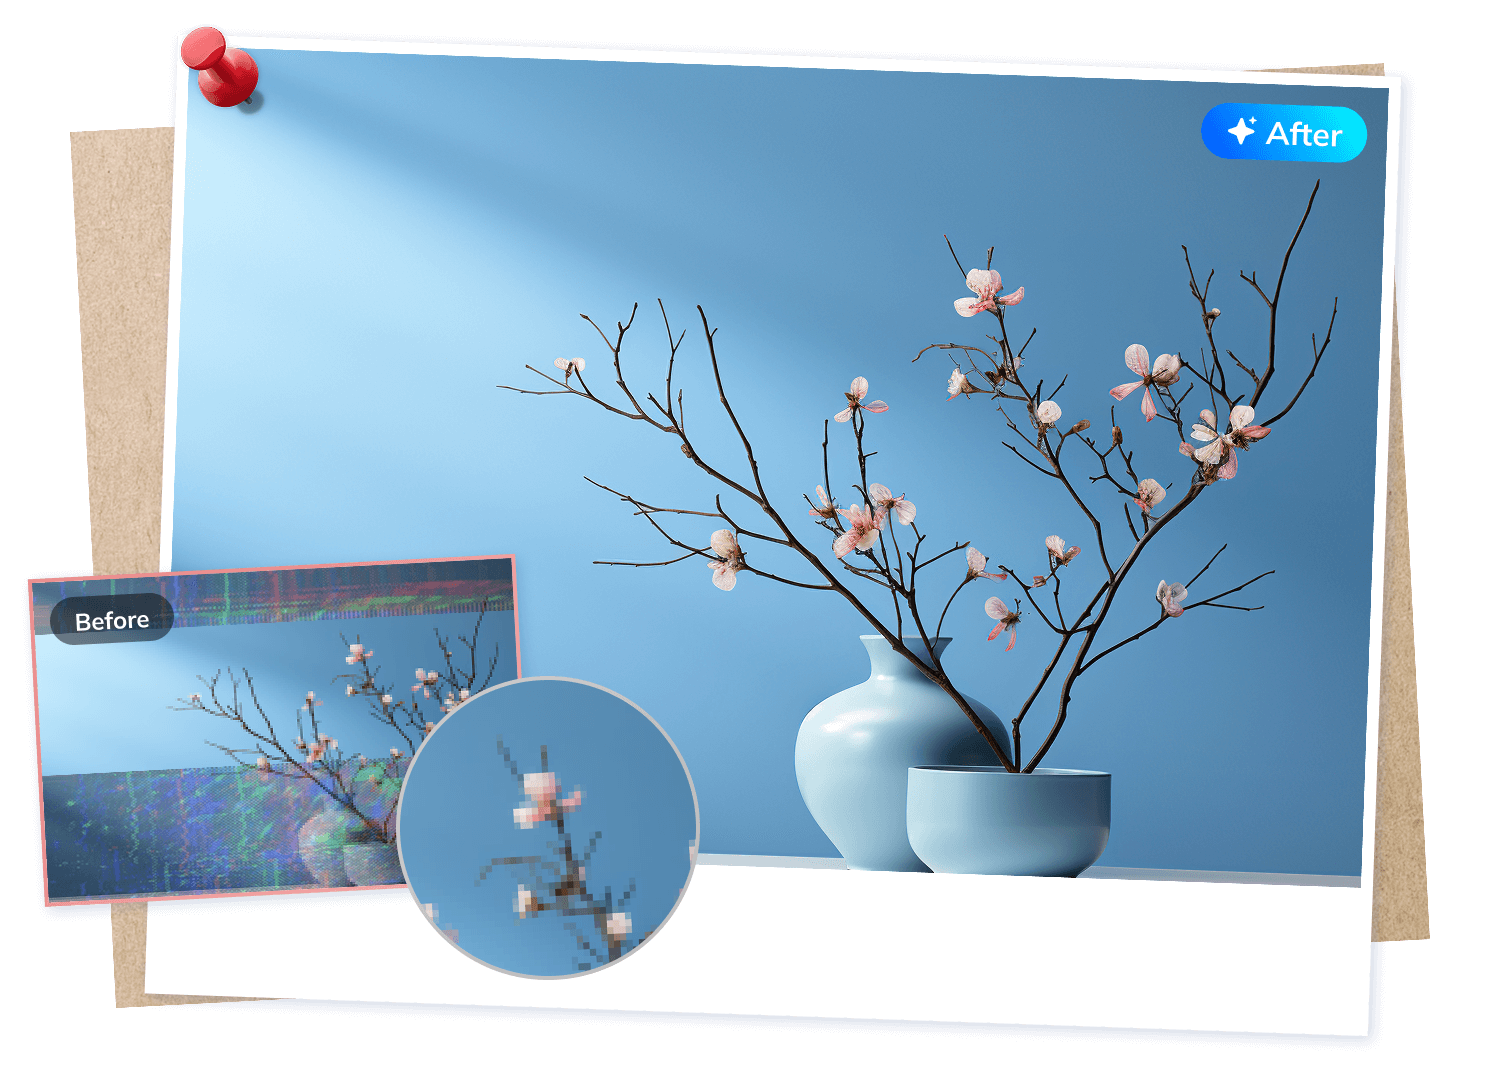
Fix any level of corruption with a very high success rate: photos pixelated, covered with grey areas, cannot be opened, etc.
-
It supports customers repairing 300 photos per month and supports each photo of 300M online.
-
Repair critically damaged or corrupted photos available on SD cards, phones, cameras, USB flash drives, and more.
-
The online version supports various photo formats: JPEG/JPG/CR3/CR2/NEF/NRW/RAF/DNG/TIF/TIFF.
-
The "AI Image Upscaler" feature can enlarge the repaired photos to 2X, 4X, and 8X.
-
Security enough: files are transferred via a 2048-bit encrypted connection and deleted after 3 hours.
-
It fixes photos online without damaging the original quality or integrity.
A Step-By-Step Guide to Performing a DNG Repair with Repairit Online
Here, you will learn how Repairit Online Photo Repair can lend you a helping hand when fixing the DNG file corruption problem. Below are a few steps you need to follow to get over the line. Before you go ahead, open the website of Repairit Online Photo Repair.
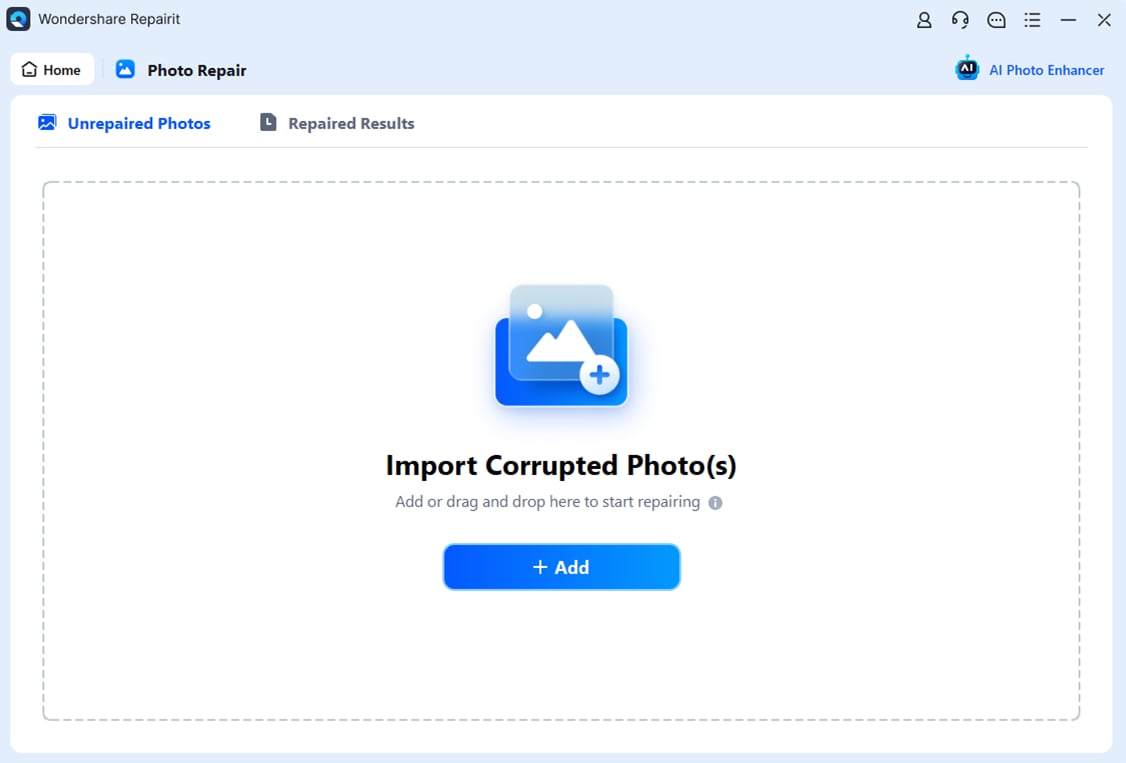
Step 1: Hit the “+Add” button to load your corrupted DNG images into the online program. Alternatively, you can also drag and drop your corrupted images to the upload section.
Step 2: Repairit will display all the details of the uploaded photos on the user interface, as shown in the image below. Go to the bottom-right corner and tap on the “Repair” button. Doing this will initiate the DNG repair process.
Note: In case your DNG images are severely corrupted, and the quick repair feature can’t fix them, this is where you should benefit from the Advanced Repair feature of Repairit. To fix file corruption in the advanced mode, tap on the “Upload Sample Photo” button. Make sure the sample picture should be of the same format or captured from the same device.
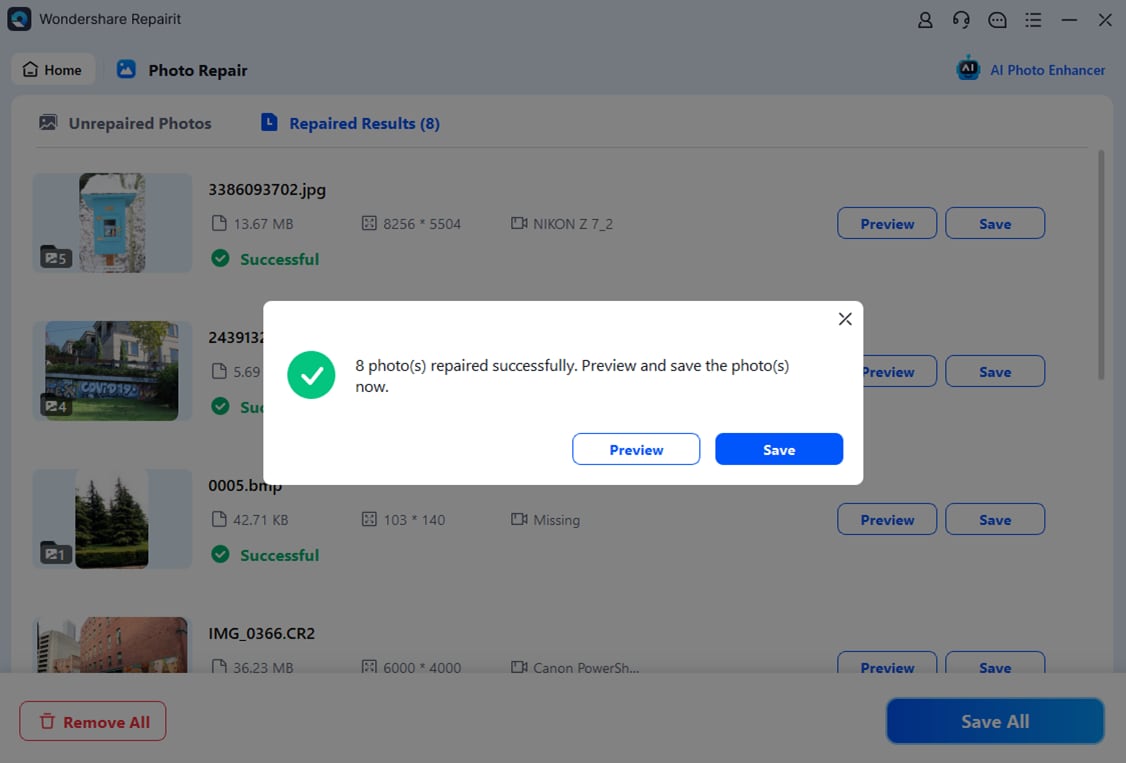
Step 3: This step asks you to preview the DNG photo once it is repaired. Doing this is a must to ensure the photo repair process has done a satisfactory job. Click the “eye” icon to open the repaired photo.
If you are happy with the repaired file, hit the “download” icon and save it on your computer, Android, or iPhone. If Repairit has repaired multiple DNG photos for you, tap on the “Download All” button to save them all at once.
Step 4: Upscale the repaired photo (optional)
Before saving the repaired photos, you can also enlarge the repaired photo with the new feature "AI Image Upscaler", just open the repaired photo and choose the process mode "2x","4x", or "8x", then click the "Process" button.
Attention:
If your corrupted photo is larger than 300MB, or the photo format you can try the online version of Repairit Photo Repair to get your photo repaired online with ease.
Part 3: Common Measures to Fix DNG Images Corruption Issues on a Computer
Method 1: Execute a System File Check Command
To repair your corrupted DNG file, you can manually execute a System File Checker. The utility is specifically designed in Windows to solve your data corruption-related problems. To run a System File Check, follow the steps given below.
1. To begin with, press the Window key.
2. In the search box, type "command prompt" or simply "cmd".
3. When you see the "Command Prompt" option listed, right-click on it.
4. From the drop-down menu, choose "Run as administrator".
5. As soon as the cmd window gets opened, type the “sfc/scannow” command. Then, press the “Enter” key, let your Windows search for system files, and fix the corrupted ones.
6. Once the process is completed, a completed message will be displayed.
The file check will hopefully be able to repair any corrupt files found on the system, including DNG files. If this method fails to work, you can try the next one.
Method 2: Update Driver Software
Another method to view your DNG files in Windows is by updating the drivers. Outdated drivers are one of the major reasons for causing errors and file corruption. Following the simple proceeding steps will let you update the drivers of your Windows and hopefully eradicate all the errors and corruption messages in DNG files.
1. Press the “Windows” key or click on the “Start” button.
2. Now, write “Device Manager” in the search area and hit the “Enter” key, as shown below.
3. A new window will pop up. Find your device’s name over there and expand.
4. Right-click on the driver and select the “Update Driver” option from the list, as shown below.
5. In the emerging dialogue box, select the option that reads as "Search automatically for updated driver software". This will enable Windows to update the drivers whenever a new version is available automatically.
7. Click on "OK" and check if the issue has been resolved.
Method 3: Restore System to a Previous Version
A system restore can prove greatly effective in solving a number of your problems. If you wish to repair your corrupted DNG file, follow these steps.
1. First of all, restart your computer and sign in as an Administrator.
2. Now, hit the “Windows” key on your keyboard.
3. Type “System Restore” in the search area and choose the “Create a Restore Point” option.
4. Switch to the “System Protection” tab and tap on the “Configure” button, as shown below.
5. Now, you will see another window on your screen. From there, click on the “Turn on system protection” option.
6. Keep following the instructions you see on your screen. Then, choose a particular restore point.
7. Hit the “Next” button. Now, wait for a while until the restore process is finished.
Related:
Here are the useful guide to help you:
1. Repair Corrupted JPEG Photos.
2. Common Digital Camera Errors.
3. Fix Overexposed Photos.
Part 4: Why Use Professional Photo Repair Software?
Well, a professional tool makes it very easy for you to repair corrupted DNG photos and other data files. Once you have purchased such a utility, you can repair as many photos as you want.
It is a cost-effective solution compared to hiring professional online photo repair services because these services will cost you every time you need to fix issues.
On the other hand, paying a one-time amount for a professional tool will enable you to fix many pictures. Such tools offer different plans with different amounts and features, so you can choose the package that best matches your needs.
Moreover, a photo repair tool is an ideal choice for beginners and other people who don’t know how to repair corrupted DNG images without losing their quality and originality.
Conclusion
DNG is a known photo format being used worldwide. It preserves the picture data in an uncompressed form. This file format is sensitive to corruption like other photo formats, i.e., PNG, PSD, JPEG, and more. Many people face DNG file corruption across the globe. If you are the one, don’t worry. You can perform a system restore, run a system file checker, or update drivers to make your DNG images accessible.
If you are on the hunt for a reliable DNG repair tool, try none other than Wondershare Repairit Online Photo Repair. You can access it online from anywhere in no time and fix the corruption problem within minutes. If you are concerned about whether or not this tool will be worth it, try its free trial in the beginning. Repairit uses AI technology to restore your inaccessible DNG photos and guarantees safe recovery.
People Also Ask
-
1. How do I open a DNG file in Windows 10?
Simply double-click on the DNG file to open it. Windows will suggest a list of programs that can support the file so that you can open it easily. Several different viewers are compatible with the DNG format. -
2. How do I view DNG files on Android?
Various software and programs are available on Android to open DNG files. You can open DNG files using Adobe Photoshop or other applications that can be installed on your device. -
3. How do you convert DNG to Raw?
You can convert DNG format to RAW using several third-party tools. These tools are easily available online to assist you in this regard.