

 TL;DR:
To fix bad photos effectively, correct in-camera settings like white balance and exposure compensation during the shoot, or utilize Wondershare Repairit to restore already corrupted or poor-quality images.
● Wondershare Repairit repairs over 15 image formats including JPG, CR3, and NEF across Windows 7 to 11 and macOS 10.10 to 14, offering an AI Image Upscaler for up to 8X enlargement and an online alternative limited to files under 300MB.
● When shooting in semi-automatic camera settings, apply the exposure compensation scale from -3 to +3 to adjust background lighting without altering your depth of field, as this function is disabled in manual mode.
● Prevent baseline image quality issues during capture by keeping ISO levels low to reduce digital noise and utilizing aperture priority paired with a tripod to avoid camera shake in low-light environments.
Ask AI for a summary
 ChatGPT
 Perplexity
 Gemini
 Claude
 Grok
Grok
So many people are taking pictures today more than ever. Most of the time, it is for sharing online and for photo albums. There are varying reasons why your photos are not turning out excellent. Most people blame it on the camera, but sometimes, the camera's not at fault.
There are varying steps you can take to fix bad photos and improve your images' quality. This article succinctly explains the best ways to fix bad photos. These tips will help you capture the world in breathtaking quality next time. Now that you're fully aware of what to expect, let's take a look at them.
Use Repairit to Fix Bad Photos Now
 Security Verified. Over 7,302,189 people have downloaded it.
Part 1: What Makes Photos Bad?
To know what makes photos bad, it is essential to first consider what a good picture is. Art is simply all about perception. A good photograph has all the features most people prefer in photos, while a lousy photo lacks many features. Therefore, with the idea of perspective in mind, below are some things that make photos bad.
1. Overediting
You can usually tell when a photo has been through the wringer in terms of photo processing. This error is common amongst new editors and is one of the reasons photos turn bad. Sometimes, the filters are too many or too strong. It could also be too much saturation used in the photos. Too much editing can cause an image to go bad after processing.
2. Poor print quality
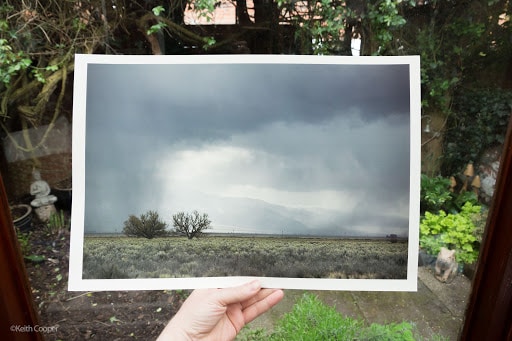
Another reason why photos get bad is because of poor print quality. Most people think all the work is in the editing, but it goes farther than that. If you really want your photos to turn out excellent, you need a top-quality printer that will do justice to your works. Most people go for cheap printers but end up printing out low-quality images, causing your photos to look bad.
3. Bad Composition
A bad composition is another factor that makes photos bad. Sometimes, the images are too zoomed up. Also, some subjects turn out badly frames and are one of the reasons you need to fix bad photos. If your photos have bad composition, then you need solutions.
4. Exposure
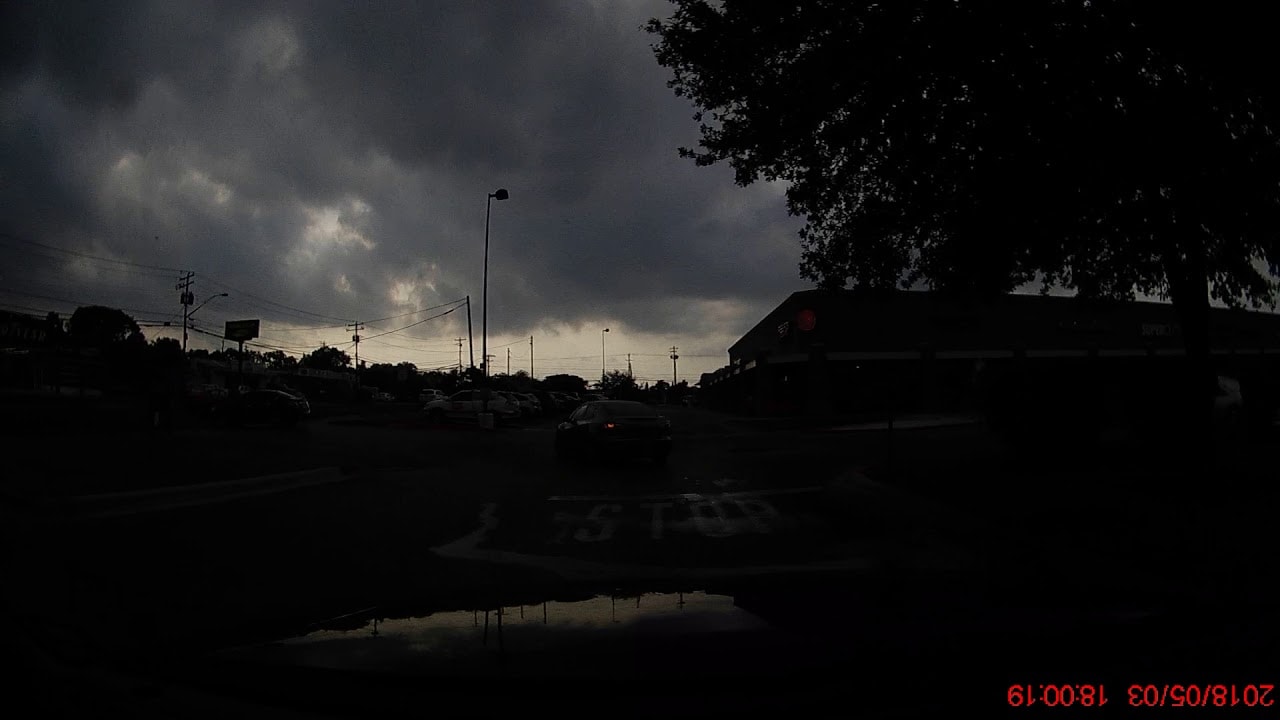
Sometimes, the exposure of your photos is what makes them bad. Some photos face overexposure which makes it hard to see vital details. Other times, photos suffer from underexposure which means they're too dark to note the details.
5. Blurry Photos
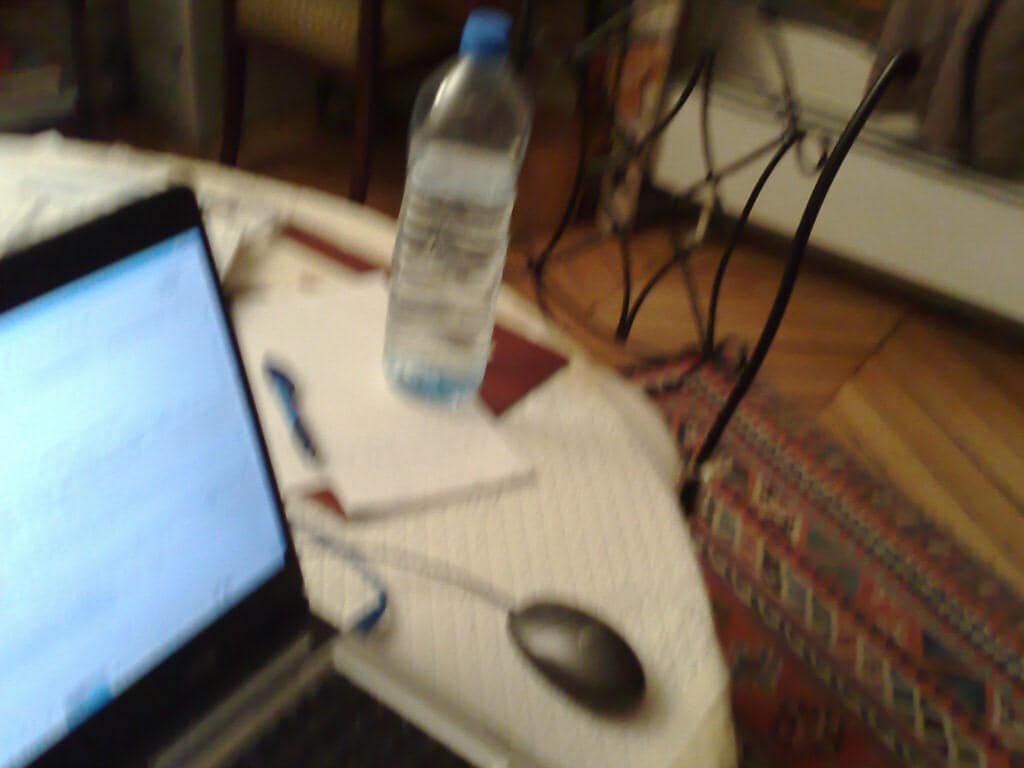
Another reason why your pictures are slow could be because the photos are blurry. This issue could be because of the camera or the subject. If there are fast movements when taking the shots, it could cause the photos to turn out blurry. Also, the problem could be a result of slow shutter speed. If you encounter this kind of problem, click here to know how to fix blurry pictures in detail.
Part 2: One-stop Way to Fix Bad Photos within Clicks
Now that you're aware of what makes photos bad, it's time to know how to fix bad photos and make the photos better. The easiest way you can use is to fix bad photos with a professional photo repair software, and one of the best photo repair software you can find is the Wondershare Repairit. It makes it relatively seamless to fix bad photos with several clicks, and the process only takes a few minutes to complete.

Wondershare Repairit - Photo Repair
Security Verified. Over 7,302,189 people have downloaded it.
-
Fix various damaged photo corruption errors, such as grainy photos, dark photos, pixelated photos, faded photos, etc.
-
Support 15+ different formats, such as JPG, JPEG, PNG, CR3, CR2, NEF, NRW, etc.
-
Repairit has a quick and advanced repairing mode. You can use either depending on the level of corruption the photos has undergone.
-
The "AI Image Upscaler" feature can enlarge the repaired photos to 2X, 4X, and 8X.
-
Intelligently restore old/scatched photo and colorize black and white photos with various AI effects.
-
No limit to the number and size of the damaged photos.
-
Support Windows 11/10/8/7/Vista, Windows Server 2003/2008/2012/2016/2019/2022, and macOS 10.10~macOS 14.
Below are the steps to fix bad photos using Wondershare Repairit.
Step 1: Launch the software and add photos
To begin, you need to download and launch Wondershare Repairit. Open it, choose "Photo Repair" from the "More Types Repair" section, then click the "+Add" button to upload the damaged photos.

Step 2: Repair photos
Next, you will have to pick the right photos that need repair. You can choose a single image or multiple images to repair at one. Next, click on the repair button after adding all the photos you want to repair. This 'repair' button is at the bottom left corner of the page

Step 3: Preview and save repaired photos
The repair process only takes a few minutes, and once it is complete, you can preview the repaired photos before saving them. If your files are satisfactory, click on "Save" and choose the save location.

Note: You can also enlarge the repaired photos to 2x, 4x, or 8x by using the "AI Image Upscaler" function.
What's more, if you're not satisfied with the repair, you can use the "Advanced Repair" feature to fix the files further.
Attention:
If you want to fix bad quality photo online and your bad photo is no more than 300MB, you can try the Repairit Photo Repair online free to fix bad photos online with ease. You can also enhance your photos in Repairit Online.
Part 3: Other 5 Ways You Can Try to Make Bad Photos Look Good
1. Get Basic Composition Down
Composition is one of the basic ideas of photography is composition. It is an essential aspect of photography that many photographers tend to overlook. Simply capturing the screen isn't enough, except you're doing a documentary in a conflict zone. Composition is what makes your photos interesting.
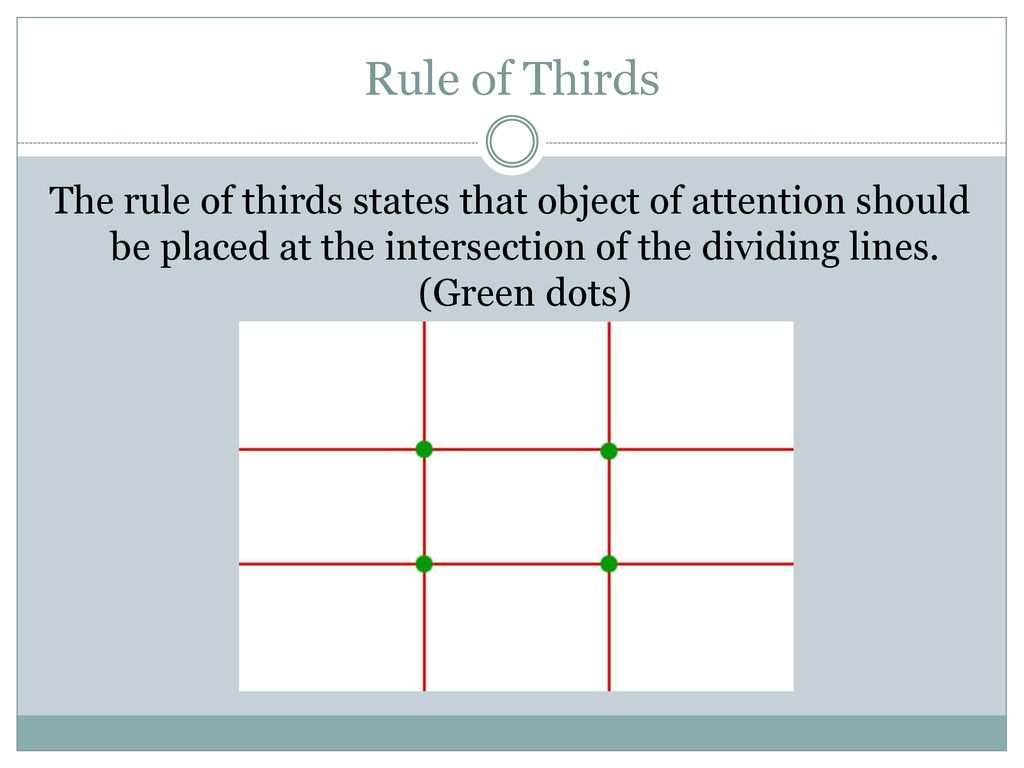
If you're want to fix bad photos, you need to know how to use composition to make your photo stand out. You know your composition is suitable when it's hard to tell it was your idea. You can utilize different compositions; lookout for the right one that'll help you fix bad photos.
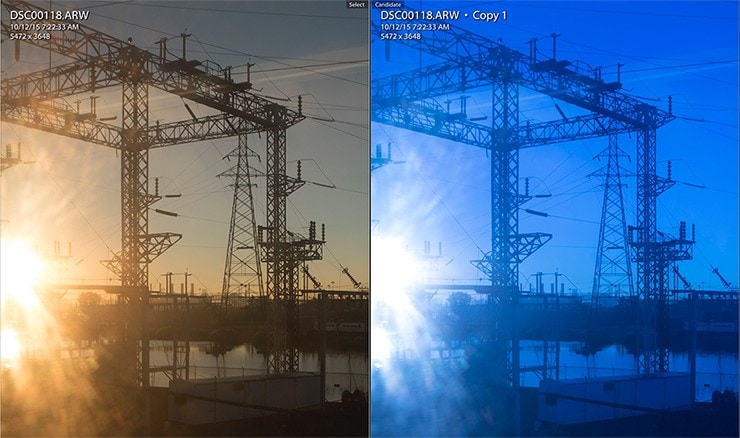
2. Reflect the Light Temperature through White Balance
Using white balance is crucial if you want your pictures to show a real environment. You have to make sure your whites are truly white, and the only way to achieve that is the right setting for your lights. Each light has a different temperature; learn about the different temperatures. Notably, the sun is warmer than the moon, but the moon is warmer than a clear blue sky. Understand and account for each temperature. Most people tend to go for automatic white balance that that won't give the best outcome. Fix White Balance on DNG often lure lots of concern, we've already written an article for you to read.
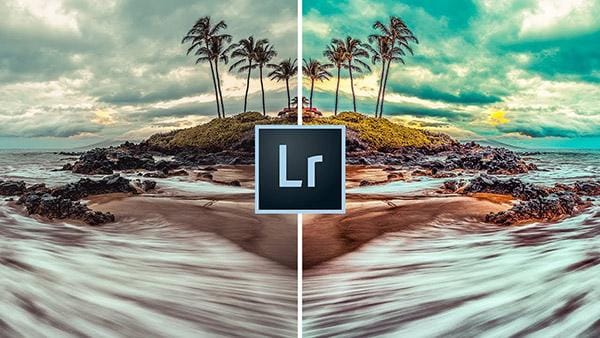
You can reflect the light temperature through white balance to fix bad photos in the camera setting. You can switch between flash, fluorescent, cloudy, tungsten, daylight, and shade in the settings. When you choose the setting that best reflects the light temperature, you'll get better photos. This feature comes in handy when your photos are in jpg format. Lightroom allows those editing raw images to play with the photo's white balance in the settings.
3. Use Exposure Compensation
This feature is not new in the photography world, but most photographers don't note it. Some of these photographers are unaware of this feature, while others don't understand how it works. When you take a photo using the semi-automatic setting in your camera, such as aperture, you can use exposure compensation. This feature allows you to touch up the exposure in your setting. This method is ideal because changing your settings could cause the camera metering away the scene. Also, using manual mode doesn't let photographers carry out exposure compensation.
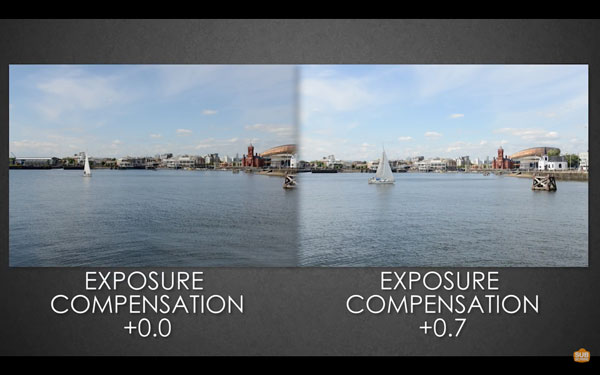
The exposure compensation scale is between -3 to +3. Your camera automatically sets it to 0. If you feel your background needs more light, you can simply set the value to +1, +2, or even +3. Increasing the exposure level to any of these values adds more stops of light to your background. Also, it makes it possible while still letting you keep your aperture, ISO, shutter speed, and depth of field. Exposure compensation is imperative to fix bad photos.
4. Change Your Perspective for More Varied Picture
Most photographers end up with bad photos because they don't consider perspectives when photographing. Most photographers simply hold out the camera at eye level and snap away at what's in front of them. This is because many people see the world like this, but it's an uninteresting view. The scenes in front of us need more interest, and one way to do this is by changing perspectives. When you change your perspective, you can view a typical scene in a new light. One perspective is through a worms' eye view, which is by getting on the ground. You can also shoot from a bird's eye view by getting above the scene. When you shoot an environment in varying ways, it can help fix bad photos. Show your creativity as a photographer by trying out various perspectives.
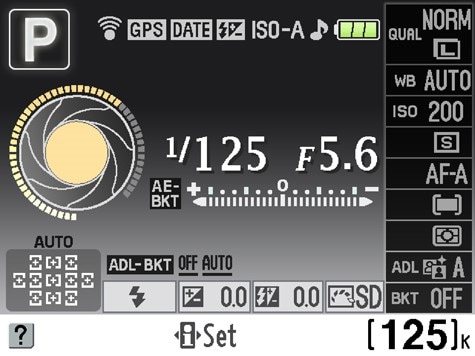
5. Select the Right Mode
There are different shooting modes, from automatic to specific scene modes, and you need to learn how to use them. Understand the difference between shutter priority and aperture priority. Shutter priority increases the speed with which you take the picture. Aperture priority is best for low light modes and ensures enough light is getting into the lens. Also, when shooting on a tripod, you can close the lens' iris to maximize the depth of field.
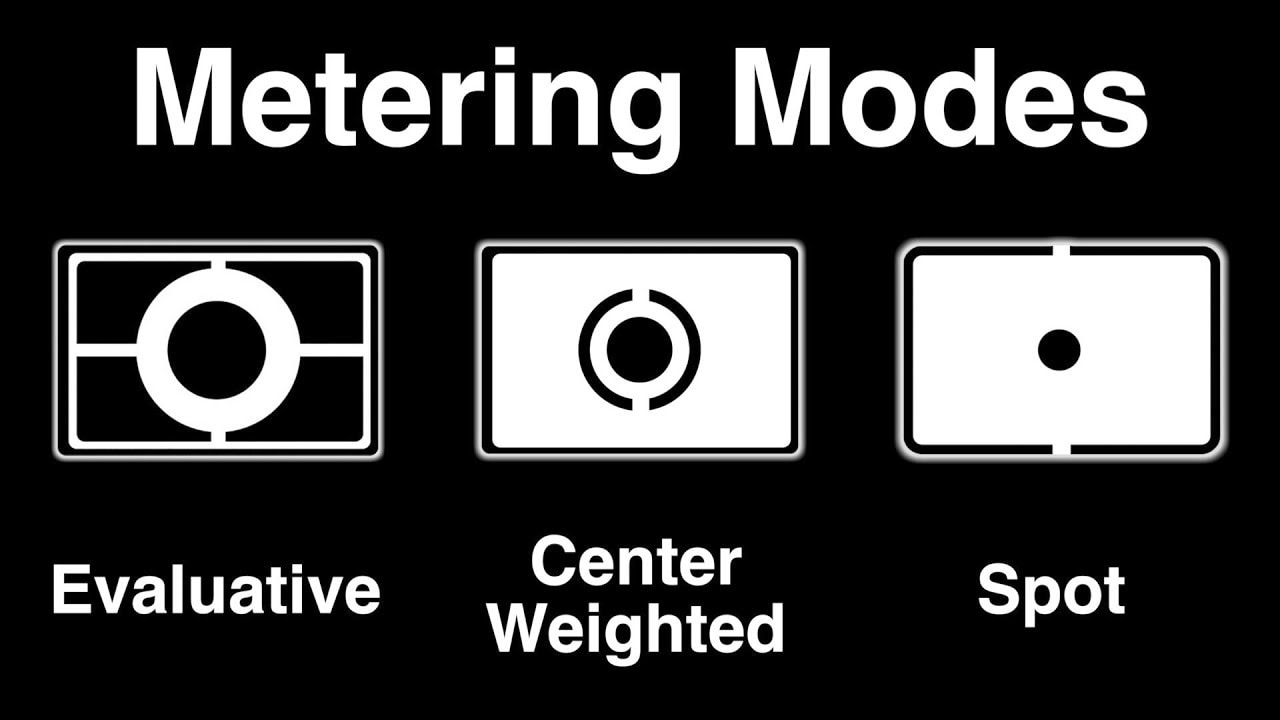
7. Use Metering Modes to Capture the Best Light
The settings you decide to photograph with should reflect your subjects and your scene. You should use a tripod when you want to shoot in a low light setting using a low ISO and slow shutter. Using a tripod helps to avoid the issue of camera shake.
Also, when you're shooting a moving sports car with aperture priority, the result will be blurry and unfocused images. If you want to fix bad photos, you need to fully understand the different camera modes and what they're best for. When you're shooting subjects that aren't moving, ensure you use aperture priority.
Using shutter speed priority enables you to select the shutter speed, and then the camera will appropriately set the aperture. Metering modes also come in handy when you're trying to capture the best light for your subject. Using the proper metering mode ensures you end up with incredible photos. It will also save you significant time otherwise spent shooting and editing.
Part 4: Avoid Excessive Troubles in the Future
You don't have to always look for ways to fix bad photos; you can avoid excessive troubles in the future. Below are several essential tips to help you avoid bad images next time.
1. Reduce the ISO
When you're shooting, take note of your ISO. When you increase the ISO, it tends to add more noise to your photos. To get the top quality from your photos, minimize the ISO.
2. Increase aperture
Every lens has a sweet spot. When you shoot at the aperture extreme ends, it tends to introduce imperfections.
3. Take note of the right exposure.
Although raw files can contain many adjustments, you can get better photos by taking note of the exposure. There is a specific limitation to how much you can tweak the exposure. Although you can fix underexposed photos in many ways, there'll always be the risk of unacceptable noise in your photos.
4. Relying on editing
Most photographers feel they are so good with editing applications that they don't need to worry much about the capturing process. However, getting top-quality photos is the best way to get them right when you take a shot. Take note of the exposure, white balance, noise potential, docus, and many more. Make this your objective, and you can take note of the finishing touches on your computer.
5. Increase shutter speed
Taking note of the shutter speed when shooting is also vital. When you use a low shutter speed, it can cause unwanted blur. Keep the shutter speed high to be able to shoot perfect photos successfully. It is a great way to perfect your focus. Nobody likes to get a blurry image, so take note of the shutter speed and learn how to use autofocus.

6. Understand white balance
White balance differentiates natural-looking images from horrible colors. Learn how to correct white balance when it's wrong to be able to avoid having bad photos. Learning how to fix white balance will help you show the real environment you're shooting.
Further Reading:
Here are the useful articles to help you.
1. Full Guide to Repair Damaged Photos.
2. Repair Low-resolution Photos.
3. Fix Overexposed Photos.
Closing Word
If you understand photography basics, but you're still having issues with the image quality, you need to learn how to fix bad photos. This article explores the settings you need to be able to achieve the best quality from your photos. We also explore why your photos may be bad and the best ways to avoid ending up with bad photos.
The best part is you can always use the Wondershare Repairit software to fix bad photos, whether they're corrupted or need a few touchups. These crucial tips will help you get the best quality from your photos and ensure you take top-quality images that don't need fixing next time.
FAQs
-
How do you make bad-quality photos look good?
You can follow any of the vital tips above to help bad-quality images look good. Some ways include correcting white balance, using exposure compensation, and understanding the different metering modes. -
How can I make my photo look better?
Many things could be making your photo look bad. However, take note of the lighting, the camera setting, and don’t rely so much on post-shooting editing as much as capturing the right features while shooting. -
How can I make a picture brighter?
You can brighten your picture through the editing software or on your computer among the settings in your image viewer.