
Unlike changing the background of a solid object, removing the background from a picture, especially a portrait with hair, can be challenging for editors, mainly beginners. They mostly perform this task using specialized editing tools like Photoshop, as it provides complete control over layers and a background eraser tool. However, the issue is people lack the awareness of using such tools since they require a steep learning curve.
Hence, the guide below will help you learn about the Photoshop remove background hair feature and its different modes and layers. Additionally, it will explore a simple alternative that can perform the same task in just a few steps.
In this article
Part 1. How to Remove Hair Background Using Photoshop Quick Action
Unlike other tools of Photoshop, using Quick Actions is seamless as it requires you to access it via Cmd/Ctrl + F key. Later, from the Remove Background feature, users can extract the backdrop in just a snap of finger by pressing the Apply button. The foremost aspect of this method is that it's simple and requires no manual hassle. So, to determine how to use this hair remove background feature, follow the given steps:
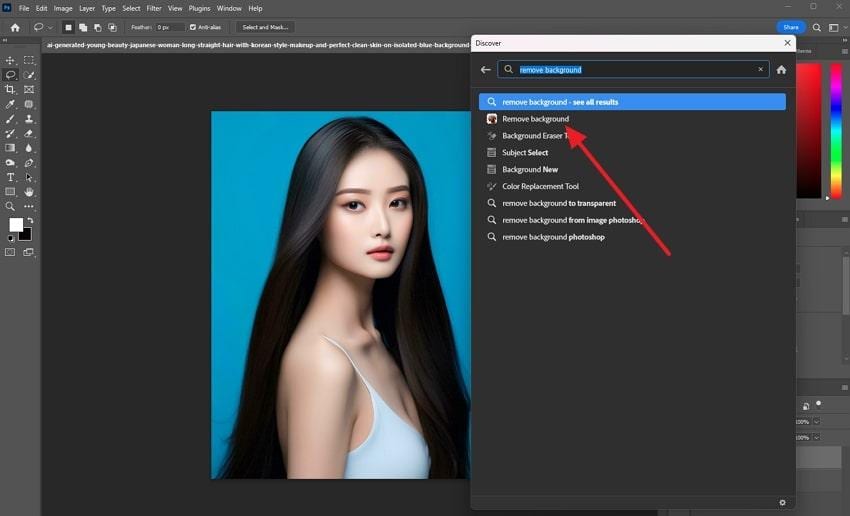
Step 1. On opening the image, press “Ctrl + F," and a new window will appear. Then, type and choose "Remove Background” in the search section.
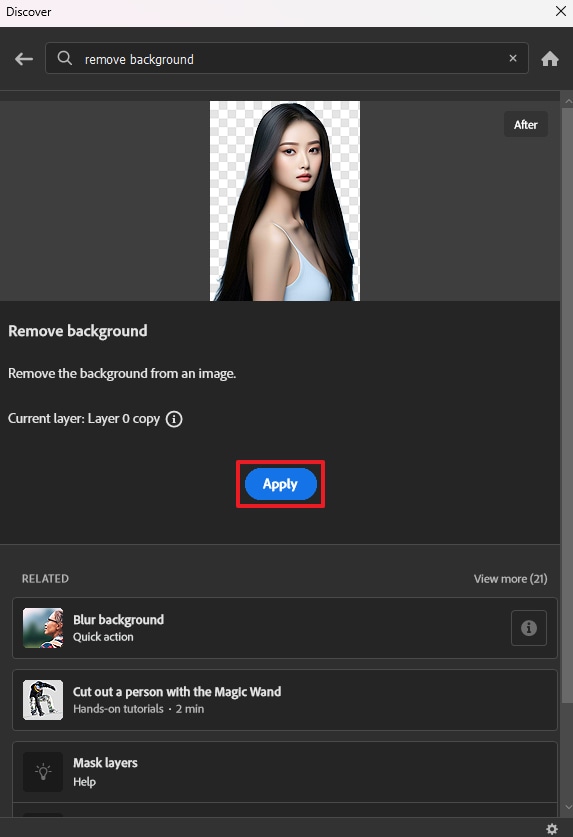
Step 2. On the new screen, hit the “Apply" button and wait till the background is removed from the hair image.
Part 2. How to Photoshop Remove Background Hair Using Select and Mask Tool
If you are looking for a manual to remove the background, use the Select and Mask tool that has features like Refine Edge Brush to clean the elements. Upon selecting the part to be extracted, this tool offers a Brush tool through which you can finalize and brush the minor details. Mainly, the Lasoo tool, a free-hand solution, enables you to select a certain backdrop for elimination through these steps:
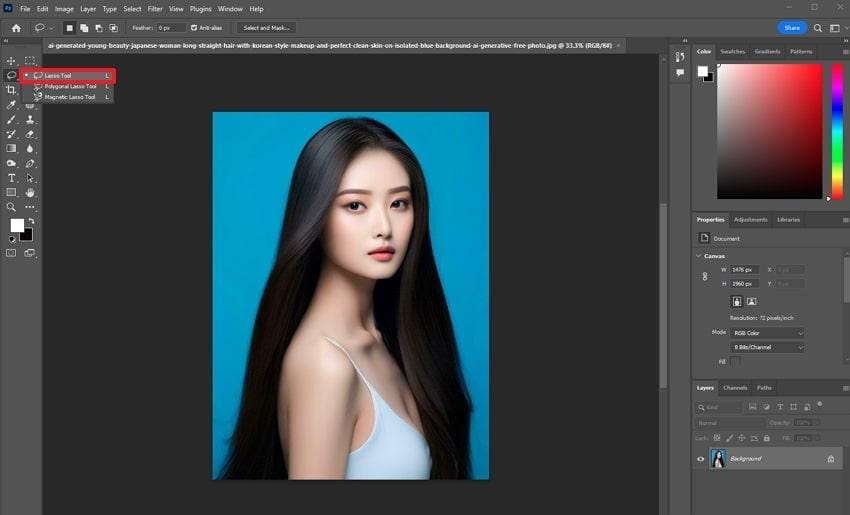
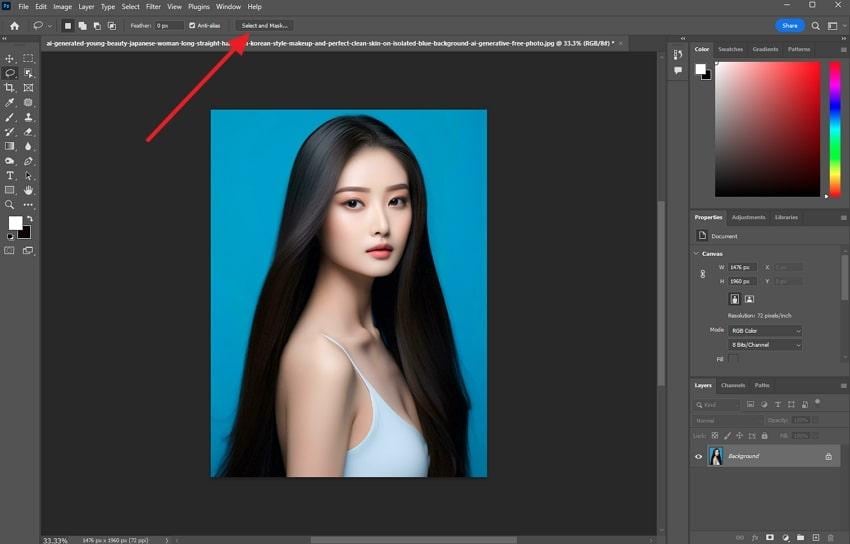
Step 1. From the features available in the left panel, select the “Lasso Tool” by pressing a secondary click on it.
Step 2. Now, choose the “Select and Mask” option from the top menu bar before you select the area to remove.
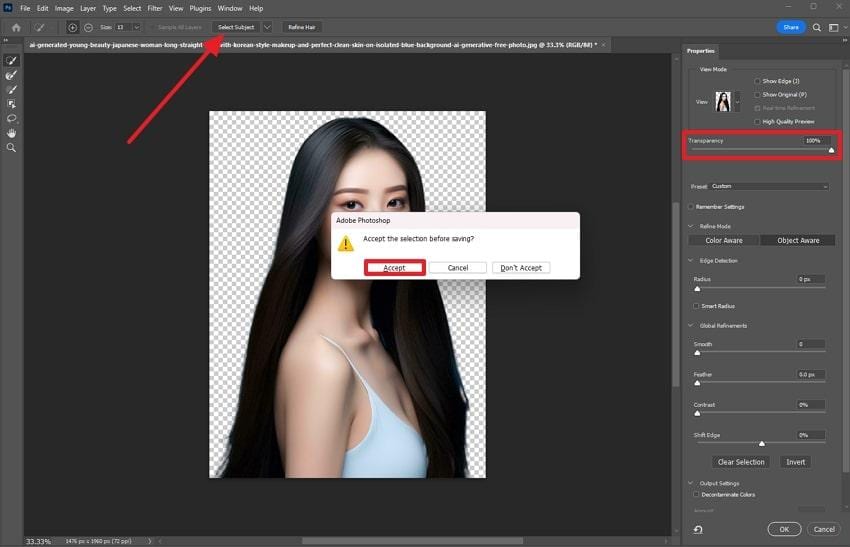
Step 3. After that, switch “Select and Mask” to “Select Subject” and set the “Transparency" to 100%. Then, press the "Accept” button and hit the “OK” button to remove the backdrop seamlessly.
Part 3. 3 Other Methods for Photoshop Remove Background Hair
While considering the methods given above, here are some other approaches offered by Photoshop to remove hair background:
Method 1. Hair Remove Background Using Channels in Photoshop
Using Channels to remove the hair background offers a contrast in different colors, creating a clear distinction between the foreground and the background. The user has to select a color that creates a prominent difference between them. You can create a precise layer mask by selecting the channel and making adjustments in the Levels panel. To implement the process of removing hair in Photoshop, follow the steps below:
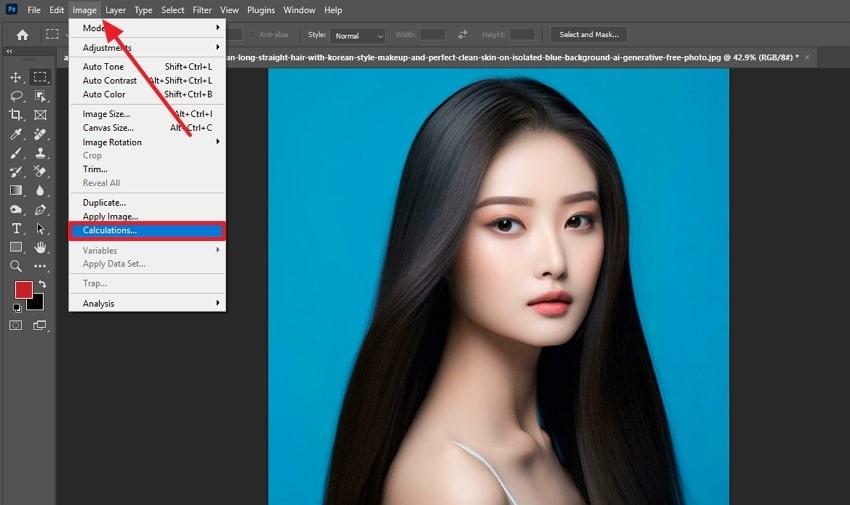
Step 1. Press the “Image” section on the top menu bar and then select the “Calculations” button from the drop-down menu.
Step 2. Then, ensure the Result is switched to "New Channel” and press the “OK” button.

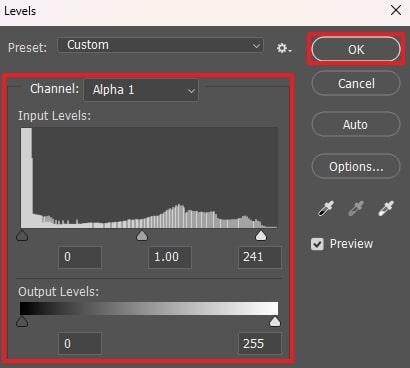
Step 3. Now press “Ctrl + L” and adjust the “Input Levels” and “Output Levels." Then, hit the "OK” button to make the changes happen.
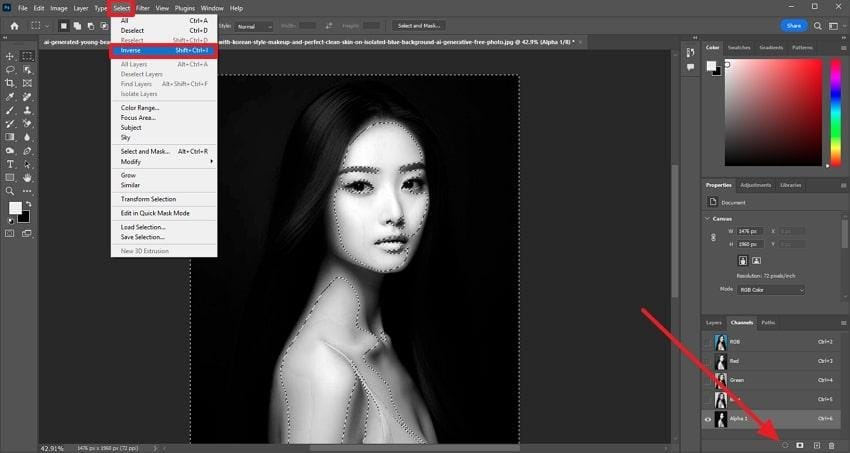
Step 4. After that, press the “Load Channel As Section" button on the bottom bar of the Channel section. Then, press "Select” from the top menu bar and click the “Inverse” option. Finally, add a “Layer Mask” and move the subject to a new background.
Method 2. Remove Hair Background Using a Background Eraser and Manual Brushes
This is another feature in Photoshop to remove the background, as it allows for precise removal by sampling the color of the pixels. It provides smooth edges and a natural look when dealing with complex elements like hair. Users can refine their selection by adding a layer of control and details using manual brushes. Here are some techniques that can help you to perform the Photoshop remove background hair process:
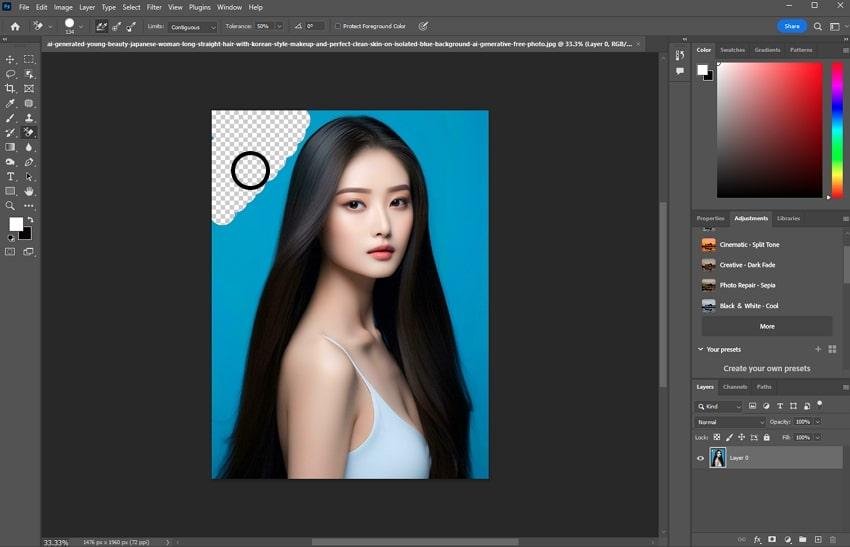
Step 1. From the eraser section in the left panel, select the “Background Eraser Tool” by pressing a secondary click.

Step 2. Just mark the area using the brush tool provided by the Background Eraser Tool.
Method 3. Removing Hair in Photoshop with the Remove Tool
This tool is quite similar to the Spot Healing Brush Tool, as you just have to mark the area you want to remove. Afterward, it removes that part while keeping the edges soft. Besides, blends the specific marked area with viewing the rest of the subject. There is a Remove After Each Strike option, too, that extracts the backdrops after every selection to hair remove the background possible via the mentioned steps:
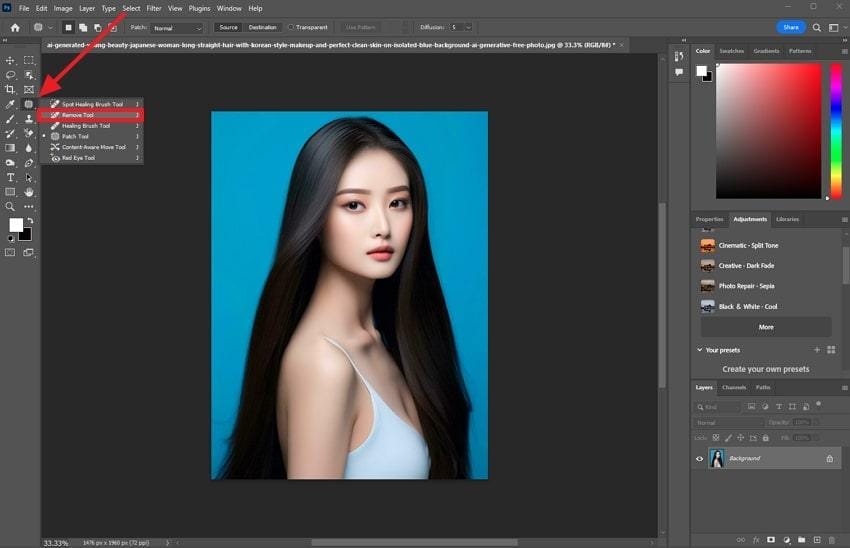
Step 1. Select the “Remove Tool” from the left panel after importing the image.
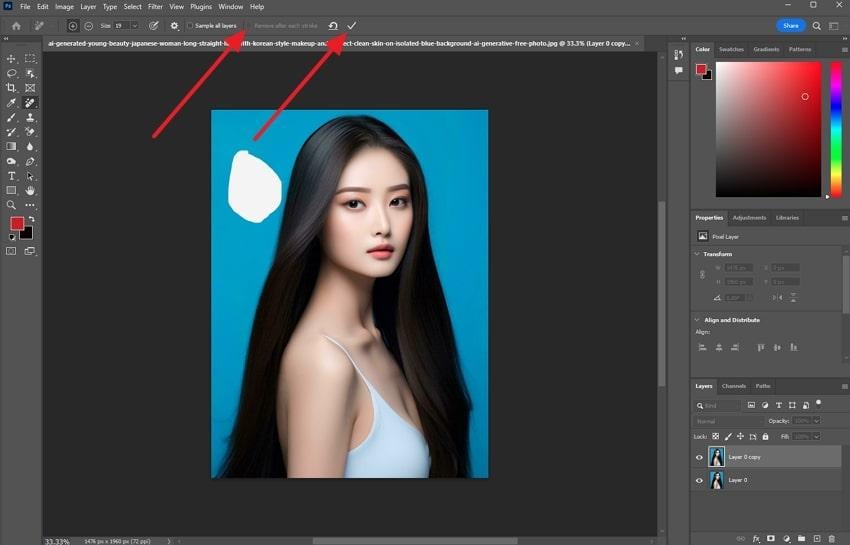
Step 2. Now, uncheck the “Remove After Each Strike" option and mark the area using the brush tool. Just press the "Tick Mark” and let the process remove the background.
Part 4. Photoshop Remove Background Hair Using AI Background Remover Online
While working manually to remove the hair background, Photoshop also offers an AI Background Remover Online platform. This tool double-checks the edges of the object around areas like hair while removing its background. After that, you can create the background by providing a prompt to let Generative AI do so. To learn how Photoshop remove background hair online, just follow the points given below:
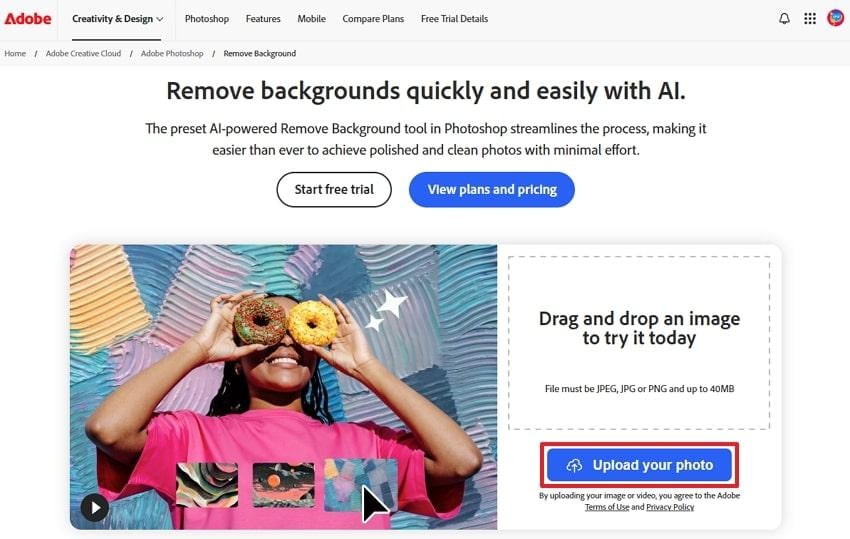
Step 1. Access the online version of Photoshop and upload the image by pressing the “Upload Your Photo” button.
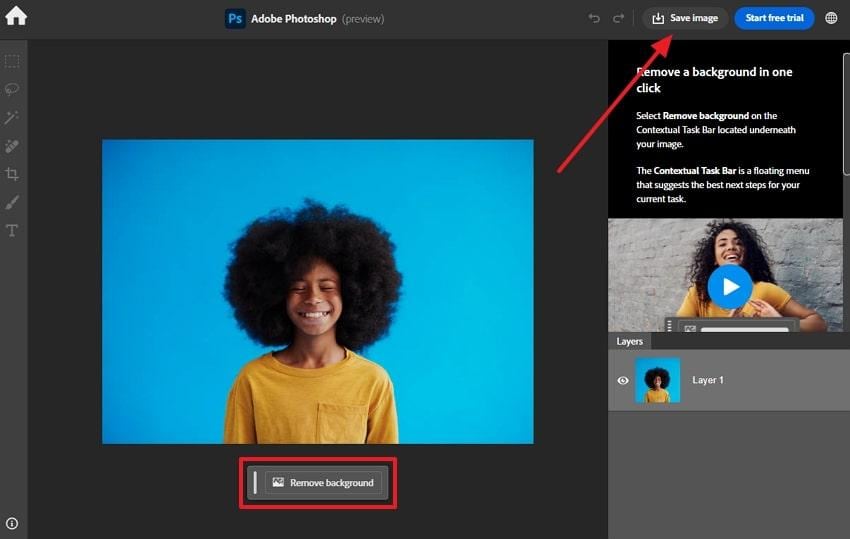
Step 2. As the image is there, tap the “Remove Background" option and export results by hitting the "Save Image” option.
Pro Tip. The Best Alternative to Photoshop for Removing Unwanted Objects Like Hair
After knowing how the hair remove background tool works, there are still situations where minor details in the backdrop can affect your picture quality. To eliminate that, the Repairit Photo Eraser comes in, as it allows users to use the brush tool to remove objects. Users can also zoom in and out of the picture up to 500% to mark the area with more precautions.
You can also adjust the brush size up to 160px, making it easy to mark even the smallest objects in the background. This platform also allows users to preview the picture after removing the object, ensuring that the background is blended perfectly. Users can also reuse previously edited pictures by viewing the History Files section. Additionally, you can use the object remover feature up to three times with the free version.
Key Features
Generative AI: By using AI, this platform allows users to use the brush tool to select the object they want to remove.
Supports Various File Formats: Users can add image files of different formats, including JPG and PNG.
Bulk Upload: It allows you to process multiple files simultaneously and edit images in batches quickly.
Simple Tutorial to Remove Unwanted Objects from Background
You can follow the steps below and learn how to use Repairit Online to remove unwanted objects from your photographs:
Step 1. Access the Online Photo Eraser Tool
First, access the Repairit Photo Eraser tool using your browser and upload the image by clicking the “Add Photo” button.

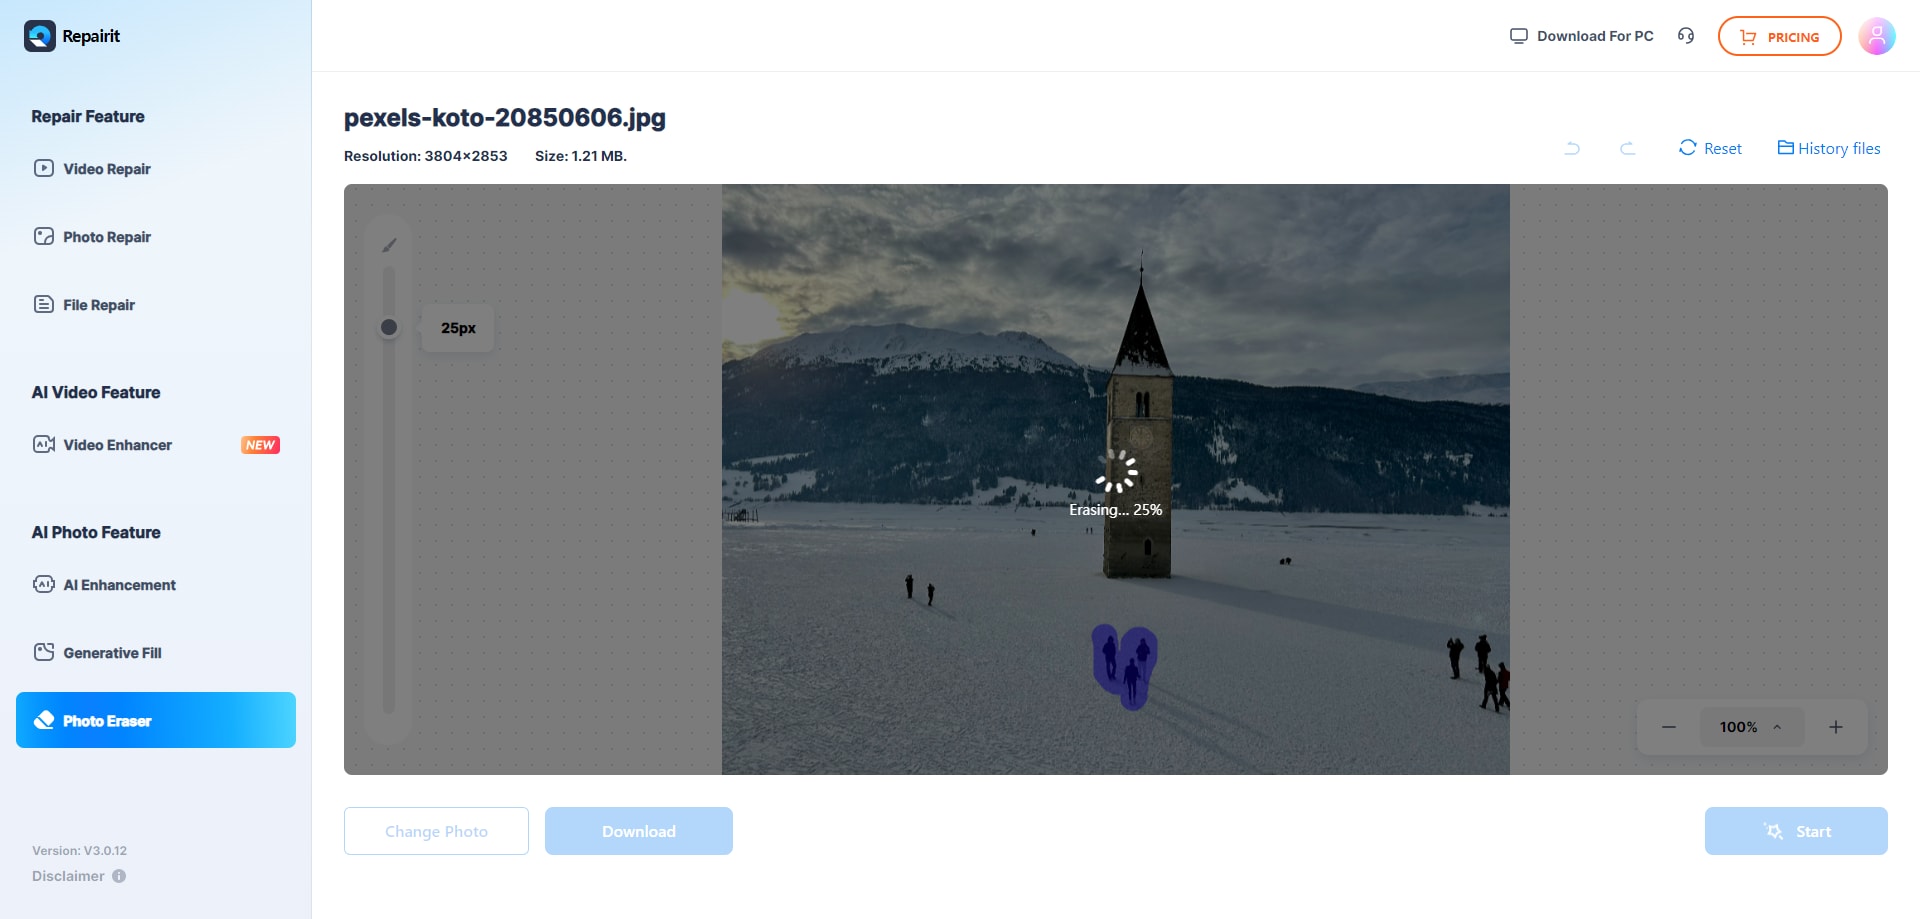
Step 2. Select the Unwanted Objects and Start the Process
Once you have uploaded the image, use the Brush Tool to select the unwanted objects you want to remove, and press the “Start” button to begin the process.
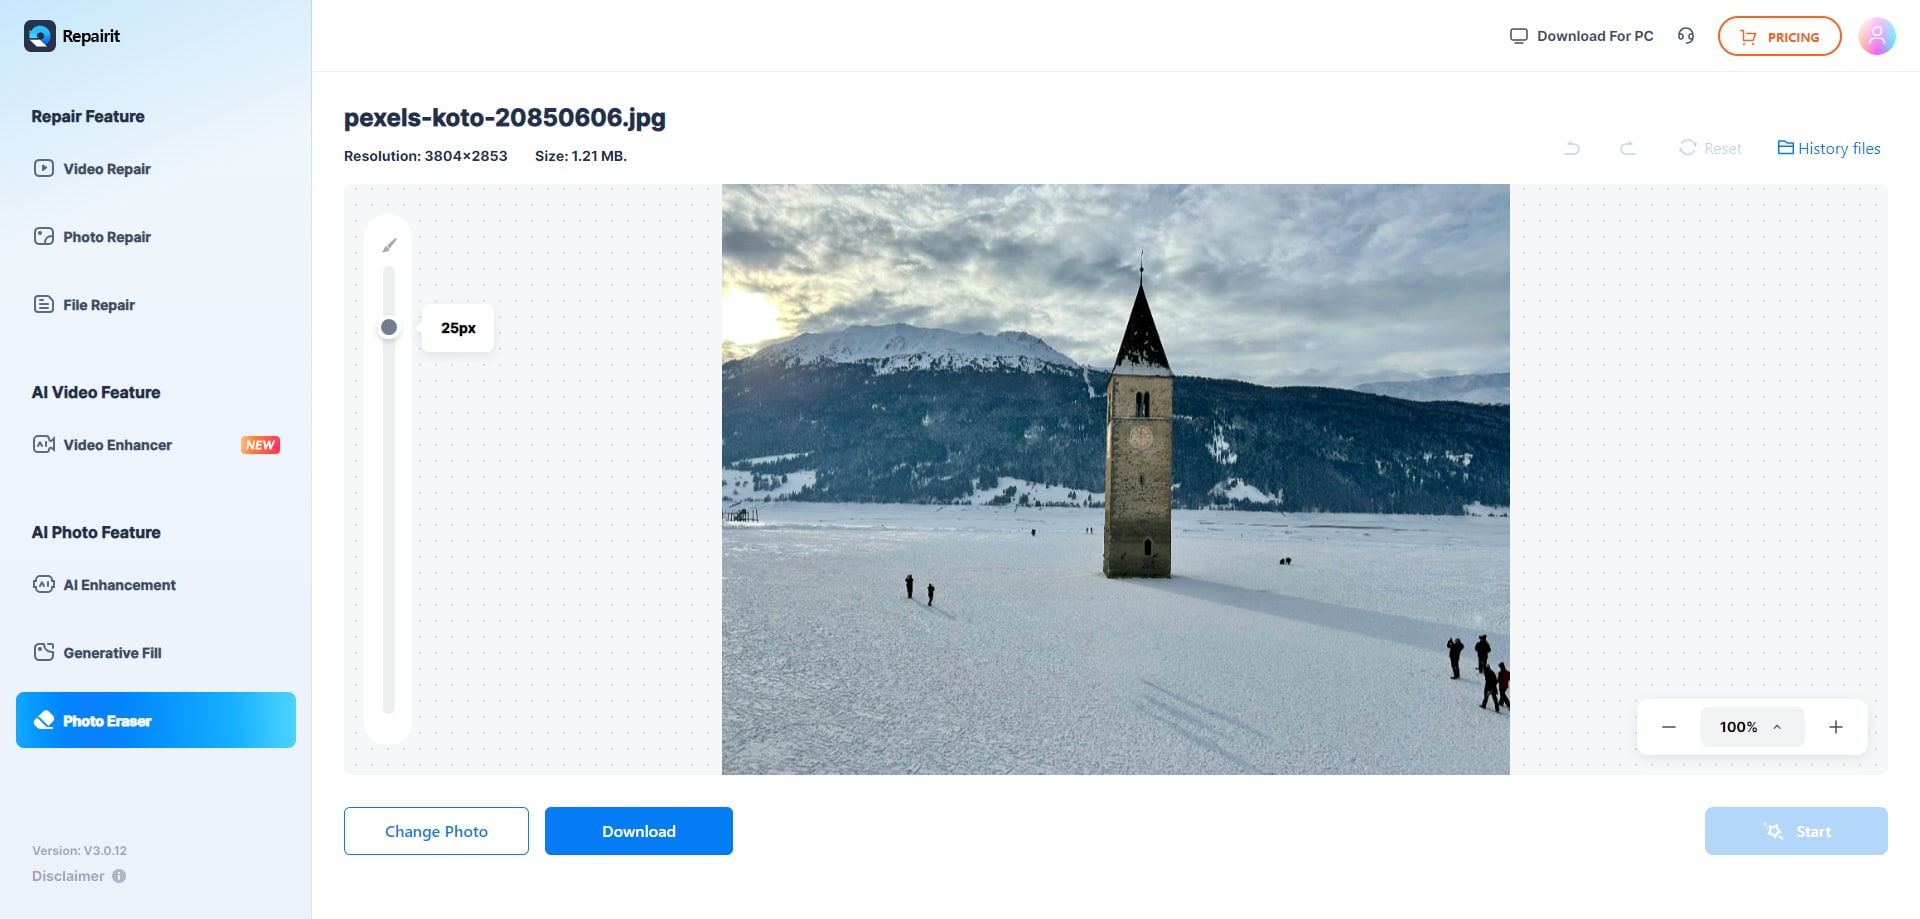
Step 3. Finalize the Changes and Download the Picture
Finally, get an image preview to verify that the unwanted objects are removed, and then press the "Download” button to preserve the image.
Conclusion
To conclude, Photoshop remove background hair feature can help editors precisely remove the background while preserving the original image quality. However, using this platform requires a focus on each detail, which this guide has explored for you. However, if the removed background still has minor distracting details, you can use the Repairit Photo Eraser, which provides a brush tool to remove unwanted objects.
FAQ
-
Q1. Why is removing the background around the hair so difficult?
While removing the background around the hair, the user faces challenges as hair often has soft edges and blends seamlessly with the background. This makes it difficult to cut out the background from the hair without losing details or creating a harsh edge. -
Q2. Will background removal affect the hair quality or image resolution?
The hair quality can be well-preserved if the process is performed manually and carefully, such as when using a platform like Photoshop. While working with automatic methods or extreme zooming, it can cause a slight blur or loss of detail. -
Q3. Why does Photoshop sometimes leave behind background traces near the hair?
This occurs when the background color closely matches the hair color, so the user must use the channels feature to cater to that. By doing this, it creates a distinct difference between the background and the hair, allowing the background to be easily removed.
