JPG/JPEG is one of the most common ways of saving images. But when you go to copy a certain image, or the original file over and over again, its quality reduces. The JPG file format behaves like a photocopier, hence it is called the 'photocopier effect.'
Although the resulting image should be similar, you will notice the saved file is different from the original one. In this article, we understand in detail what causes this loss and how you can fix the photocopier effect. There are some simple solutions to deal with the photocopier effect, you can closely learn what causes it.
Part 1: Why Photos Showing Photocopier Effect?
JPG is one of the oldest and most common file formats of images. But all digital images suffer from generation loss. What does it mean, you wonder?
It refers to a loss of quality between subsequent copies of data. So in case you make a copy of a copy, the quality will reduce with every 'generation.' This is called generation loss. Simply copying a JPG image as is, it will not see any change. But if you open it in any image editor and save it, it will save as a different JPEG file, the copy with a loss in quality or resolution. This is called the photocopier effect.
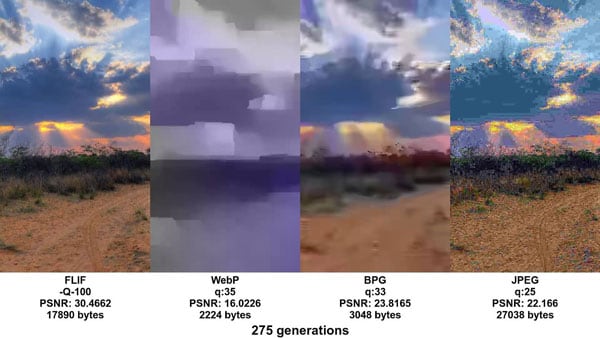
JPEG is not the only format that experiences generation loss. Modern image formats like WEBP and BPG suffer from a heavier generation loss when compared to JPEG. In this there could be an error that makes one part of the image more propagating towards other parts, making it look more distorted. JPEG files are represented in pixels using color space transformation RGB.
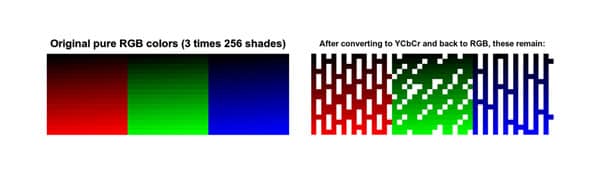
This format uses YCbCR imaging that co-relates to the intensity of light and color components. During a transformation, it introduces loss in the colors of the RGB pixels. When you transform a JPEG image, it uses different combinations in saving it, thus facing a generation loss. JPEG also does chroma subsampling, which gives the image a blurry look.
While making a copy of a copy or editing an image, it loses some information and accumulates it with more compression. So images look pixelated. On making several copies, the image will degrade much more.
To fix the photocopier effect, the simplest solution is minimizing the generation loss, i.e. in turn keeping the copies to a minimum. But what are the other possible solutions to it? Read our step-by-step guide below.
Part 2: How to Fix Photocopier Effect?
Method 1: Minimize the generation count
The main reason why an image gets a photocopier effect is because of the generation loss. So it is advised to lower the generation count of an image in order to retain its original quality. If you have a JPEG quality of 90 and resave it with quality 95 to 100, the result will be lossier than the default image. Here's what you should do to minimize generation loss:
-
Save the original image just once.
-
In case you want to edit the file, open it in the image editor, make the required changes and click on Save As. Change the file name and save it.
-
If you want to make some more changes, do not click the newly saved file. Instead, work on the original file again.
-
The more copies you save of an image, the more it will result in generation loss.
Method 2: Avoid lossy format while editing
Another way to fix the photocopier effect is not to use lossy formats for your images. When you want to edit images, save them in lossless image formats like PNG, TIFF, FLIF. You can also try a native format like a PSD.
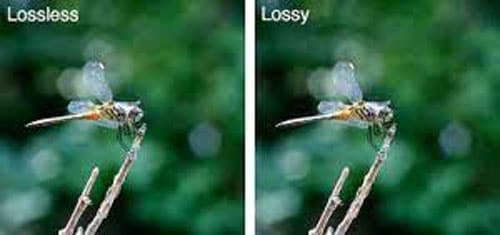
Once you have completed all the edits, only then you should save it in one format like JPEG to reduce the file size. In case, you want to re-edit the image, then rework the original lossless file instead of editing the JPEG.
If you do not have the original image, go back to Google Image Search and try to find the image in the highest resolution version. Work on it again and only then share it again as a JPEG.
Method 3: Go for a professional photo repairing tool - Wondershare Repairit
Nowadays almost every image is saved in JPEG format. Digital images could possibly make most of our data today since everyone documents things with photographs - including some word files, certificates, or papers. So any loss of images is a huge loss indeed.
But rather than worrying over losing data, you can opt for a professional photo repairing tool like Wondershare Repairit. What if we told you, you can fix your corrupted files or files with generation loss in just three simple steps?
This free-to-use software available on Windows and Mac is like a magician working its tricks to fix up your images for you. All you have to do is follow the below steps:
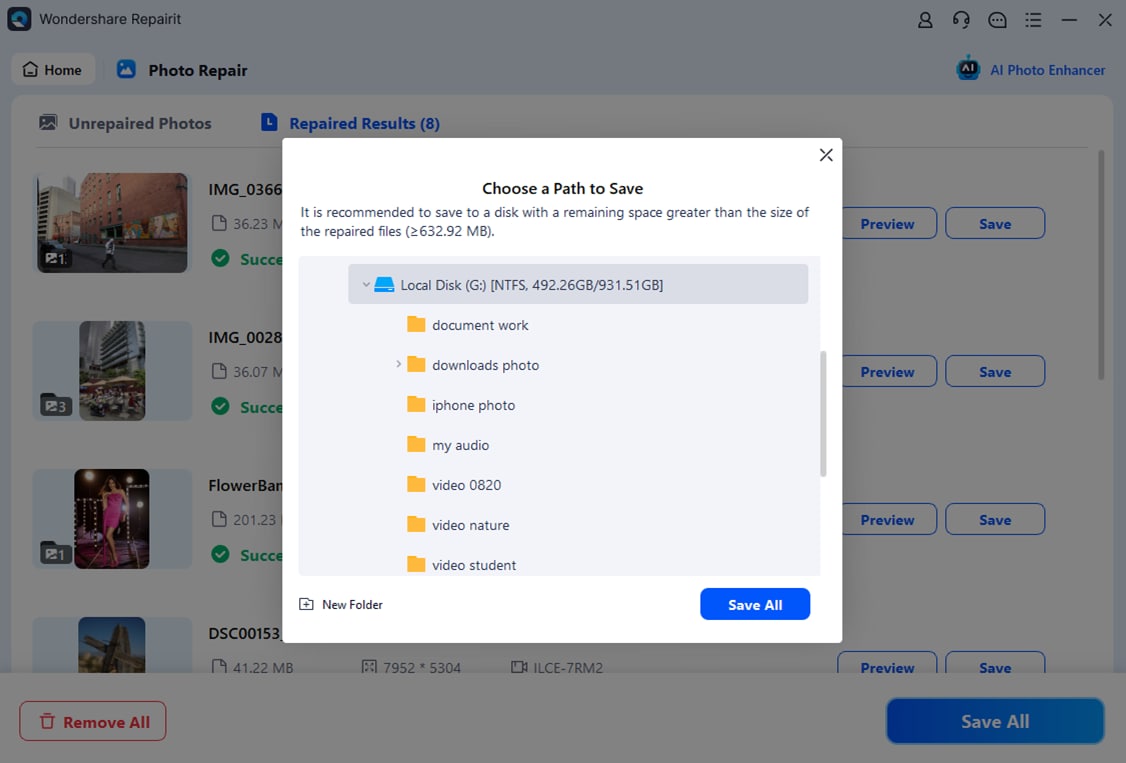
Step 1: Launch Wondershare Repairit on your PC.

Step 2: You will see the option Photo repair. Click on it and you can add the images which you want to repair by clicking on the + sign.
Step 3: Once you select the images, click on the Repair button and wait.

Step 4: Once repaired you can see the preview of the worked images and save it in the desired folder.
Further Reading:
Here are the useful articles to help you.
1. Compress Images without Affecting Quality.
2. Resolve the Images Not Showing Problem.
3. Fix Bad Photos.
Method 4: Using Adobe Photoshop
Another way to deal with generation losses is by rectifying the image in Adobe Photoshop, a popular photo editing software.
Step 1: Select the image that you want to fix and open it in Adobe Photoshop.
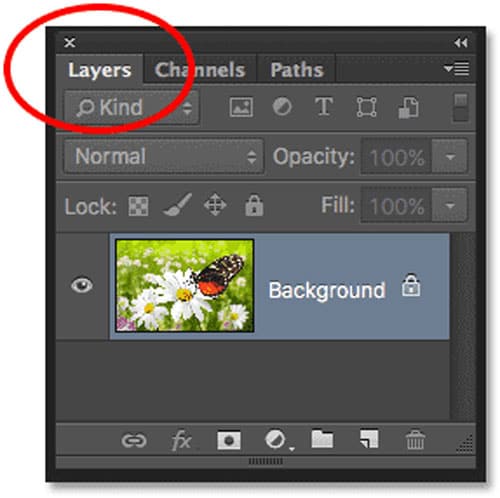
Step 2: Check the layer panel on the right side of the app, it displays all the stacks of layers. Click on the New Layer icon at the bottom of the panel. This layer is transparent until you work on it.
Step 3: Make your changes on the layer and then save the image.
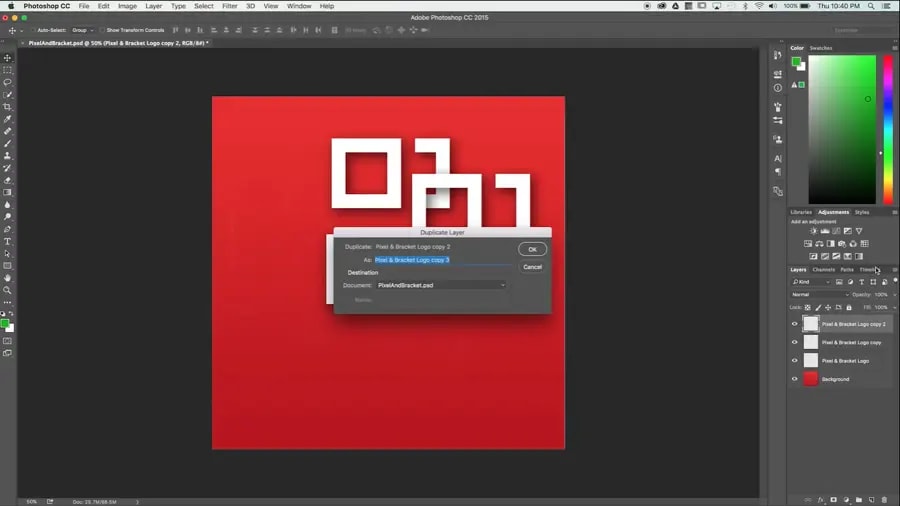
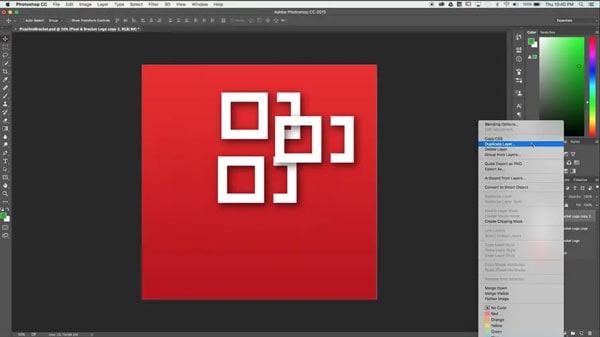
Note: It is always advised to work on another layer of the image instead of the original file. Each change you do like crop, exposure, blurring, or applying filters will take place on these layers.
Instead of saving a copy of the JPEG image over and over again, edit it once in photoshop and then save the final file in JPG. In fact, in Photoshop you can turn out images to look like a photocopy effect too.
Notes,
More articles related to JPG/JPEG, click the following links:
1. Fix "Cannot Open JPG Files With Windows Photo Viewer".
2. Can't Open JPG Files on Windows 10.
3. Fix Corrupt JPG Images.
To Sum Up
The essence of fixing photocopier effects on images is to reduce the generation loss, by making fewer copies of an original file. Since JPG and other modern file formats are more likely to face this quality issue, you should try and use a lossless file format, like the ones we mentioned above.
In case you already have a file with generation loss, then repairing them with Wondershare Repairit is a credible option. With the ability to repair any level of damage on photos and videos, it works as a wonder to recover your files to their original look.
FAQs
-
What does the photocopy filter do?
A photocopy filter gives a xerox-like look to your photo reducing it to a two-color image. When you apply the photocopy filter, it modifies the active layer in a way that it looks like a black and white photocopy. It looks as if the toner transferred was based on the relative darkness of a particular region. It means areas on an image that are darker than the neighborhood are darkened and the rest other pixels are set to white. -
How do you use photocopy texture?
Photocopy textures give a monochromatic look to an image/document. A more dotted grunge texture can be used as a background or overlay on your designs. It can also be used to blend and create different texturing effects on Photoshop. If you are into making gritty or artistic designs, photocopy textures can be used.