These days, where files are common and storage space is less, effective compression techniques are essential. Zip archives have long been famous for compressing files and simplifying sharing. But did you know that PowerShell can take your zip compression game to the next level? If you did not know, then don't worry. I have come up with an innovative guide that will help you learn how to save time by using Powershell compress zip archive. So, keep reading this guide!
In this article
Part 1. PowerShell: An Overview
Imagine having a command prompt that is more advanced and gives you unparalleled versatility. That's what PowerShell brings to the table. PowerShell is a robust and dynamic tool that opens up a world of possibilities for users.
At first glance, PowerShell may seem familiar, resembling the command prompts you have encountered. However, it quickly becomes clear that PowerShell is in a league of its own. Its true strength lies in its ability to handle complex tasks and adapt to various scenarios effortlessly.
PowerShell also interfaces with other Windows technologies. It makes Powershell a helpful collaborator in any Windows-based setting. This integration empowers users to automate administrative tasks and efficiently perform system management.
So, what are the benefits of PowerShell Zip Compression? I will let you know in the following section.
Part 2. What are the Advantages of PowerShell for Zip Compression?
PowerShell can streamline repetitive tasks and handle complex operations. These features make it an ideal choice for managing zip archives. Here are some benefits Powershell provides for zipping files:
- Streamlined automation
PowerShell provides a seamless and efficient way to automate the process of zip compression. With a few lines of code, you can create scripts that handle the entire compression process.
- Integration With Other PowerShell Commands
This feature allows you to combine zip compression with other operations. you can compress files and then move them to a different location or compress a folder. And, then email it as an attachment, all within a single PowerShell script.
- Object-oriented approach
PowerShell's object-oriented nature makes working with zip files as objects easy. You can easily access and manipulate properties of the zip file, such as its size, timestamp, or file list.
- Extensive community support
PowerShell has a vibrant and active community of users who share scripts, modules, and tips related to zip compression. You can use these resources to learn new techniques, solve issues, and enhance your zip compression workflows.
- Cross-platform compatibility
PowerShell is not limited to Windows environments anymore. It runs on multiple platforms, including Linux and macOS.
Part 3. How To Use Powershell To Compress ZIP Archive?
It is first required to know which PowerShell cmdlet may be used to compress files.
The PowerShell Compress-Archive command is used to build a compressed archive. But,the file size must not exceed 2GB. Furthermore, this command needs the archive file extension to be.zip.
Now that you've learned the basics of the PowerShell. Let's look at how to compress a zip archive using Powershell.
Steps for Compressing ZIP Archive
Follow the steps below to compress files on Windows 10 using PowerShell:
Step 1: Start the Windows 10 desktop.
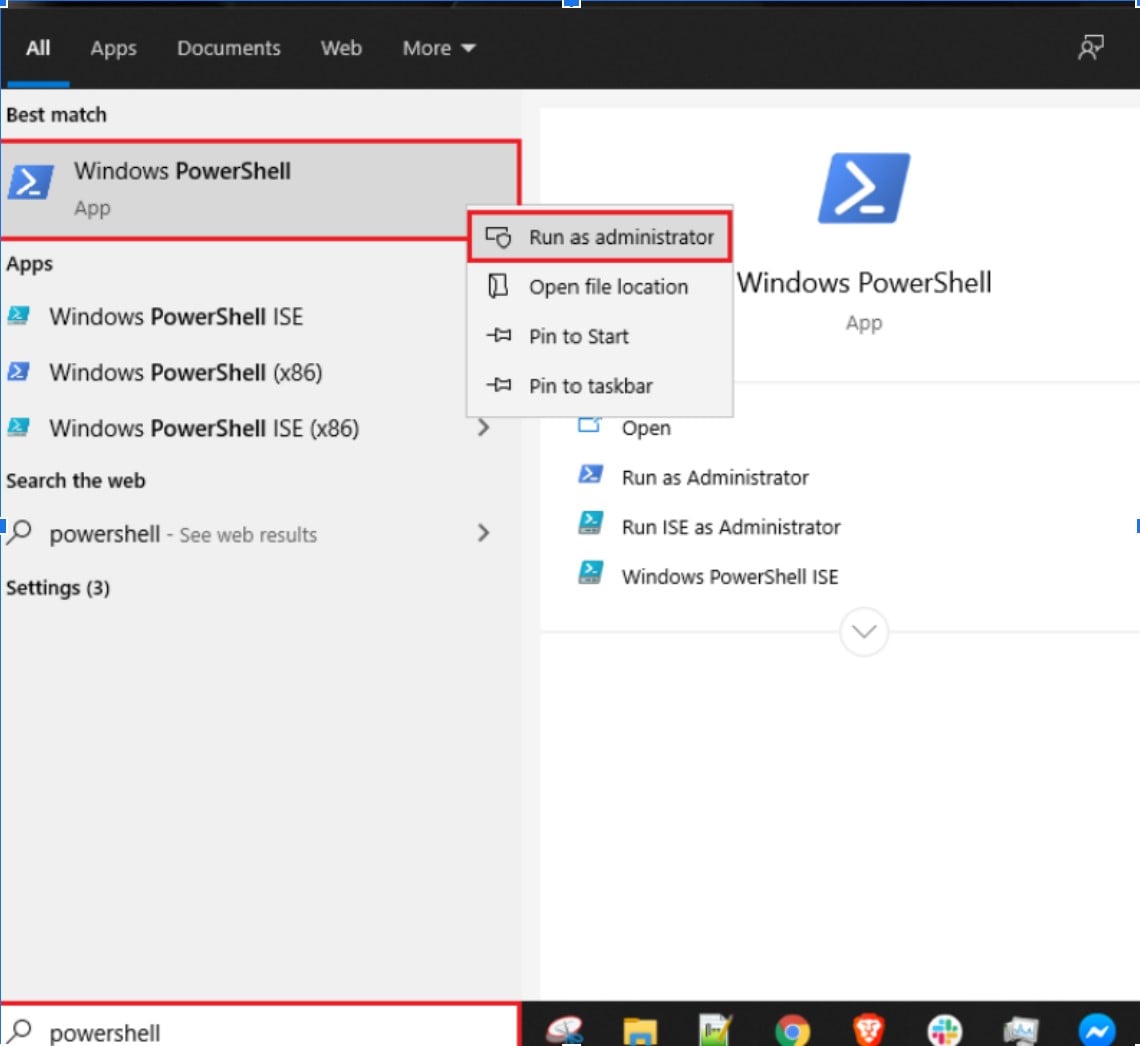
Step 2: Perform a search for PowerShell, right-click the first result, and select Run as administrator.
Step 3: Press Enter after you type the following PowerShell command to zip and compress a folder of files.

After you complete the instructions, PowerShell will zip up the whole folder and all the files inside. And a new .zip file will be created that contains the contents of the compressed folder.
Part 4. Bonus: Repair Corrupted Zip Files using Zip Repair Software
Zip files are adaptable. But while managing zip archives, there may be instances where corruption becomes an unwelcome obstacle. Fear not; I have a solution that integrates with our PowerShell journey. Meet Repairit - Zip Repair is an innovative tool for salvaging and repairing corrupted or damaged zip archives.

With Wondershare Repairit, you can repair your files from damaged archives. It ensures your data remains intact and accessible. Here's how you can use Repairit to resolve zip archive issues:
Step 1: Download and Launch Wondershare Repairit. Begin your journey to zip file repair by downloading and launching the powerful Wondershare Repairit software on your PC or Mac.
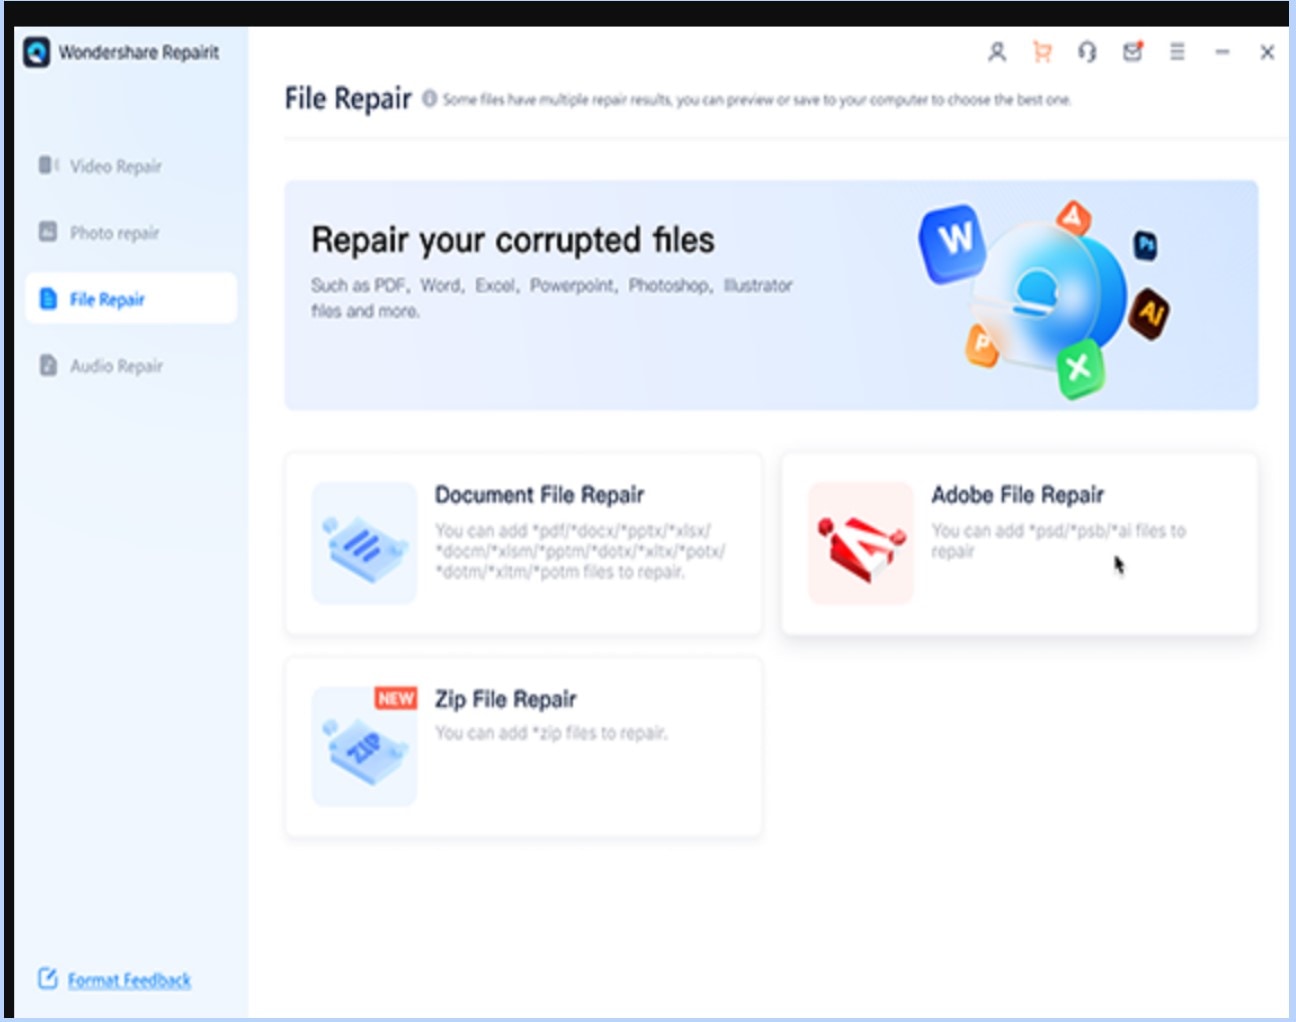
Step 2: Click the Repair Button to fix those damaged Zip files.
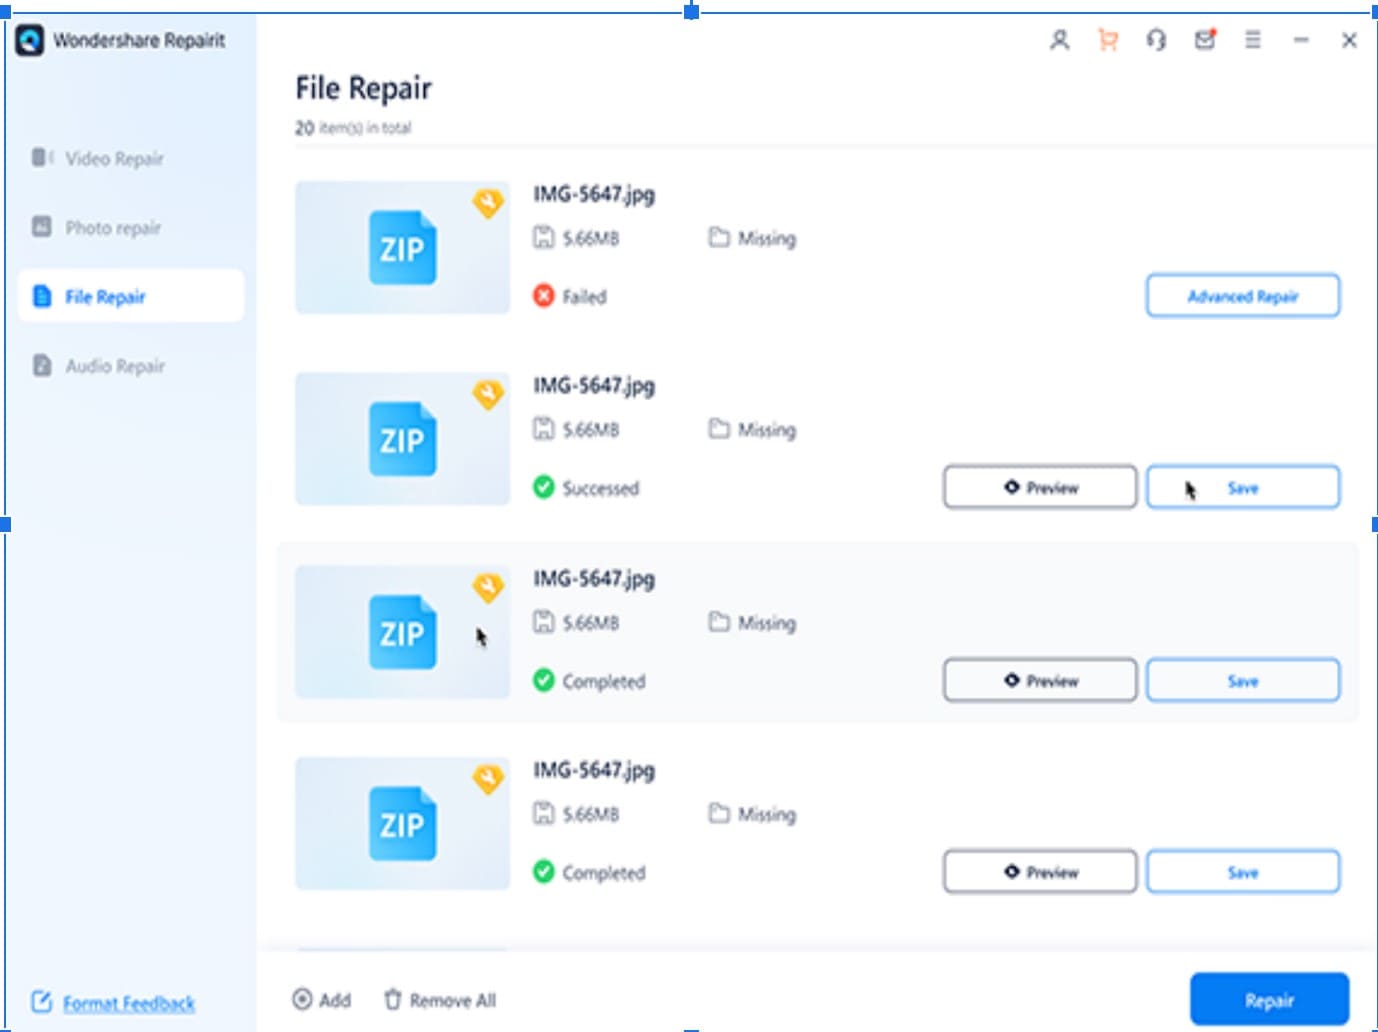
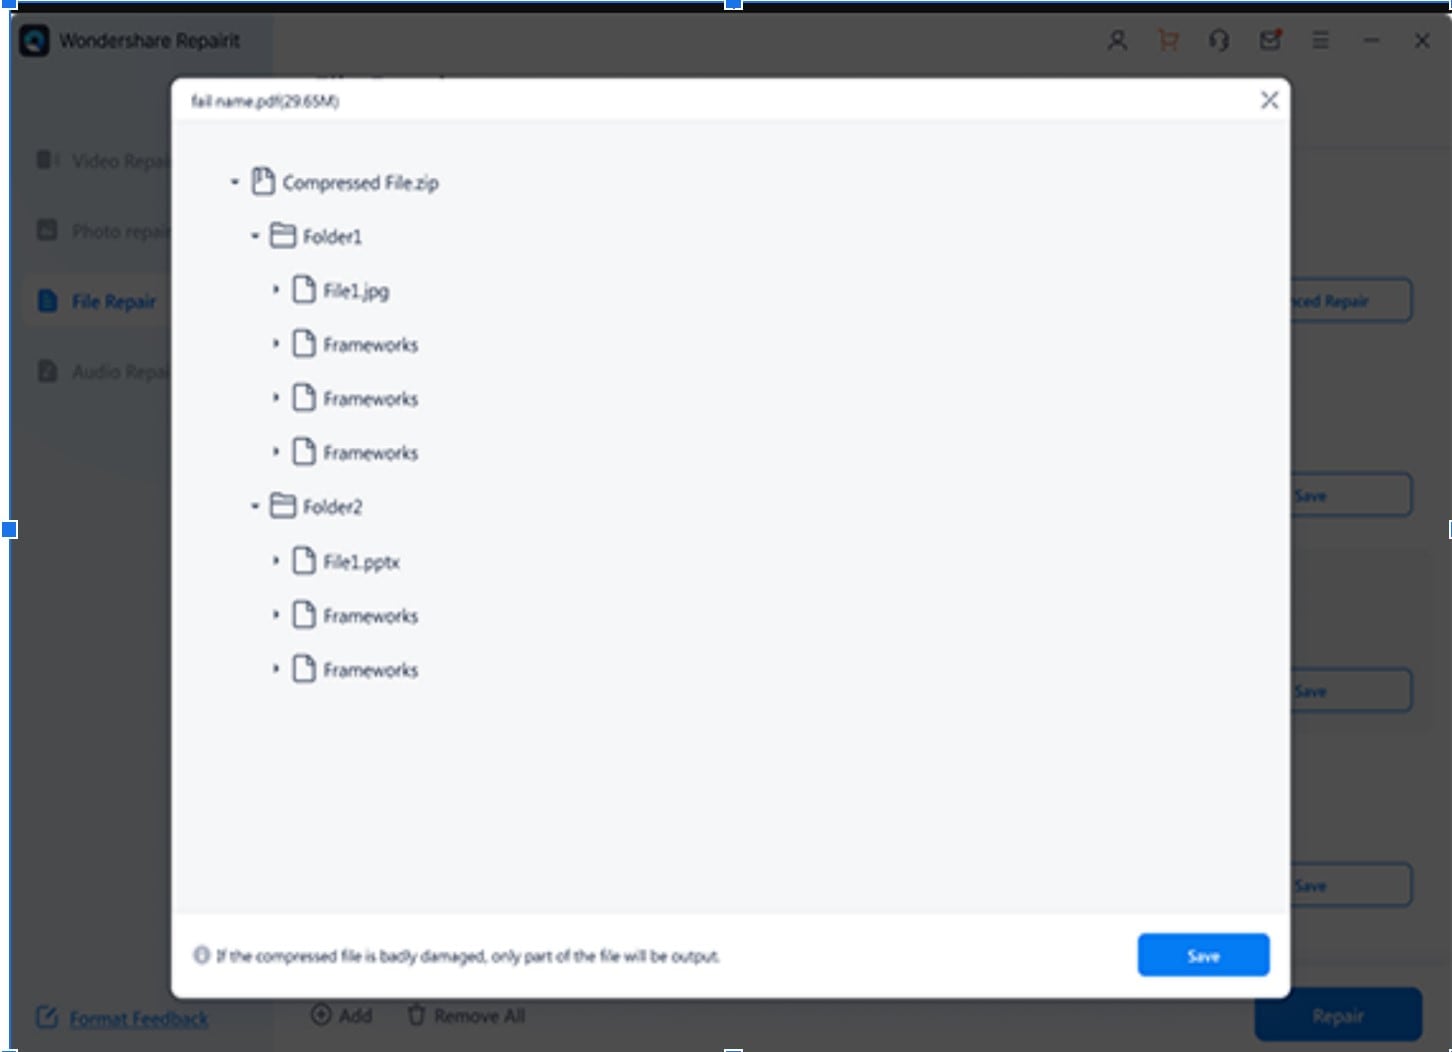
Step 3: Repairit will preview the repaired files within the archive once the repair process is complete. You can select specific files or save all the repaired files to a desired location.
Conclusion
That's it! I have explained everything about Powershell, from its basic information to how to use its compress zip archive. I hope you have enjoyed the article. However, leverage Repairit - Zip Repair when encountering archive issues.
FAQ
-
Q1: What is the PowerShell limit for compressing an archive?
The PowerShell limit for compressing an archive is 2GB. -
Q2: In PowerShell, what does expand Archive mean?
Using the Expand-Archive cmdlet, you may extract files from a given zipped archive file and place them in a destination folder. -
Q3: How can I use PowerShell to extract a ZIP file from a folder?
The "Expand-Archive" command in PowerShell may unzip a file. The Expand-Archive command extracts or unzips a zipped or archived file's content to the specified folder -
Q4: Can I use PowerShell to compress files using a password?
Regrettably, PowerShell's Compress-Archive cmdlet lacks native support for password-protected archives.
