
Are you looking to invert a negative image? The technique of transforming photography negatives into positive photographs is known as reversing negative photos. Negatives are processed to make positive prints in traditional film photography. Conversely, the negatives seem like inverted reproductions of the original sceneries, with colors and tones reversed. The negative must be reversed to view or duplicate the image as intended.
This may be achieved in various ways, including using picture editing software or specialist instruments. Negative picture reversal is critical for conserving and recovering the original photographs, allowing us to appreciate the captured moments in their natural form. Understanding the procedures involved in reverse negatives may help you unleash the full potential of our images, whether we are working with vintage negatives or digital scans.
In this article
What Is A Negative Photograph?
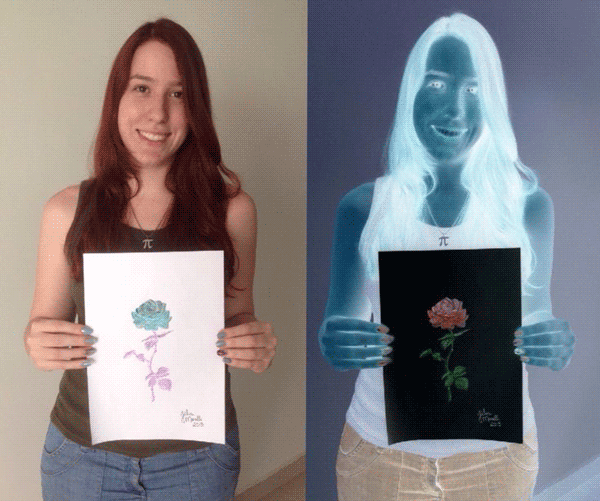
A negative photograph is a photographic image with inverted colors and tones compared to the original scene or subject being captured. It is made by exposing a photographic film or plate to light and then chemically processing it. In a negative, formerly dark parts become light, and vice versa.
During development, this tonal reversal is accomplished by a chemical process in which light-sensitive silver halide crystals on the film or plate are exposed and subsequently treated with chemicals to generate a negative picture. Positive prints are often made from negative pictures by projecting light through the negative onto photosensitive paper during printing, resulting in a normal, positive representation of the actual scene or subject.
Simple Method To Convert Your Negatives To Digital Photographs
Converting negatives to digital photographs can be done using various methods, but here's a simple method you can try:
Gather Your Materials
A film scanner or a digital camera with a macro lens is required, as a light table or a well-lit space, a tripod (optional but suggested), and your negatives.
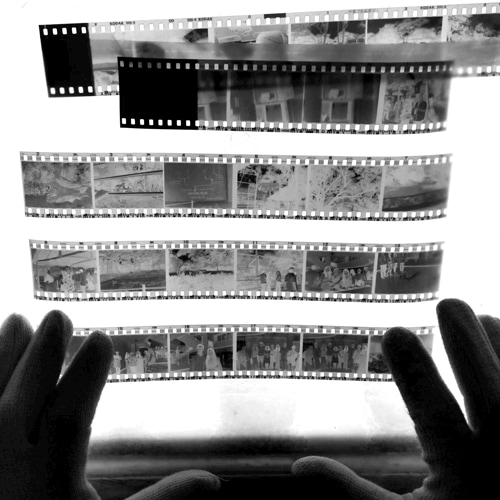
Prepare Your Workspace
Place the light table or a light source behind your negatives. This will assist in illuminating the negatives and making them simpler to record.
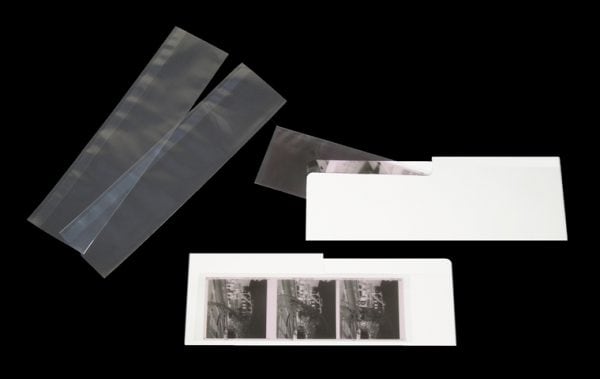
Clean The Negatives
Remove dust or dirt from the negatives using a soft cloth or an anti-static brush. Clean negatives yield superior digital scans.
Set Up Your Scanner Or Camera
If you have a film scanner, set it up and connect it to your computer according to the manufacturer's instructions. If you're using a digital camera, attach a macro lens and stabilize it with a tripod.
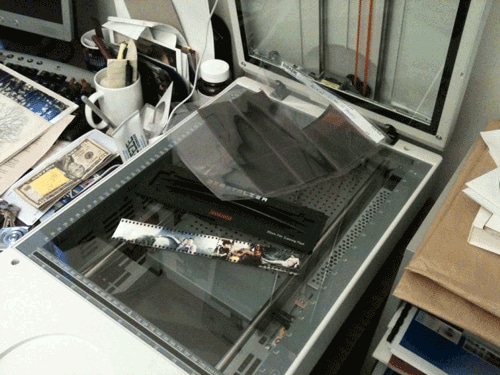
Capture The Negative
Place the negative on a light table or in a well-lit place. If using a film scanner, scan the negative and save it as a digital file by following its software instructions. If you're using a digital camera, place it above the negative and tweak the settings (ISO, aperture, shutter speed) to get the best exposure. Photograph the negative, ensuring that it is in focus and appropriately framed.
Transfer And Process The Digital File
If you use a film scanner, the digital file will be stored on your computer straight. Using a digital camera, use a USB cable or memory card reader to transfer the obtained image to your computer. Open the picture file in a photo editing program.
Adjust The Image
Adjust the digital image's levels, colors, and sharpness using photo editing software. This process is critical for highlighting details and correcting any color casts in the negative.
Save The Digital Photograph
If you like the edits, save the digital image in an appropriate format, such as JPEG or TIFF. Consider arranging your digital images into folders or utilizing photo management software to maintain track of your collection.
Top Image Color Inverter Tools For Your Photos
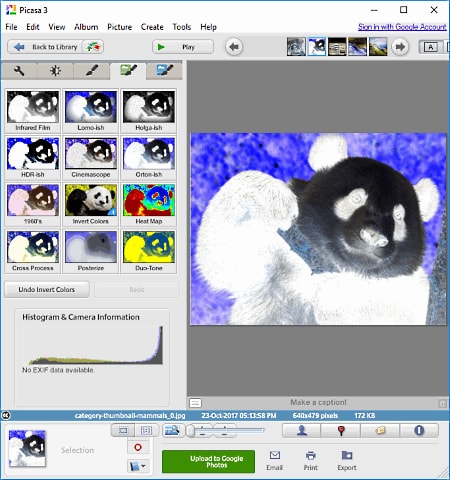
TOOL 1: Picasa
Picasa is a well-known picture organizer and editor created by Google. While primarily focuses on photo organization and management, it also includes rudimentary editing functions like an image color inverter. You may use Picasa's color inverter tool to reverse the colors in your photographs, providing a unique and creative appearance. It has an easy-to-use interface perfect for novices or casual picture editing requirements.
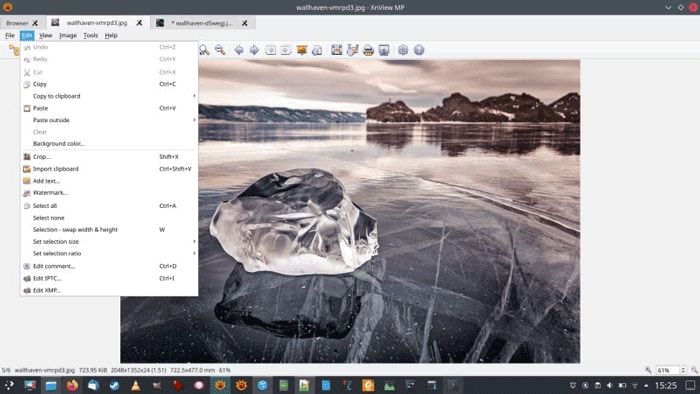
TOOL 2: XnView
XnView is a powerful picture reader and converter with various image formats. It also includes rudimentary editing tools, such as a color inverter. You may invert the colors of your photographs using XnView, changing them into their negative counterparts. This utility is well-known for its comprehensive format compatibility and batch-processing features, making it ideal for dealing with large amounts of photographs.
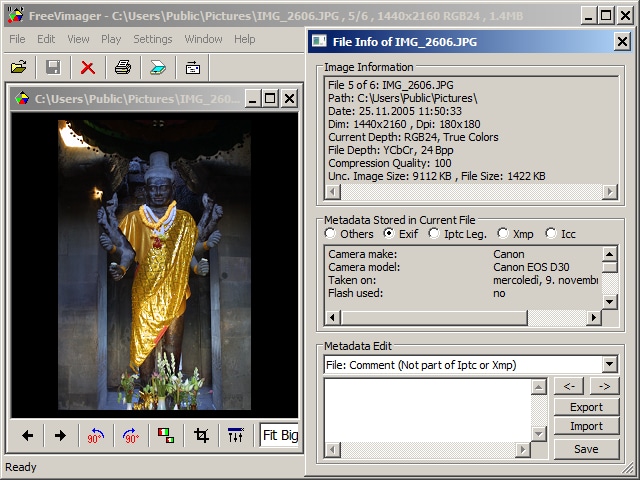
TOOL 3: Free Vimager
FreeVimager is a lightweight image viewer and editor with a color inverter and other editing capabilities. This program has a friendly interface that allows users to reverse the colors of their photographs easily. FreeVimager supports various image formats and includes extra capabilities such as cropping, resizing, and altering brightness and contrast. It is an easy-to-use tool for basic photo editing.
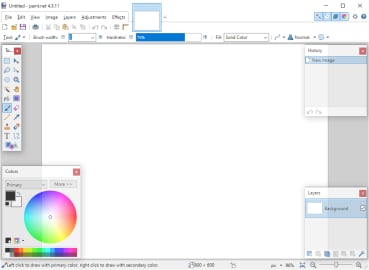
TOOL 4: Paint.NET
Paint.NET is a popular picture editing program with various functions, including a color inverter. Paint.NET's user-friendly interface and powerful features make it simple to reverse the colors of your photos. This program offers extensive editing features like layers, effects, and tweaks, making it appropriate for novice and experienced users. Paint.NET is a free and often updated application that provides a smooth and feature-rich editing experience.
TOOL 5: PhotoScape
PhotoScape is an easy-to-use picture editing program with various editing options, including a color inverter. You can invert the colors of your photos using PhotoScape, generating dramatic and creative results. Cropping, resizing, filtering, and batch editing are also included in the program. Its user-friendly layout and simple navigation suit users of all ability levels. PhotoScape is a free application that strikes a decent mix between capability and usability.

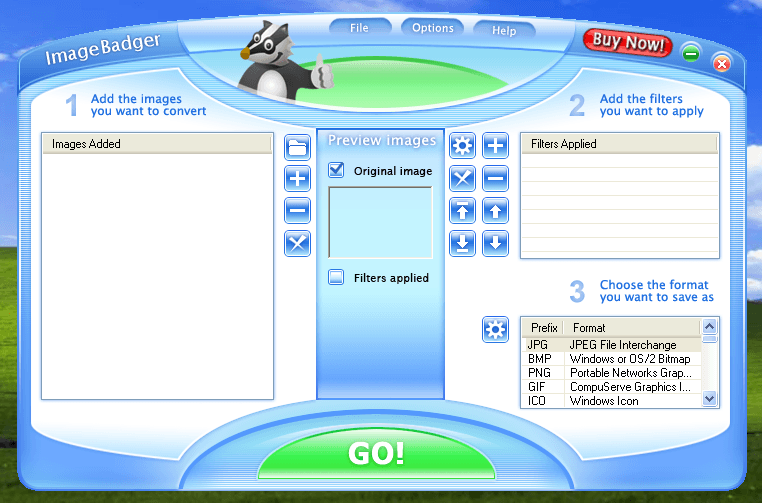
TOOL 6: Image Badger
Image Badger is a specialist image processing program with a color inverter and editing features. This program allows you to quickly & easily invert the colors of your photographs. Image Badger supports various picture formats and includes extra capabilities such as resizing, cropping, and filtering. It has a very simple user interface and supports batch processing, making it perfect for managing several photos simultaneously.
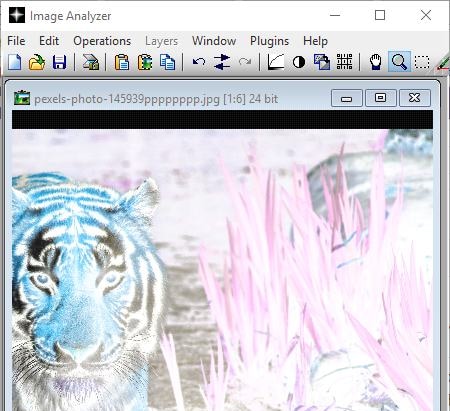
TOOL 7: Image Analyzer
Image Analyzer is a robust image-altering program that includes an image inverter negative. This application provides comprehensive image analysis and editing features, including accurately reversing colors. Image Analyzer provides many additional functions, such as image enhancement, noise reduction, and object recognition. While it is designed for specialists and enthusiasts, it is convenient for users of all skill levels. Image Analyzer is a powerful photo editing and analysis program.
Quickly Reviewing The Above Tools
Picasa is primarily a picture organizer and sharing application with minimal editing tools such as color inversion. It has a simple UI but may be lacking in complex editing tools.
XnView is a flexible picture viewer and converter that works with a variety of file types. It has rudimentary editing features, such as color inversion, and a simple UI.
FreeVimager is a small image viewer and editor that includes color inversion and other basic editing features. It offers a simple interface and allows for bulk processing.
Paint.NET is a free image editor with comprehensive functionality and an easy-to-use interface. It includes color inversion as well as a variety of editing tools and effects.
PhotoScape is a complete picture editing suite featuring an easy-to-use interface and a variety of editing options, including color inversion. It also allows for the creation of collages and bulk editing.
Image Badger is a batch image processing program for color inversion and other operations. It features a straightforward UI and focuses on batch processing and image scaling.
Image Analyzer is a sophisticated picture-altering program with various features, including color inversion. It has strong editing and picture analysis capabilities.
While all of the programs described can invert colors, they differ in terms of extra functionality, interface, and amount of editing capability. Consider your individual needs and preferences while selecting the right tool for you.
FAQ
-
Q: What exactly does it mean to reverse a negative photograph?
Ans: Transforming a photographic negative into a positive image is reversing a negative photo. The obtained picture in negative film photography appears as a reversed representation of the original scene, with inverted colors and tones. Reversing the negative photograph corrects the inversion and returns the image to its original state.
-
Q: Why would I want to flip a negative photograph?
Ans: To create a normal positive image, a negative shot must be reversed. Negative film photography is widespread in analog cameras, and the negatives are processed into positive prints later. Reversing the negative is required to view or reproduce the picture in its intended form. -
Q: How do I reverse a negative photograph?
Ans: You may use image editing software or specialist gear to reverse a negative shot. To rectify the inversion, you can use software to change picture parameters such as levels, curves, and color balance. Alternatively, some specialized negative scanners and picture editing software have capabilities or settings that allow you to reverse negative photographs automatically. -
Q: Is it possible to reverse old or damaged negative images using specialist techniques?
Ans: Different processes may be necessary when dealing with ancient or damaged negative images. These include dust and scratch removal, color or tone restoration, and overall image improvement. Advanced picture editing software frequently includes tools and filters developed expressly for repairing and increasing the quality of negative photographs. -
Q: Is it possible to reverse a negative photograph without software or tools?
Ans: You can manually reverse a negative photo if you have a physical negative and no access to image editing software or equipment. One way is to make a contact print by directly exposing the negative to light on light-sensitive paper. This method creates a positive picture, allowing you to examine the photo in its original form.
In The End
Negative picture reversal is important in recovering and enjoying the real beauty of analog or digital images. You can rectify the inversion of colors and tones by transforming photographic negatives into positive photos, allowing the original scene to be seen as intended. Reversing negative images, whether using negative picture converter, specialist equipment, or manual procedures, necessitates close attention to detail and a complete grasp of the process.
It enables us to retain the historical importance of old negatives while giving damaged or fading photos new vitality. You may appreciate and share the captured moments with clarity, color, and a revived feeling of nostalgia by unlocking the actual potential of negative images.